


New school construction projects and facility renovations create ideal opportunities to integrate interactive touchscreen displays into recognition and information systems. When planning a new gymnasium, athletic facility, school building, or major renovation, schools face critical decisions about when and how to incorporate digital display technology that will celebrate achievements, share information, and engage communities for decades to come.
The timing of touchscreen display installation within the construction timeline significantly impacts costs, installation quality, and long-term system performance. Schools that plan display integration during early design phases avoid expensive retrofits, ensure proper electrical infrastructure, achieve optimal mounting locations, and create cohesive recognition spaces that feel intentional rather than added as afterthoughts.
This comprehensive guide examines exactly when to install touchscreen displays during new construction or major renovations, what infrastructure requirements must be planned early, how to coordinate with general contractors and other trades, and practical strategies ensuring your digital recognition investment integrates seamlessly into new facilities while delivering maximum engagement value.
Schools building new athletic facilities, student centers, or entire campuses increasingly recognize that digital touchscreen displays represent essential infrastructure rather than optional add-ons. These interactive systems serve multiple strategic purposes: celebrating athletic and academic achievements, showcasing institutional history, recognizing donors supporting construction projects, providing wayfinding information, and creating engagement opportunities impossible with traditional static plaques alone.

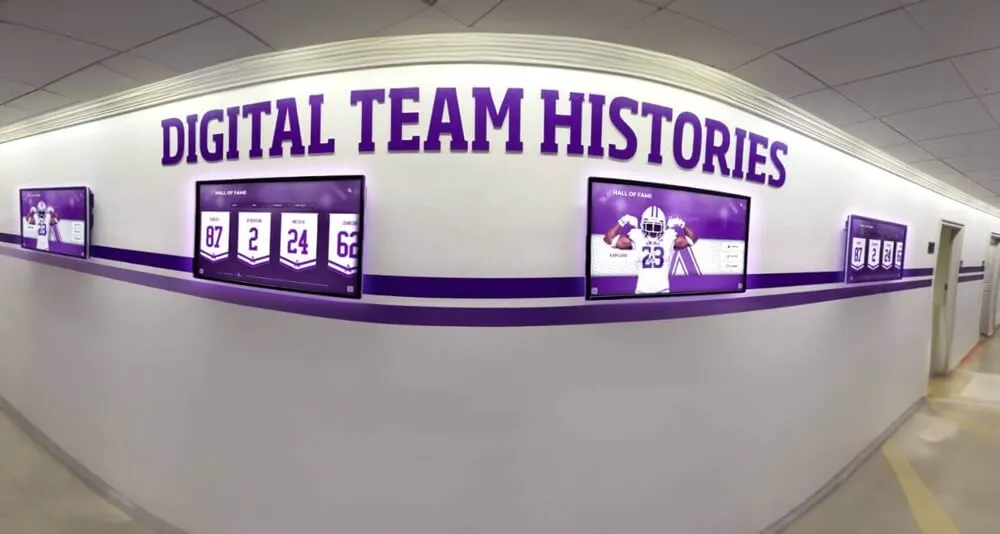
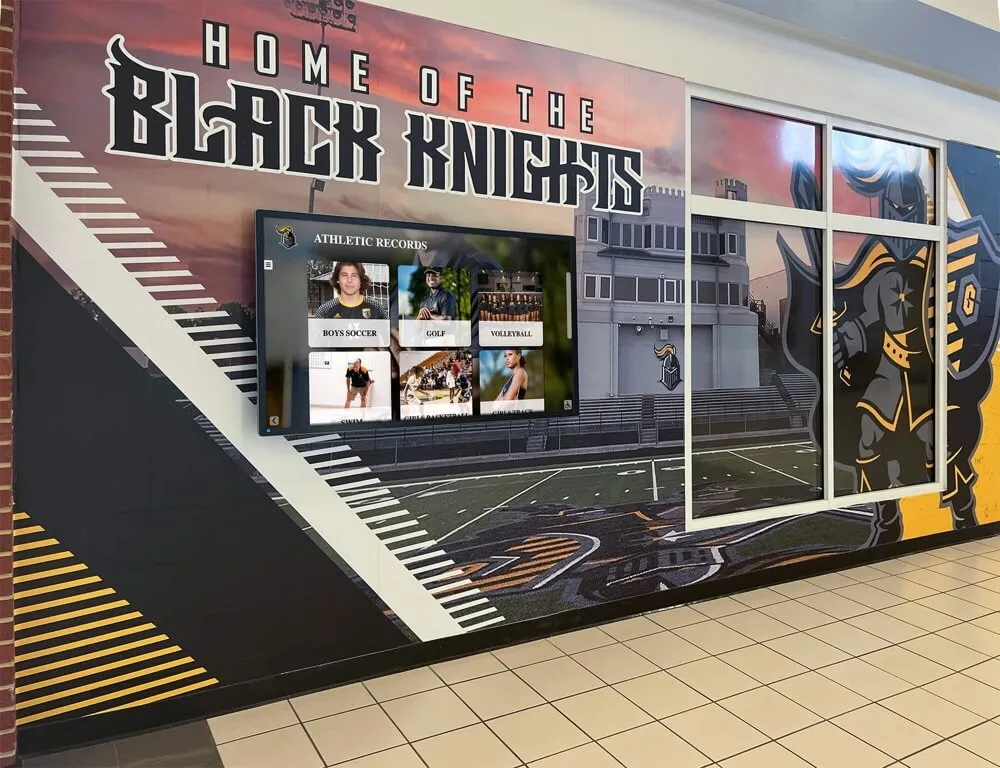
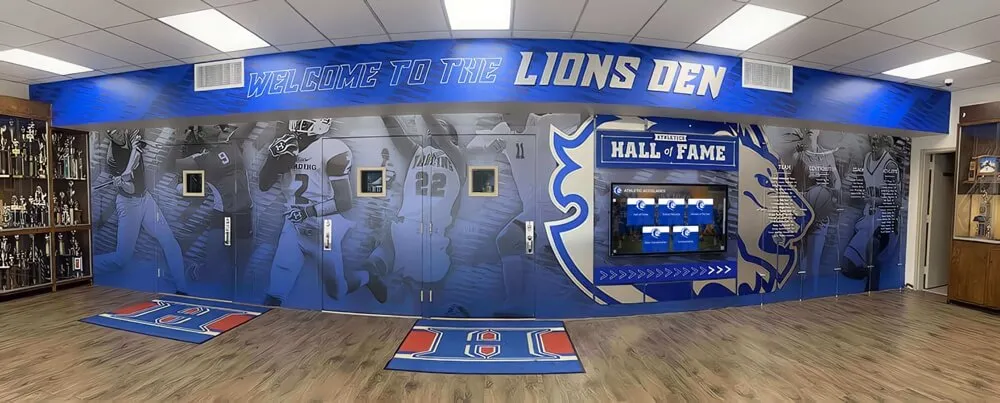
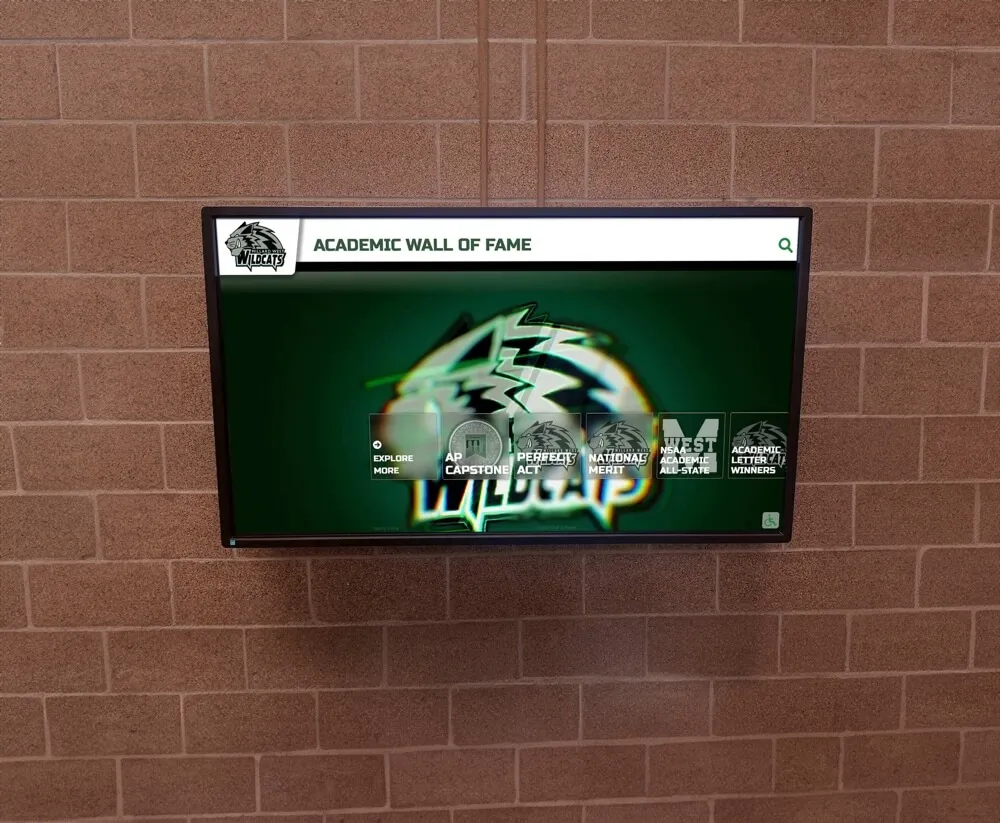
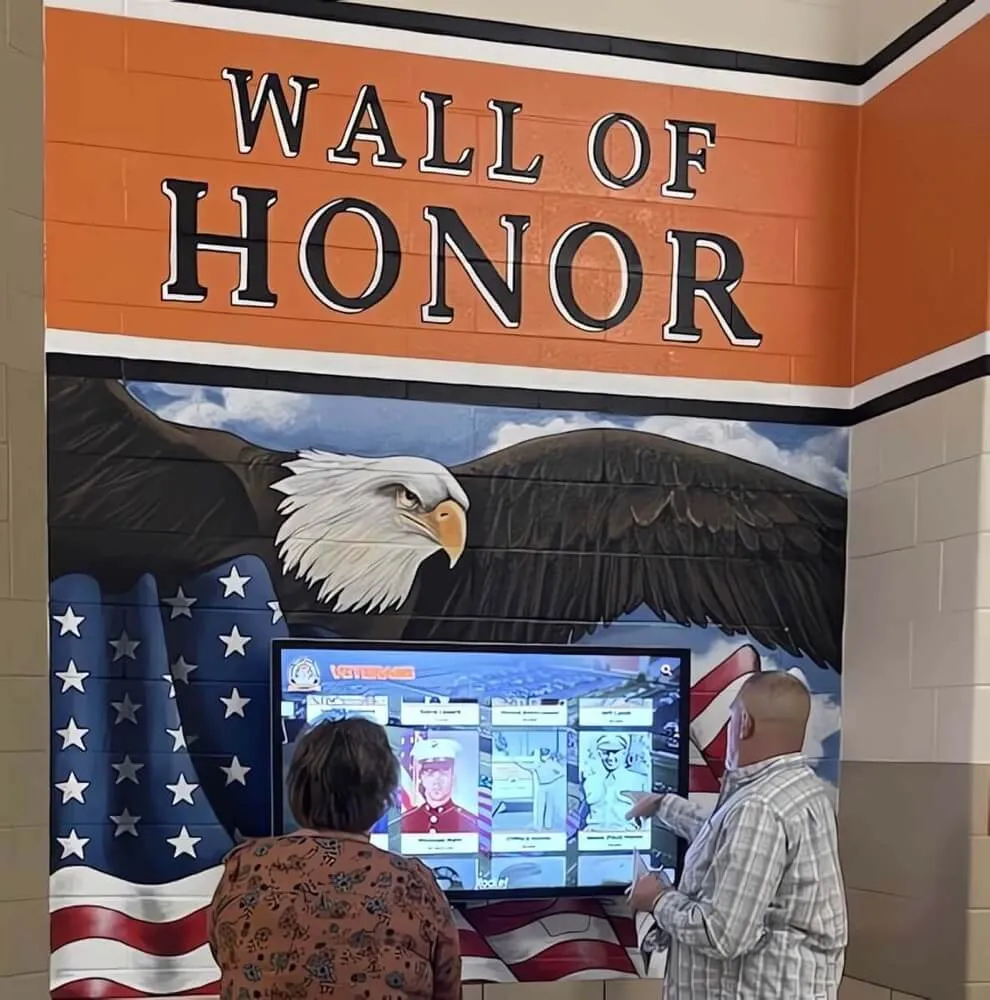
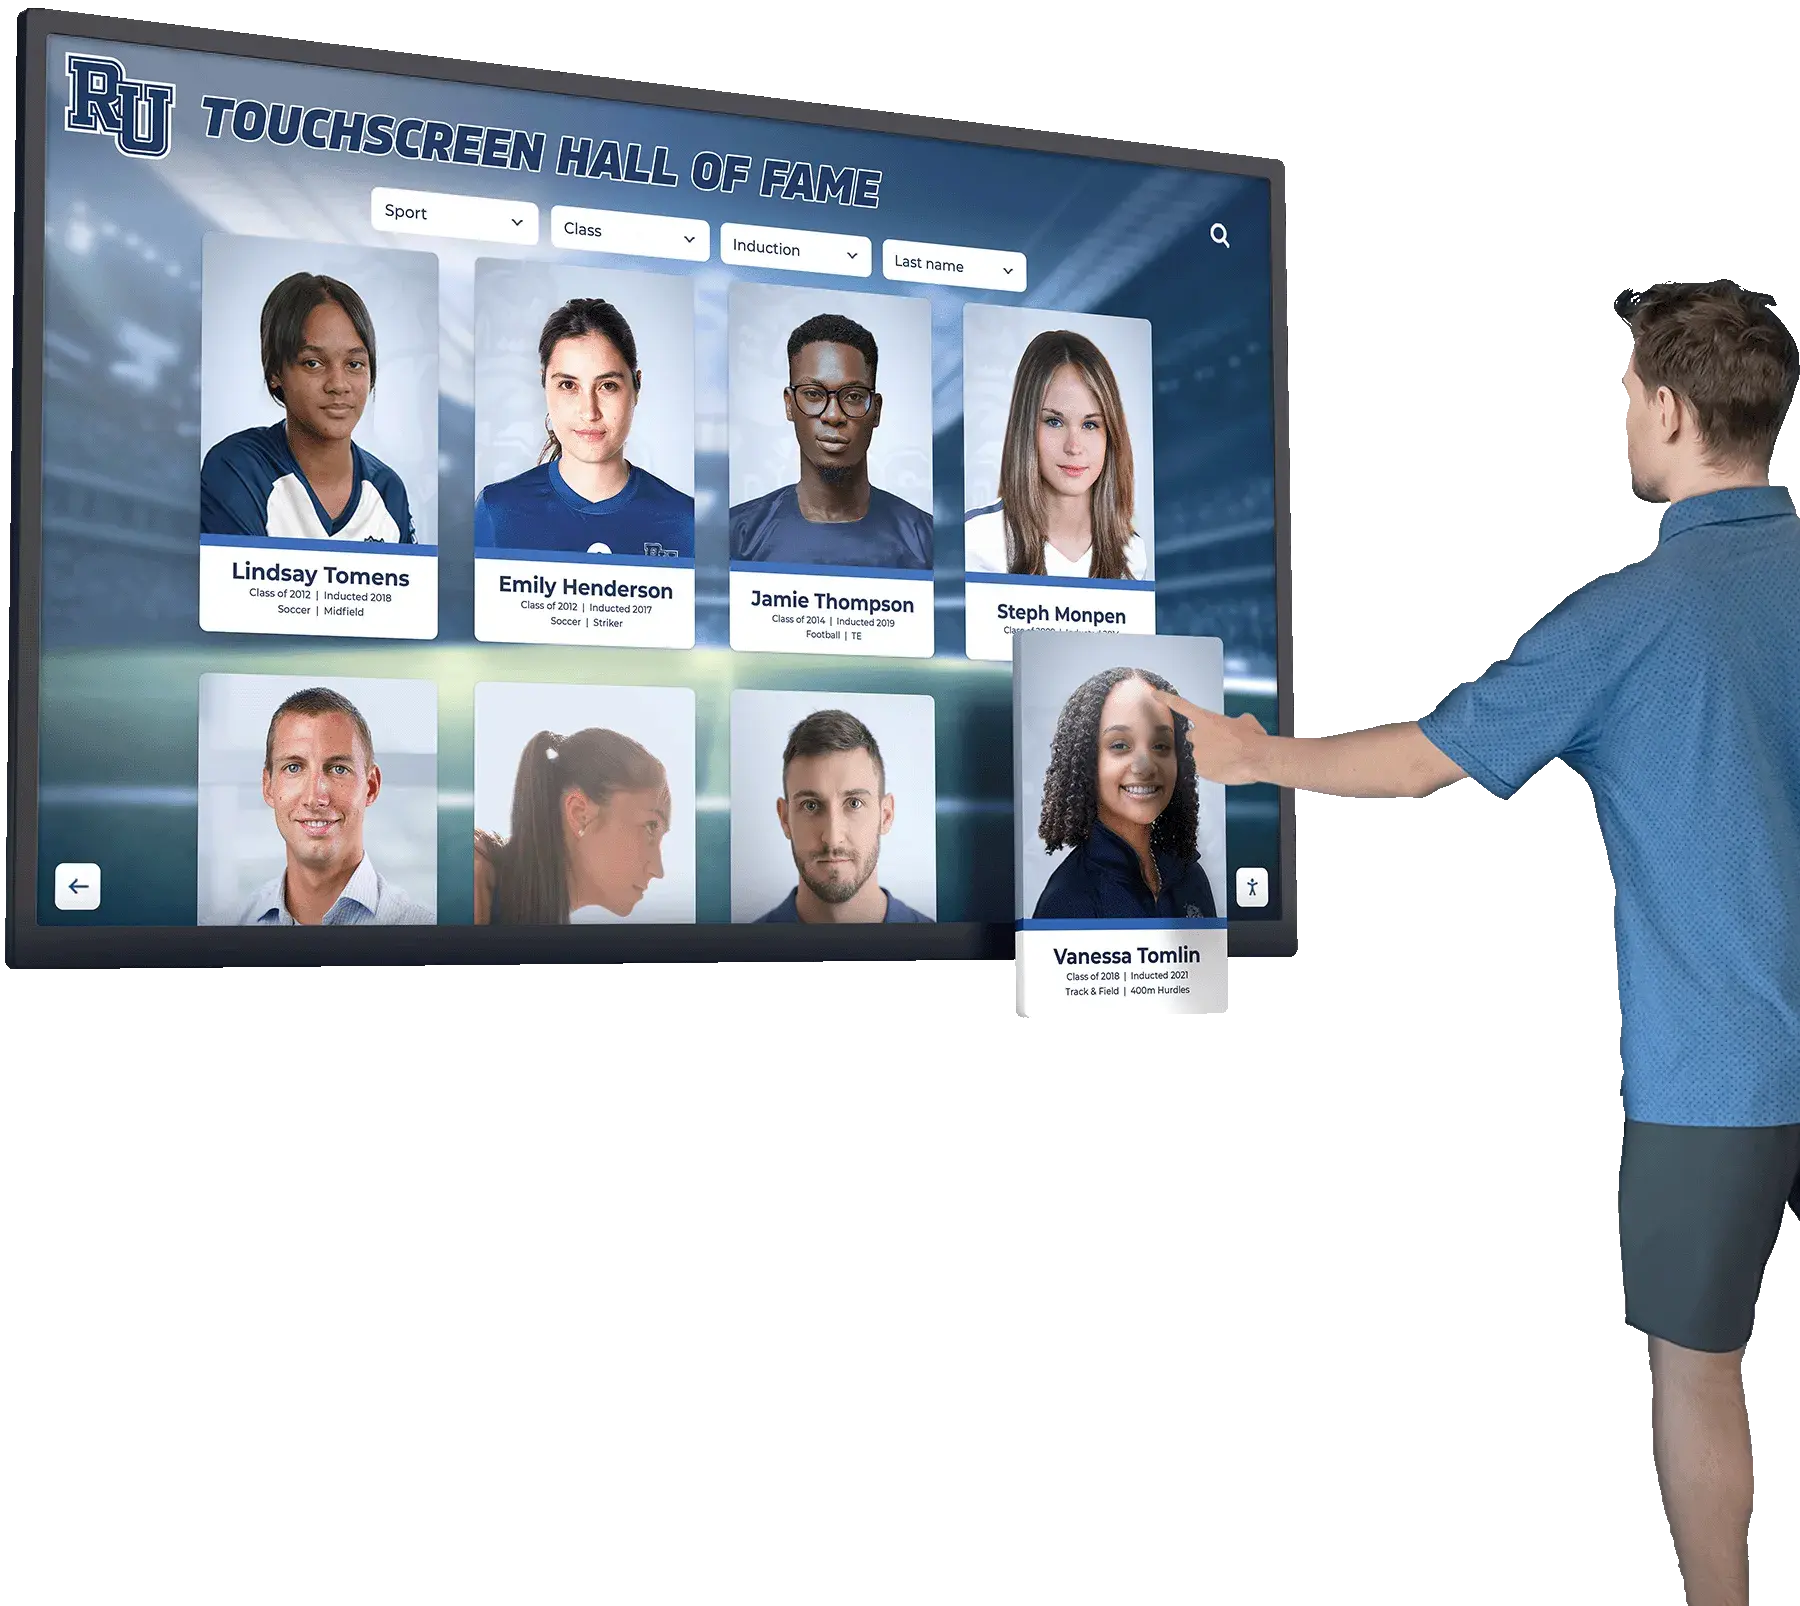
New construction enables integrated recognition spaces combining architectural elements with interactive touchscreen technology
Understanding Touchscreen Display Integration in Construction Projects
Before exploring specific installation timing, understanding how interactive displays integrate into construction workflows helps schools plan appropriately and coordinate effectively with design teams and contractors.
Why Construction Phase Matters for Display Installation
The construction phase when you install touchscreen displays dramatically affects installation complexity, overall costs, and final system quality.
Early Planning Prevents Costly Retrofits
Schools that wait until after construction completion to add touchscreen displays encounter predictable challenges:
- Running electrical conduit and power lines through finished walls requires destructive modifications
- Network infrastructure additions necessitate visible external cable runs or expensive wall opening
- Mounting locations become constrained by existing electrical box placement and structural access
- Architectural integration suffers when displays appear added rather than designed into spaces
- Display placement may be suboptimal due to inability to relocate electrical infrastructure
- Total installation costs increase 40-70% compared to integration during construction
Planning touchscreen displays during early design phases eliminates these problems while creating opportunities for superior installations impossible with retroactive additions.
Construction Phase Timing Overview
New construction projects proceed through predictable phases, each presenting different opportunities and requirements for display integration:
- Schematic Design Phase: Concept development and preliminary space planning
- Design Development Phase: Detailed architectural and engineering specifications
- Construction Documentation Phase: Final construction drawings and specifications
- Bidding and Permitting Phase: Contractor selection and regulatory approvals
- Rough-In Construction Phase: Foundation, framing, mechanical, electrical, and plumbing infrastructure
- Finish Construction Phase: Drywall, painting, flooring, and fixture installation
- Final Installation Phase: Equipment installation and system commissioning
- Punch List and Completion: Final adjustments and project closeout
Different display components and infrastructure requirements correspond to specific phases. Understanding this timeline enables appropriate coordination ensuring nothing is missed while avoiding unnecessary delays.

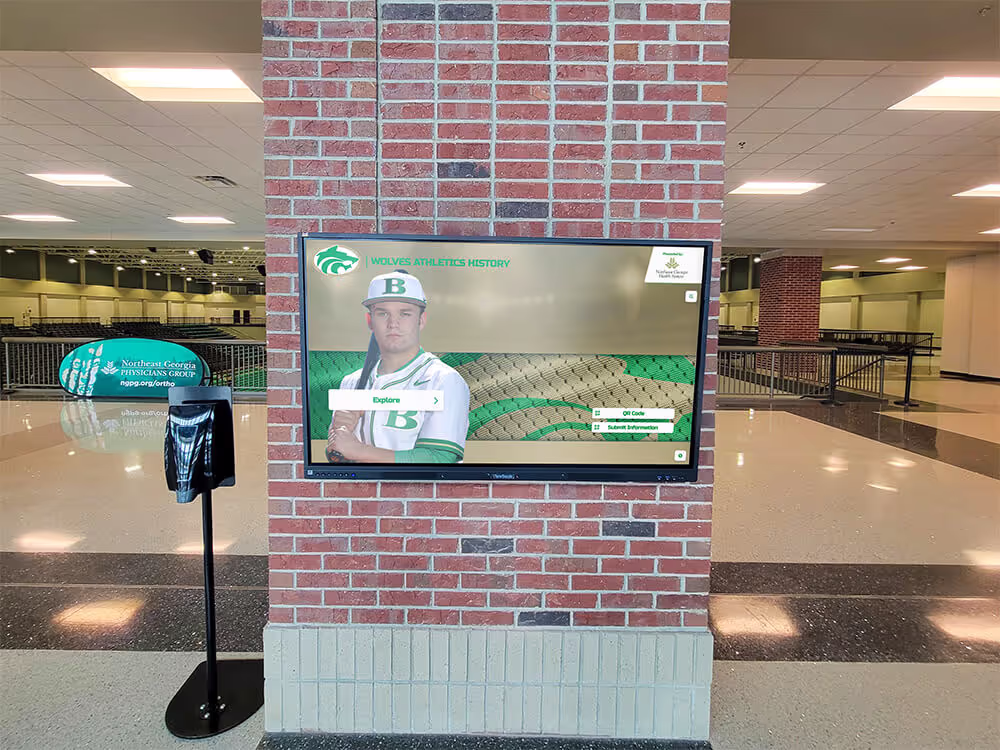
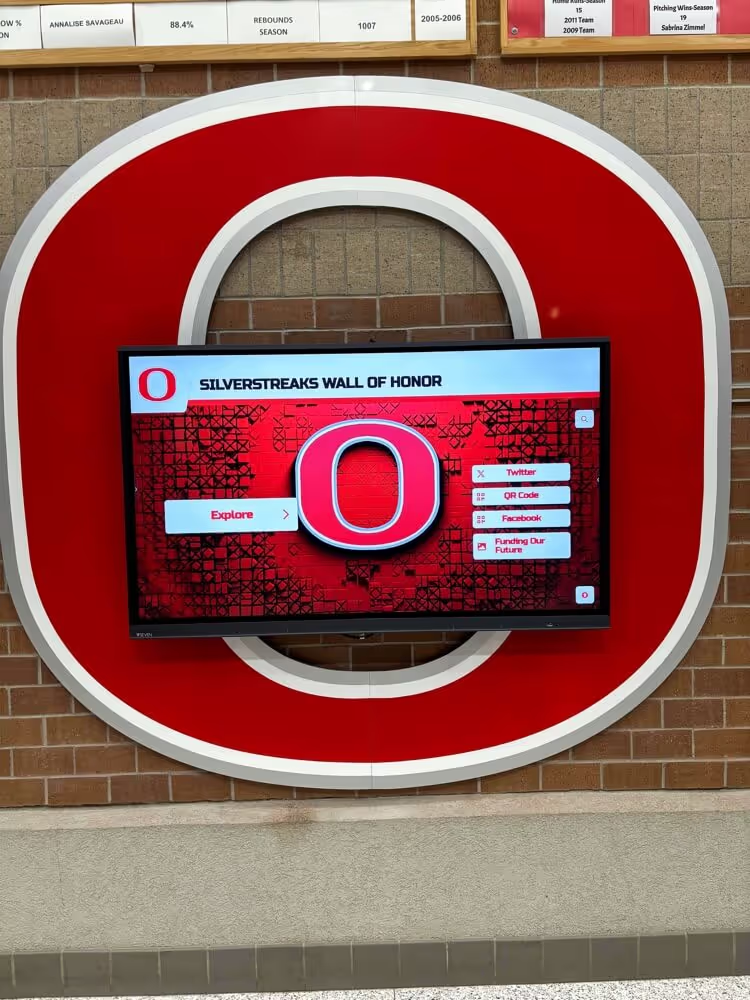
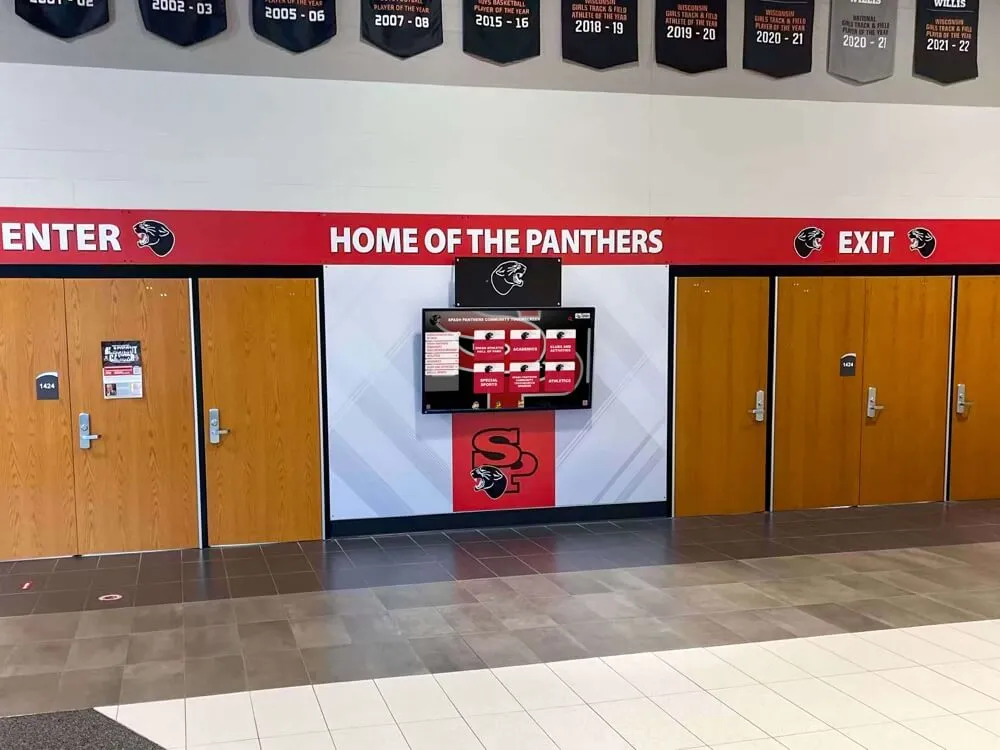
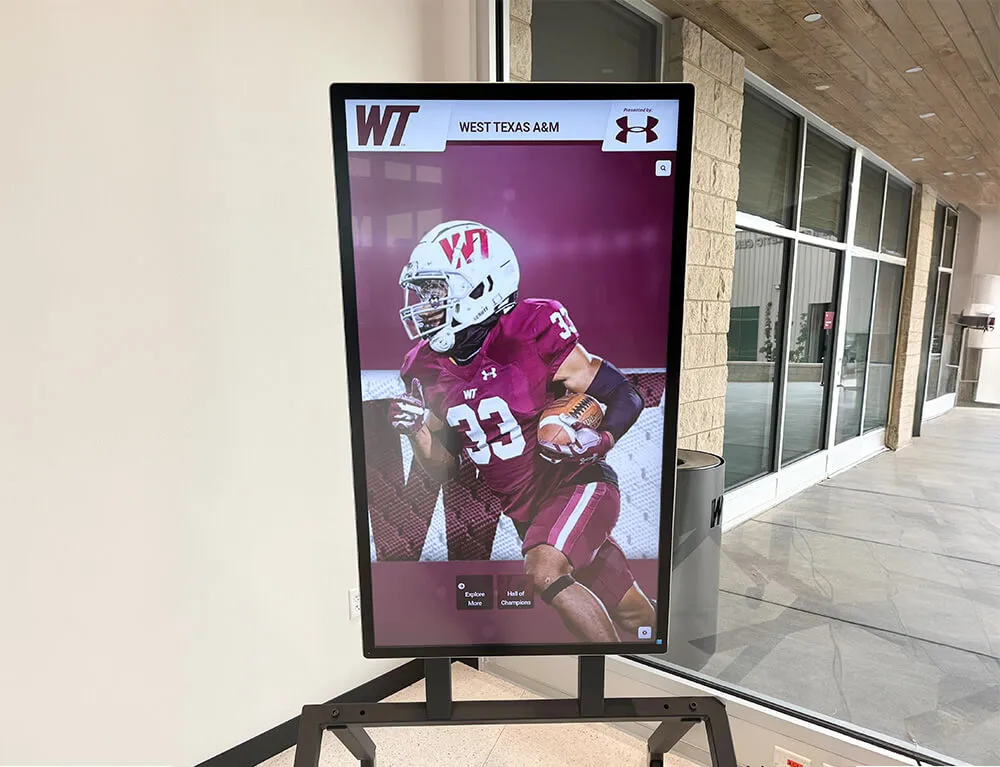
Well-planned installations position displays in high-traffic areas with proper electrical infrastructure and architectural integration
Key Infrastructure Requirements for Touchscreen Displays
Interactive displays require specific infrastructure that must be planned and installed during appropriate construction phases.
Electrical Infrastructure
Touchscreen displays require dedicated electrical circuits meeting specific standards:
- Dedicated 120V circuit: Most commercial displays require 5-8 amps at 120 volts
- Appropriate outlet placement: Electrical boxes positioned precisely behind or adjacent to display mounting locations
- Conduit pathways: Running from electrical panels to display locations for current and future needs
- Surge protection: Whole-facility or dedicated circuit surge suppression protecting electronics
- Emergency power consideration: Whether displays should operate during power outages via generator circuits
- Future capacity: Additional conduit for potential second display or upgraded systems
These electrical requirements are simple and inexpensive when planned during rough-in construction phases but become complicated and costly when added later to finished spaces.
Network Infrastructure
Modern cloud-based touchscreen displays require reliable network connectivity:
- Ethernet infrastructure: CAT6 or CAT6a cabling from network equipment to display locations providing most reliable connectivity
- Wi-Fi coverage: Strong wireless signal strength in display locations if using wireless connectivity
- Network switches: Adequate switch ports and bandwidth for content delivery
- Power over Ethernet (PoE) consideration: Some displays support PoE reducing separate power requirements
- Content server access: Network architecture allowing displays to access cloud-based content management systems
- Security and VLAN configuration: Appropriate network security measures for public-facing systems
Schools should specify network requirements during design development ensuring telecommunications contractors include display locations in infrastructure planning.
Structural and Mounting Considerations
Display mounting requires appropriate structural support:
- Wall reinforcement: Additional framing or backing material in walls at display mounting heights supporting 80-150 pound loads
- Blocking installation: Horizontal wooden or metal blocking between wall studs providing secure mounting points
- Concrete anchoring: For displays mounting to concrete or masonry walls, appropriate anchor types and installation specifications
- Ceiling support: For freestanding kiosks in areas without suitable walls, floor attachment points or stability requirements
- Accessibility compliance: Mounting heights and approach clearances meeting ADA requirements for interactive displays
- Viewing angle optimization: Height and tilt considerations for standing users of various heights
These structural elements are simple additions during framing phases but extremely difficult to verify or add after drywall installation without invasive modifications.
Understanding these infrastructure needs enables comprehensive planning during appropriate construction phases rather than discovering requirements too late to implement effectively.

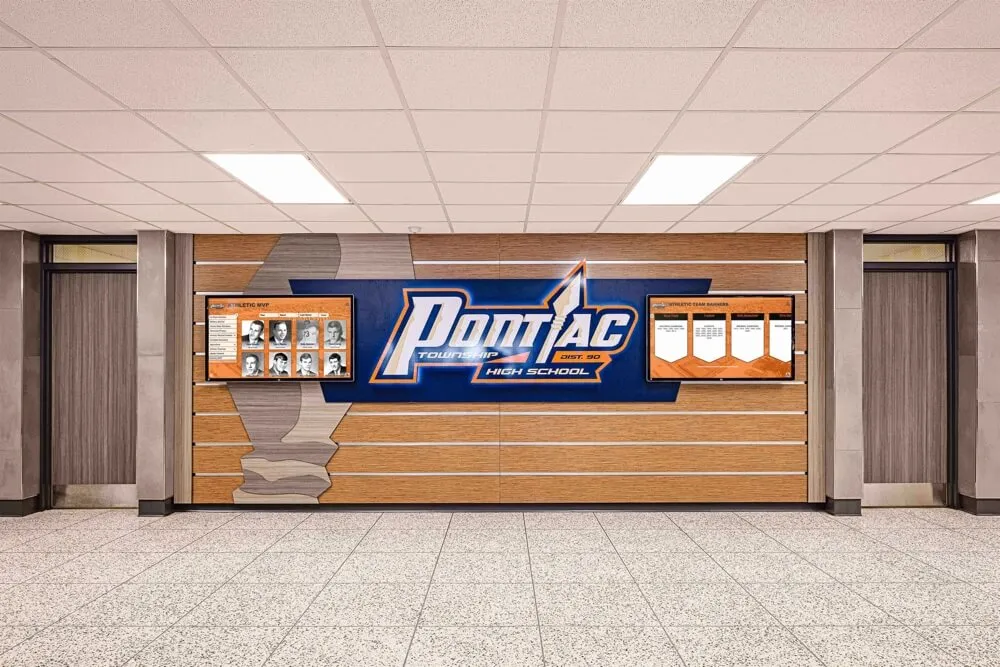
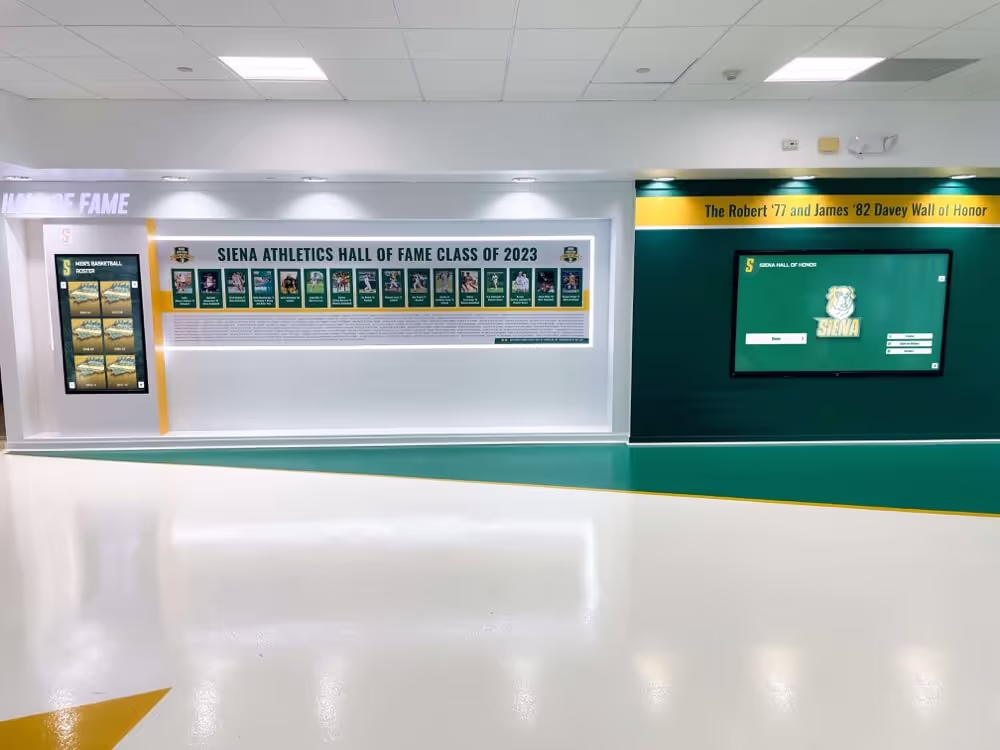
Strategic planning enables multiple coordinated displays sharing electrical and network infrastructure throughout facilities
The Optimal Construction Timeline for Display Installation
Different display components and infrastructure elements should be addressed during specific construction phases to achieve efficient installation and optimal results.
Phase 1: Early Design Integration (Schematic Design)
The earliest project phases offer the greatest opportunity to plan comprehensive recognition and information display strategies.
What to Accomplish During Schematic Design
Define Display Strategy and Objectives
Work with architects and design teams to establish:
- Recognition objectives the displays will serve (athletics, academics, donors, general information)
- Ideal display locations supporting traffic flow and engagement objectives
- Number of displays needed across the facility
- Size requirements based on space scale and viewing distances
- Budget allocation for display systems within overall project
Identify Prime Display Locations
Evaluate architectural concepts to determine optimal placement:
- Main entrance lobbies creating immediate visual impact for all visitors
- Athletic facility entrances establishing pride atmosphere
- Cafeteria or commons areas with extended visitor dwell time
- Corridor intersections where traffic naturally pauses
- Donor recognition areas acknowledging construction project supporters
- Administrative areas for visitor information and wayfinding
Coordinate with Architectural Vision
Ensure displays integrate cohesively with overall design:
- Color palette coordination between display frames and facility finishes
- Architectural element integration such as murals, graphics, or built-in surrounds
- Sightline preservation ensuring displays don’t obstruct important views
- Lighting design complementing rather than creating glare on screens
- Material selections around displays supporting desired aesthetics
Planning during schematic design prevents situations where ideal display locations lack necessary infrastructure or where displays conflict with architectural intentions.

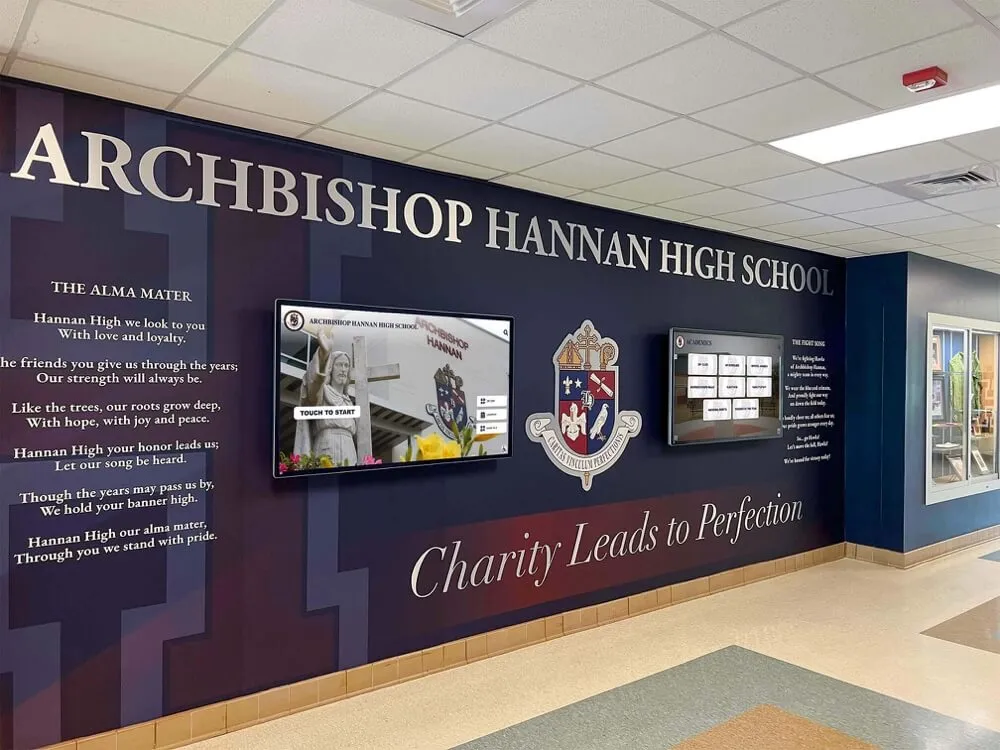
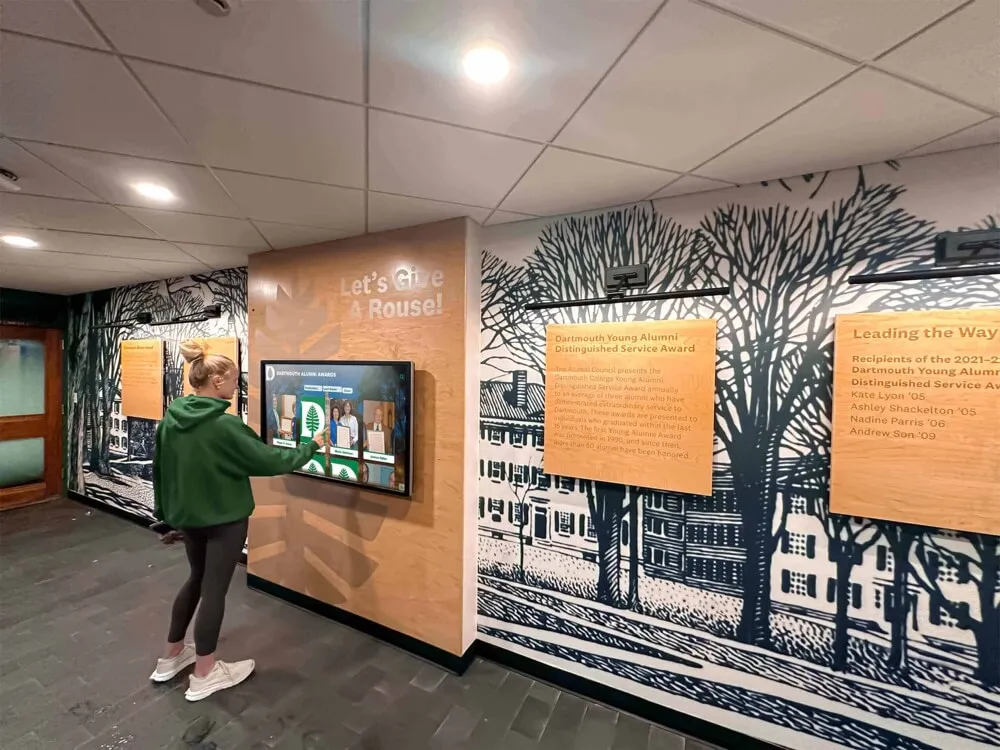
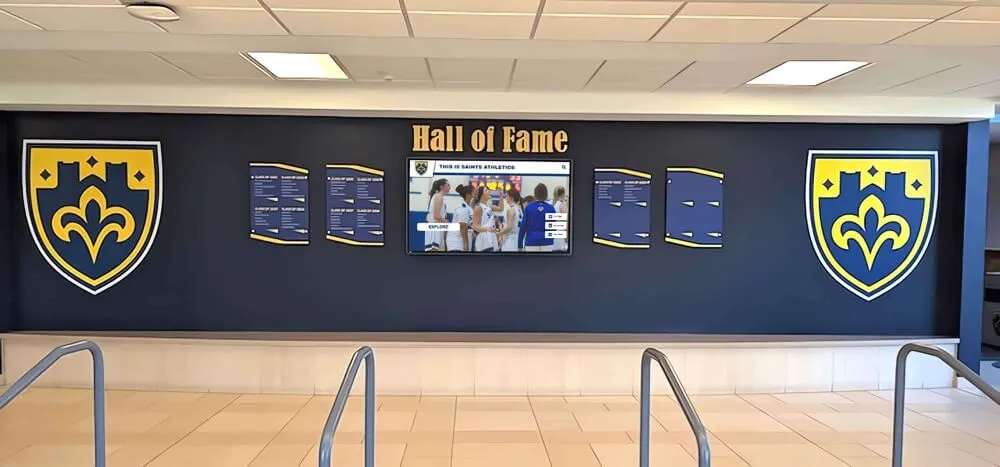
Early design integration creates cohesive recognition spaces where displays complement architectural elements and institutional identity
Phase 2: Infrastructure Specification (Design Development and Construction Documents)
Once display locations are conceptually determined, detailed specifications ensure contractors provide necessary infrastructure.
Electrical Specifications to Include
Create detailed electrical requirements for contractors:
- Dedicated 120V, 15-amp circuit for each display location
- NEMA 5-15R receptacle placement behind or immediately adjacent to display mounting location
- Receptacle height specification (typically 54-60 inches center height for wall-mounted displays)
- Conduit from electrical panel to each display location for future needs
- Surge suppression requirements for display circuits
- Separate circuits for multiple displays (avoid shared circuits serving other loads)
Specify these requirements clearly in electrical drawings and written specifications preventing contractors from making assumptions or taking shortcuts that compromise installation quality.
Network Infrastructure Specifications
Define telecommunications requirements precisely:
- CAT6 or CAT6a data drops terminated at display locations
- Outlet height matching electrical receptacle placement for coordinated appearance
- Wi-Fi access point coverage specifications ensuring strong signal strength at display locations
- Network documentation identifying which data drops serve display purposes
- VLAN or network security requirements for display network traffic
- Testing and certification requirements for data cable installations
Structural Backing Specifications
Ensure walls receive appropriate reinforcement:
- 3/4-inch plywood backing or double stud framing in walls at display mounting locations
- Backing dimensions (typically 48 inches wide by 36 inches high minimum for 43-55 inch displays)
- Backing height specification centered at appropriate viewing height (typically 60 inches to display center)
- Blocking between studs for mounting bracket attachment
- Documentation on architectural drawings indicating reinforced wall locations
These detailed specifications prevent situations where finished walls lack proper mounting support requiring invasive modifications or compromised installations.
For more information on coordinating construction projects with recognition planning, explore digital recognition walls for new school renovations.
Phase 3: Rough-In Coordination (Active Construction)
During active construction when walls remain open, verify infrastructure installation and make any necessary adjustments.
Verification Site Visits
Conduct on-site inspections during rough-in phase:
- Confirm electrical boxes installed at specified locations and heights
- Verify network cabling terminated at appropriate locations
- Check wall backing or reinforcement installation in designated areas
- Photograph infrastructure for future reference before walls close
- Measure and verify mounting surfaces are plumb and appropriate for display installation
- Identify any conflicts or issues requiring resolution before finish work proceeds
Coordination Meetings
Meet with electrical and telecommunications contractors:
- Verify understanding of display requirements and special needs
- Confirm circuit capacity and surge protection implementation
- Review network connectivity and testing procedures
- Coordinate any last-minute location adjustments if needed
- Document contractor contact information for future coordination
This verification ensures infrastructure is correctly installed while corrections remain simple and inexpensive, before drywall and finish work complicate any necessary changes.
Schools implementing interactive kiosk solutions benefit from careful rough-in coordination ensuring all infrastructure supports intended display configurations.
Phase 4: Display Installation Timing (Finish Construction)
The actual touchscreen display hardware installation should occur during specific finish construction timeframes to balance protection with completion timing.
Why Not to Install Too Early
Resist pressure to install display hardware prematurely:
- Construction damage risk: Active construction with ladders, lifts, and material transport risks damaging expensive displays
- Dust and debris exposure: Construction dust infiltrating display ventilation systems shortens component life
- Theft or vandalism risk: Valuable electronics on active job sites present security concerns
- Warranty clock starts: Most warranties begin at delivery or installation, not project completion
- Programming time waste: If displays are installed but not connected to content management systems, they serve no purpose
Display hardware should remain safely stored until facility construction substantially completes and the risk of damage decreases dramatically.
Optimal Installation Window
Plan display hardware installation for:
- After final wall painting completion preventing overspray or touch-up damage
- After flooring installation avoiding scratches from ladders or equipment
- Before furniture installation when access remains simple
- After HVAC system balancing ensuring proper climate control
- When facility security systems are operational protecting equipment
- 2-4 weeks before facility opens enabling setup, testing, and any necessary adjustments
This timing balances equipment protection with adequate setup time before the facility begins serving its intended purposes.
Installation Coordination
Professional display installation should include:
- Mounting bracket installation using appropriate anchors and hardware for wall reinforcement type
- Display hanging and leveling ensuring professional appearance
- Electrical connection with testing and verification
- Network connectivity establishment and testing
- Initial device configuration and content management system connection
- Comprehensive testing of touch responsiveness and display functionality
- Cable management for clean, professional appearance
- Documentation including warranty information, login credentials, and support contacts
Many schools work with display vendors like Rocket Alumni Solutions who provide professional installation services ensuring proper setup and long-term reliability.

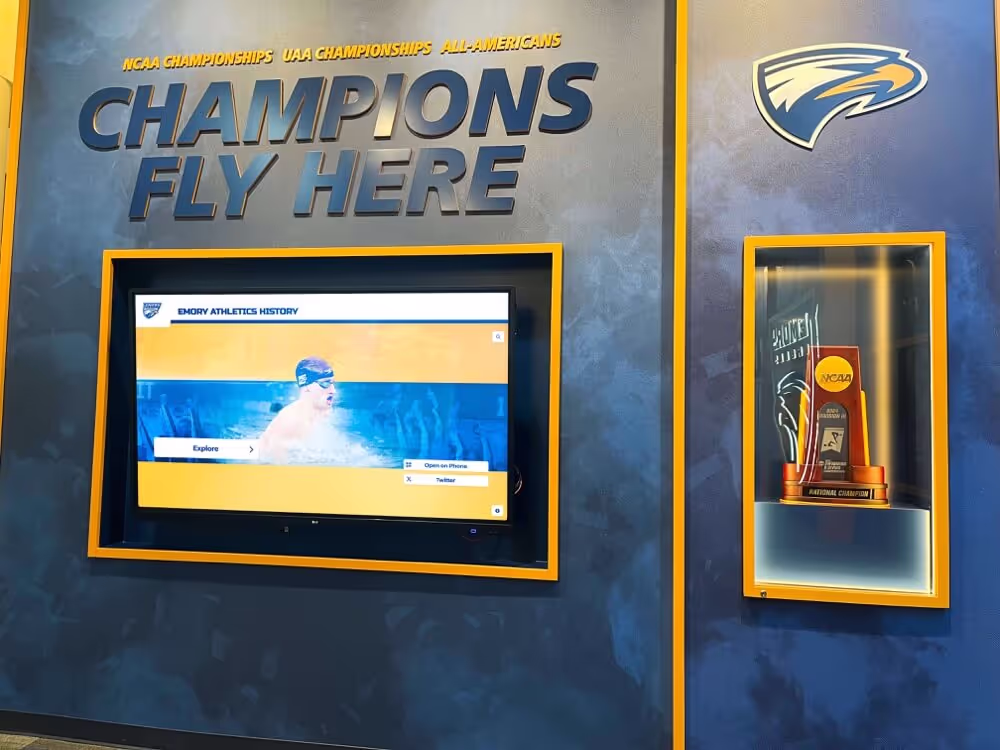
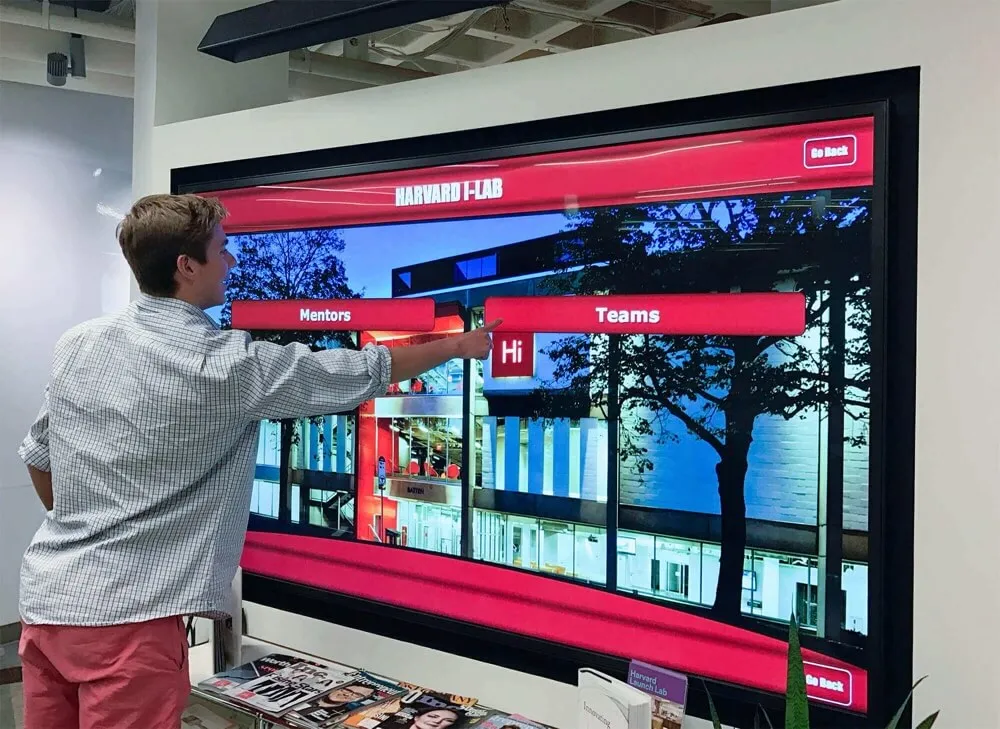
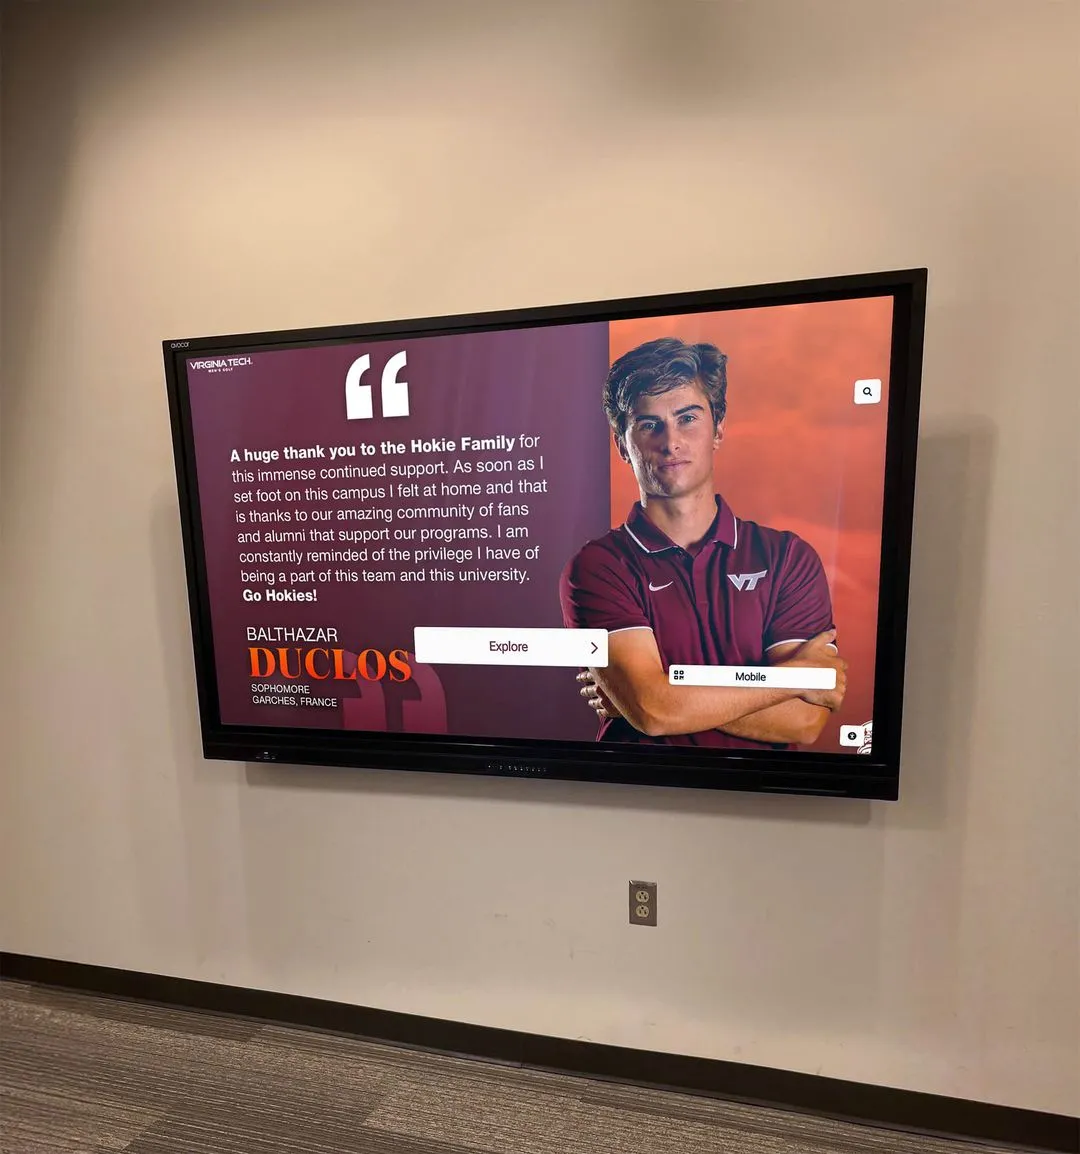
Professional installation ensures touchscreens function reliably with intuitive interaction capabilities
Special Considerations for Gymnasium and Athletic Facility Displays
Athletic facilities present unique planning considerations affecting display integration decisions.
Gymnasium-Specific Installation Factors
Gymnasiums differ from standard school corridors in ways impacting display planning.
Environmental Conditions
Gymnasiums present challenging environmental factors:
- Higher ceilings: Displays may need larger sizes or lower mounting positions for visibility from greater distances
- Ambient noise levels: Audio capabilities may be less important in loud athletic environments
- Temperature variations: Gym HVAC systems often have wider temperature ranges requiring commercial-grade displays rated for broader operating ranges
- Natural light exposure: Gymnasium windows can create significant glare requiring higher brightness displays (450-500 nits) or careful positioning avoiding direct light
- Air quality: Higher dust and particulate levels from athletic activities require displays with sealed or filtered ventilation systems
Specify commercial-grade displays designed for these demanding environments rather than consumer electronics unable to perform reliably under gymnasium conditions.
Optimal Gym Display Locations
Athletic facilities offer several effective display placement options:
Entry Lobby Recognition
Position displays in gymnasium entrance lobbies:
- Immediate visibility for all visitors, athletes, and spectators
- Protected from direct game activity and ball impacts
- Electrical and network infrastructure typically available in lobby areas
- Natural gathering spaces where people pause and have time to interact
- Climate-controlled environments supporting broader equipment options
Hallway Connections
Place displays in corridors connecting gymnasiums to main school buildings:
- High traffic from athletes, students, and visitors
- Protected locations with standard environmental conditions
- Integration with school-wide recognition systems
- Opportunities for donor recognition acknowledging facility construction support
Athletic Office Areas
Install displays near athletic administrative offices:
- Visibility for coaches, athletes, and visitors conducting business
- Secure locations with reduced vandalism or damage risk
- Easy access for coaches providing content updates and information
- Professional environment appropriate for donor recognition
Avoid mounting expensive touchscreens on exposed gymnasium walls where errant balls, equipment impact, or direct athletic activity could cause damage requiring expensive repairs or replacement.
Explore athletic facility planning considerations in creating a collegiate experience for high school athletes with comprehensive facility design approaches.
Donor Recognition Integration for New Facilities
New construction projects often rely on donor support requiring recognition displays acknowledging philanthropic contributions.
Planning Donor Recognition Displays
New facility construction creates ideal donor recognition opportunities:
- Construction campaign recognition: Acknowledge supporters who made new facilities possible
- Naming opportunity displays: Showcase major gifts with prominent digital recognition
- Campaign progress visualization: During construction, displays can show fundraising progress and remaining needs
- Multi-tier donor display: Present all support levels from major benefactors to individual contributors
- Perpetual recognition: Digital systems enable donor recognition continuing far beyond building dedication ceremonies
Solutions like Rocket Alumni Solutions provide donor recognition capabilities integrated with athletic and academic recognition on shared display systems, maximizing recognition reach while efficiently using facility space.
Timing for Donor Content Development
Plan donor recognition content development alongside construction:
- Begin compiling donor information during fundraising campaigns
- Develop recognition level graphics and presentation layouts
- Photograph donors or obtain approved photos for profiles
- Prepare dedication messaging and campaign acknowledgment content
- Test content display before building dedication ceremonies
- Launch recognition concurrent with facility opening
This parallel development ensures donor recognition is ready immediately when facilities open, appropriately acknowledging support that made construction possible.
Learn about donor recognition strategies in nonprofit donor recognition with comprehensive acknowledgment approaches.

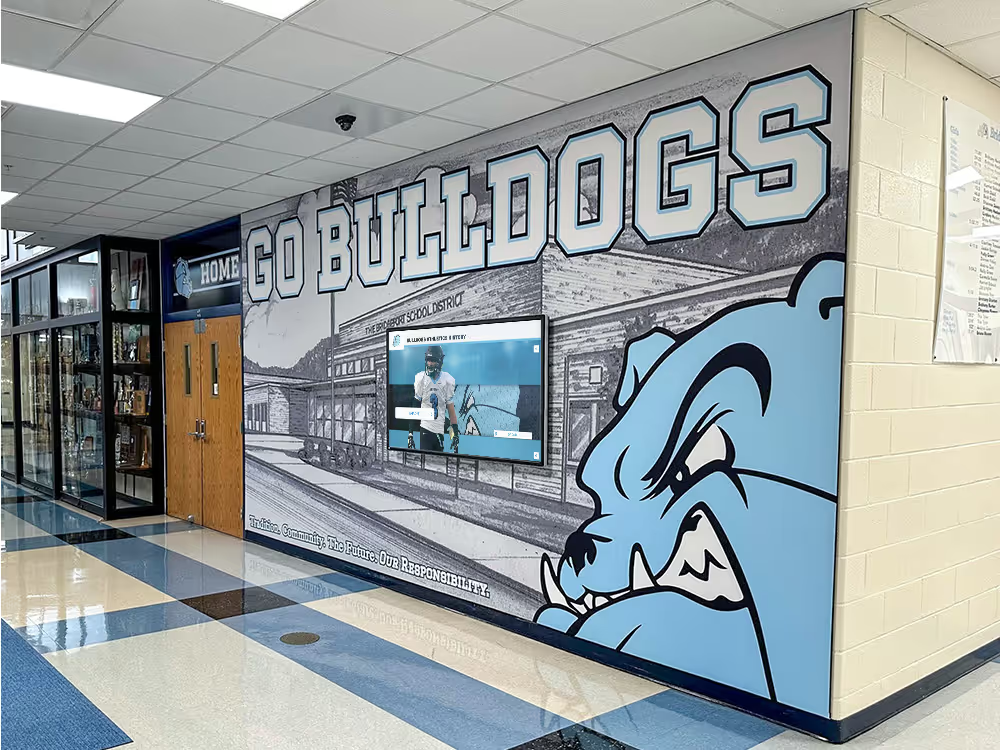
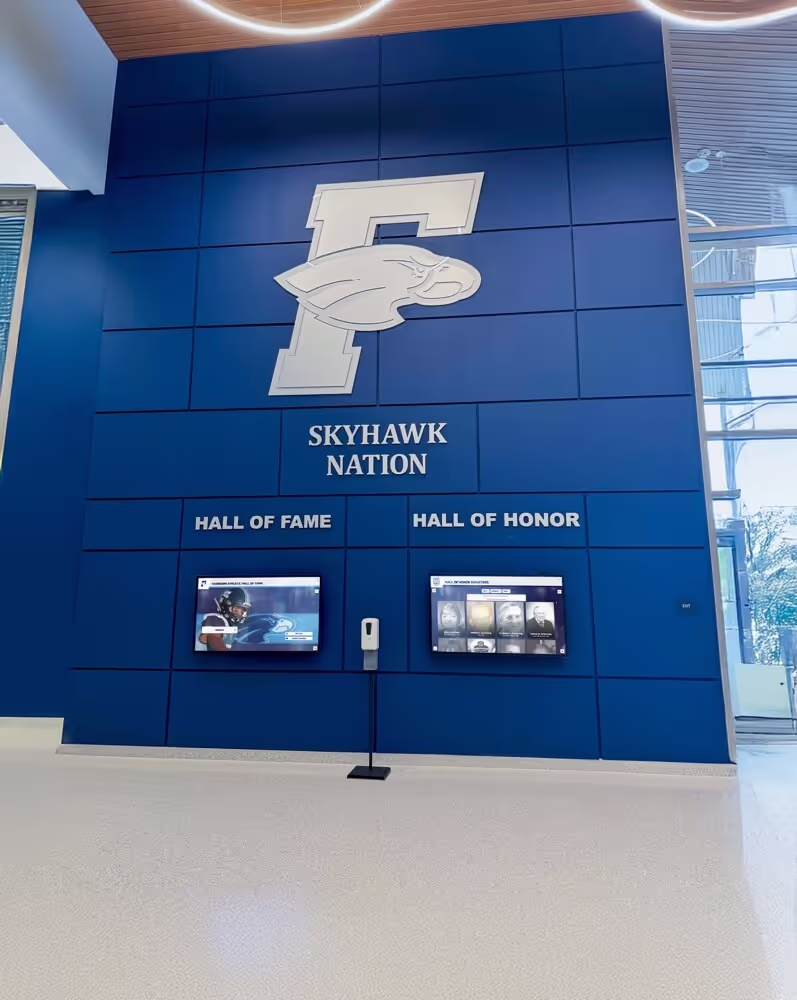
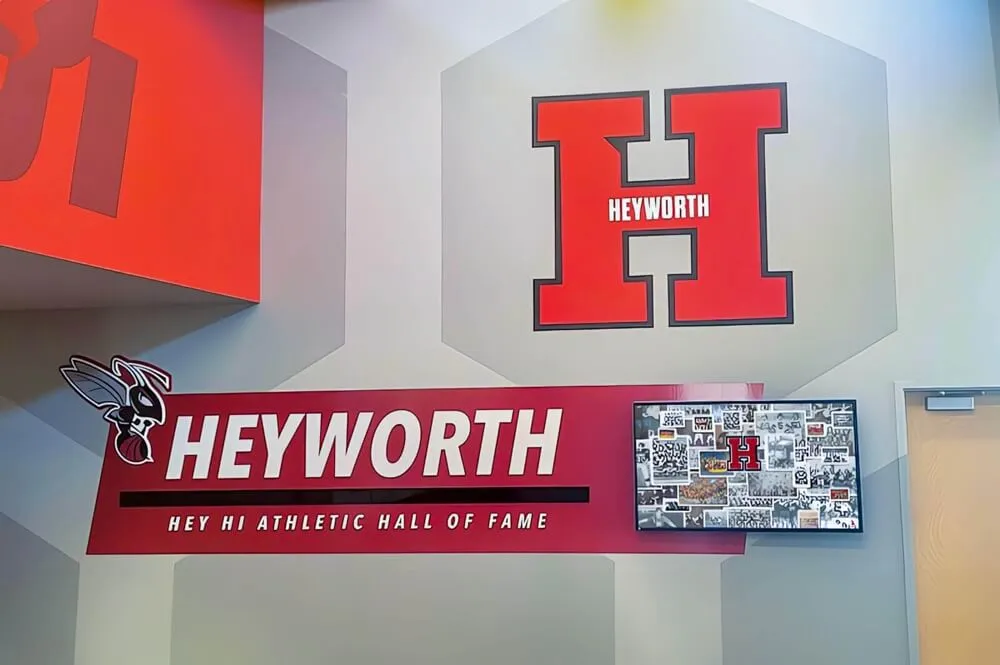
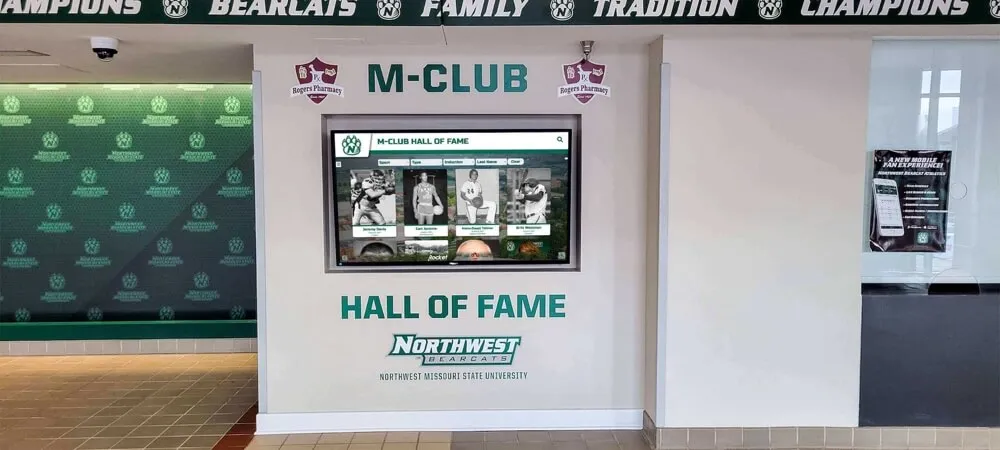
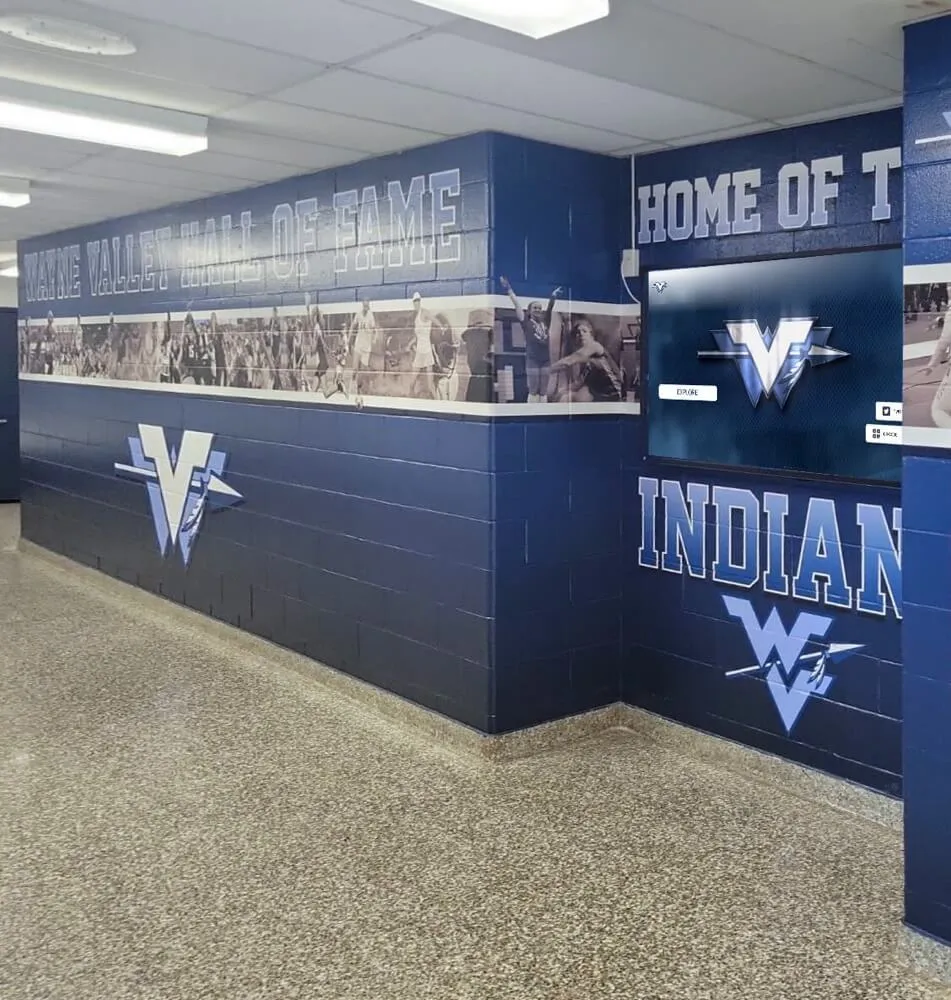
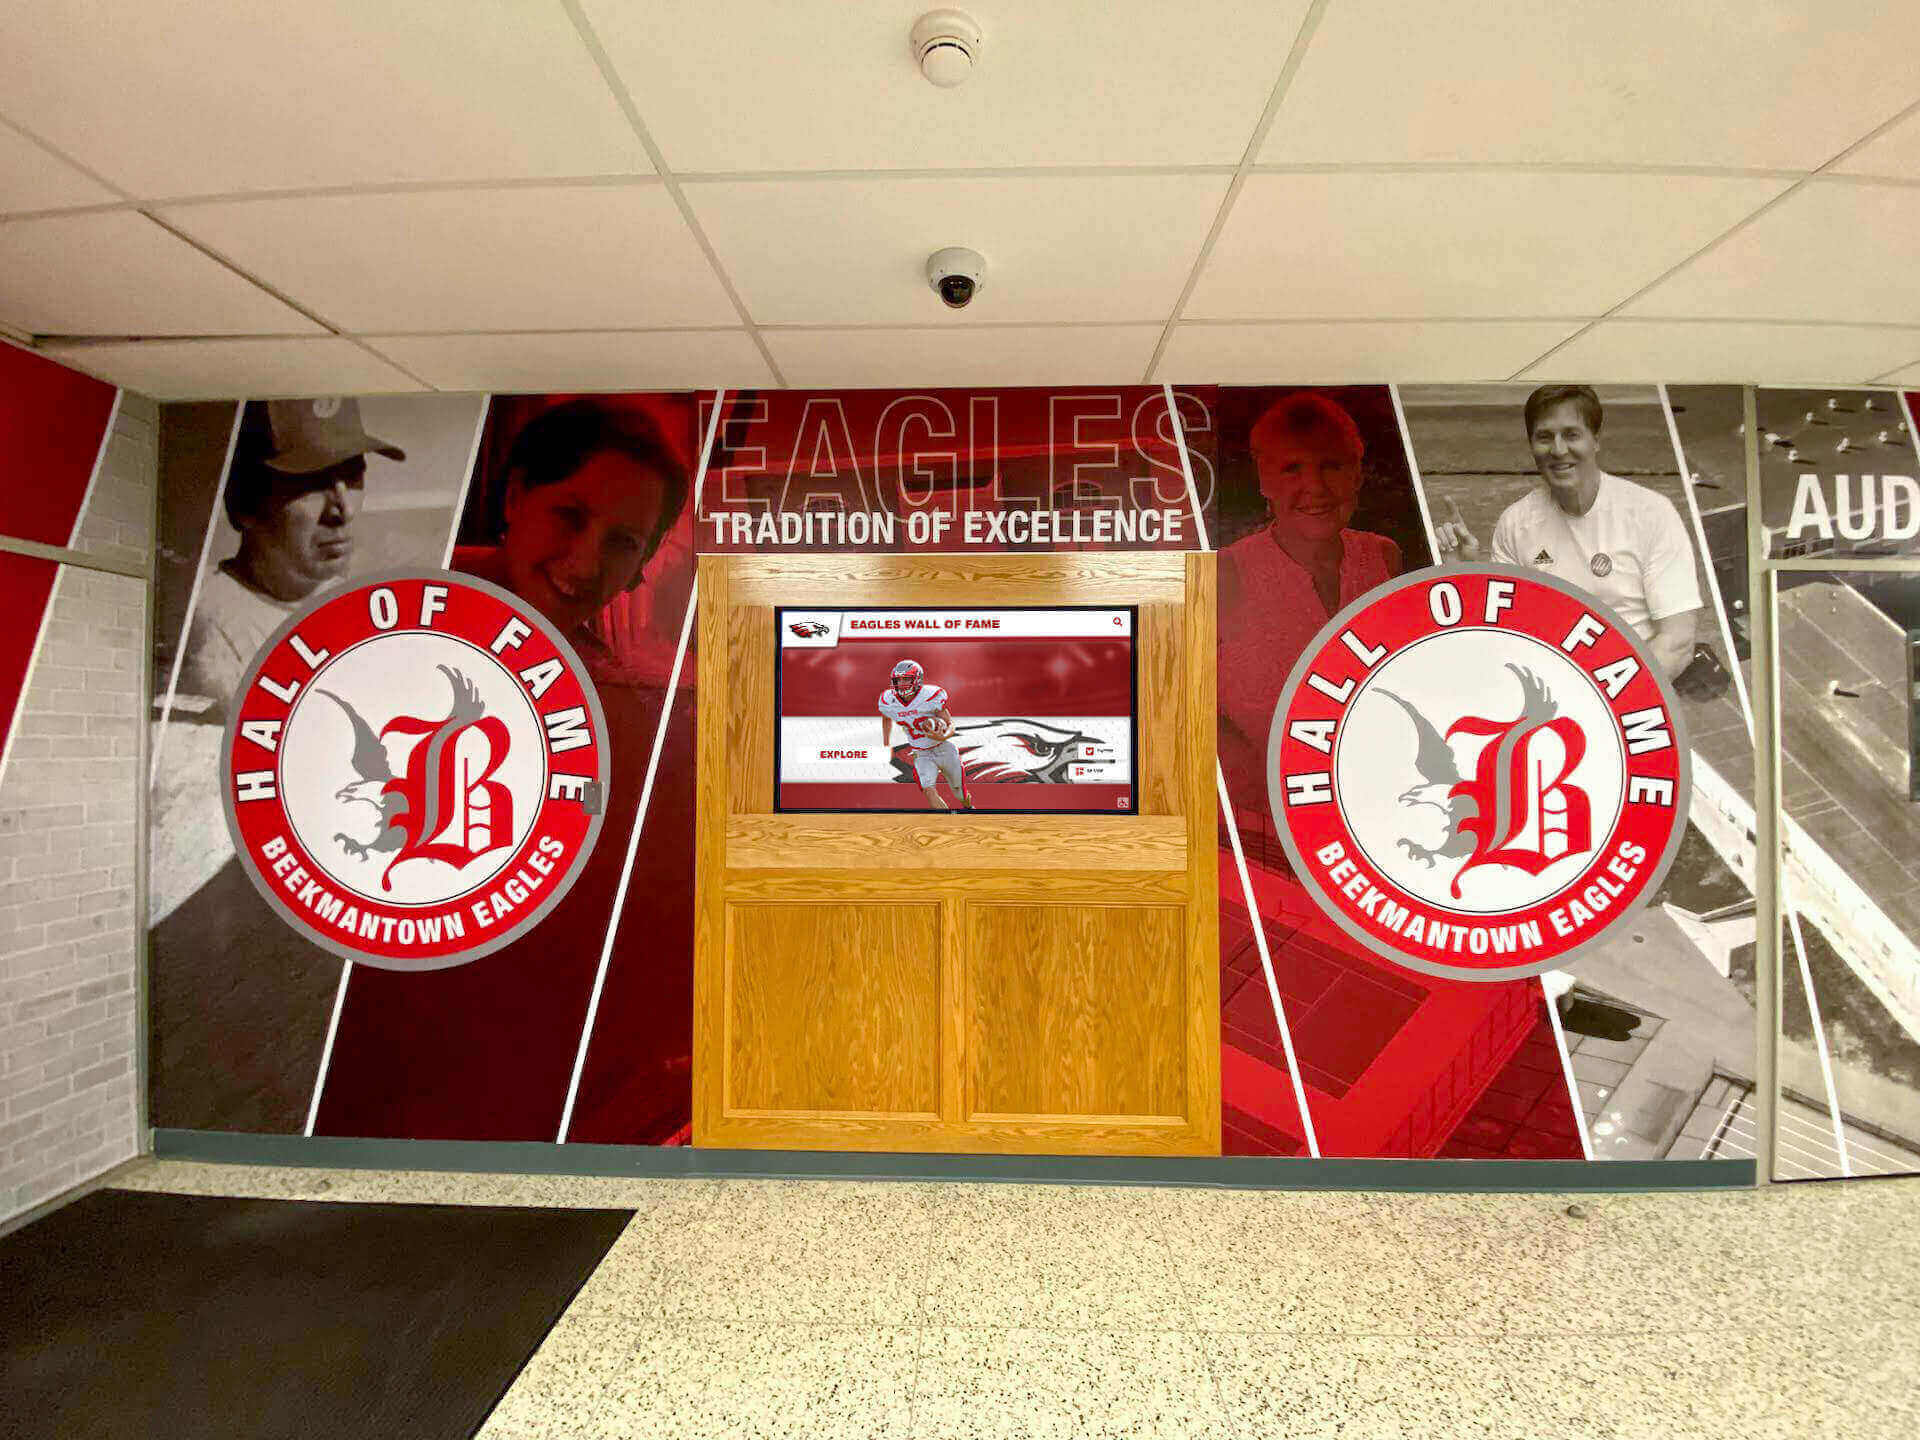
Wall-mounted displays integrate seamlessly into new construction creating dedicated recognition destinations
Coordinating with Contractors and Design Teams
Successful display integration requires clear communication and coordination with multiple construction project stakeholders.
Working with Architects and Design Professionals
Architects control design decisions affecting display integration success.
Initial Design Discussions
Introduce display plans during earliest project phases:
- Share examples of effective school display installations showing architectural integration possibilities
- Provide dimensional requirements and spatial needs for different display sizes
- Discuss aesthetic preferences and how displays can complement overall design vision
- Identify potential locations for architect evaluation and recommendation
- Explain recognition objectives displays will serve within the broader institutional mission
Architects appreciate early input preventing situations where displays are considered late in design processes when options become limited and integration quality suffers.
Design Development Collaboration
Continue collaboration as designs become more detailed:
- Review architectural drawings ensuring display locations work with traffic flow, sightlines, and spatial relationships
- Coordinate finish materials around displays creating cohesive visual presentation
- Discuss lighting design preventing glare while highlighting recognition areas
- Confirm display specifications work with architectural details like ceiling heights, wall types, and structural systems
- Obtain architect approval for mounting methods and hardware approaches
Construction Document Coordination
Ensure architectural drawings include appropriate display documentation:
- Display locations clearly indicated on floor plans and elevations
- Dimensional requirements shown for contractor reference
- Coordination notes referencing electrical, telecommunications, and structural specifications
- Finish material callouts for areas surrounding displays
- Detail drawings if displays integrate with custom architectural elements or built-in surrounds
This documentation prevents contractors from overlooking display requirements or making assumptions that compromise installation quality.
Coordinating with Electrical and Telecommunications Contractors
Specialized trade contractors install critical infrastructure supporting display operation.
Pre-Construction Meetings
Before construction begins, meet with electrical and network contractors:
- Walk through display locations and requirements
- Provide specifications for circuit, outlet placement, and network termination requirements
- Discuss any special considerations like surge protection or dedicated circuits
- Identify contractor questions and address concerns proactively
- Confirm contractor understanding and capability to meet specifications
During Construction Coordination
Maintain communication throughout construction:
- Schedule site visits during rough-in phase to verify infrastructure installation
- Make yourself available for contractor questions requiring clarification
- Provide additional information if contractors encounter unexpected conditions
- Document infrastructure installation with photographs before walls close
- Conduct final verification before construction completion
Final Testing and Commissioning
Before accepting contractor work, verify proper installation:
- Test electrical outlets providing appropriate voltage and grounding
- Verify network connectivity with actual data transfer testing
- Confirm wall reinforcement can support display weight safely
- Document outlet and network jack locations with measurements from permanent reference points
- Obtain warranty and certification documentation for electrical and network installations
This thorough coordination ensures infrastructure performs reliably when displays are installed and operational systems launch.
Schools planning school playbill displays or other recognition applications benefit from early contractor coordination ensuring infrastructure supports diverse content and interaction needs.
Managing General Contractor Relationships
General contractors coordinate overall project timing and trade contractor work.
Inclusion in Construction Schedule
Ensure display-related work appears in project schedules:
- Display infrastructure roughin milestones
- Verification inspection timing
- Display hardware installation window
- Content system setup and testing time
- Training and handoff activities
Schedule visibility prevents contractors from overlooking display requirements and ensures appropriate timing for all activities.
Change Order Prevention
Clear specifications and early communication prevent expensive change orders:
- Include all display infrastructure requirements in original bid documents
- Address contractor questions promptly during bidding
- Avoid scope changes during construction when possible
- Document any necessary modifications promptly and formally
- Understand cost implications before approving changes
Change orders cost significantly more than original contracted work, making thorough initial planning financially beneficial.
Quality Control and Punch List Management
Verify quality before accepting work:
- Inspect infrastructure installation during rough-in phase
- Identify any deficiencies requiring correction
- Include display-related items in punch lists if work is incomplete or incorrect
- Withhold acceptance until display infrastructure meets specifications
- Document completion before final contractor payments
Careful quality control ensures infrastructure performs reliably for years without requiring expensive corrections after construction completes.

Coordinated contractor efforts create comprehensive recognition spaces with reliable infrastructure supporting multiple display systems
Budgeting for Display Integration in Construction Projects
Understanding costs enables appropriate budget allocation within overall construction funding.
Display System Cost Components
Comprehensive display budgets include multiple elements beyond screen purchase prices.
Hardware Costs
Display equipment represents the most visible cost component:
- Commercial-grade touchscreen displays: $2,000-6,000 per unit depending on size (43-75 inches), resolution, and features
- Mounting hardware: $200-600 per display including wall brackets, security hardware, and installation materials
- Protective enclosures: $500-2,000 if displays need additional protection from environmental factors or vandalism risk
- Supplementary equipment: Media players, wireless adapters, or control systems if required beyond built-in capabilities
Budget for commercial-grade equipment designed for continuous institutional operation rather than consumer electronics with shorter lifespans and limited warranties.
Infrastructure Costs
Construction-phase infrastructure installation costs less than later additions but still requires budgeting:
- Electrical work: $300-800 per display location during construction for dedicated circuits, outlets, and conduit
- Network infrastructure: $200-500 per location for data cabling and terminations included in overall telecommunications budget
- Structural backing: $50-150 per location for plywood or additional framing during wall construction
- Conduit runs: Minimal incremental cost during construction versus $800-2,000 per run when added later to finished buildings
These infrastructure costs justify early planning making display integration affordable compared to expensive post-construction retrofits.
Software and Content Management
Cloud-based recognition platforms typically operate on subscription models:
- Content management platform: $800-3,000 annually per school depending on features, content capacity, and user counts
- Initial content development: $1,500-5,000 for professional content creation, historical compilation, and system setup
- Ongoing content updates: Internal staff time or contracted services for maintaining current recognition
- Training and support: Typically included in platform subscriptions or available through vendor support programs
Platforms like Rocket Alumni Solutions offer purpose-built recognition content management enabling schools to update content remotely without technical expertise, dramatically reducing long-term administrative burden.
Professional Services
Expert assistance ensures successful implementation:
- Consultation and planning: $500-2,000 for vendor assistance with location planning, specification development, and design coordination
- Professional installation: $600-1,500 per display for mounting, connection, configuration, and testing
- Training and handoff: Typically included with installation or platform subscription
- Warranty and support: Included with hardware purchases and software subscriptions
These professional services prevent common mistakes while ensuring displays function reliably from launch through years of operation.
Total Investment Ranges for Typical Installations
Complete display systems including all components typically cost:
Single Display Installation
- Hardware, mounting, and infrastructure: $3,000-8,000
- First-year content platform subscription and setup: $2,000-5,000
- Professional services (installation, training): $800-2,000
- Total first-year investment: $5,800-15,000
Multi-Display Installation (3-5 displays)
- Hardware, mounting, and infrastructure: $10,000-30,000
- First-year content platform subscription and setup: $3,000-6,000
- Professional services (installation, training): $2,500-6,000
- Total first-year investment: $15,500-42,000
Ongoing Annual Costs
- Content platform subscription: $800-3,000
- Content updates and management: Staff time or $500-2,000 contracted services
- Total annual operating costs: $1,300-5,000
These investments deliver recognition capabilities serving unlimited honorees across all programs and eras while eliminating recurring physical plaque costs of $50-300 per recognition addition, typically achieving positive return on investment within 3-5 years.
Explore comprehensive cost considerations in digital hall of fame planning and budget guide with detailed financial planning frameworks.
Funding Strategies for Display Systems
Schools use several approaches to fund display investments:
Construction Budget Inclusion
Include display systems in overall construction budgets:
- Technology infrastructure line items covering displays alongside other building systems
- Donor recognition budget allocations for displays acknowledging construction support
- Athletic facility technology budgets for recognition and information systems
- Contingency fund allocation enabling display additions if overall project comes under budget
Including displays in original construction budgets ensures funding availability and treats recognition systems as essential facility infrastructure rather than optional additions.
Dedicated Fundraising
Launch specific fundraising campaigns for display systems:
- Display sponsorship opportunities for community businesses or families
- Naming rights for specific displays or recognition sections
- Alumni campaigns funding technology recognizing graduates
- Athletic booster club fundraising for sports recognition displays
- Memorial giving opportunities recognizing displays in honor of deceased community members
Display systems offer appealing fundraising opportunities since donors can see tangible results of their contributions while receiving recognition for their own support.
Grant Opportunities
Research grants supporting educational technology:
- State educational technology grants
- Federal programs supporting school infrastructure
- Corporate foundation grants for school technology
- Athletic association grants for facilities and programs
Grant funding can substantially offset display costs while requiring no long-term funding commitments.

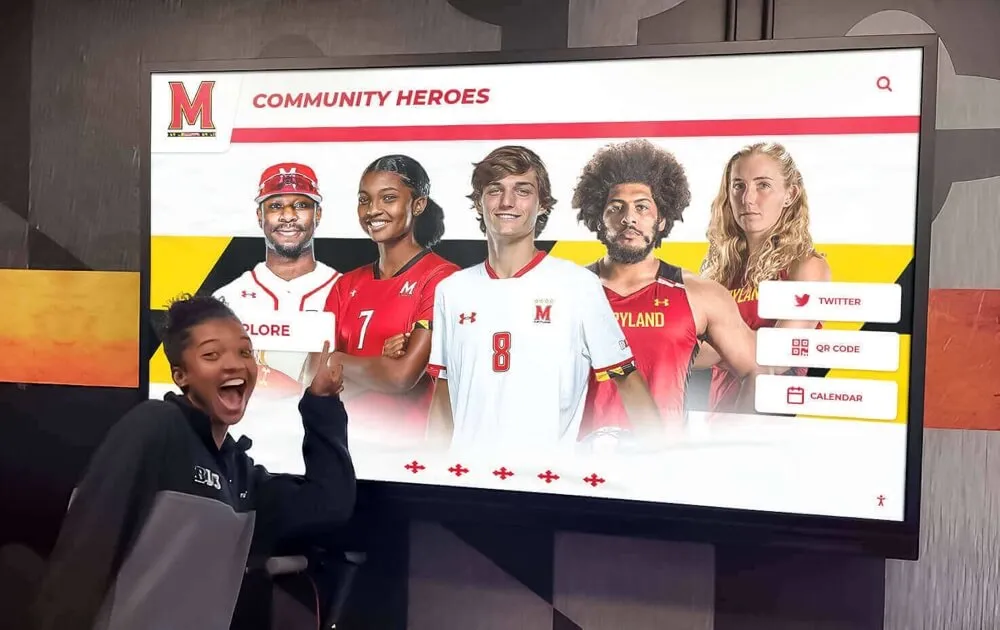
Strategic budgeting and funding enable schools to implement professional recognition systems as essential facility infrastructure
Common Mistakes to Avoid When Planning Display Installations
Learning from common errors helps schools avoid expensive problems and disappointing outcomes.
Mistake 1: Waiting Until After Construction Completes
The most expensive mistake is failing to plan display integration during design and construction phases.
Why This Happens
Schools delay display decisions for several reasons:
- Focus on major architectural and construction decisions, treating technology as secondary concern
- Belief that displays can be easily added later to finished buildings
- Budget uncertainty during early project phases
- Lack of awareness about infrastructure requirements and integration benefits
Consequences of Late Planning
Post-construction display additions create predictable problems:
- 40-70% higher total installation costs for infrastructure retrofits
- Compromised mounting locations constrained by existing electrical placement
- Visible external conduit or cable runs detracting from architectural quality
- Impossible or impractical ideal locations lacking appropriate infrastructure
- Displays appearing added as afterthoughts rather than integrated into design
- Invasive modifications damaging new finishes and requiring extensive repairs
Solution
Introduce display planning during schematic design phase when infrastructure additions remain simple and inexpensive while integration opportunities are maximized.
Mistake 2: Inadequate Infrastructure Specifications
Vague or incomplete specifications lead to contractor installations that don’t meet display needs.
Common Specification Problems
- Electrical outlets in wrong locations or at incorrect heights
- Shared circuits rather than dedicated display circuits
- Missing network infrastructure at display locations
- Inadequate wall backing or reinforcement for secure mounting
- Undersized conduit preventing future cable additions
Consequences
Inadequate infrastructure requires expensive corrections:
- Additional electrical work after walls are finished
- Compromise mounting locations or display sizes to work with existing infrastructure
- Visible external cabling compensating for missing internal infrastructure
- Weak mounting creating safety concerns or limiting display options
- Network connectivity issues affecting system reliability
Solution
Develop detailed specifications covering all display infrastructure requirements and ensure architects include complete documentation in construction drawings for contractor bid and reference.
Mistake 3: Selecting Inappropriate Display Hardware
Consumer-grade equipment or improper display specifications cause reliability problems and shortened system lifespans.
Common Hardware Mistakes
- Consumer televisions designed for home use rather than commercial-grade displays built for continuous operation
- Displays with insufficient brightness for high ambient light environments
- Touch technology that requires frequent calibration or works poorly with multiple users
- Displays lacking commercial warranties and support appropriate for institutional installations
- Inadequate display sizes for viewing distances and space scales
- Equipment without necessary connectivity options for content management systems
Consequences
Wrong equipment selections create frustrating outcomes:
- Frequent failures requiring repeated service calls and replacements
- Poor image quality or unreliable touch responsiveness disappointing users
- Shorter useful lifespan necessitating premature replacement investments
- Inability to implement intended content or interactive features
- Ongoing maintenance costs exceeding better equipment initial price premiums
Solution
Specify commercial-grade touchscreen displays from reputable manufacturers with appropriate warranties, brightness levels, touch technology, and connectivity options matching institutional requirements for continuous daily operation over 5-10 year lifespans.
Mistake 4: Neglecting Content Management Planning
Schools sometimes focus entirely on hardware without adequately planning content development and ongoing management.
Why Content Planning Matters
The best hardware becomes useless without compelling content and sustainable management:
- Recognition value comes from content, not screens
- Content development requires time, resources, and systematic approaches
- Ongoing updates keep recognition current and engaging
- Platform selection affects content flexibility and management efficiency
Consequences of Poor Content Planning
Inadequate content planning leads to disappointing results:
- Displays showing generic content or repetitive slideshows instead of meaningful recognition
- Outdated information undermining credibility and recognition value
- Administrative burden preventing regular updates and improvements
- Display abandonment as initial enthusiasm fades without sustainable management processes
- Failure to achieve recognition and engagement objectives justifying investment
Solution
Plan content development strategies alongside hardware installation including:
- Content management platform selection supporting institutional needs
- Initial content development timelines and resource allocation
- Ongoing update workflows and responsibility assignments
- Training for staff managing recognition systems
- Budget allocation for content development tools and potential professional services
Solutions like Rocket Alumni Solutions provide purpose-built content management platforms enabling schools to maintain engaging recognition with minimal technical expertise or ongoing time investment.
For comprehensive implementation guidance, explore digital hall of fame complete guide addressing all implementation aspects from planning through launch and ongoing management.
Conclusion: Building Recognition Into Your Facility From the Start
New school construction and major renovation projects create exceptional opportunities to integrate interactive touchscreen display systems that will celebrate achievements, engage communities, and preserve institutional legacy for decades. When schools plan display integration during early design phases, specify appropriate infrastructure during construction documentation, coordinate effectively with contractors during building, and install hardware at optimal times protecting equipment while ensuring readiness, they create recognition systems that feel intentional, function reliably, and deliver maximum engagement value.
The difference between displays appearing as integrated architectural elements and those obviously added as afterthoughts traces directly to planning timing. Schools that introduce display considerations during schematic design achieve superior integration, lower total costs, optimal placement locations, and cohesive recognition spaces impossible when displays are retrofitted to finished buildings.
Ready to Plan Your New Facility Recognition Displays?
Discover how interactive display solutions like Rocket Alumni Solutions integrate seamlessly into new construction and renovation projects, creating engaging recognition systems that celebrate unlimited achievements while fitting naturally into your architectural vision.
Explore Recognition Display SolutionsWhether you’re building a new gymnasium, constructing an entire campus, or renovating existing facilities, thoughtful planning ensures interactive recognition displays enhance rather than compromise architectural quality while celebrating the achievements and people making your institution special. The guidance in this comprehensive construction planning framework helps you coordinate effectively with design teams and contractors, specify appropriate infrastructure requirements, time installation optimally, avoid common mistakes, and create recognition systems serving your community excellently for years to come.
Begin planning now during early design phases, working with recognition technology specialists who understand both construction coordination and institutional recognition needs. With proper timing and integration, your new facilities will feature recognition systems that feel essential to the spaces they inhabit while delivering engagement experiences impossible with traditional static approaches alone.
The touchscreen display decisions you make today during construction planning will impact recognition quality, community engagement, and operational efficiency throughout your facility’s entire lifespan. Invest the time to plan thoroughly, coordinate effectively, and implement properly—your community deserves recognition systems honoring their contributions and achievements as thoughtfully as the impressive new facilities housing them.
Ready to start your construction planning? Explore how interactive digital displays enhance new facilities or learn about digital donor recognition for construction projects acknowledging philanthropic support making new buildings possible.