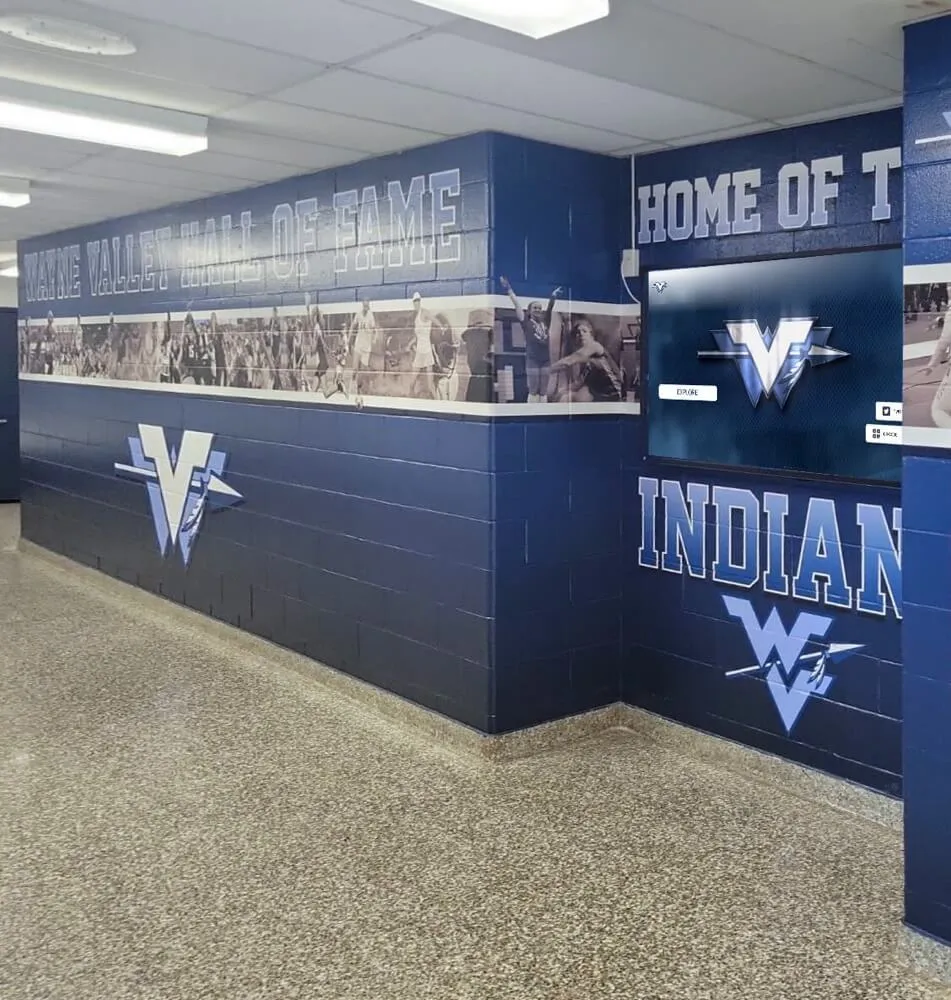
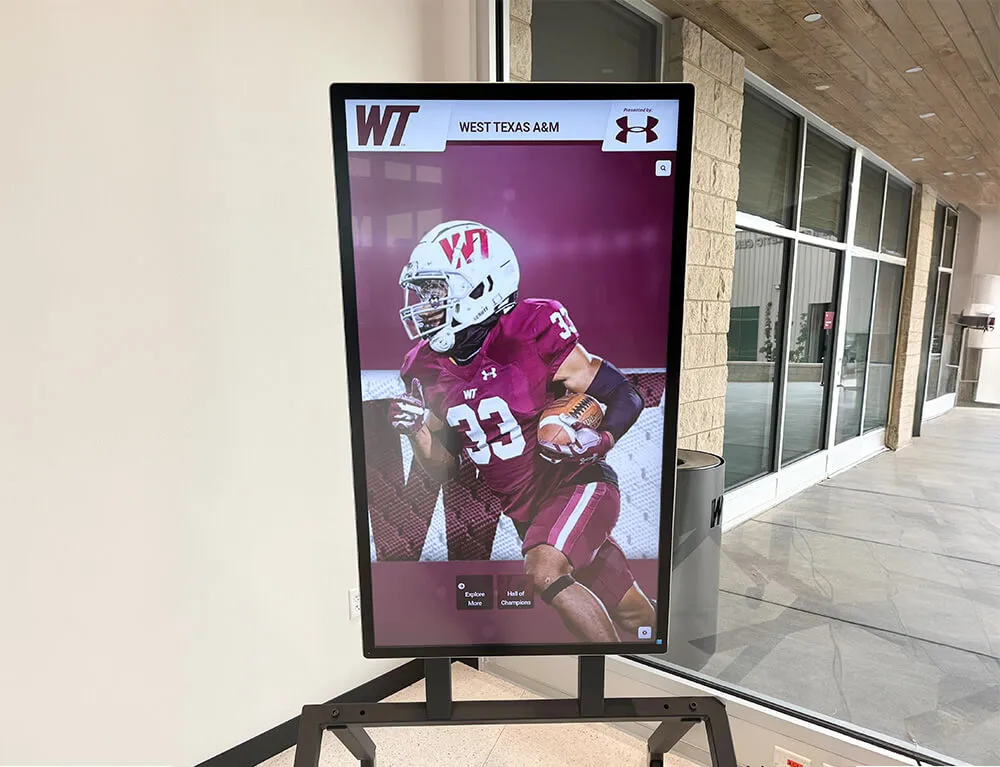
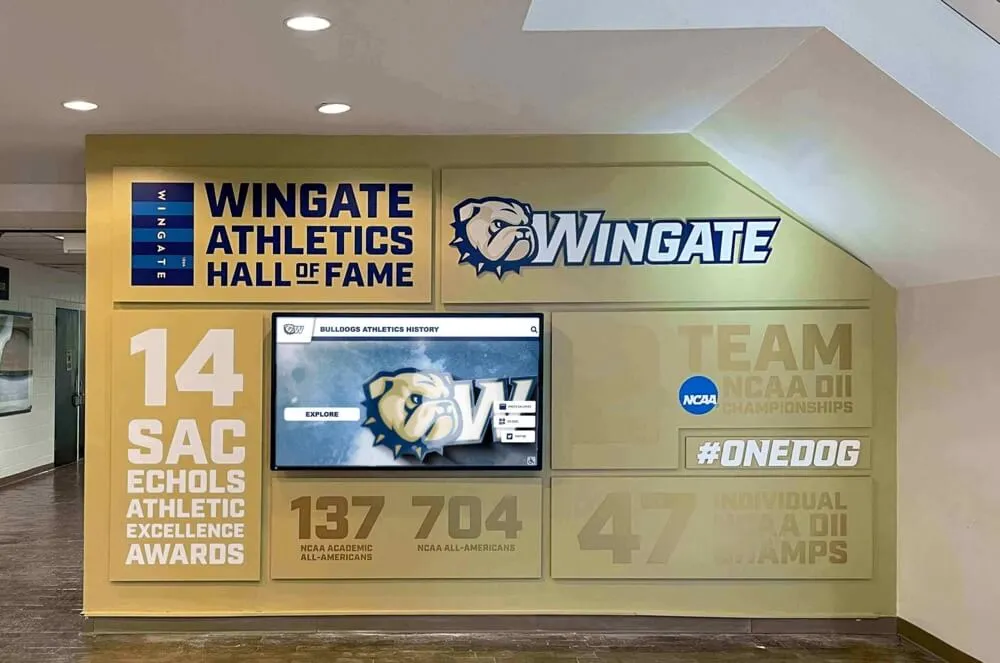
When a hall of fame recognition display starts registering touches in the wrong location—an athlete’s name tapped on the left side of the screen activates a record on the right—the visible symptom is obvious but the documentation trail is almost always missing. Recalibrating fixes the immediate problem. But without a touchscreen recognition display touch calibration verification log, the school has no record of when the offset began, how severe it was before correction, which calibration method was used, or whether the same display has needed recalibration three times in a single semester. That pattern—repeated offset on the same screen—is diagnostic information that points to a hardware fault, mounting vibration, or an OS configuration issue that recalibration alone will not resolve.
This guide is written for school IT coordinators, facilities managers, and athletic directors responsible for recognition displays in athletics corridors, trophy hallways, and school lobbies. It covers the trigger conditions that require a new log entry, the pre-calibration baseline accuracy test, the calibration procedure for Windows and common touch controller environments, the post-calibration verification test, and a log template formatted for multi-display school installations.
A touchscreen recognition display touch calibration verification log documents the touch accuracy state of a display at a specific point in time—before and after calibration—along with the trigger that required the work, the method used, the staff member who performed it, and the pass or fail result of the post-calibration accuracy test. One entry per calibration event, stored with the device record or in a shared facilities folder, gives IT staff and athletic directors the longitudinal view needed to distinguish isolated calibration events from recurring offset patterns that require service escalation.

Touch input accuracy on recognition displays depends on consistent calibration—a verification log turns a one-time fix into a documented maintenance record that supports pattern detection across multiple calibration events
When to Create a New Calibration Log Entry
A calibration verification log entry is not required after every routine check. Create a new entry when any of the following conditions applies.
| Trigger Condition | Why It Requires a Log Entry |
|---|---|
| Initial installation of a new recognition display | Establishes the baseline accuracy record for the device; any future offset can be compared to the initial calibration state |
| OS or display driver update on the source PC | Updates can reset touch mapping or alter the touch controller’s coordinate offset parameters |
| Display panel replacement or upgrade | A new panel requires a new touch calibration because the physical touch sensor coordinates must be remapped to the new display dimensions |
| Moving or remounting the display | Changing the display angle or mounting position changes the reference geometry that touch calibration assumes |
| Touch USB or I2C cable reconnection | Reconnecting the touch controller to the source device can reset the calibration mapping stored in the user profile |
| Staff-reported input drift | Any report of inaccurate touch response requires a documented baseline test and, if offset is confirmed, a calibration and post-calibration verification |
| Scheduled semi-annual maintenance review | Proactive verification confirms calibration has not drifted over the maintenance interval even when no issue has been reported |
| After cleaning with liquids near the bezel | Moisture on or near the touch sensor can temporarily or permanently shift calibration state; verification confirms the sensor is operating correctly after drying |
Tools and Baseline Information to Collect Before Starting
Gather the following before beginning the baseline test or calibration procedure. Having this information available at the start prevents mid-procedure interruptions and ensures the log entry is complete.
Physical access requirements:
- Direct access to the recognition display in its installed position at normal operating height
- The source PC or media player physically accessible for OS-level settings changes
- A stylus or calibration pen if the display is mounted at a height where fingertip precision is limited (optional; fingertips are acceptable for most school display calibrations)
- A second staff member if the display is tall or the source PC is mounted behind the panel
Reference information to record before starting:
- Display make and model (from the label on the rear panel or the on-screen display settings menu)
- Touch controller type and driver version (shown in Windows Device Manager under Human Interface Devices)
- Operating system version (Windows: Settings → System → About)
- Current display driver version (Device Manager → Display Adapters → driver properties → Driver tab)
- Date of last calibration (from the previous log entry; or “no prior record” if this is the first entry)
- Reported symptom, if any: offset direction (registering too far left, right, up, or down), the screen region affected, and the date the symptom was first reported
Phase 1: Pre-Calibration Baseline Accuracy Test
Before making any changes, document the current touch accuracy state. This baseline determines whether the display is actually outside tolerance and provides the comparison point for the post-calibration verification test.
A 9-point pre-calibration baseline test identifies offset location and magnitude before any changes are made—this data determines whether calibration is needed and documents the severity of the offset for the log entry
The 9-Point Touch Accuracy Test
The 9-point test samples touch accuracy across the full display surface, including corners and edges where offset is typically most pronounced on large-format touchscreens.
Setup: Open a blank white document, presentation, or browser tab in full-screen mode on the recognition display. Touch each of the nine screen regions listed below in sequence. At each point, observe where the cursor or on-screen selection indicator appears relative to your finger contact point. Estimate the offset in pixels if your application shows cursor position; otherwise note the direction and approximate distance visually.
Test points:
- Top-left corner (within 50 pixels of the corner)
- Top-center
- Top-right corner (within 50 pixels of the corner)
- Middle-left edge
- Center of the display
- Middle-right edge
- Bottom-left corner (within 50 pixels of the corner)
- Bottom-center
- Bottom-right corner (within 50 pixels of the corner)
Recording the result for the log:
For each test point, record one of the following results:
- Pass: Touch cursor appears at or within 5 pixels of the contact point on a 1080p panel
- Offset noted: Record direction (left, right, up, down) and estimated magnitude (small: under 20 pixels; medium: 20–50 pixels; large: over 50 pixels)
- No response: Touch input not detected at this region of the screen
A display where all nine points pass at ±5 pixels does not require recalibration. Document the pass result in the log and close the entry. A display with any offset reading at any test point requires the calibration procedure in Phase 2.
Phase 2: Touch Calibration Procedure
Windows Touch Calibration Using Tablet PC Settings
On Windows 10 and Windows 11, the built-in touch calibration utility is accessed through Tablet PC Settings in Control Panel. Administrative credentials are typically required.
- Open Control Panel (search “Control Panel” in the Start menu; if it does not appear, open Run with Windows + R and type
control) - Navigate to Hardware and Sound → Tablet PC Settings
- Under the Display tab, confirm the correct display is shown in the “Display” dropdown; on multi-monitor setups, select the recognition display specifically before calibrating
- Click “Calibrate” and select “Touch input” when prompted
- The calibration tool presents crosshair targets at multiple points across the display surface
- Tap each crosshair precisely at the center of the target with your fingertip or stylus; the tool typically presents 4 to 16 target points depending on the touch controller driver version
- After completing all targets, confirm the save prompt to store the calibration data
- Confirm the calibration data is stored for the correct user account; on school displays that auto-login with a shared account, perform calibration while logged into the account the recognition platform uses at runtime
Touch Controller Driver Calibration (Manufacturer Utility)
Some displays use a touchscreen controller with a manufacturer-supplied calibration utility rather than the Windows Tablet PC Settings tool. Common examples include EETI eGalax, Elo TouchSystems, PQ Labs, and IDS Point.
- Open Device Manager and expand Human Interface Devices or Mice and other pointing devices
- Note the manufacturer name from the touch device entry
- Check the display manufacturer’s support site for a calibration utility; most are available as free standalone downloads
- Run the manufacturer utility and follow its calibration sequence; manufacturer tools typically use more calibration points (9 to 25) and store calibration data in a driver-level configuration file rather than the Windows user profile
- Note in the log which utility version was used; this matters if calibration needs to be repeated after a driver update resets the stored data
Important Notes for Shared and Auto-Login Accounts
On recognition displays that boot directly into the recognition platform under a specific Windows user account, Windows stores touch calibration data in that user profile. If calibration is performed under an administrator account and the recognition platform runs under a different account, the platform sees uncalibrated touch input even though calibration appeared to succeed. Always perform Windows Tablet PC Settings calibration while logged into the same account the recognition platform uses at runtime, or use a manufacturer driver utility that stores calibration data at the system level rather than in a user profile.
After Calibration: Before Running the Verification Test
- Close all calibration tools and return to the Windows desktop
- If the recognition platform was paused or closed for calibration access, restart it now
- Wait 60 seconds before beginning the post-calibration test to allow the touch controller driver to finalize the new calibration data
Phase 3: Post-Calibration Accuracy Verification Test
Immediately after calibration is complete, repeat the 9-point touch accuracy test from Phase 1 using the same procedure and the same screen regions. This comparison confirms whether calibration resolved the offset and provides the result that determines the log entry’s pass or fail status.
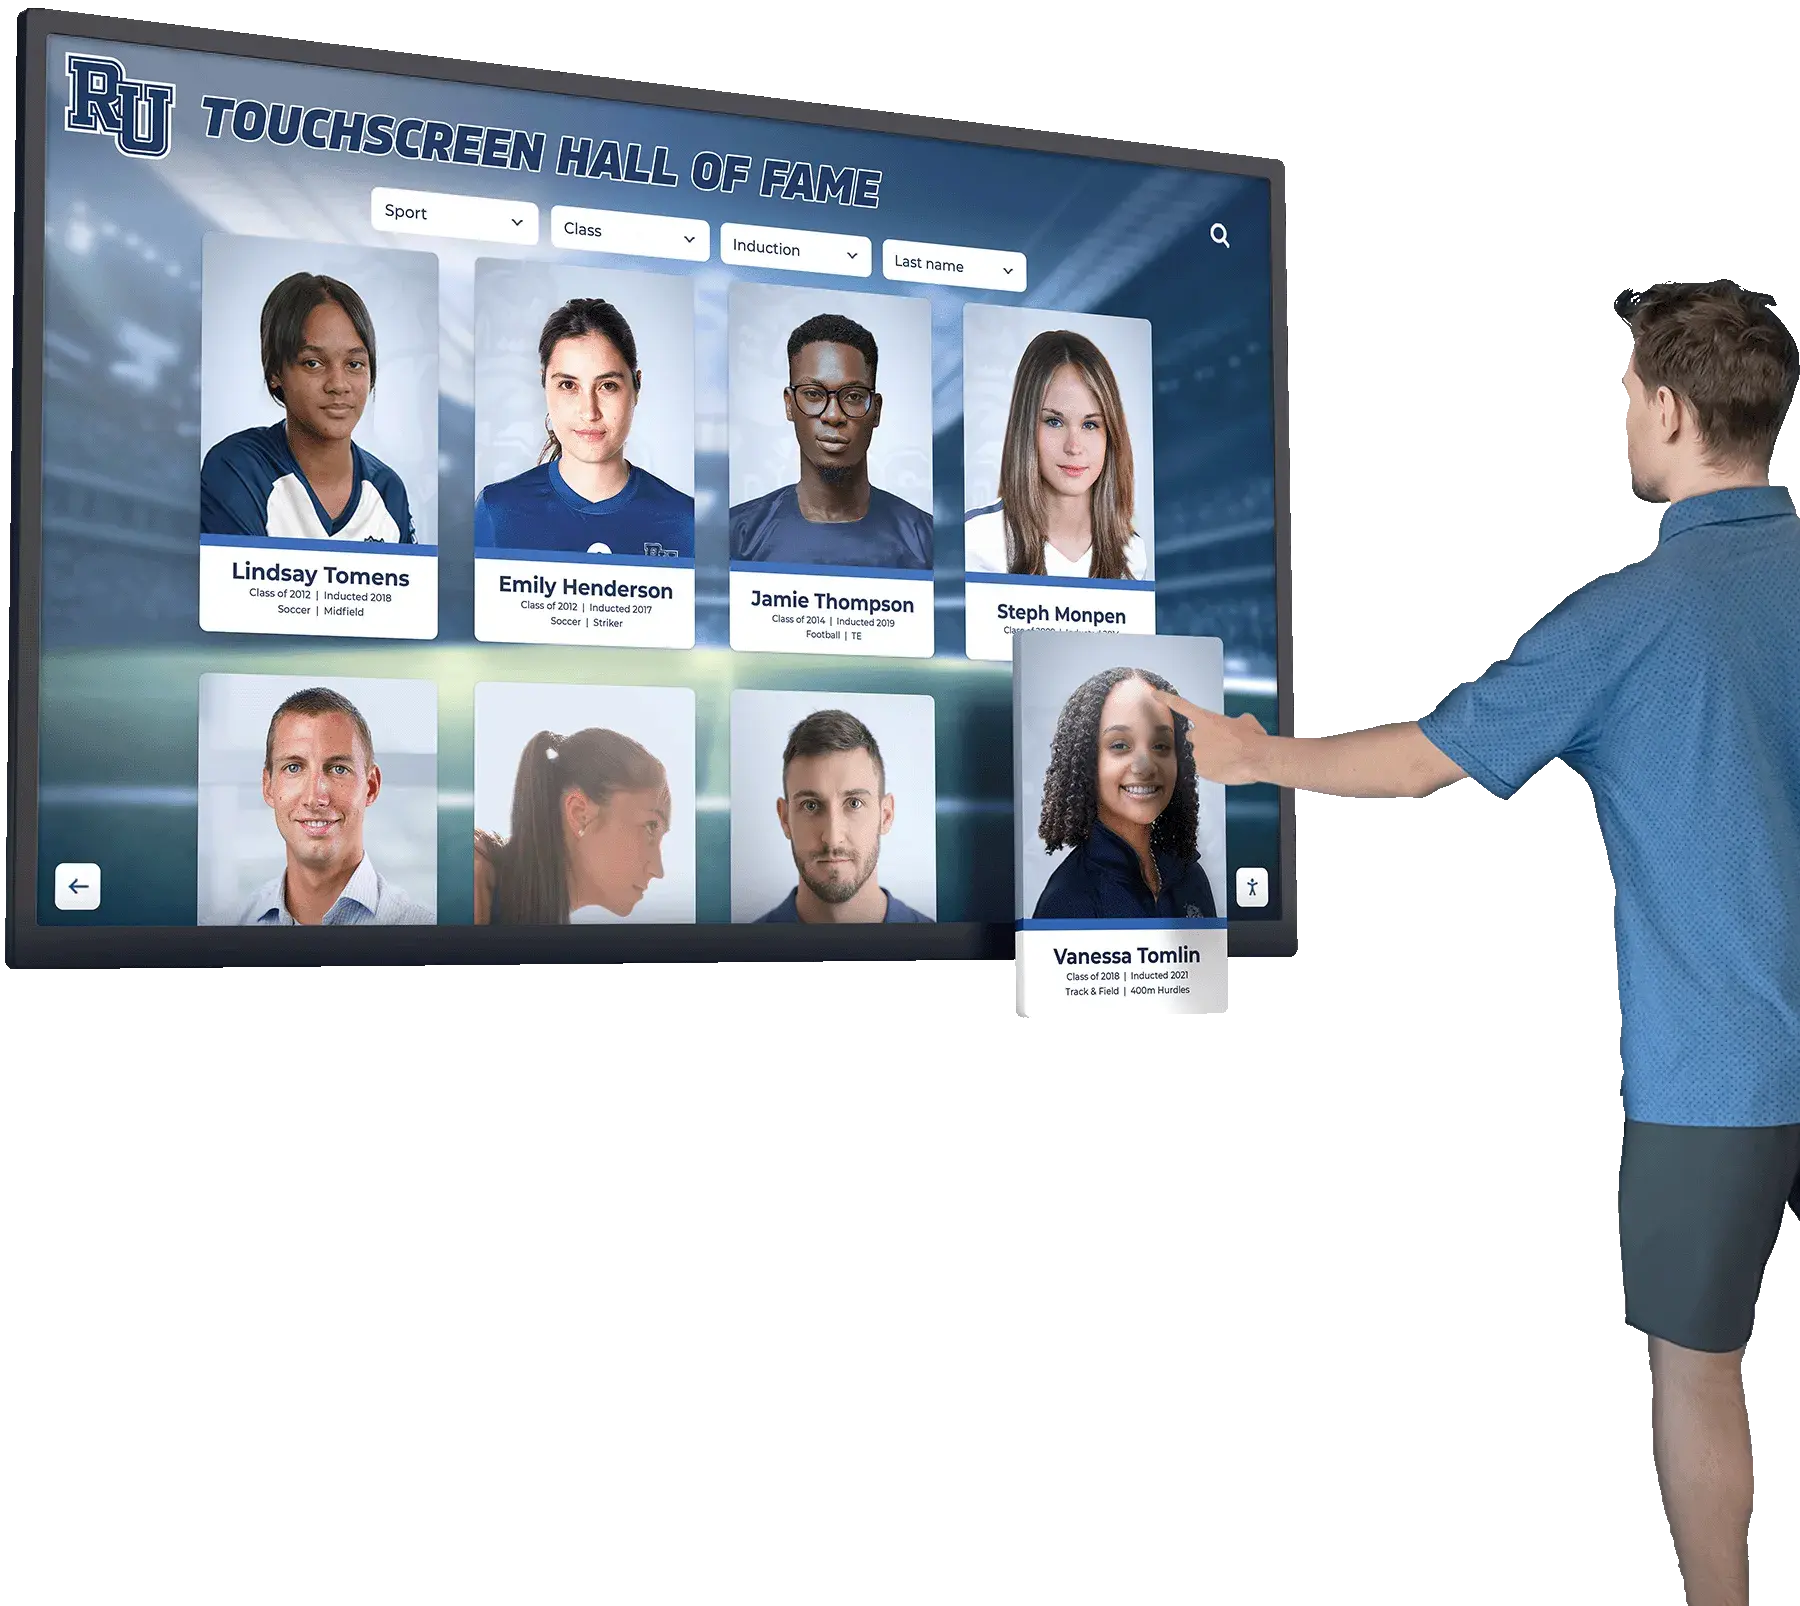
Post-calibration verification tests the same 9 points as the pre-calibration baseline—this comparison confirms the offset was resolved and provides the documented result that closes the log entry
Pass criteria: All nine test points register within ±5 pixels of the contact point on a 1080p panel. On larger format panels (55 inches and above) at lower native resolution, ±8 pixels is an acceptable tolerance given the larger physical size of each pixel.
If the post-calibration test still shows offset at any test point:
- Repeat the calibration procedure a second time; some touch controllers improve accuracy on a second pass if the first pass captured an edge-region target slightly off-center
- If offset persists at the same screen region after two calibration attempts, escalate: the issue may be a failing touch sensor segment, a damaged digitizer overlay, a loose touch controller cable connection, or a driver conflict introduced by a recent OS update
- Document the failed post-calibration result in the log before escalating; this record supports the service request and gives a repair technician the information needed to scope the diagnostic
Touch Calibration Verification Log Template
Use one row per calibration event. Maintain this log as a shared spreadsheet in the school’s IT or facilities folder, or print and store it with the device documentation folder for each recognition display. A consistent log format across all displays in a school’s installation makes it straightforward to compare calibration histories when a pattern of repeated offset on one display needs to be assessed.
| Field | Description | Example Entry |
|---|---|---|
| Display ID / Location | Unique identifier for the display | Athletic Hallway Kiosk – Building A |
| Date | Date calibration was performed | 2026-08-08 |
| Staff Name | Person who performed calibration | J. Martinez |
| Trigger | Reason for this calibration event | Staff-reported input drift—touches registering ~30 pixels right of contact |
| Pre-Cal Baseline | Summary of 9-point baseline test results | 7/9 pass; offset at top-left and top-center (30 pixels right) |
| Calibration Method | Tool and version used | Windows Tablet PC Settings → Calibrate Touch Input |
| Calibration Account | Windows account used during calibration | rec-display@school.edu (auto-login account) |
| Post-Cal Result | Summary of post-calibration 9-point test | 9/9 pass; all within ±4 pixels |
| Pass / Fail | Overall result | Pass |
| Notes | Anything relevant not captured in the other fields | Touch controller: EETI eGalax v10.6. Last calibration: 2026-02-14. Driver unchanged. |
| Escalation Required | Yes or No; if yes, note what was escalated and to whom | No |
A note on escalation thresholds: A single failed post-calibration test warrants a second calibration attempt before escalating. Two consecutive failed post-calibration tests on the same display at the same screen region should be escalated to hardware inspection rather than a third calibration pass. Three or more calibration events within a 90-day window on the same display—even if each post-calibration test passed—is a pattern that warrants investigation into the root cause before the next recalibration.
Q&A: Common Questions About Touch Calibration on Recognition Displays
How often should a recognition display be recalibrated if it is not showing any offset?
A display performing within ±5 pixel tolerance does not need recalibration. Run a 9-point accuracy test every six months as part of scheduled maintenance; if all points pass, record the pass result in the log without recalibrating. Calibrating a display that is within tolerance can introduce unnecessary drift if the calibration process captures a target point slightly off-center. The log entry for a scheduled check that passes is “9/9 pass; no calibration performed.”
The display was calibrated three months ago and is already offset again. Is the hardware failing?
Repeated offset within short intervals on the same display is worth investigating before recalibrating again. Common causes include building vibration or HVAC movement affecting a wall-mounted display (which can gradually shift the physical alignment of a touch overlay relative to the panel beneath it), a loose USB or I2C connection on the touch controller, or a Windows Update that reset calibration data stored in the user profile. Check the log for the calibration history and look for whether the offset direction is consistent across events. Offset that always recurs in the same direction suggests a physical alignment issue rather than a software one.
Can we calibrate a recognition display that runs in kiosk mode without exiting the recognition platform?
In most cases, no. Windows Tablet PC Settings requires access to Control Panel, which is not available in a browser-based or locked kiosk interface. Exit the recognition platform, perform calibration in the underlying Windows desktop, and restart the recognition application. On platforms that support remote administration, check whether the vendor provides remote desktop or shell access that allows calibration without physically unlocking the kiosk display at the device itself.
Our display has a separate touch overlay glass bonded to the panel. Which component needs calibration?
The touch overlay is a separate digitizer that maps finger contact coordinates to display pixel coordinates. Calibration aligns that mapping to the current display output geometry. If the display panel was replaced or if the overlay shifted relative to the panel during a remount, the physical alignment between them may have changed, and calibration alone cannot compensate for misalignment beyond a certain threshold. In that case, physical realignment of the overlay relative to the panel is required before recalibration will produce accurate results across the full display surface.
Does touch calibration affect how the recognition platform software responds to navigation gestures?
Touch calibration affects the Windows-level coordinate mapping—where the OS believes a touch occurred. The recognition platform receives those coordinates from the OS. If calibration is accurate at the OS level, the platform receives accurate input coordinates. If the platform has its own touch offset adjustment (some platforms include this in an administrator configuration panel), that setting compounds with OS-level calibration. If post-calibration offset persists and the OS-level calibration passes the 9-point test, check whether the recognition platform has a touch configuration layer that needs to be reset or adjusted independently.
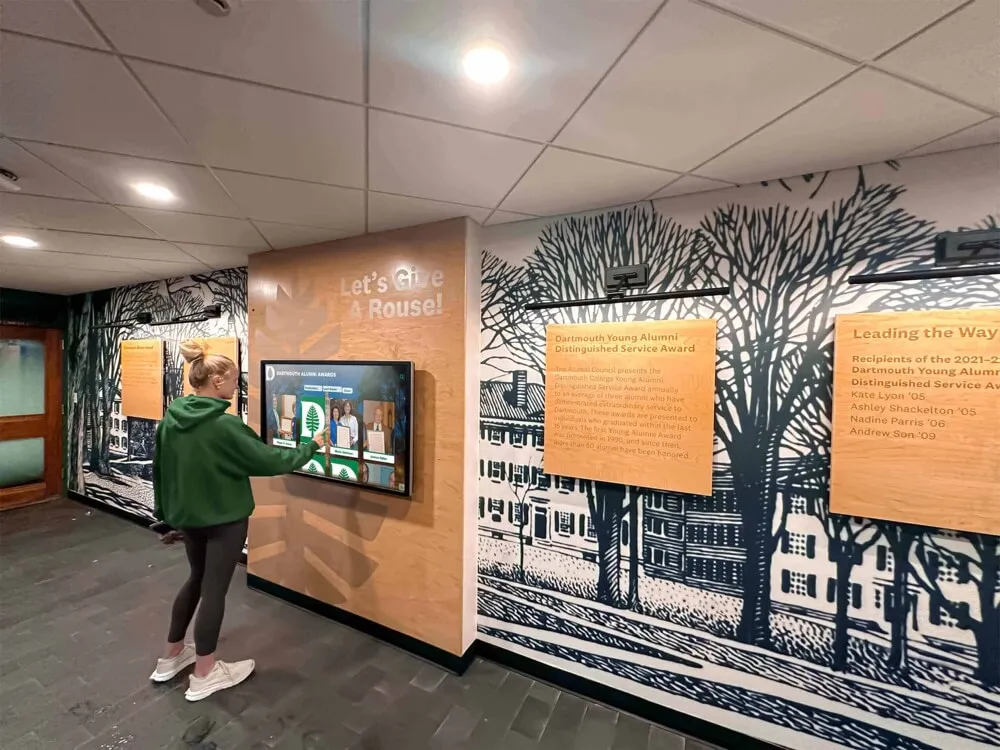
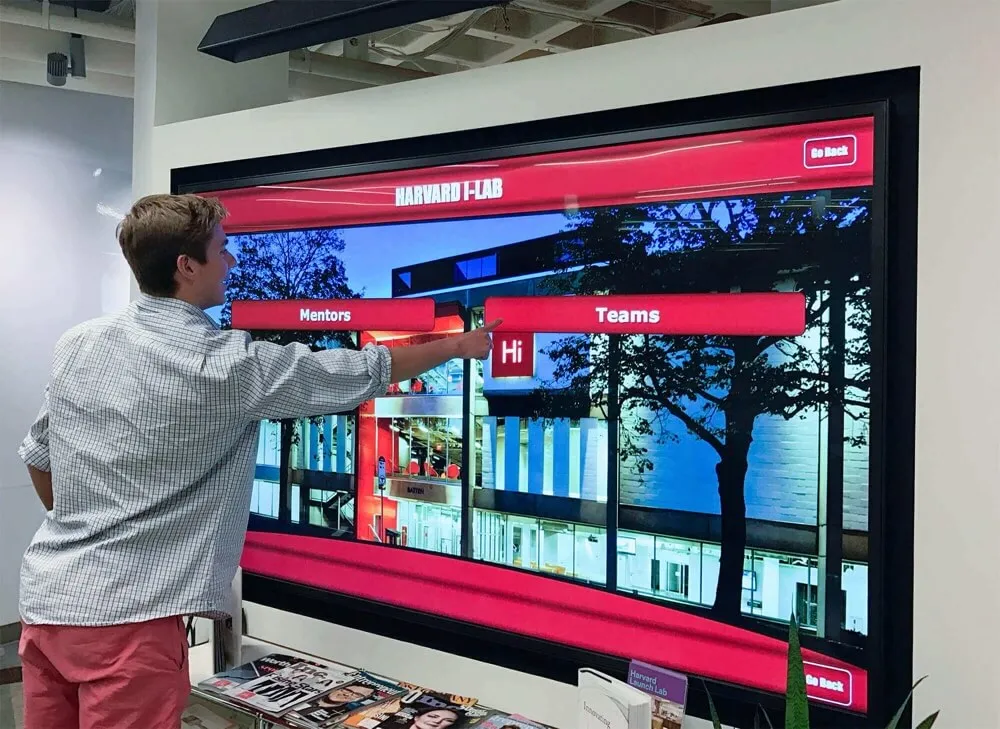
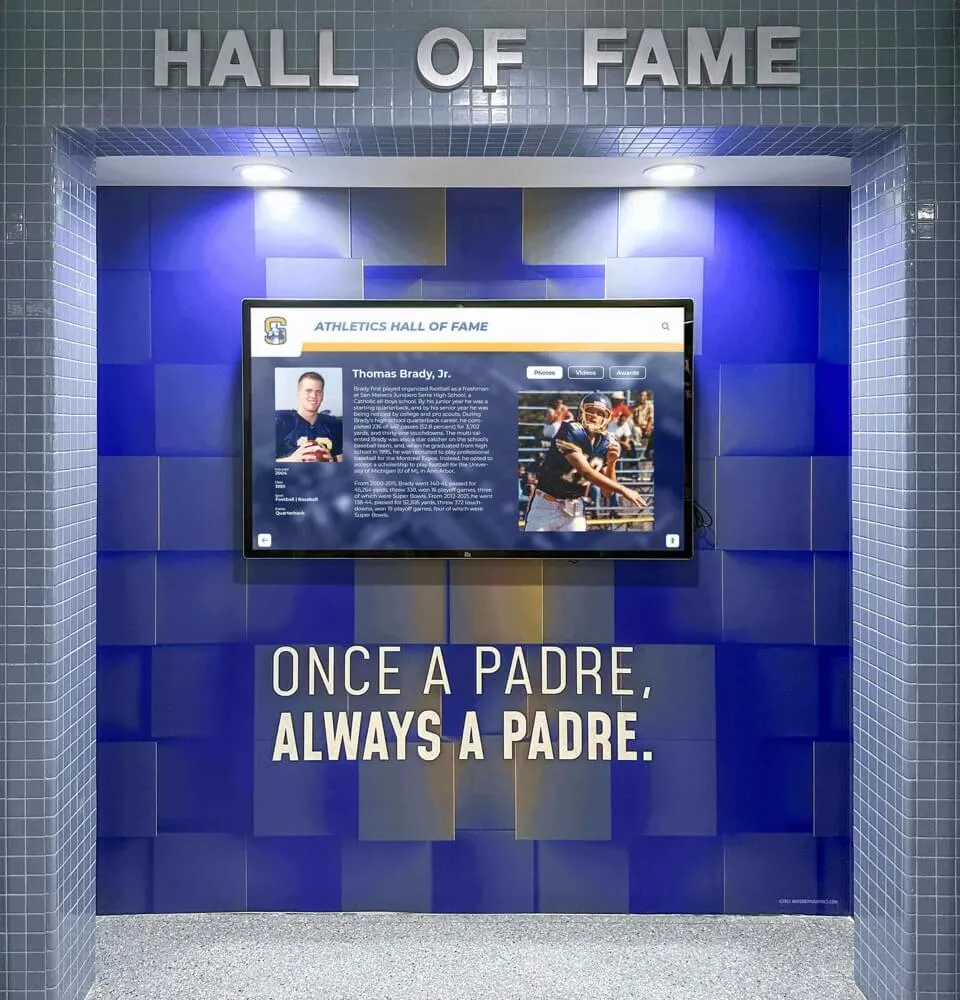
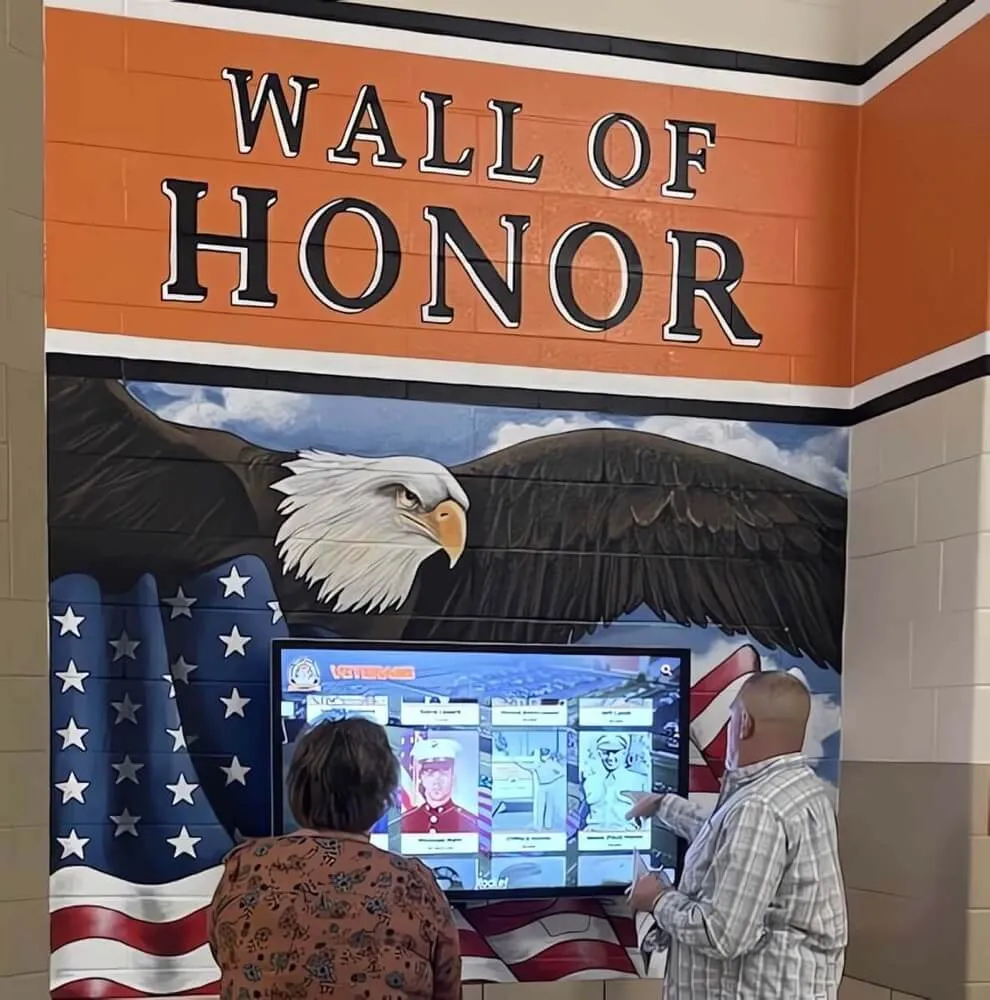
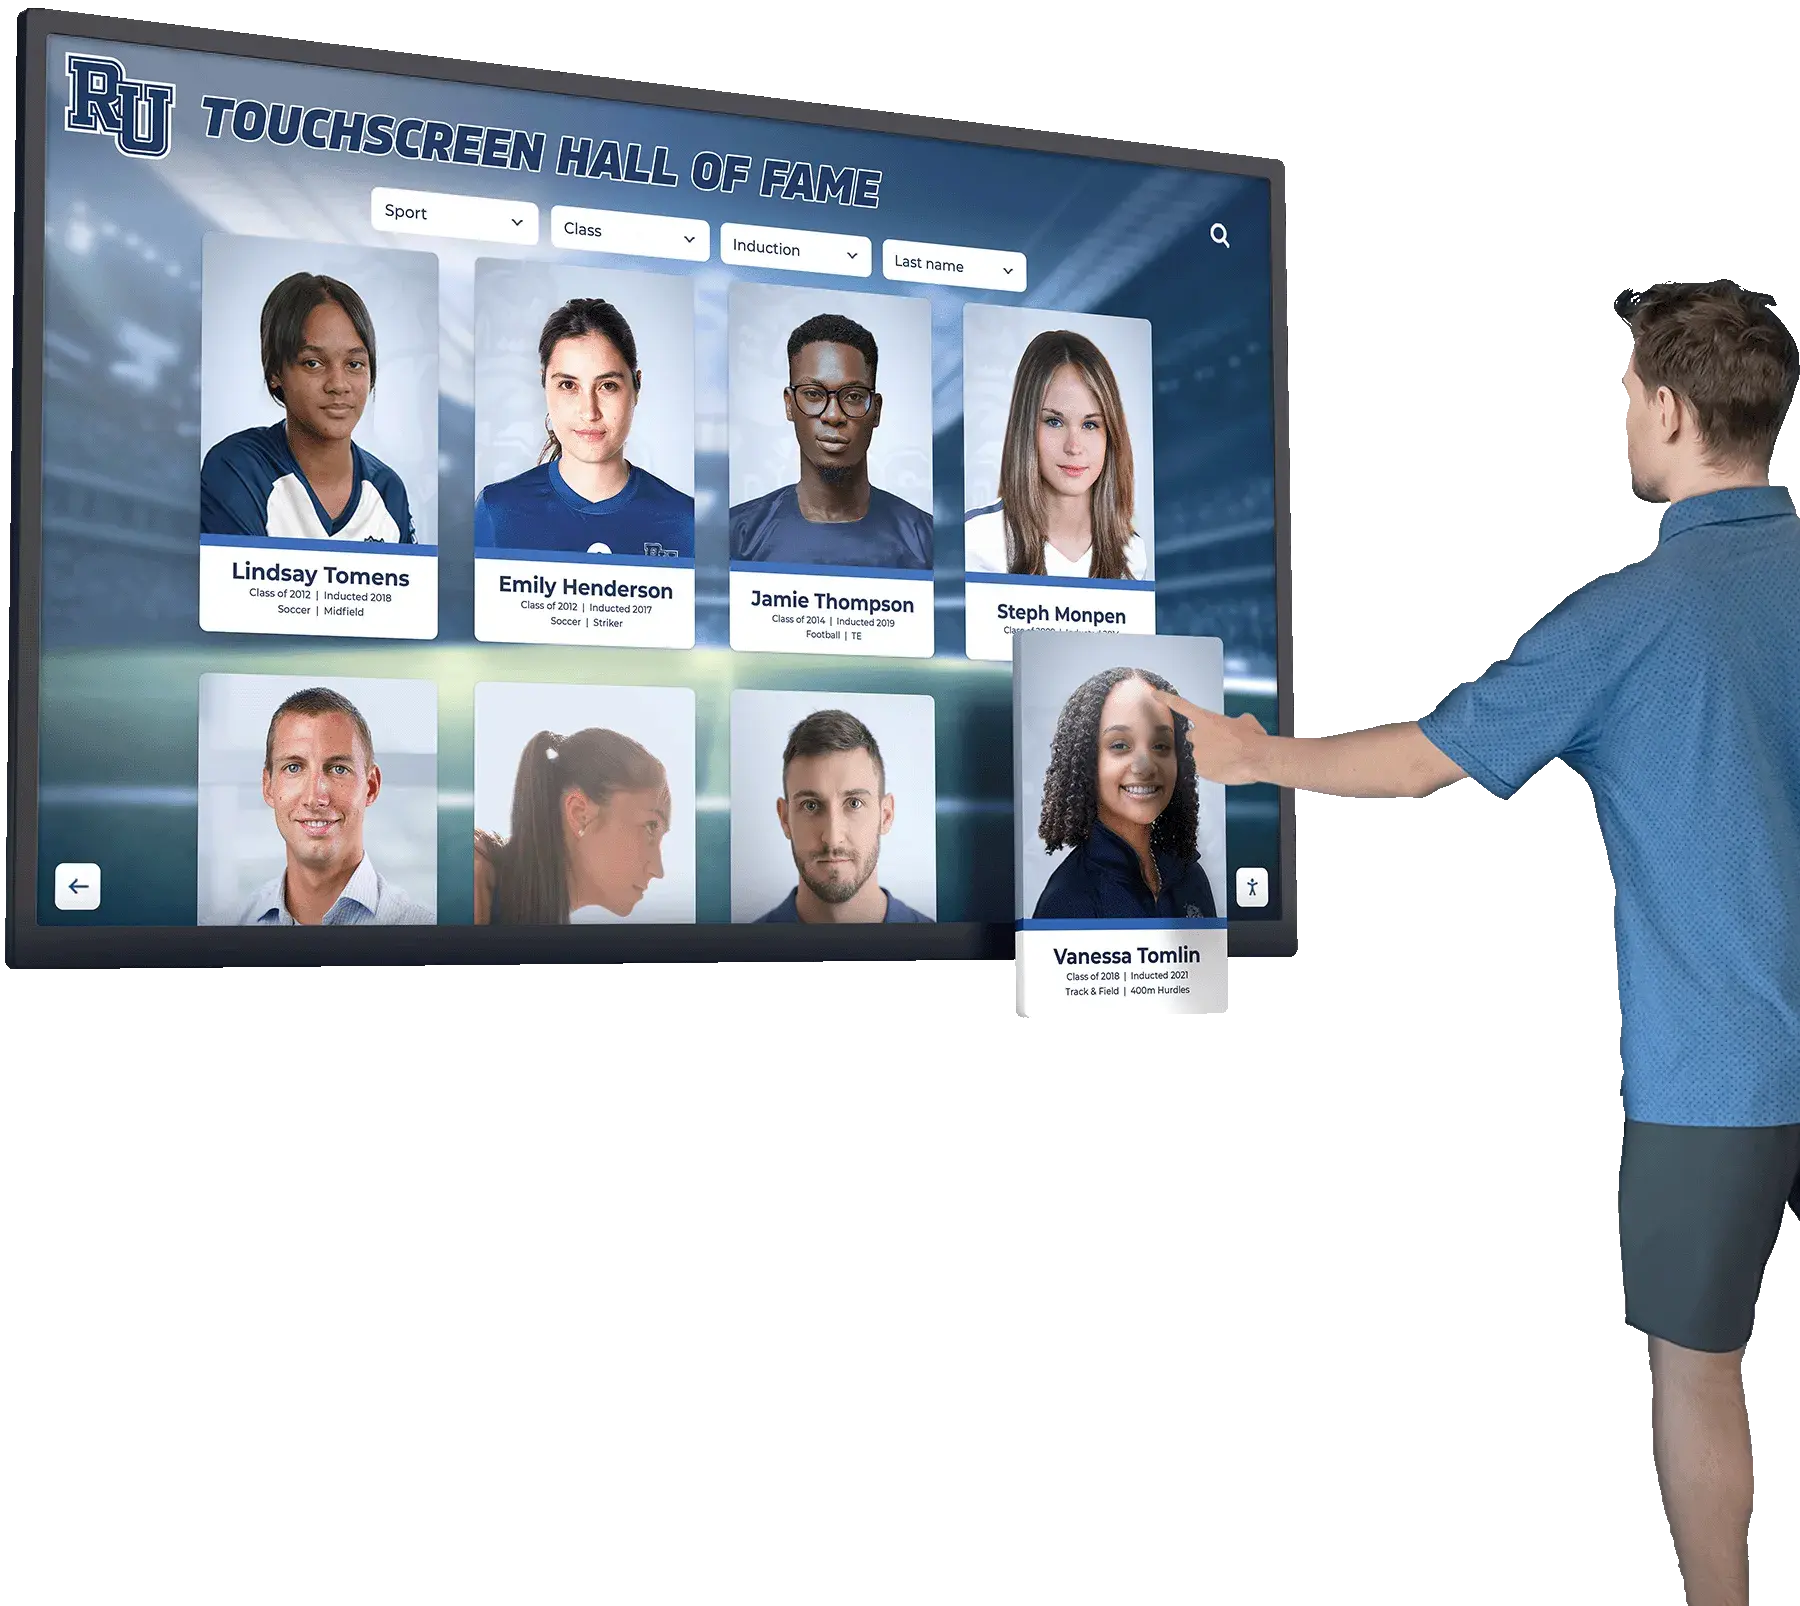
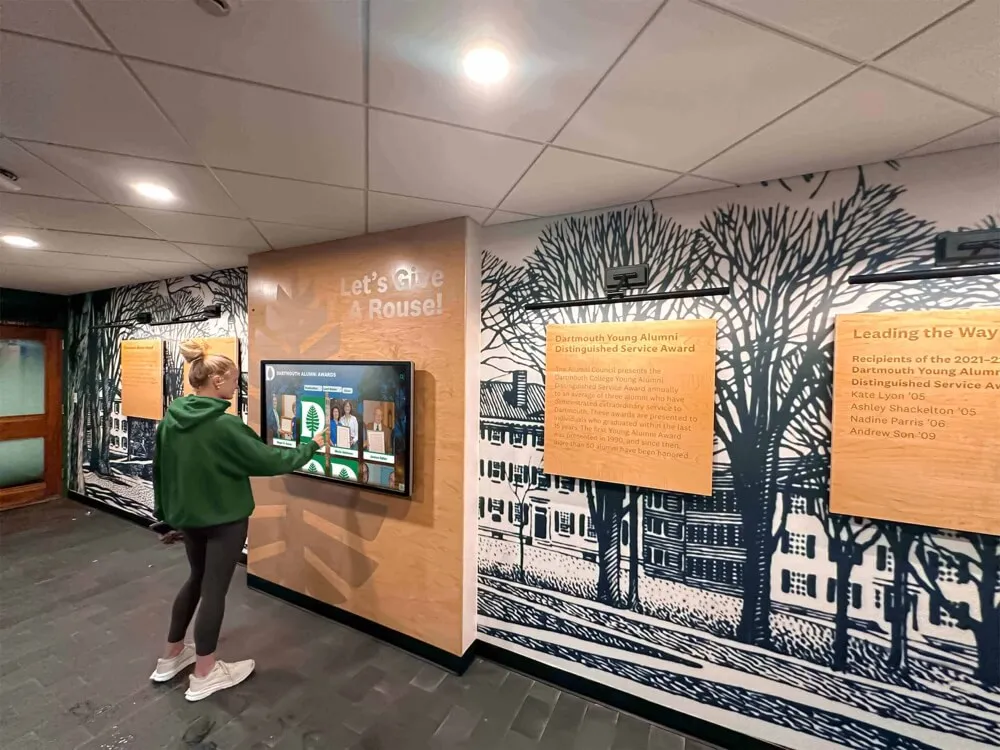
Recognition displays showing detailed athlete profiles and award recipient records rely on precise touch calibration—visitors navigating to a specific athlete's card need tap targets to register accurately where they appear on screen
Connecting Calibration Logs to Broader Recognition Display Management
A touch calibration verification log is most useful when it is part of a broader documentation framework for recognition display maintenance. Individual calibration events gain context when they can be compared against a device’s full history—initial installation state, previous calibration dates, hardware changes, and OS update events.
For athletic directors inheriting a recognition display installation from a predecessor staff member, this transition planning guide for athletic directors at Archival Displays covers the documentation handoff process, including what display configuration records should transfer with the role so the next administrator is not starting from scratch.
Schools building recognition display maintenance into department-level policy can reference athletic department handbook best practices for high schools at Digital Record Board for guidance on formalizing display maintenance as a documented responsibility rather than relying on individual staff knowledge.
Recognition display content—athlete records, award recipients, donor acknowledgments—generates its own documentation requirements that intersect with device maintenance cycles. The sports awards database guide for tracking winners, criteria, photos, and display updates at Digital Awards Display addresses the content record side of the equation alongside the hardware update cycle, which is useful for schools where content updates and maintenance checks should happen in the same scheduled window.
For schools managing recognition displays as part of a broader digital archives program, the digital archives guide for schools, colleges, and universities at Hall of Fame Online covers how decisions about hardware selection and display management connect to long-term archival goals—context that shapes what calibration documentation requirements look like across a campus installation over years, not just a single maintenance cycle.
Interactive museum-style displays and school recognition kiosks share many of the same touch hardware categories. This overview of interactive touchscreen museum display features at Best Touchscreen covers how different touch input technologies—resistive, capacitive, infrared, and projected capacitive—behave differently under calibration and in high-traffic environments, which is useful context when diagnosing repeated offset on a specific display type.
School recognition programs that document FBLA award recipients, academic honorees, and alumni achievements often have display update cycles tied to award seasons. The FBLA awards recognition guide at Digital Warming covers how recognition program cycles can be structured to align with display maintenance schedules—so content updates and calibration verification happen in the same scheduled window rather than as disconnected tasks managed by separate staff.
Recommended Calibration Verification Schedule
Integrate calibration verification into the recognition display maintenance calendar on a fixed schedule. Unscheduled calibration events triggered by staff reports should be added to the log in addition to scheduled entries, not in place of them. A log that only captures reactive events understates the true calibration history and may miss recurring patterns.
| Task | Frequency | Notes |
|---|---|---|
| 9-point accuracy test (no calibration unless offset found) | Every 6 months | Record pass result even when no calibration is needed; this establishes that the display was checked at the scheduled interval |
| Full calibration and post-calibration verification | As triggered (see trigger table above) | Do not recalibrate on a fixed schedule if the display is within tolerance; unnecessary calibration can introduce drift |
| OS and driver update review | After each major Windows Update or driver update | Run 9-point test before and after any update that touches display adapter or HID drivers |
| Documentation folder update | After each log entry | Ensure the completed entry is saved in the shared folder accessible to all staff responsible for the display |
| Hardware inspection for loose touch connections | Annually | Inspect USB or I2C cable connections at the touch controller and at the source PC; reseat any connection that shows movement |
| Escalation pattern review | Quarterly | Check whether any display has had more than two calibration events in the past 90 days; if so, investigate the root cause before the next recalibration |
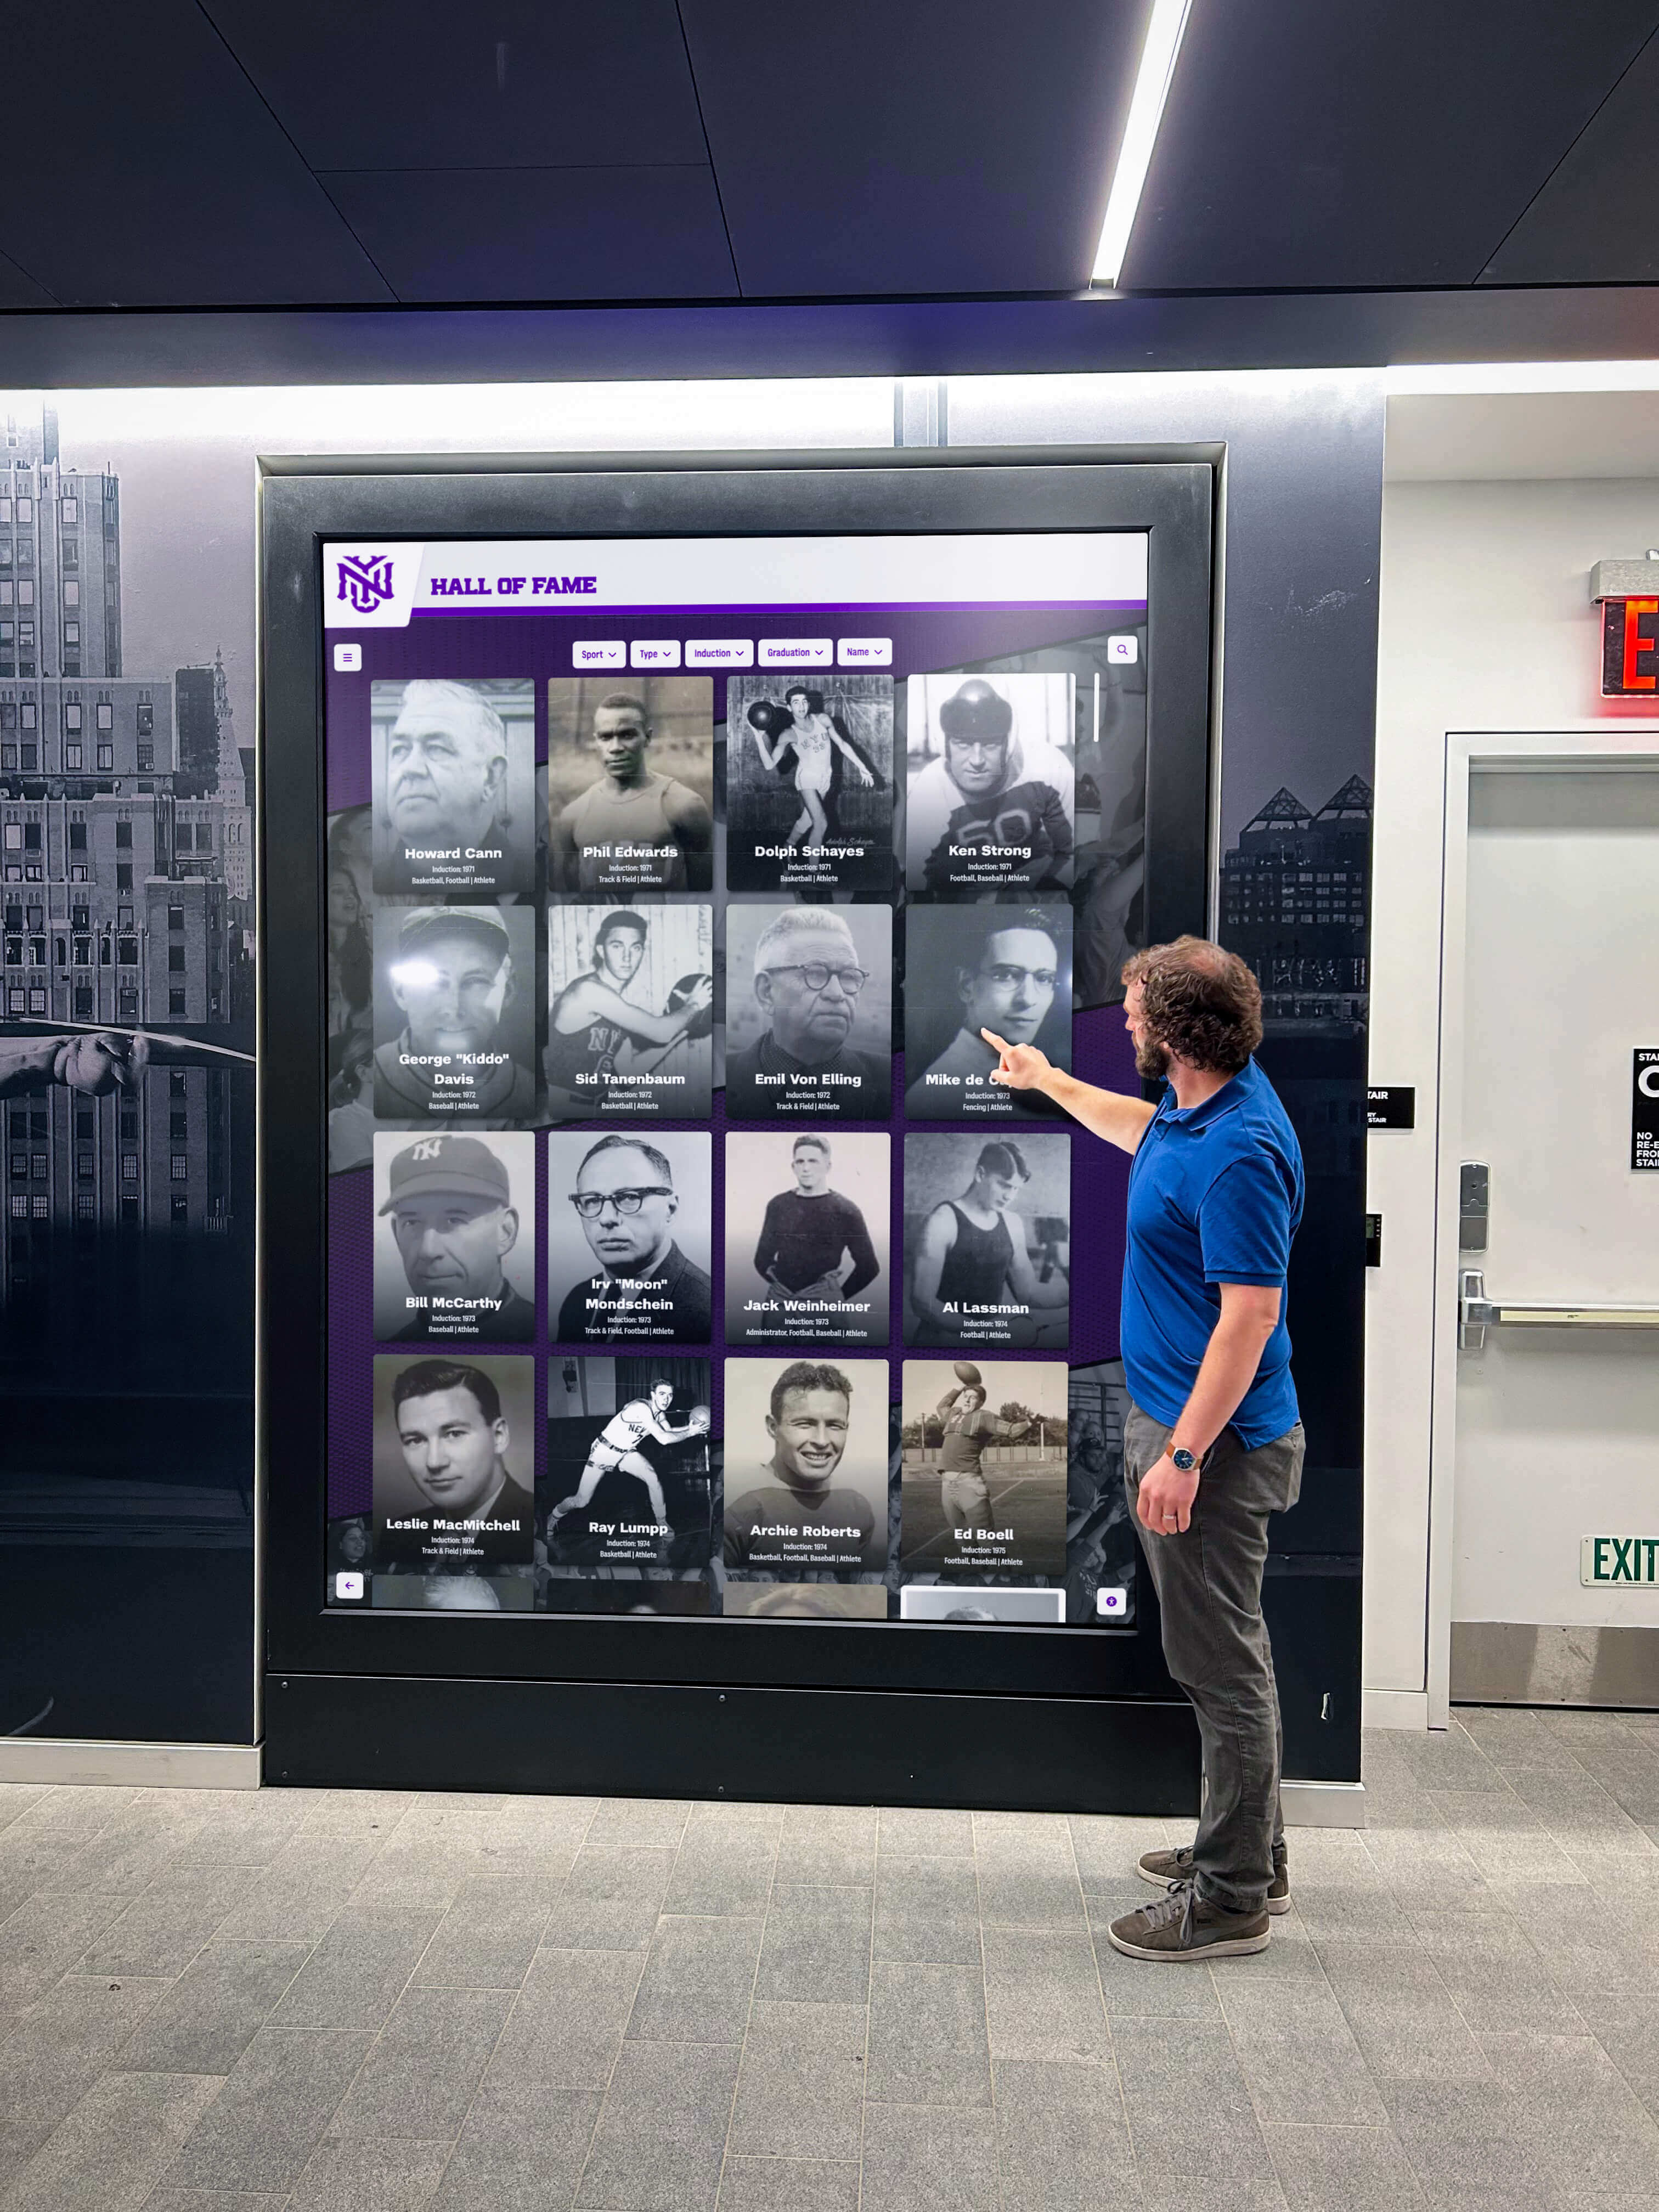
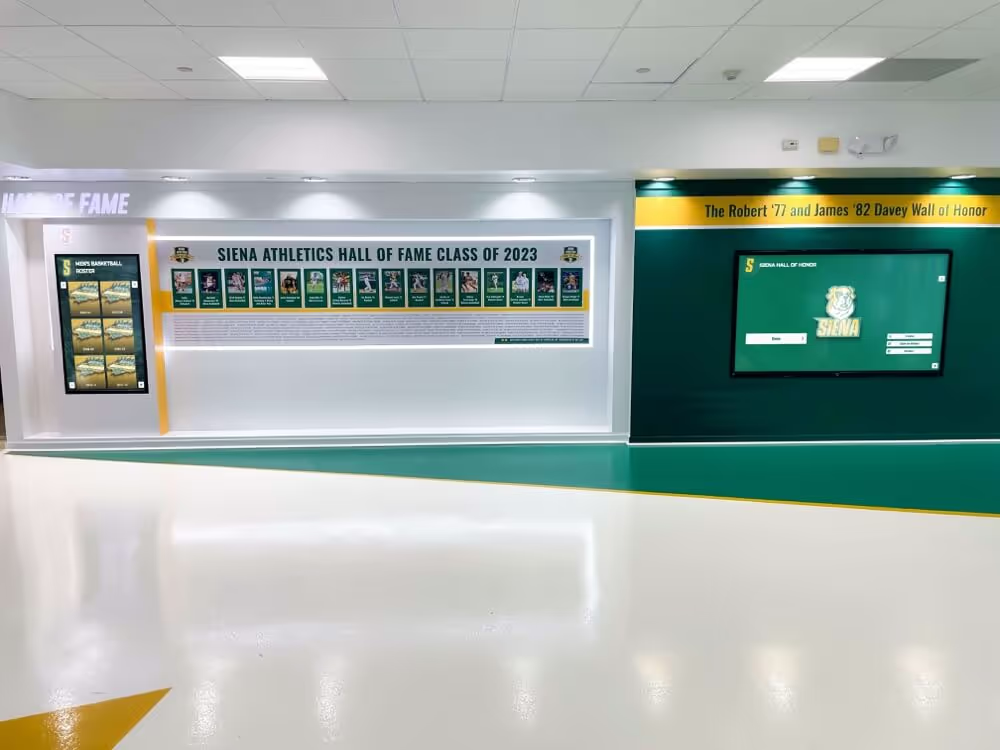
Accurate touch calibration means visitors can navigate recognition displays without assistance—when tap targets register precisely, a hall of fame ceremony or alumni night runs without staff needing to intervene for frustrated users
See a Recognition Display Built for School Environments
If your school is deploying or maintaining a touchscreen recognition display and wants to see how a platform designed for school athletic halls, trophy corridors, and lobby recognition walls handles touch input, content management, and remote administration in real installations, a live walkthrough gives you a clear picture of what that looks like day-to-day. Rocket Alumni Solutions builds recognition display platforms designed to stay on approved content, update remotely without on-site IT visits, and give IT coordinators and facilities staff confidence in the full display environment.