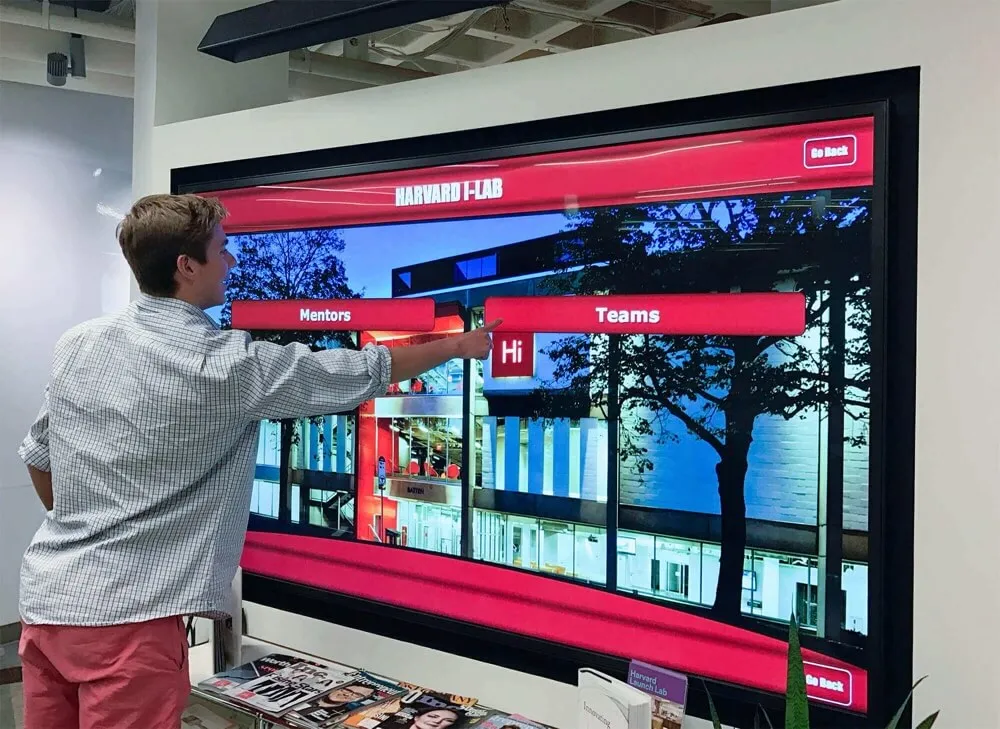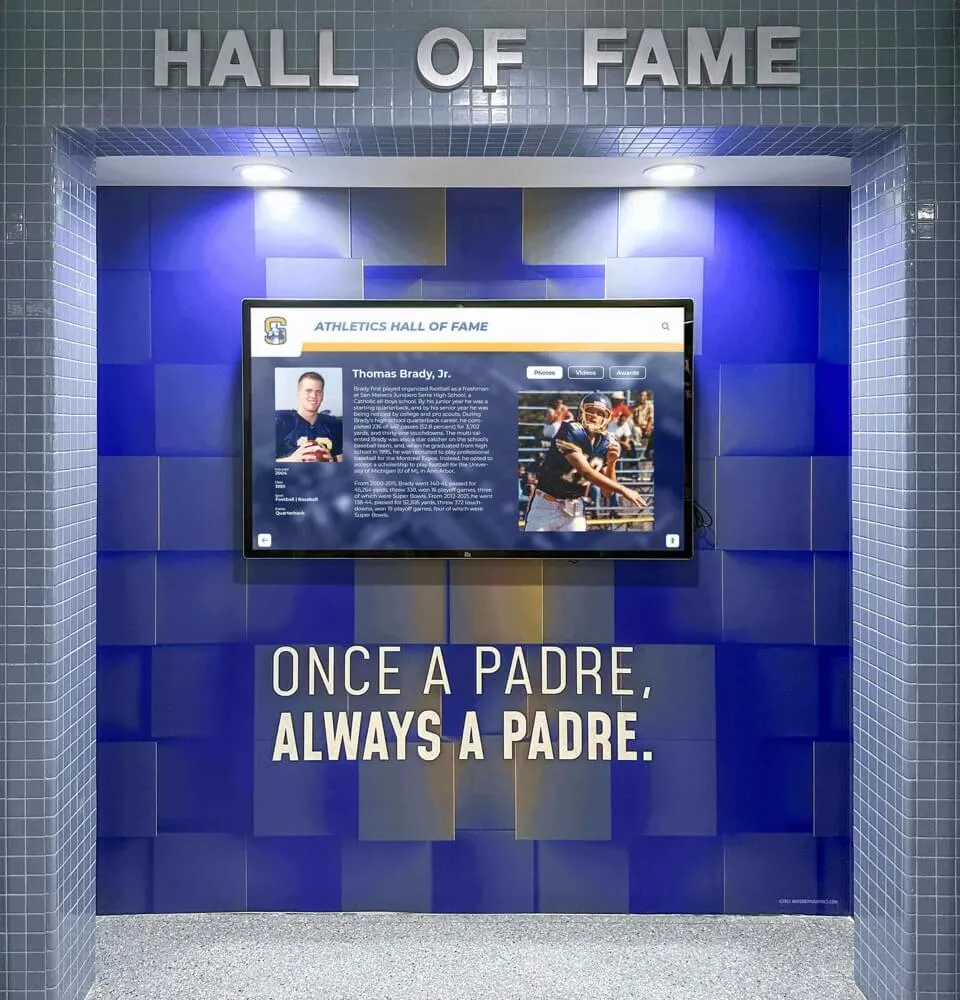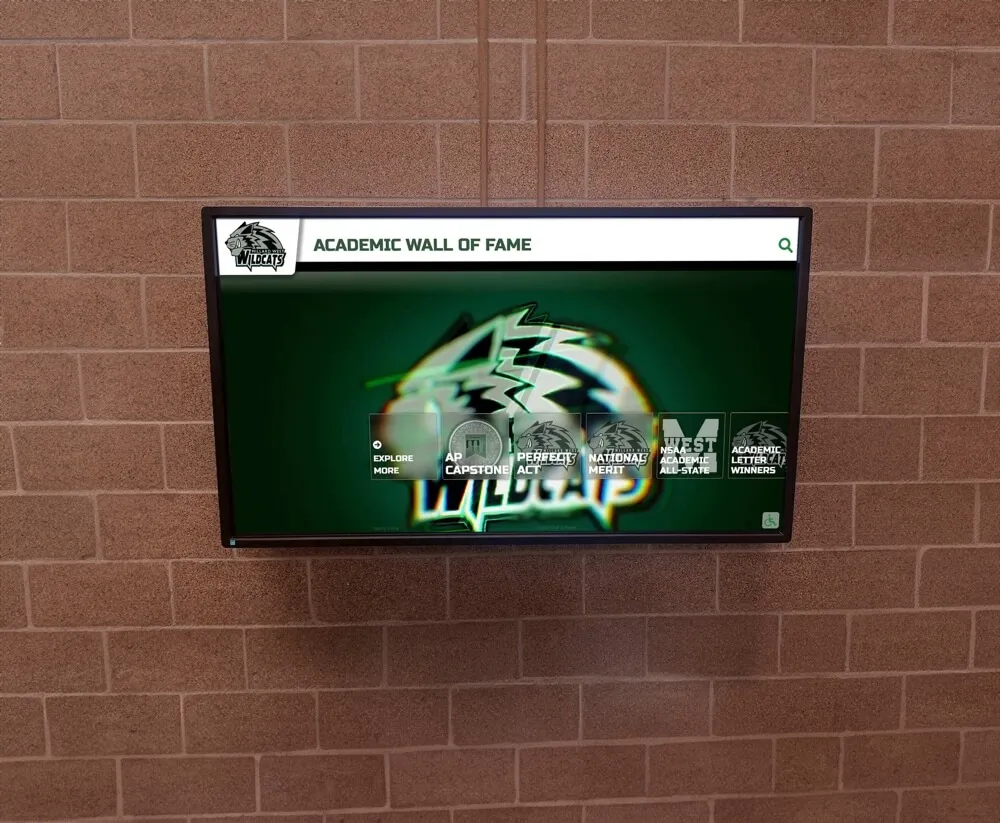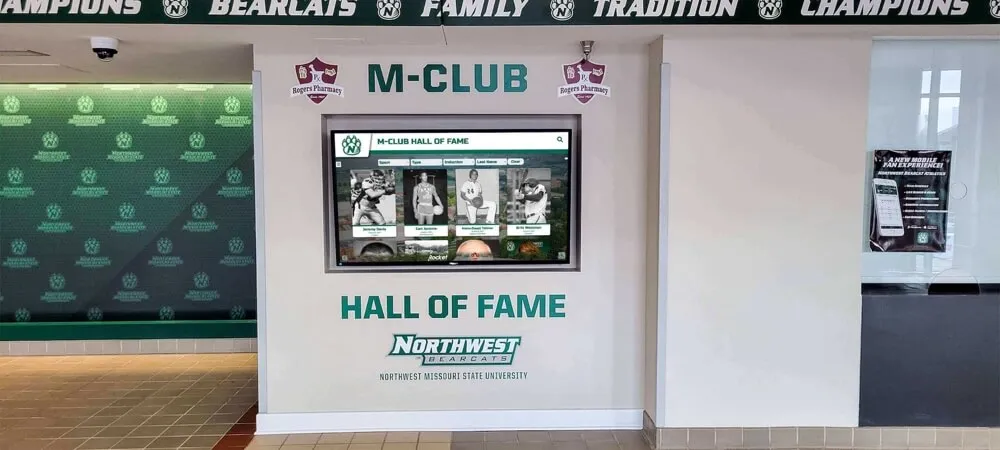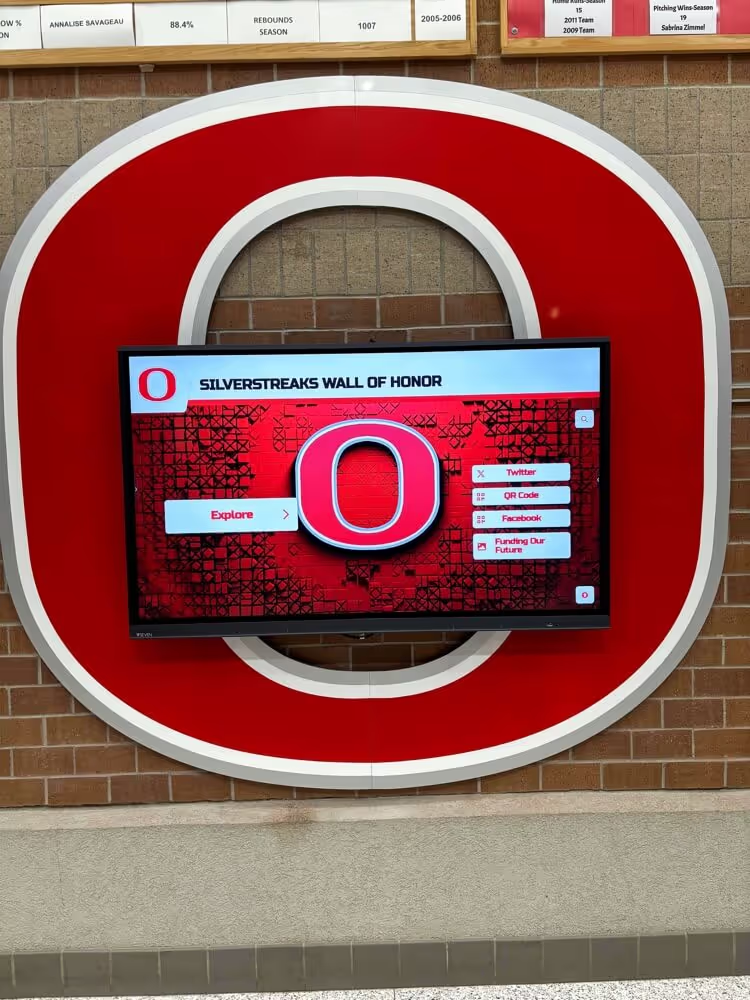




A touchscreen recognition display speaker audio test checklist addresses the problem that appears most often on game nights and induction ceremonies: the display looks perfect but no sound comes out—or the narration for an induction video is so distorted that families in the front row cannot understand a word. Audio failures on school recognition displays rarely stem from one cause. They trace back to a combination of source settings, cable routing, and speaker configuration that each passed an informal glance but were never tested together as a system.
This checklist is built for school athletic directors, IT coordinators, facilities staff, and archives staff responsible for a touchscreen recognition display that carries narration, interview audio, induction videos, or event media. It is organized by fault-isolation layer—source first, cable second, speaker last—so staff can work from the most likely cause toward the more complex without unnecessary disassembly.
Work through all three phases before any major event where audio is part of the recognition experience. Run the pre-event table at minimum 30 minutes before guests arrive.
Audio on a school recognition display serves a different function than audio in a meeting room or classroom. Narration from a hall of fame induction video, coach interview playback, and archival broadcast audio are content the recognition program worked to collect and preserve. When that audio is inaudible, distorted, or absent during the event itself, the content fails its audience at the exact moment it should perform best.

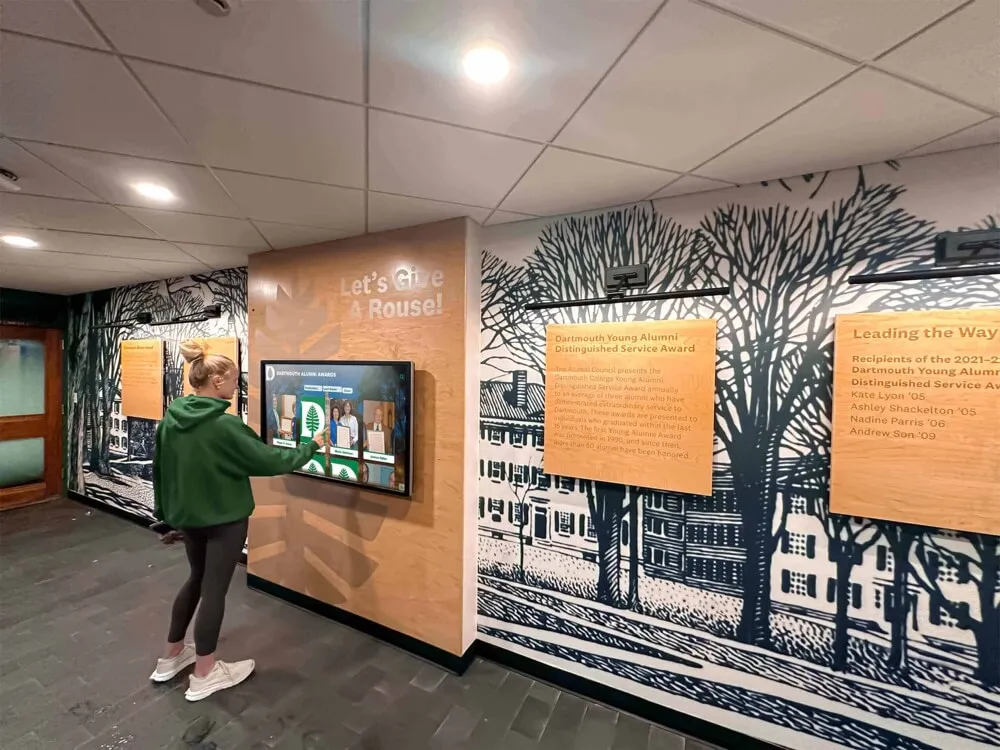
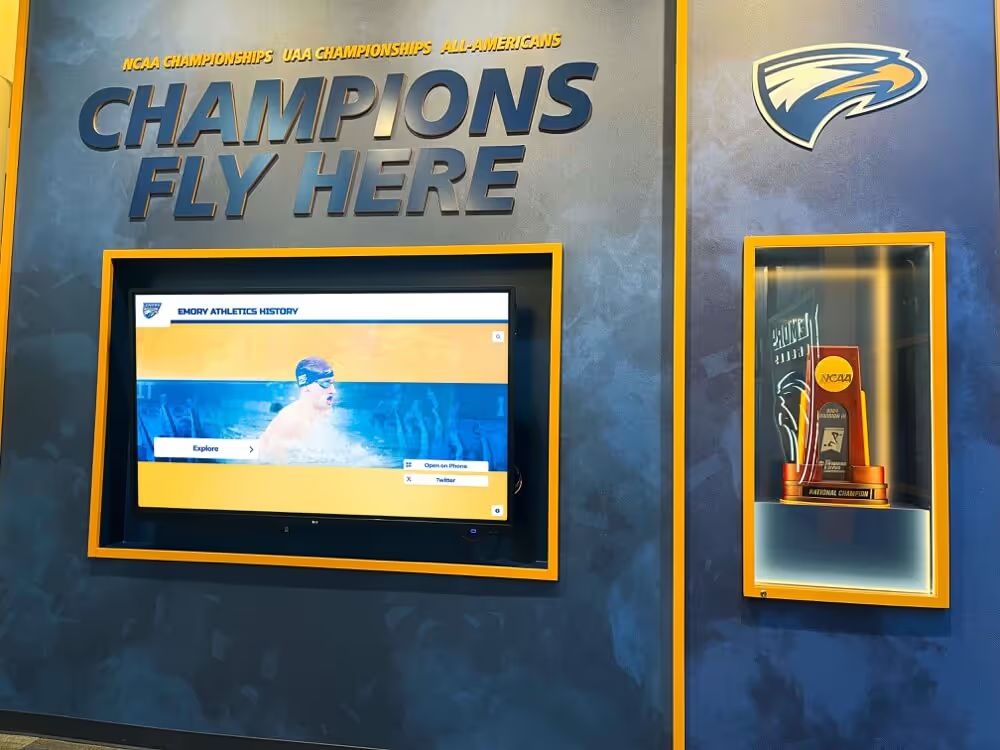
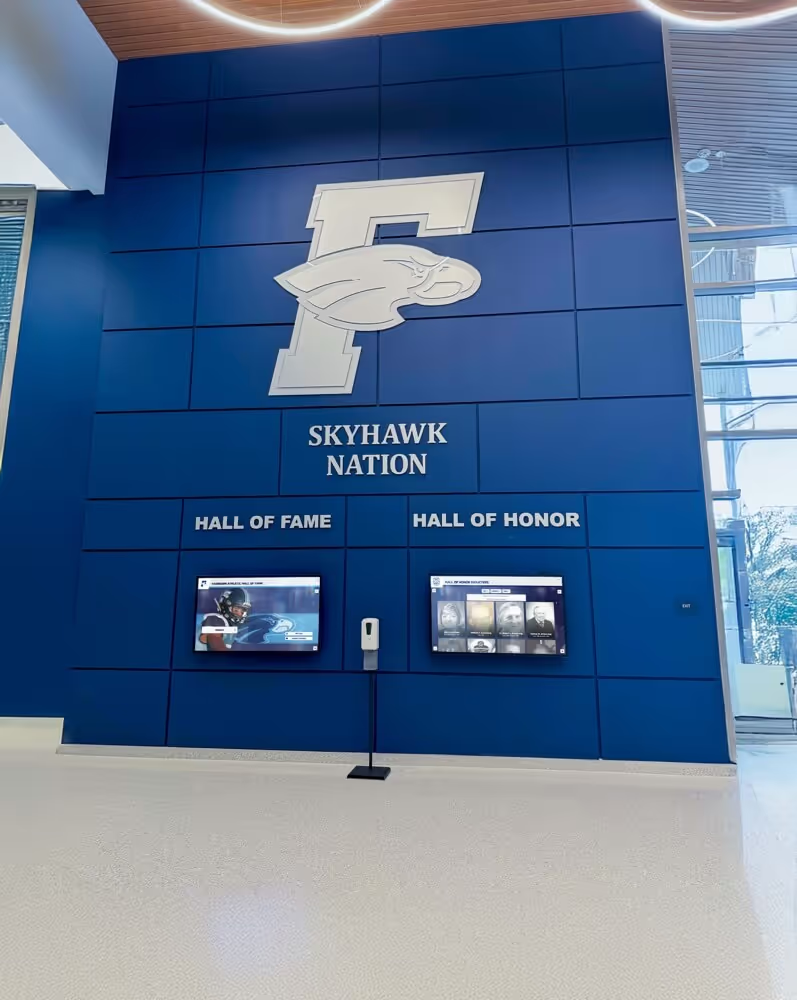
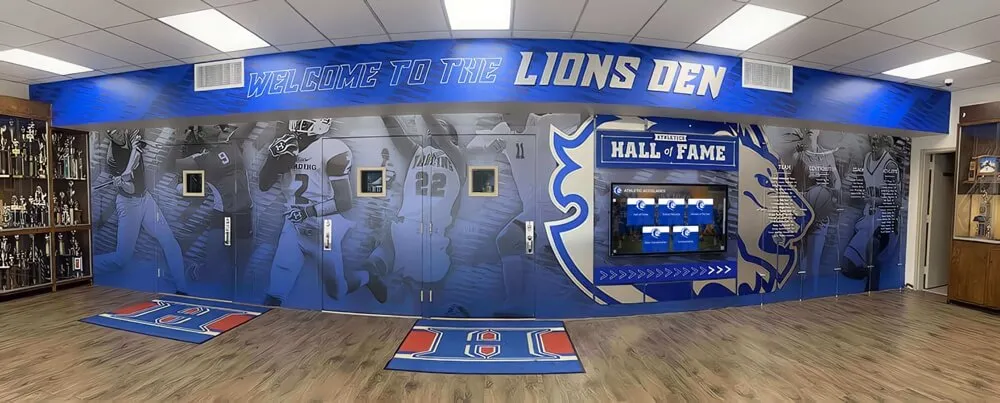
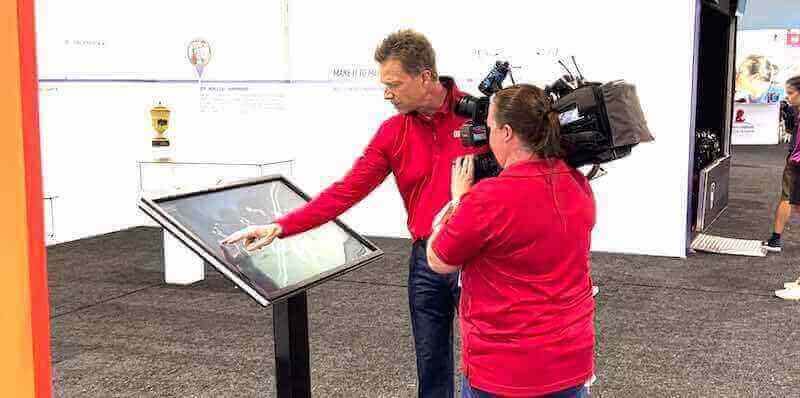
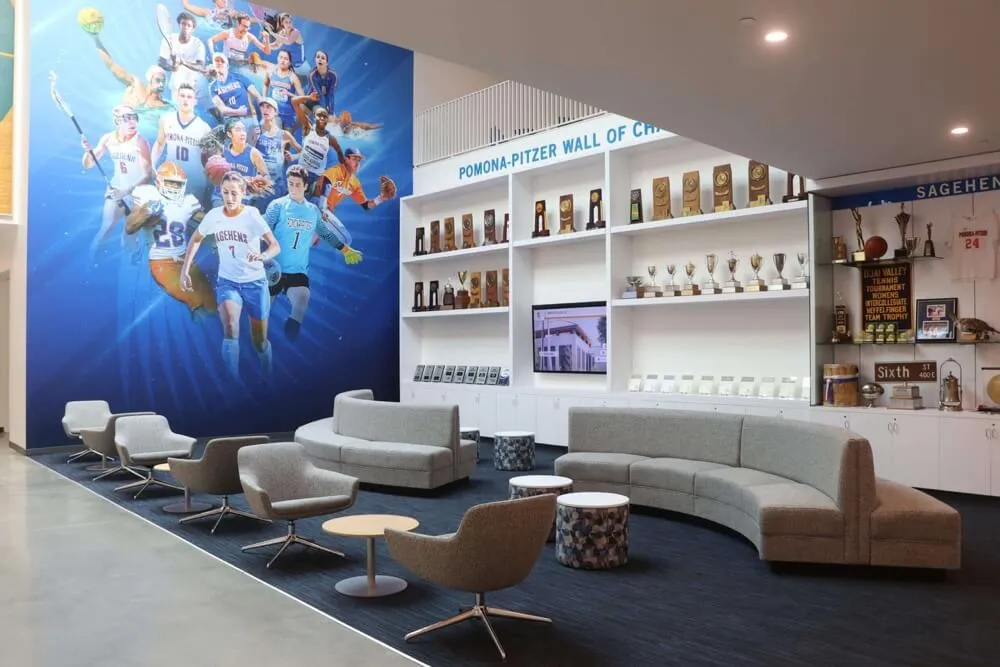
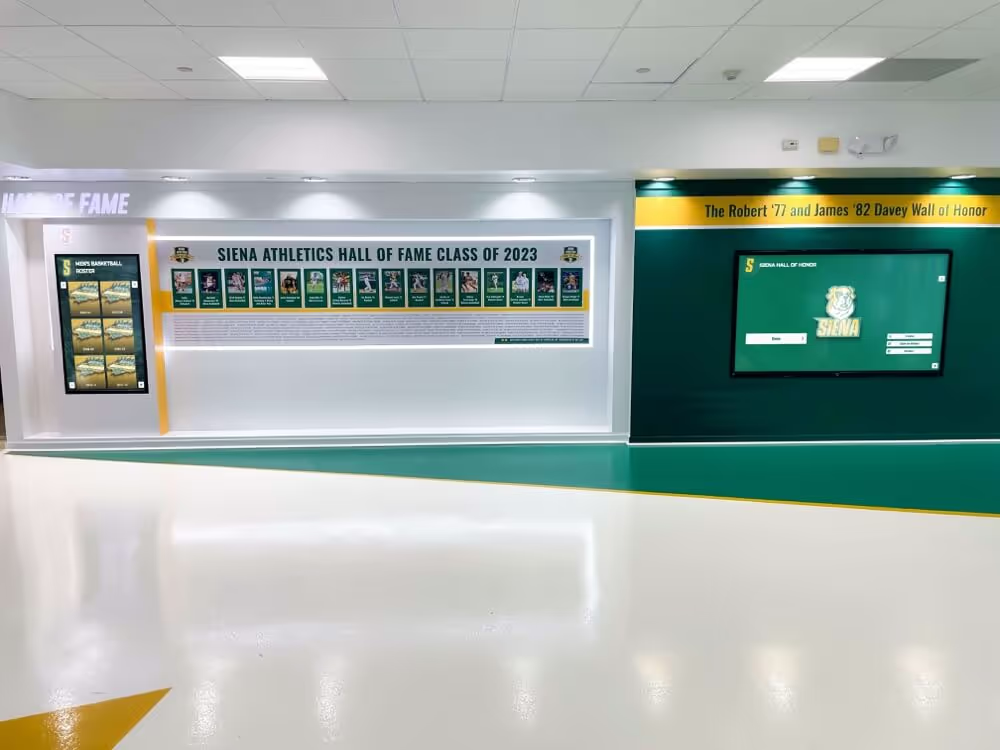
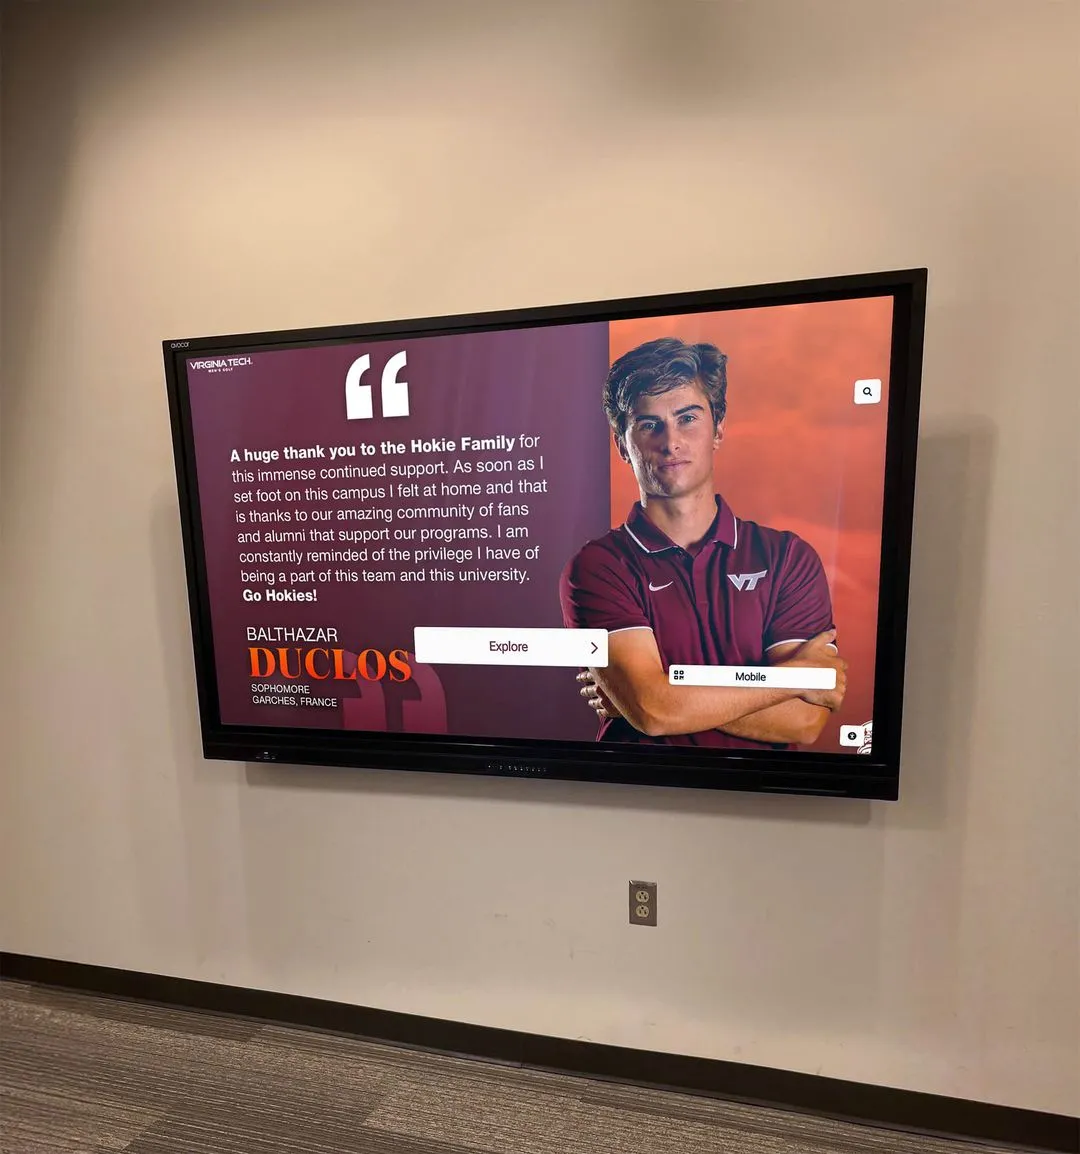
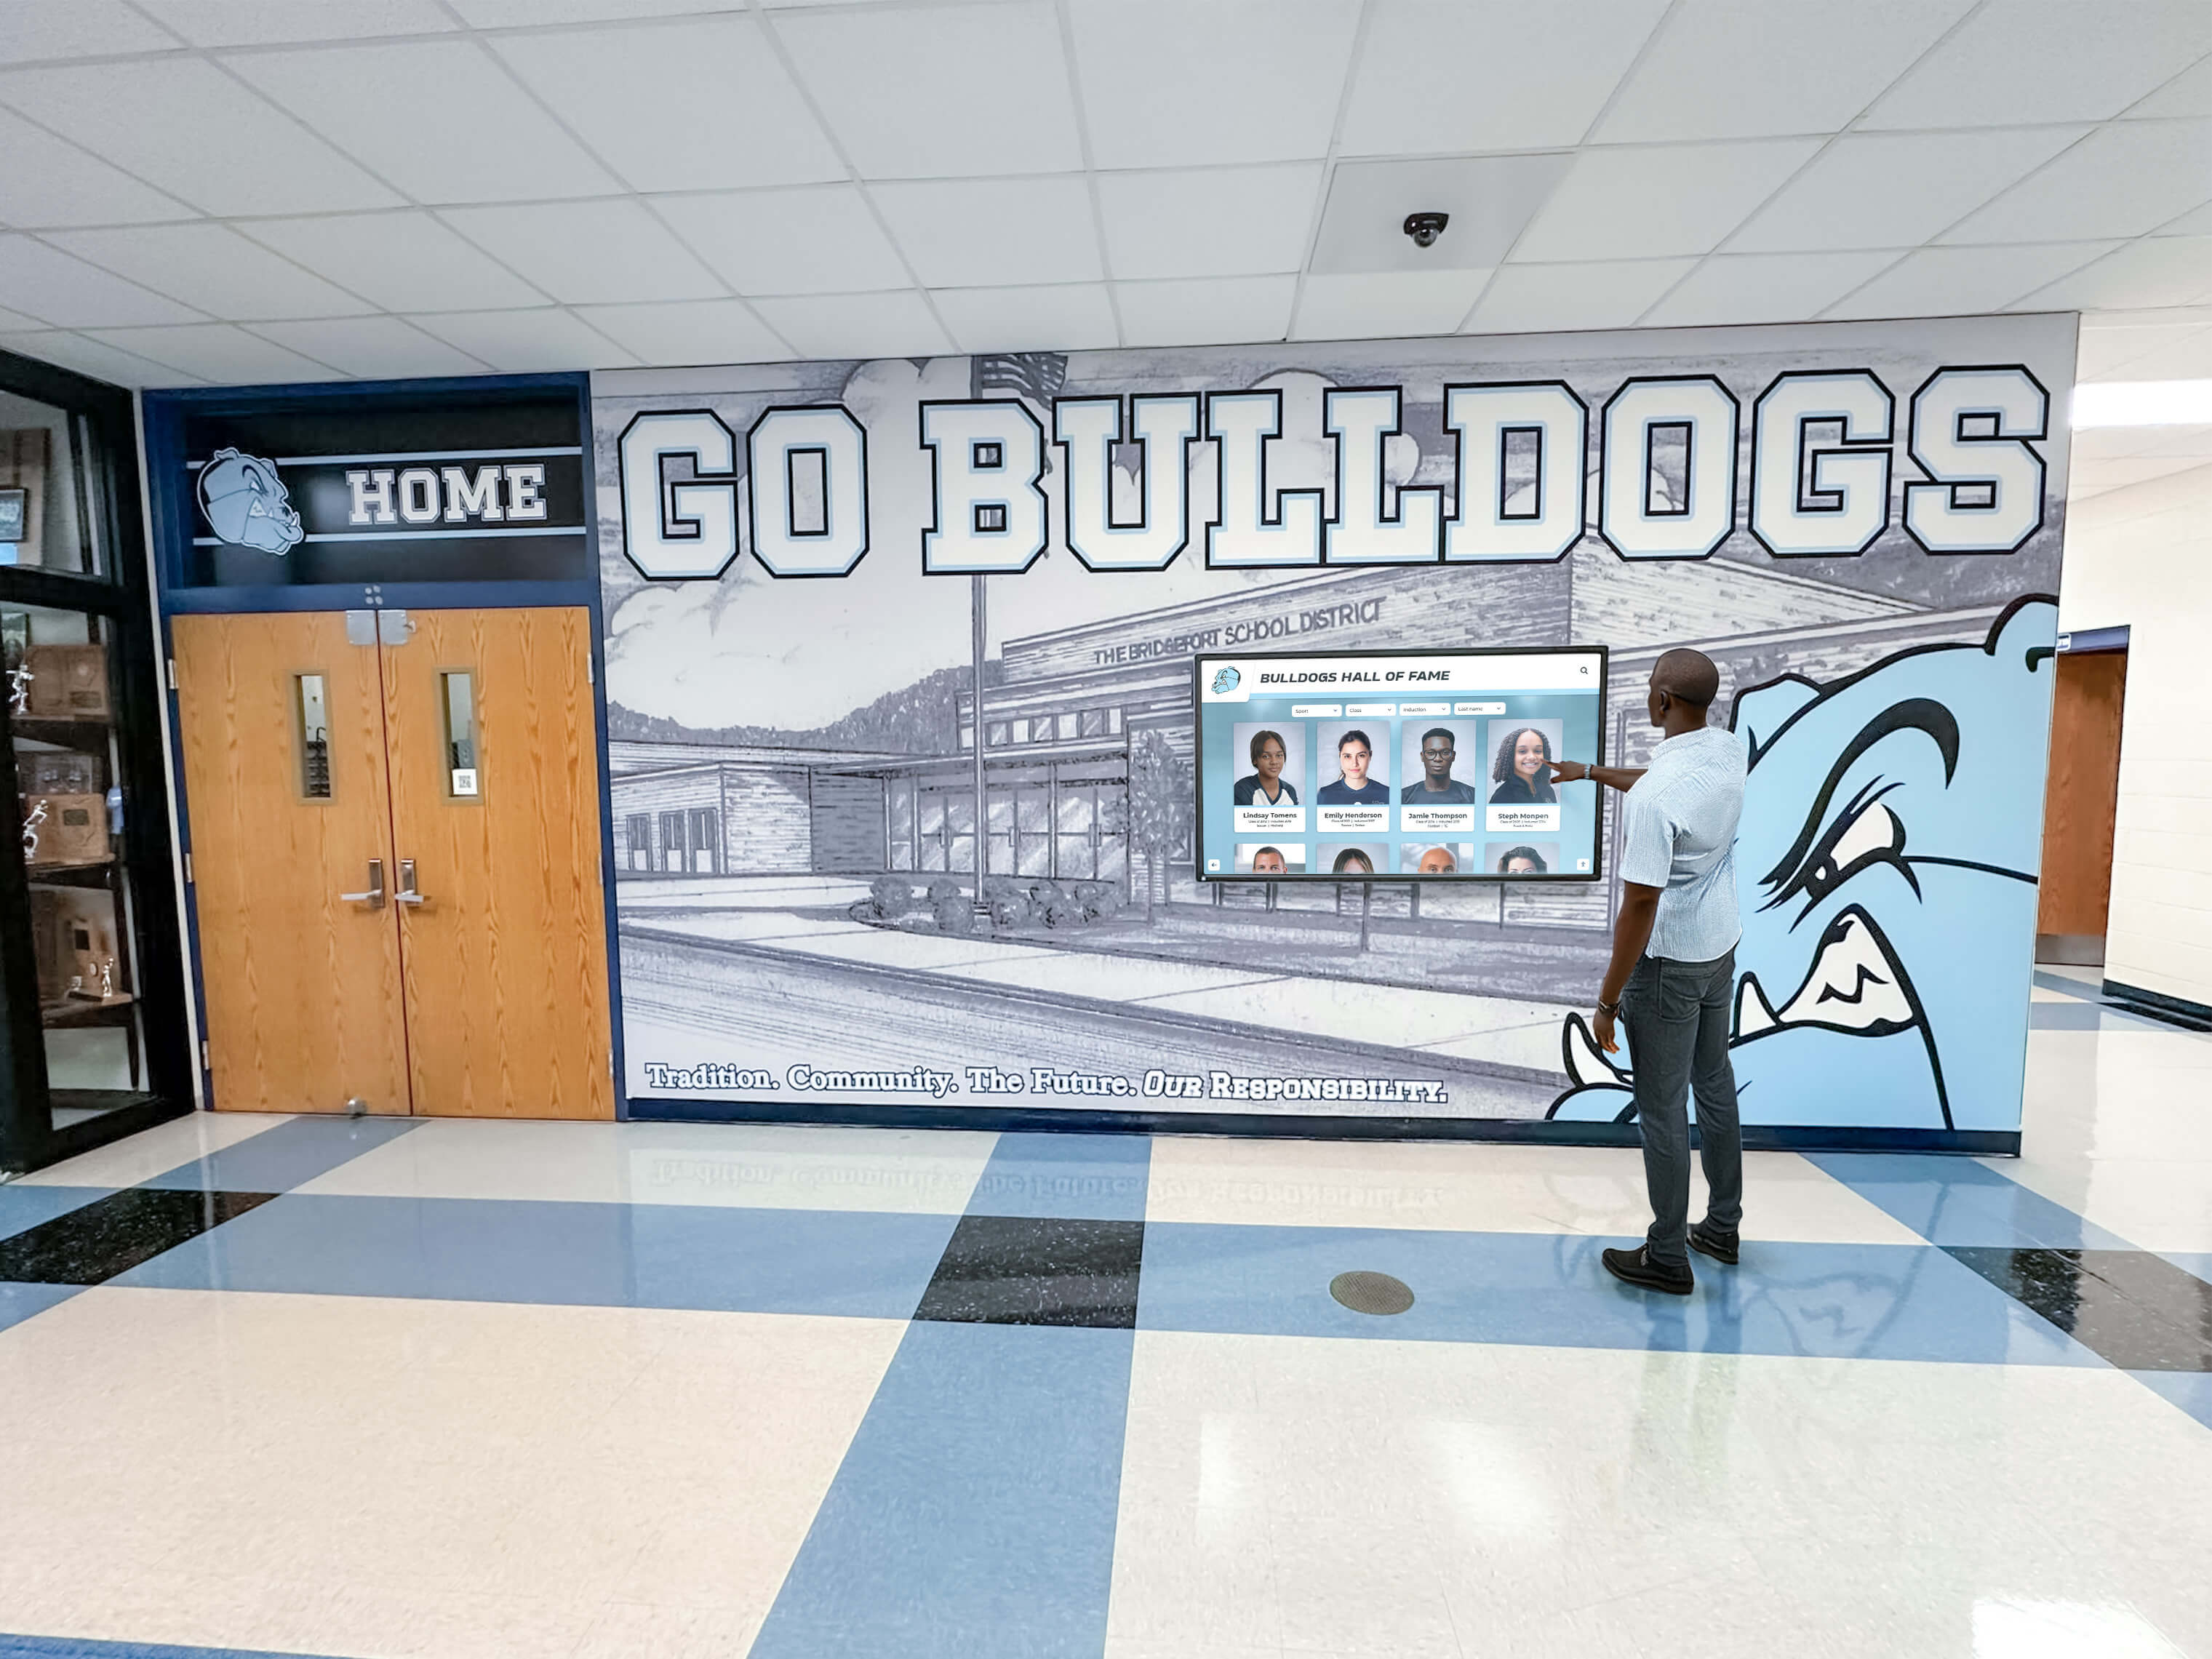
Recognition displays in athletic corridors must deliver clean, audible audio for narration and induction video content—not just visual recognition—to serve families and guests effectively during high-attendance events
Why Audio Faults on Recognition Displays Behave Differently Than Visual Faults
A display that shows no image gets fixed immediately because the problem is obvious to anyone who walks past. An audio fault can persist through an entire event because staff assume someone else confirmed it, or because the display looked fine during a quick visual check that did not include any listening test.
Recognition display audio also involves layers that visual output does not. The source must output audio. The output must be routed through the correct device settings. The cable must carry that signal to the display or to an external amplifier. The speaker itself—whether built-in or external—must be powered, not muted, and set to a volume appropriate for the room. Any one of these layers can fail independently while the others appear correct.
For events that include induction ceremony content, coach interview audio, or archival recordings, a structured approach to audio testing is essential. Families attending a hall of fame induction ceremony plan their evening around specific recognition moments—a display that cannot deliver audio for those moments falls short of the occasion.
Before You Start: Gather Tools and Baseline Information
Before running any test phase, collect the following information. Testing without a baseline takes longer and produces less conclusive results.
Tools needed:
- Short known-good audio cable (3.5mm aux, RCA, or the cable type your display uses for external audio out)
- Alternate audio source—a phone, laptop, or tablet you can confirm produces audio—to isolate the speaker from the source
- Headphones or earbuds for confirming source-level output privately
- Small flashlight for inspecting ports and connector seating
- A simple test audio file: a clip of clear speech at consistent volume (not music, which can mask specific distortion patterns)
Reference information to have ready:
- Audio output configuration for the display’s source device (PC, media player, or integrated player)
- Whether the display uses built-in speakers, a connected soundbar, or an external amplifier
- Cable type and routing between the source’s audio output and the speaker or display
- The volume at which the display audio was last confirmed working (if known)
- The room size and whether ambient noise during events requires a volume level the system has not been tested at
Phase 1: Source Audio Check
Source-level problems account for a large share of audio failures on recognition displays because changes to Windows volume settings, audio device routing, or the recognition platform’s media player configuration happen silently and are never confirmed until someone plays audio and hears nothing.
Step 1.1: Confirm the Source Device Is Outputting Audio
- On the source PC or media player, open the system volume mixer
- Play the test audio file and observe whether the volume mixer shows active output—the audio level indicator should respond to the sound
- If the volume mixer shows no activity during playback, the problem is at the media player or application level, not the cable or speaker
- Confirm the test file is not muted within the recognition platform’s media player; some platforms apply a default-muted setting to embedded video that requires a one-time user interaction to unmute
Step 1.2: Verify the Correct Audio Output Device Is Selected
- In Windows, right-click the speaker icon in the taskbar and select “Sound settings”
- Under Output, confirm the selected output device matches your intended speaker path (built-in display speakers, HDMI audio out to the display, or external speakers connected via 3.5mm or RCA)
- If HDMI is the audio path and Windows shows “Digital Audio (HDMI)” as the output device, confirm the display itself has its audio set to receive HDMI audio (see Phase 3 for display-side speaker settings)
- If an external soundbar or amplifier is connected via USB, confirm Windows recognizes it as an audio device; USB audio devices that were disconnected and reconnected may not automatically reselect as the output
Step 1.3: Test with Headphones at the Source Output
- Plug headphones directly into the source PC’s headphone jack or audio output port
- Play the test audio clip and confirm clear, undistorted audio through the headphones at a comfortable listening volume
- If audio is distorted at the source output, the problem is in the source device hardware or audio driver, not in the downstream cable or speaker
- If no audio is audible even through headphones with the volume confirmed not muted, check the PC’s audio driver status in Device Manager; a failed or missing audio driver produces no output from any audio path
Step 1.4: Check Recognition Platform Volume and Audio Settings
- Open the recognition platform and navigate to any video or narrated content
- Play the content and confirm that audio plays within the platform’s own media player before testing the external speaker
- If the platform has a dedicated volume control separate from the Windows volume, confirm it is not set to zero or muted
- Confirm the recognition platform is not set to autoplay videos in muted state—a common default on web-based recognition platforms designed to comply with browser autoplay restrictions
Phase 2: Audio Cable and Connection Testing
Once the source is confirmed producing audio, isolate whether the cable carrying that audio to the speaker or display is the fault.

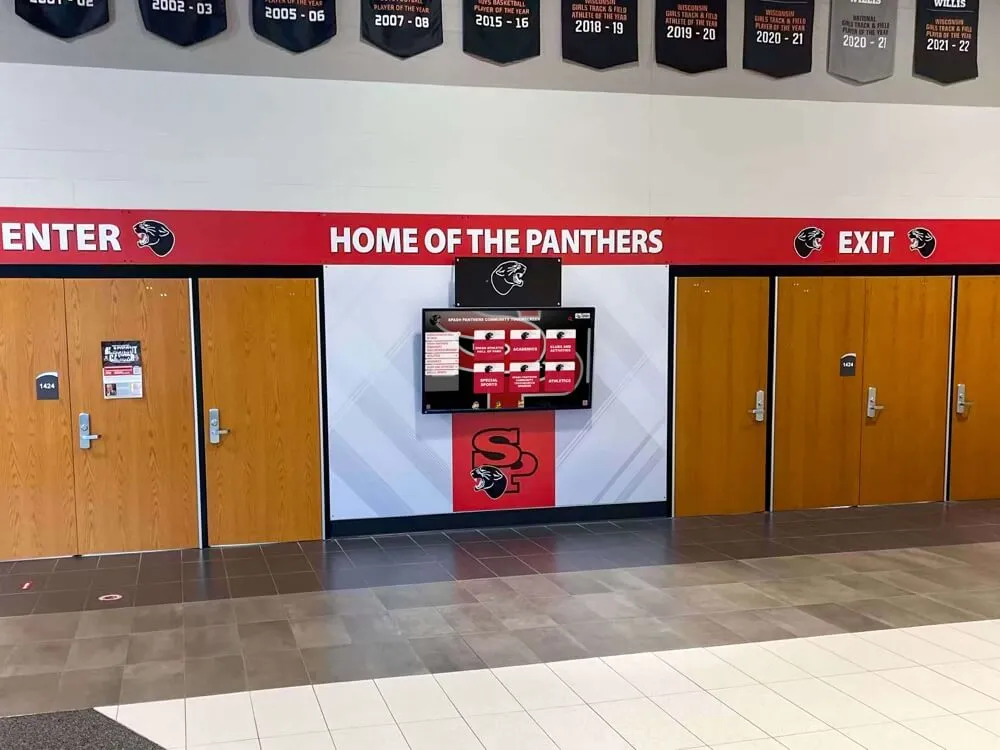
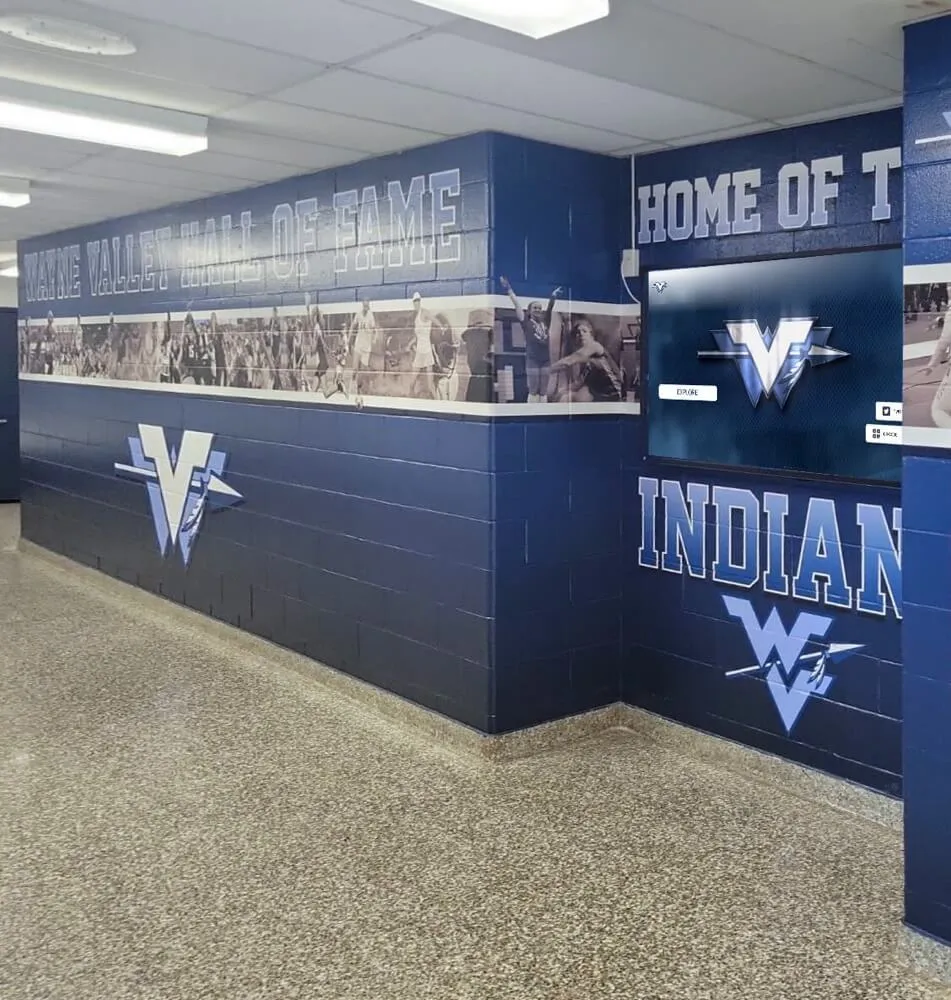
Recognition display installations that route audio through dedicated cable runs require each connection point to be tested independently—not just the speaker or the source
Step 2.1: Inspect Connectors and Ports
- Power down the display source and speaker before handling audio cables
- Inspect the audio output connector at the source end under a flashlight; 3.5mm connectors should show no bent tip or dirt on the conductor rings
- Inspect the cable’s connector at the speaker or display input end; a bent connector, cracked plug housing, or broken solder point causes intermittent audio or no output on specific channels
- Check the cable along its full run for kinks, compression points, or areas where it passes through a cable management clip that may be squeezing the conductor
- Re-seat both ends of the audio cable firmly; loose 3.5mm connections are a top cause of single-channel audio loss (audio in one ear only, or one speaker of a stereo pair silent)
Step 2.2: Test with a Short Known-Good Cable
- Disconnect the installed audio cable at both ends
- Connect the short known-good audio cable directly from the source audio output to the speaker or display audio input, bypassing the full installed cable run
- Play the test audio clip and listen
- If audio is now present and clear, the installed cable is faulty—replace it rather than continuing to troubleshoot the same cable
- If audio is still absent or distorted with the known-good short cable, the problem is at the speaker or display input, not the cable
Step 2.3: Check Cable Type Compatibility
- Verify the cable type matches the output and input ports; a TRS (stereo) plug in a TRRS jack (mic plus headphone combined) may cause audio on only one channel
- For RCA audio connections (red and white), confirm left and right channels are connected to matching input ports; a reversed channel pair can cause audio only in one direction depending on the media content
- For HDMI audio paths where the display receives both video and audio over HDMI from the source, confirm the HDMI cable is rated to carry audio; all standard HDMI cables carry audio by default, but a damaged cable may pass video while failing on the audio sub-channel—test with a different HDMI cable if both video and audio are affected simultaneously
- For installations using a USB audio interface or USB soundbar, inspect the USB cable and confirm the device shows as powered and recognized in Windows Device Manager
Step 2.4: Test Cable Continuity if Possible
- If a multimeter or dedicated audio cable tester is available, test continuity on each conductor of the audio cable
- A broken tip conductor on a 3.5mm cable causes loss of one audio channel; a broken sleeve conductor causes complete audio loss and often a buzzing or humming noise from the speaker when the cable is inserted
- RCA cables with a broken conductor produce no audio on the affected channel; test each cable independently
- Document the cable length and routing path; long unshielded audio cable runs near power cables or fluorescent lighting ballasts are susceptible to induced hum or buzzing that gets worse at higher volumes—this is a routing issue, not a cable defect
Phase 3: Speaker Output Testing
After confirming the source produces audio and the cable carries it, isolate whether the speaker itself is the fault.
Step 3.1: Confirm Speaker Power
- If the display uses built-in speakers, confirm the display is powered on and the speaker system has not been separately disabled in the display’s OSD (on-screen display) audio menu
- If an external speaker, soundbar, or amplifier is in use, confirm its power switch is on and its power indicator is lit
- Some external speakers have an auto-standby feature that cuts power after inactivity; confirm the speaker is not in standby mode—most auto-standby speakers resume instantly when audio signal is detected, but some require a manual power cycle
- Check whether the speaker’s power outlet is on a switched circuit; display installations in gym lobbies or corridors sometimes route speaker power through a switch that is turned off outside school hours
Step 3.2: Test Speaker with an Alternate Source
- Disconnect the audio cable from the recognition display source
- Connect the alternate source (phone, laptop, or tablet) directly to the speaker input using the known-good short cable
- Play audio from the alternate source and listen
- If audio is now present and clear, the speaker itself is functioning; the fault is in the cable or source connection path already tested
- If no audio is audible from the alternate source, the speaker or amplifier has a hardware fault requiring service or replacement
Step 3.3: Check Speaker Volume and Tone Settings
- Confirm the speaker’s physical volume control is set to a level appropriate for the room; recognition display installations in trophy corridors and gym lobbies often have speakers mounted at ceiling height where volume must be set significantly higher than a desktop speaker
- Check whether the speaker or display has a bass or treble trim setting that may have been adjusted; heavy bass reduction can make spoken narration sound thin and difficult to understand even at adequate volume
- If the speaker has left and right balance controls, confirm balance is centered; a balance setting shifted to one side causes apparent low volume when the listener is positioned on the quieter side of the room
- Test at the event volume level in the actual room, not at a desk; a volume that sounds adequate in an empty gym lobby may be inaudible when 80 families fill the space for an induction night
Step 3.4: Check for Speaker Damage
- Play the test audio at a moderate volume and listen for buzzing, rattling, or distortion that is present in the speaker output but was not present in the headphone test at the source
- A rattling or buzzing sound that changes with volume often indicates a speaker cone that has come partially unglued or a loose object near the speaker grille—inspect the speaker housing and grille for debris
- A consistent hum or buzzing that does not change with content volume is usually a ground loop caused by the speaker being powered from a different electrical circuit than the source device; try plugging both the source and the speaker into the same power strip
- If one speaker of a stereo pair is silent while the other is working, and the cable test confirmed both channels carry signal, the driver in the silent speaker has likely failed
Phase 4: Content-Specific Audio Tests
Generic tone playback confirms the signal path works. Content-specific testing confirms the actual recognition content delivers the intended audio experience for narration, interviews, induction videos, and event media.
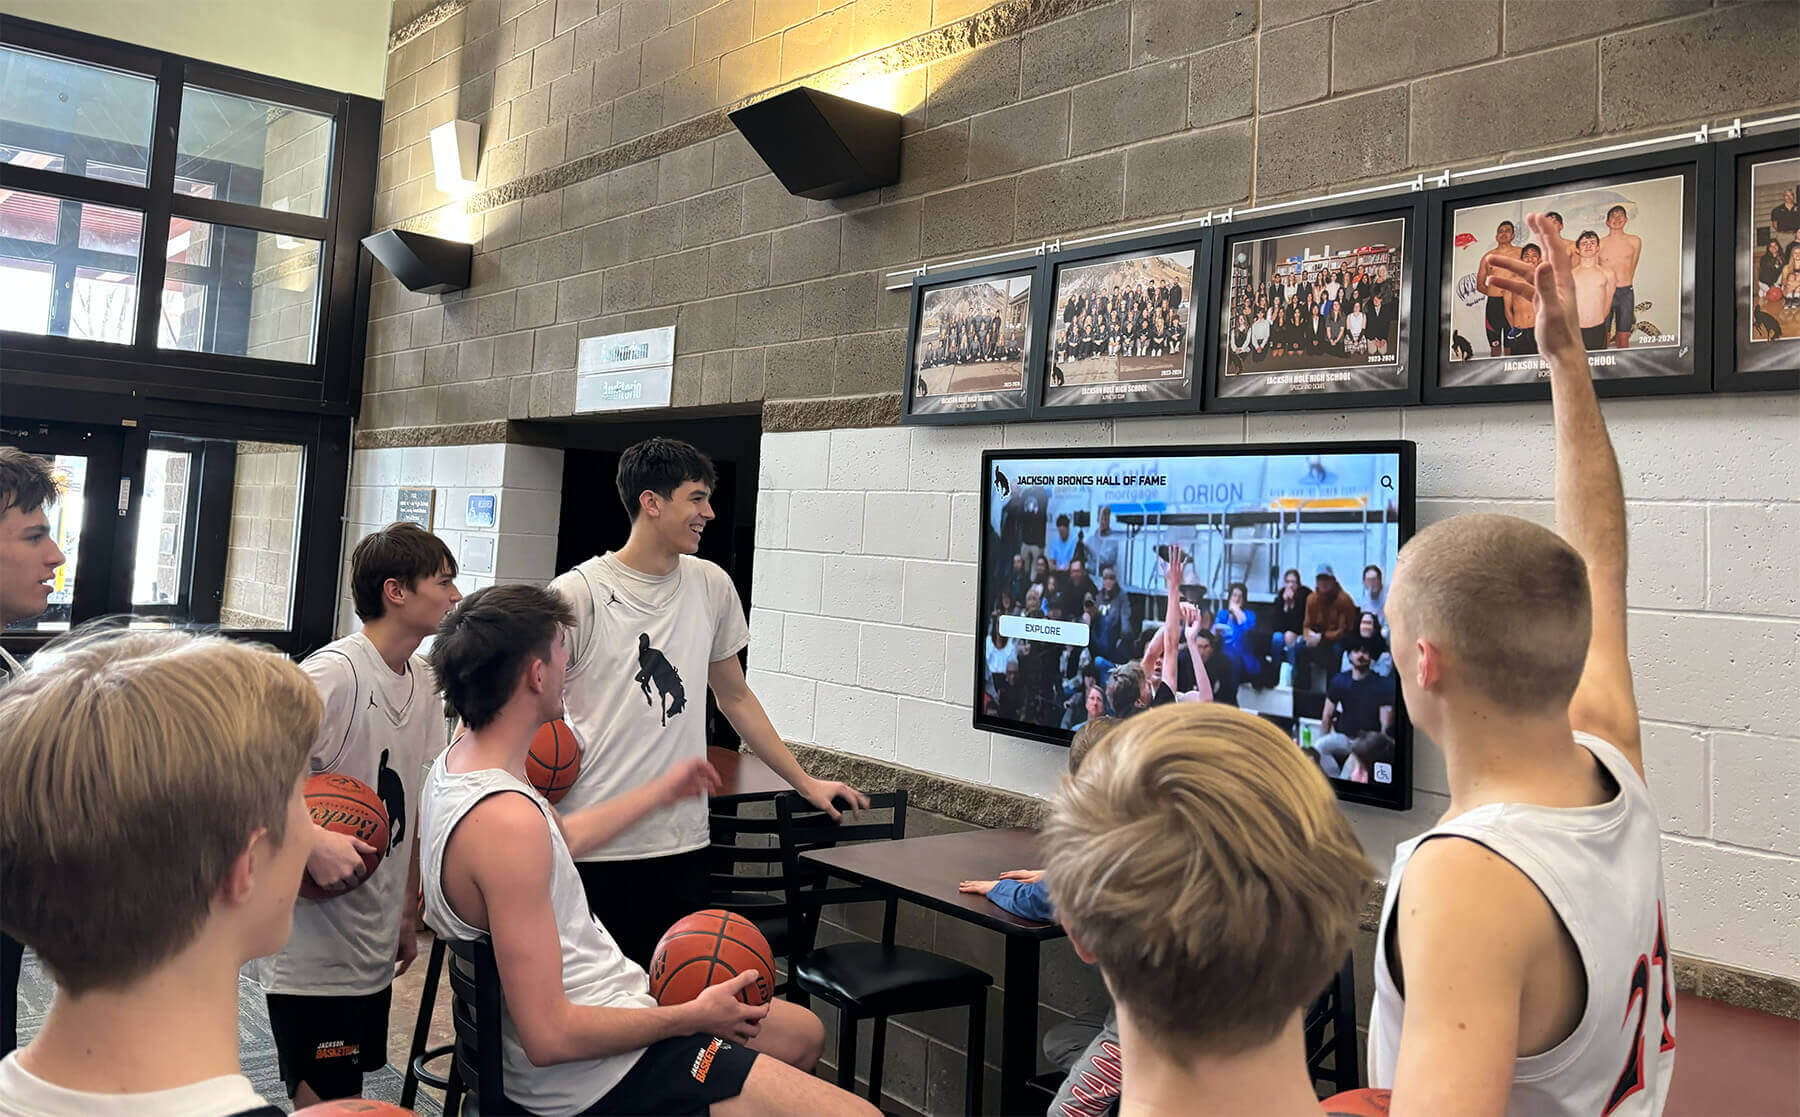
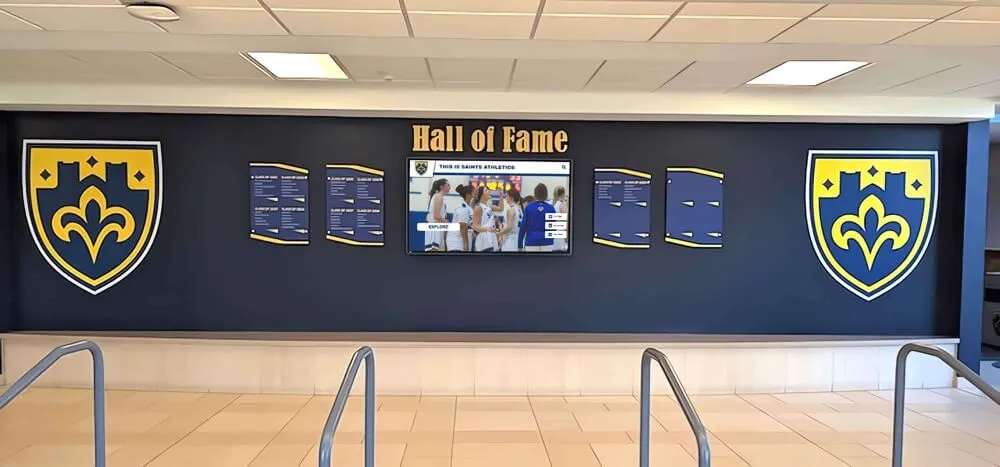
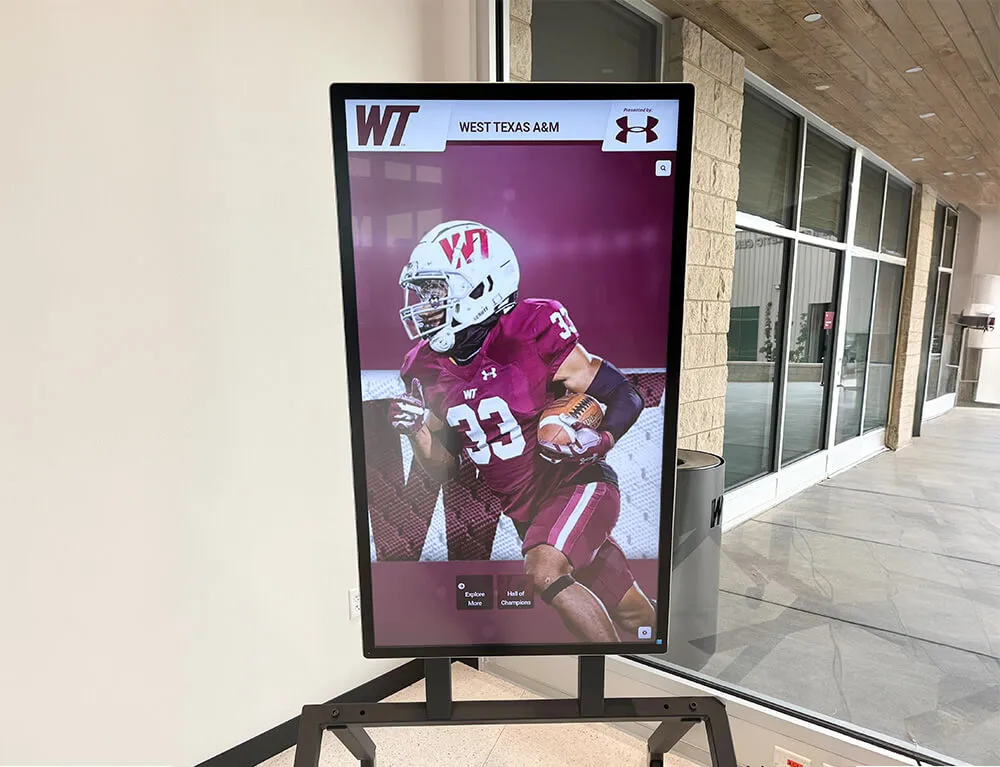
Audio testing with actual recognition content—induction videos, coach interviews, and highlight reels—reveals issues that generic tone tests miss, including platform volume settings and encoding differences in specific media files
Step 4.1: Test Narrated Induction Video Audio
- Play a narrated video from the recognition platform—one that includes clear spoken narration and any music or ambient sound typical of the content
- Stand at the far end of the room where guests typically gather and listen; the test position matters because a speaker that sounds fine close up may not project clearly to the back of the space
- Confirm narration is intelligible—meaning words are clear, not just audible; a speaker with excessive reverb or too much bass can produce audible audio that is nonetheless difficult to understand
- If the recognition program includes archived interview audio from coaches or athletes, play a sample and confirm clarity; older interview recordings often have limited dynamic range that sounds quiet relative to newer content—adjust the platform or system volume accordingly
Step 4.2: Test Event-Specific Media Audio
- If the event will include any media imported specifically for the occasion—a championship highlight reel, a retirement tribute video, a slide show with narration—test each file individually
- Confirm that imported files play audio through the same signal path as the rest of the recognition content; some media formats encode audio differently, and platform players occasionally handle imported files at a different volume level than natively managed content
- For schools that use the recognition display to present orchestra concert recognition video clips or ensemble performances, confirm that stereo audio from musical content sounds balanced and is not clipped at higher volumes
- Test all media at the planned event volume before the event starts; late discovery that one file is significantly quieter than everything else is a fixable problem before guests arrive and an embarrassing problem after they do
Step 4.3: Test Looping and Transition Audio
- Allow the recognition platform to cycle through its content loop at least twice and listen for any audio dropout at content transition points
- Some recognition platforms briefly mute or reset audio between content segments; a half-second silence at each transition is usually acceptable, but longer dropouts or a burst of noise during transitions indicate a platform audio configuration issue
- If the display runs a looping recognition reel during pre-event gathering time, confirm the loop volume level is set lower than the event presentation volume—a reel that is loud enough to be noticed as background is often too loud for concentrated narration playback
Step 4.4: Test at Full Event Conditions
- With all the above confirmed, run the complete display audio at the volume level planned for the event, in the actual room
- Walk the room perimeter and note any dead zones where audio does not reach clearly
- If the display’s built-in speakers cannot reach the room’s far corners clearly at safe listening volumes, plan to add a temporary external speaker for the event rather than pushing the built-in speaker to maximum, which risks distortion and speaker damage
Pre-Event Audio Verification Checklist
Run this table within 60 minutes of any school event where recognition display audio is expected. Pass means confirmed working by ear, not just by visual indicator.
| Check | Method | Pass Condition |
|---|---|---|
| Source audio output active | Play test audio, observe volume mixer | Mixer shows active signal during playback |
| Correct output device selected | Windows Sound Settings → Output | Device shown matches intended speaker path |
| Audio cable seated at source | Physical inspection and re-seat | Connector seated firmly; no movement |
| Audio cable seated at speaker | Physical inspection and re-seat | Connector seated firmly; no movement |
| Speaker powered on | Check power indicator; press play | Speaker responds within 3 seconds of audio signal |
| Speaker not in standby | Listen for auto-resume or manually press play | Audio plays without requiring manual power cycle |
| Built-in display audio not muted | Check display OSD | Audio not muted; volume above 30% |
| Recognition platform not muted | Check platform media player controls | Platform volume control above zero |
| Narration intelligible at back of room | Stand at far wall; play test narration | Words clearly understandable without straining |
| Event media files produce audio | Play each imported video | Each file produces audible audio through speaker |
| Volume appropriate for event | Set and test at planned event level | Clearly audible at room’s far edge without distorting |
Troubleshooting Reference: Audio Symptoms and Likely Causes
| Symptom | Most Likely Cause | First Step |
|---|---|---|
| No audio from any source | Output device wrong in Windows; speaker unpowered | Check Windows output device; check speaker power |
| Audio from headphones but not speaker | Incorrect output device or cable fault | Switch Windows output to speaker device; test cable |
| One channel silent (left or right) | Loose 3.5mm connector; broken cable conductor | Re-seat cable; test with short known-good cable |
| Buzzing or humming regardless of volume | Ground loop between source and speaker circuits | Plug both into same power strip; add ground lift if needed |
| Buzzing increases with volume | Speaker cone damage or debris in housing | Inspect speaker grille; reduce volume; arrange service |
| Narration audible but not intelligible | Excessive reverb from room acoustics; bass-heavy EQ | Reduce bass on speaker EQ; add second speaker closer to audience |
| Audio drops at content transitions | Platform audio reset during segment change | Review platform audio settings; test on alternate player |
| Imported video louder than other content | Encoding level difference in imported file | Normalize imported file volume; lower system volume for that segment |
| Imported video quieter than other content | Compressed audio encoding in source file | Test on alternate player; boost system volume for that segment |
| Audio drops when display enters screensaver | Screensaver cuts power to audio subsystem | Disable screensaver or set power scheme to prevent audio cutoff |
| Audio echo or feedback | External speaker positioned near an open microphone input | Move speaker; check for open microphone input in Windows |
Audio Testing Schedule for Recognition Displays
| Task | Frequency | Notes |
|---|---|---|
| Full source-to-speaker test | Each semester | Confirm entire signal path before active event season |
| Pre-event audio verification table | Before each event with audio content | Run 30–60 minutes before guests arrive |
| Content-specific media test | Each time new media is imported | Test each new file before the event it will appear in |
| Speaker grille and housing inspection | Monthly | Remove debris; check for physical damage |
| Cable condition inspection | Each semester | Check for kinks, stress marks, and loose connectors |
| Volume level documentation | After each event | Note the confirmed event volume setting for future reference |
| Ground loop check | After any electrical work in the area | Buzzing that appears suddenly after facility work often traces to a new ground issue |
Event-Specific Audio Considerations
Athletic Inductions and Hall of Fame Ceremonies
Induction events concentrate more audience attention on recognition display audio than any other school gathering. Families of inductees are listening specifically for narration that names and describes the person being honored. Incomplete audio at this moment is the most visible failure mode a recognition display can have.
For induction events, extend Phase 4 testing to include:
- Playing the complete induction video for each honoree who will be recognized, not just a sample
- Confirming that the audio volume for newer inductees matches the audio level for older archival content, since recordings from different years often have different dynamic ranges
- Testing in the actual ceremony room, not the hallway where the display normally sits
Well-organized hall of fame induction ceremony planning accounts for AV verification as a scheduled step rather than an afterthought. Schools that build display audio testing into their ceremony checklist rarely face the alternative: scrambling to fix audio in front of assembled guests.
Game Nights and High-Attendance Sports Events
Game nights bring rapid, unpredictable audience flow through lobby and corridor spaces where recognition displays operate. The audio environment changes significantly from an empty building to a packed pregame lobby.
- Test audio at a volume level adequate for the expected crowd noise level—voices and crowd movement require significantly more volume than the same content in an empty hall
- Confirm the speaker is mounted and oriented to project toward the aisle or primary foot-traffic path, not toward a wall
- If the display operates near concession areas where equipment creates background noise, test whether narration remains intelligible above that ambient level
Schools with searchable recognition archives benefit from these events as natural opportunities for community engagement. A well-maintained player-of-the-week recognition board with a searchable archive gives visitors something to interact with while audio from the primary display provides an ambient recognition experience for the crowd moving through.
Donor Recognition Events
Donor recognition events often use the display to acknowledge contributions publicly, sometimes including personalized video messages or narrated tribute segments. These events draw community members and major donors who have not interacted with the display before and who form a lasting impression of the school’s recognition culture from what they see and hear.
For donor events:
- Test audio for any personalized tribute video content the same day as the event—not 48 hours earlier when the content may not yet be finalized
- Confirm speaker volume is set for a gathering of the expected size; donor dinners in banquet rooms require higher volume than hallway installations configured for passing traffic
- If matching gift donor recognition programs include video content that will play on the display, test that content specifically—donor video tributes are often produced close to the event date and may have encoding characteristics that differ from the standard library
Graduation and Year-End Events
End-of-year events frequently include senior recognition content, senior highlight video, and farewell tributes that are created close to the event date and imported into the recognition platform for the first time. These are the files most likely to have audio encoding differences from the standard library content.
- Run Step 4.2 for every file imported for the year-end event, not just a sample
- Test audio at the volume level appropriate for a gymnasium-sized audience
- For schools where the recognition display plays background audio during graduation and year-end celebration events, confirm the looping volume is calibrated for the acoustics of the space and not just for normal daily operation in a quieter hallway
Connecting Audio Testing to the Broader Recognition Display Environment
Audio verification sits alongside signal, content, and hardware testing in a complete recognition display maintenance practice. Schools that treat each layer as a separate scheduled task—rather than a single informal check—find that problems surface during testing rather than during events.
For schools developing a full recognition program across athletic hallways, trophy corridors, and lobby walls, the visual presentation of championship banner design and display integration works alongside audio to create a complete recognition environment. A display where the visuals and audio both perform at their best makes recognition content land the way it was designed to.
High-profile recognition programs—including those that draw broader community attention similar to McDonald’s All-American digital recognition events—depend on audio reliability at exactly the moments a wider audience is watching. Schools that run systematic pre-event audio checks protect their recognition program’s credibility at its highest-visibility occasions.
Recognition displays are also increasingly used to support digital promotion and social storytelling around school athletics. Schools exploring how displays connect to digital recognition and social media outreach find that audio-capable displays produce content that works across both in-person and digital channels.
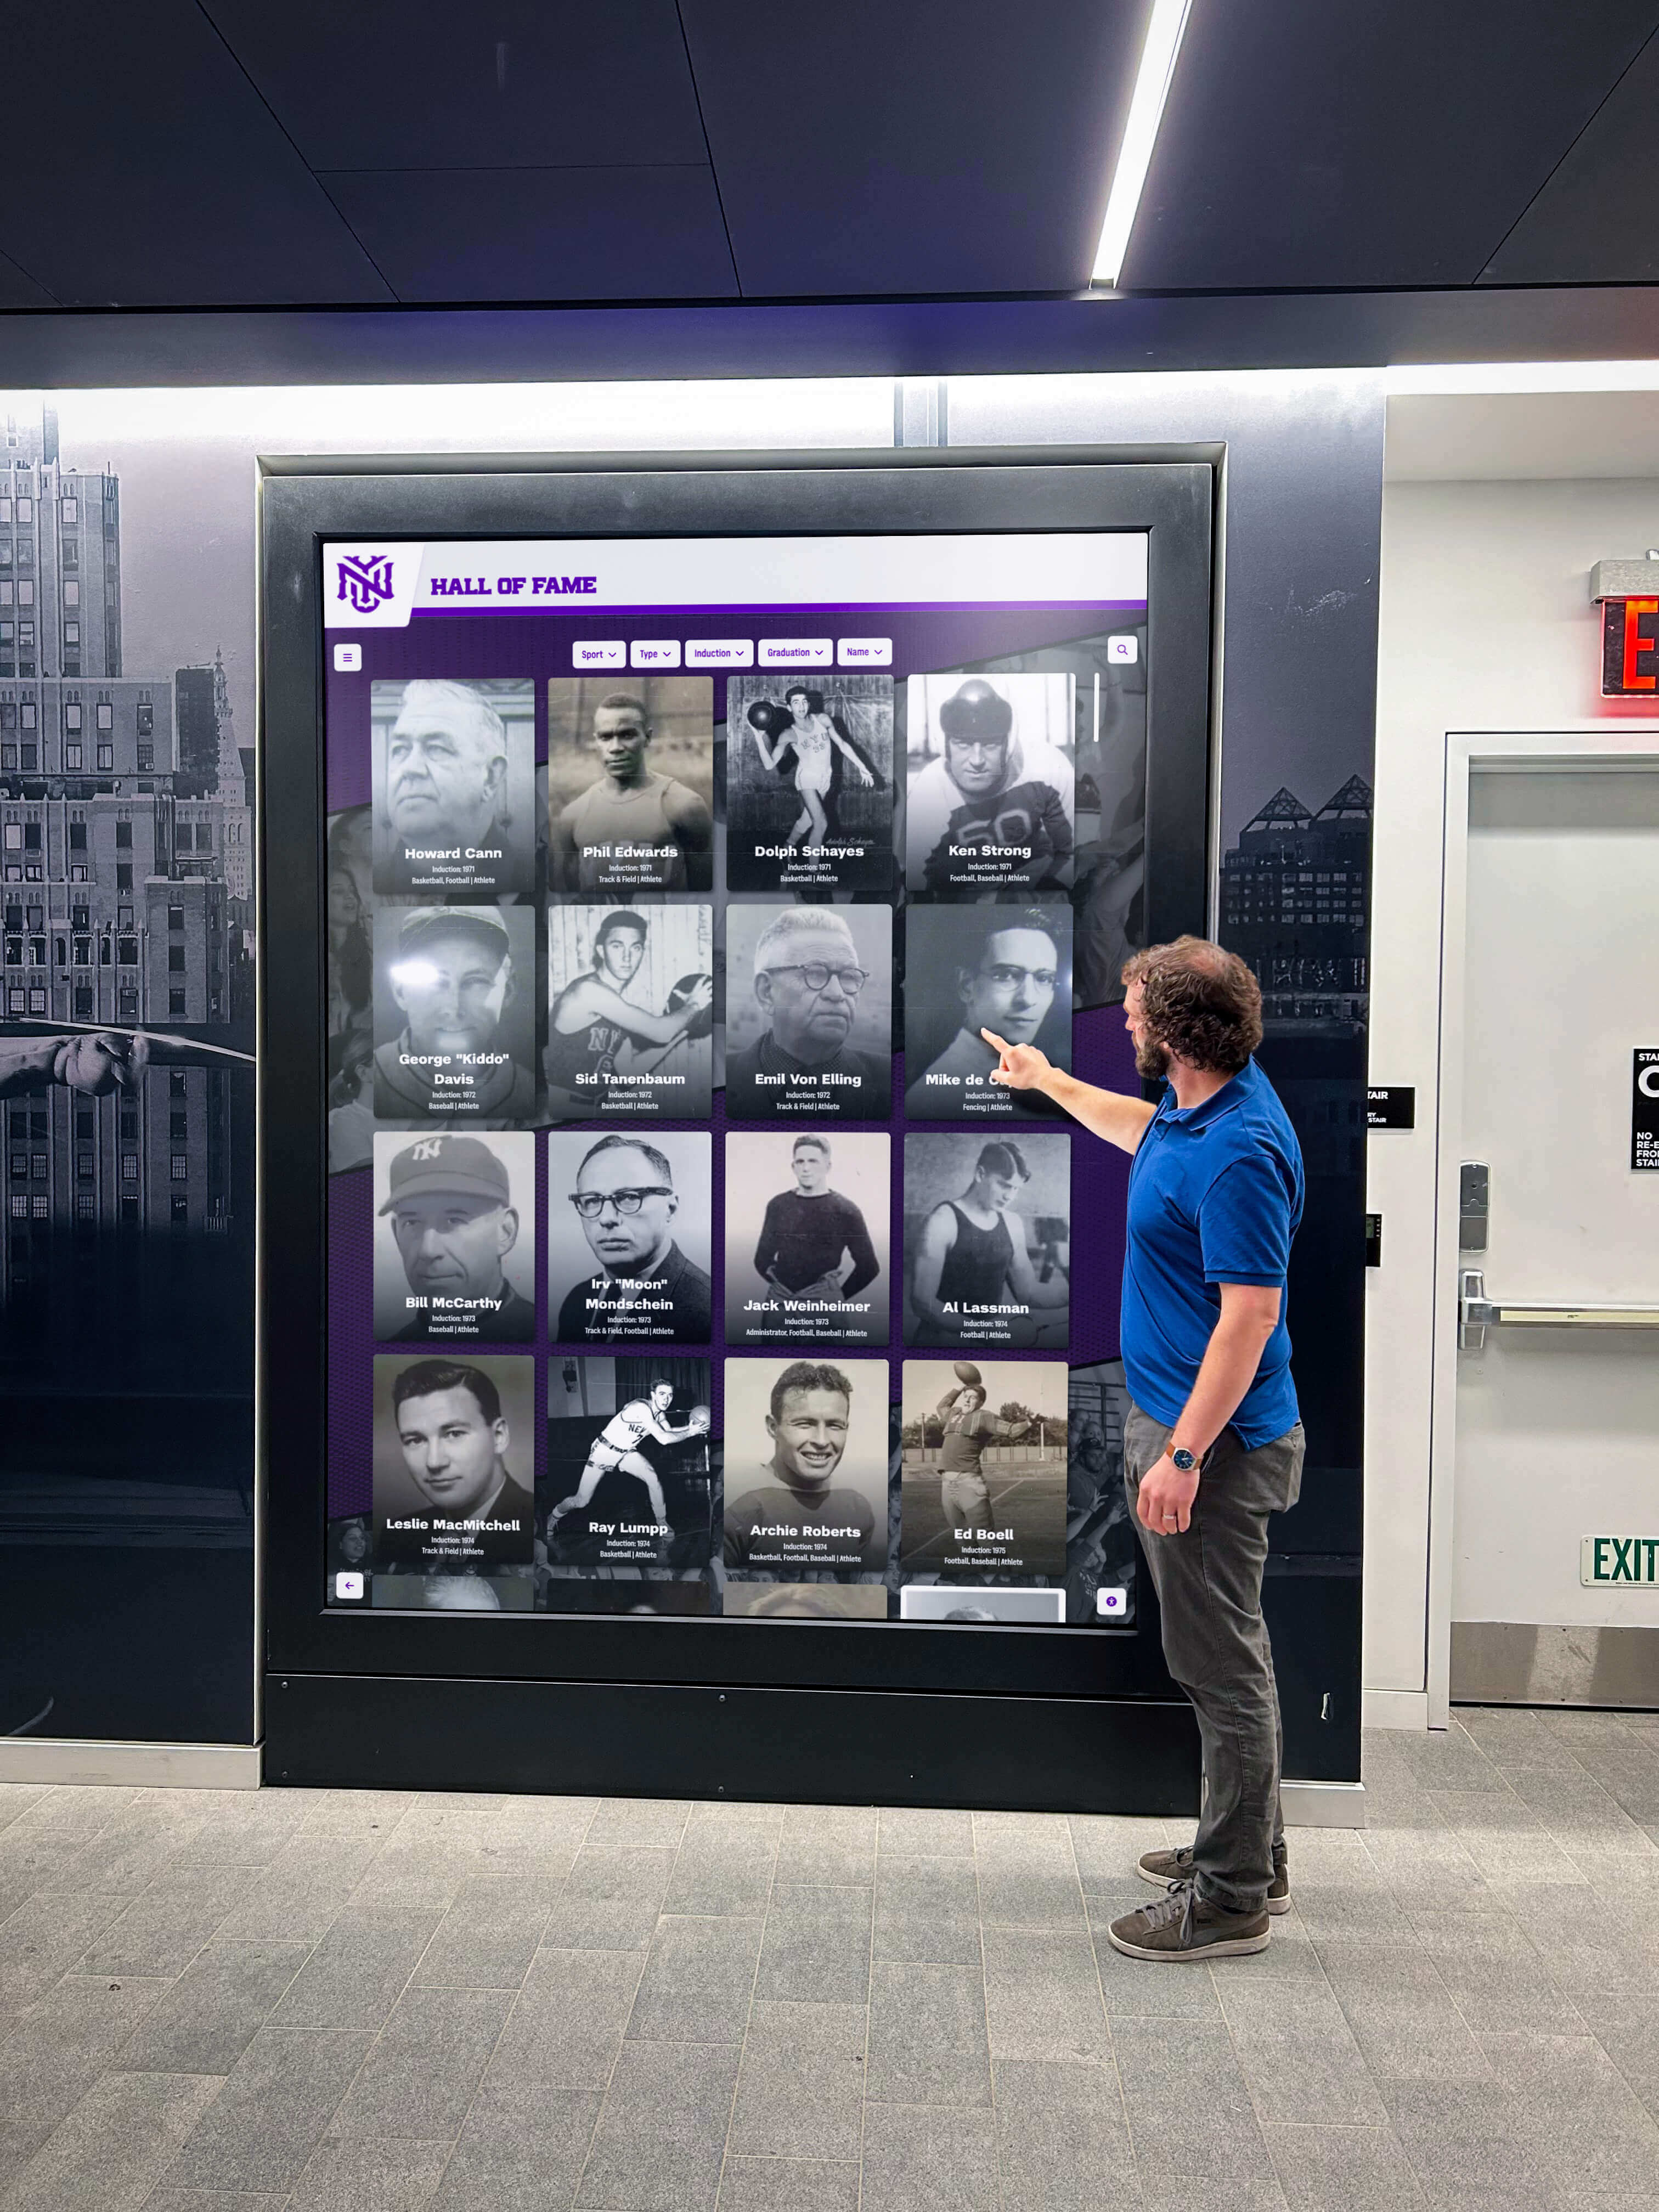
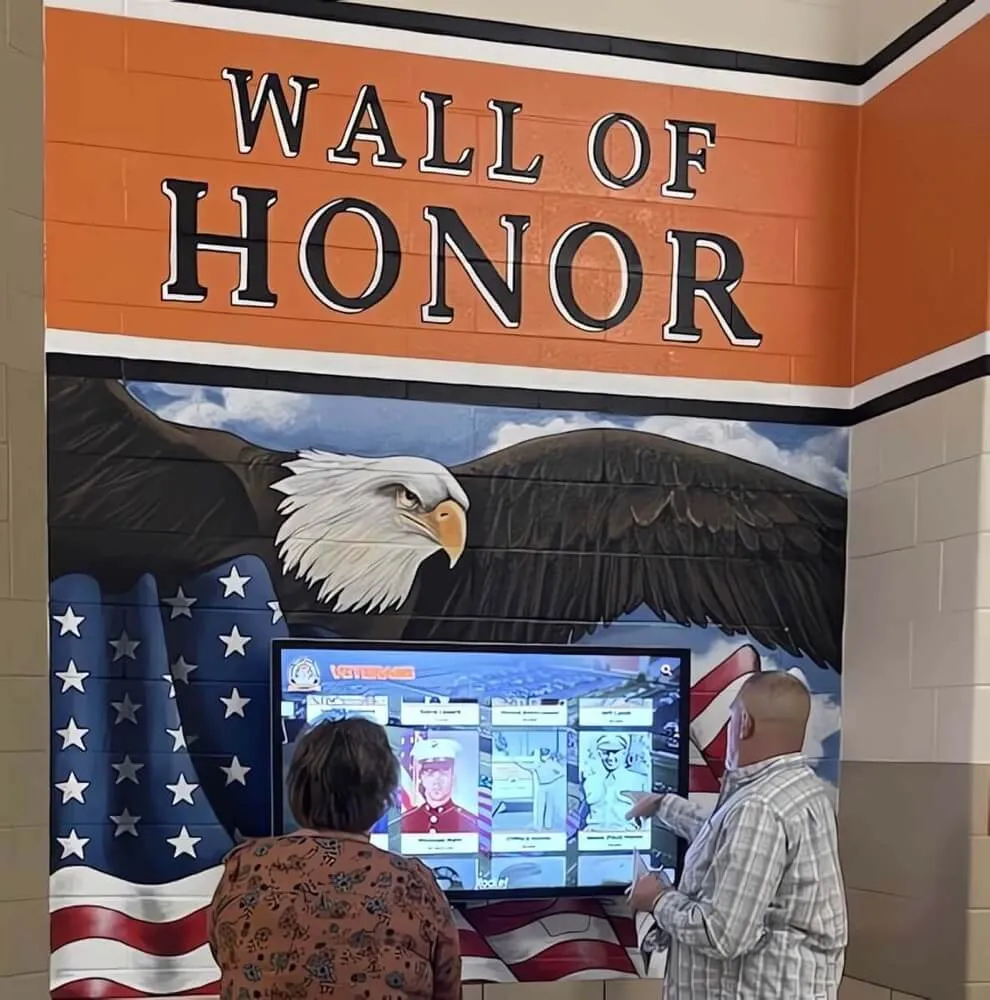
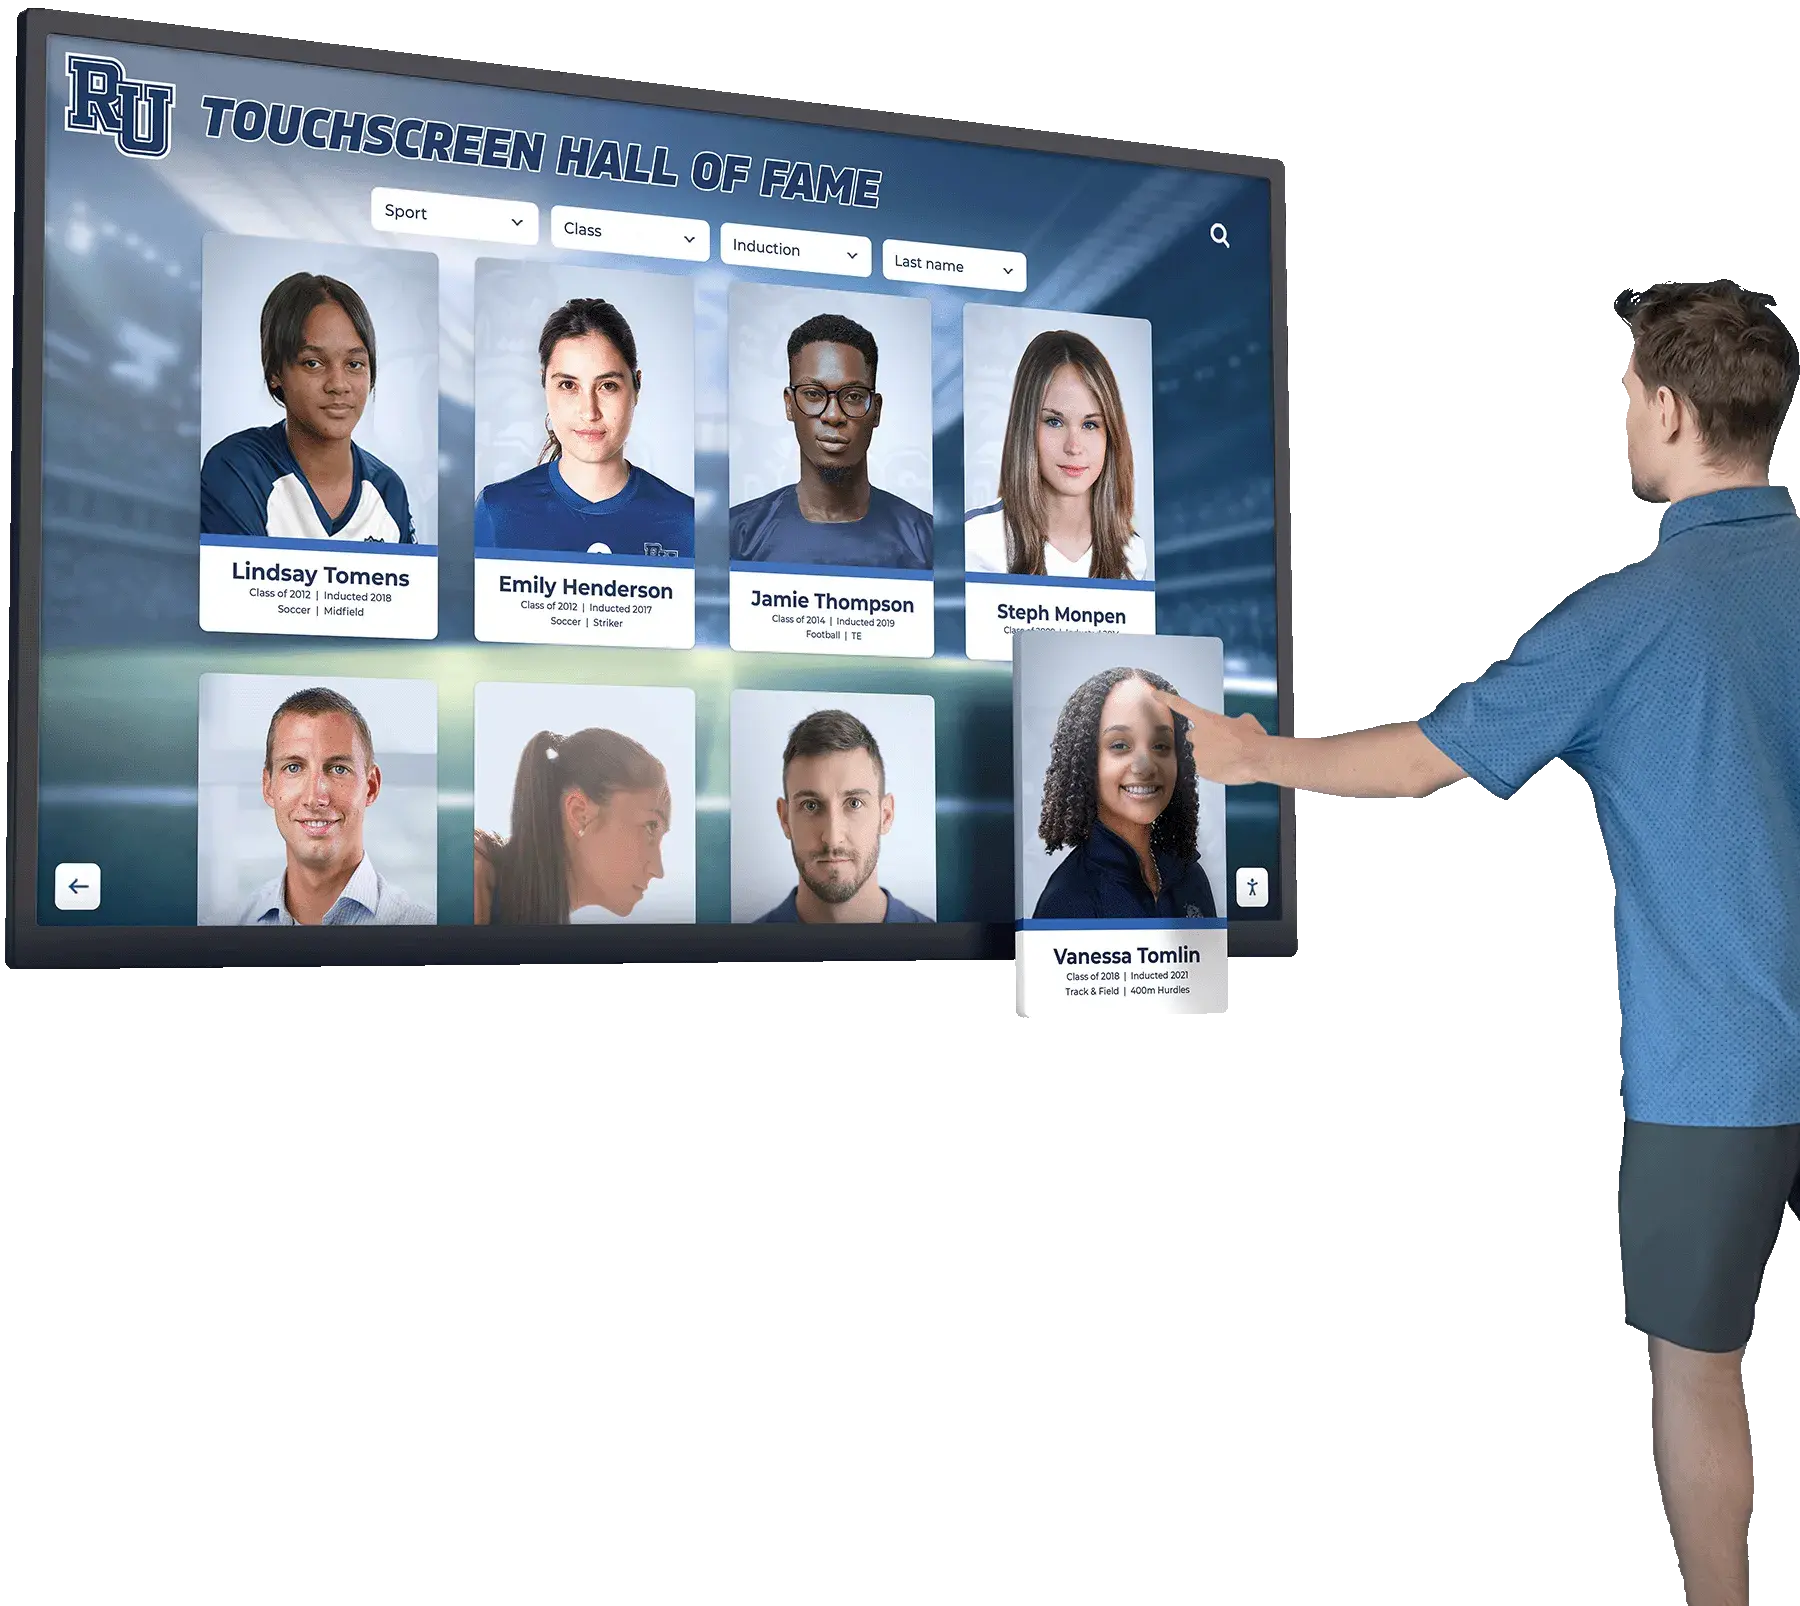
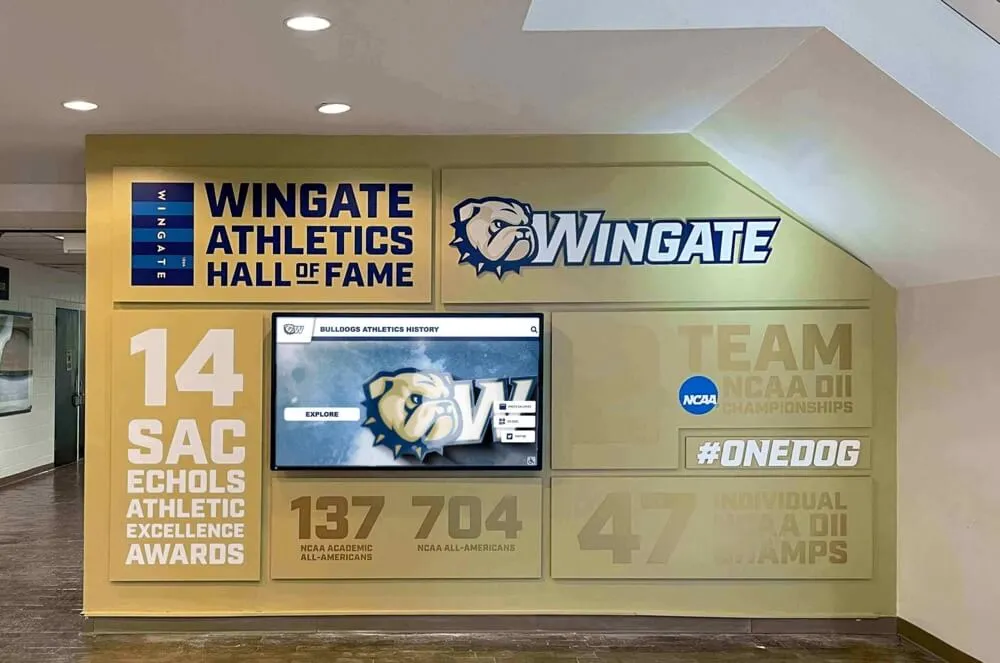
Audio from a recognition display creates an immersive experience that complements the visual content—a working speaker system turns a browsing moment into a recognition experience families carry home
Quick Q&A: Speaker Audio Testing on School Recognition Displays
How long does a full audio test take from start to finish?
A complete three-phase test covering source, cable, and speaker typically takes 30–45 minutes for a single display installation. Content-specific testing for an event with imported media adds 15–20 minutes per file. Budget 90 minutes for a full pre-induction audio verification when the display will feature narrated content for multiple honorees.
Our display has built-in speakers. Do we still need to test them, or does the display handle audio automatically?
Built-in speakers require the same systematic testing as external ones. The display’s OSD can mute the built-in speakers independently of Windows volume. HDMI audio must be enabled at both the source and the display. Built-in speakers also have volume limits that may be insufficient for large lobby or gymnasium spaces—discovering that limit during an event is worse than discovering it during testing.
The recognition platform plays content with audio in the morning, but by evening the audio has stopped. What causes this?
Intermittent audio loss that correlates with time rather than user interaction typically indicates one of three causes: the Windows audio device manager is reassigning the output device after a background update or device reconnection; an external USB speaker is entering auto-standby mode; or a screensaver or display sleep mode is cutting power to the audio subsystem. Test each scenario by running the display for four to six hours in a simulated event configuration and monitoring for audio dropout.
Can we run audio through the display’s HDMI and through a separate speaker simultaneously?
It depends on the source PC’s audio configuration. Windows allows only one default audio output at a time through a single application. To run audio to both the display’s HDMI speakers and an external speaker simultaneously, you need audio routing software that can mirror the output to multiple devices, or a physical audio splitter on an analog output. For most school installations, choosing a single confirmed-reliable audio path and configuring it consistently is more dependable than a dual-output configuration that introduces additional failure points.
We installed an external soundbar for better audio quality. Now we have a hum. What should we do?
Hum introduced after adding an external soundbar is almost always a ground loop—a difference in ground potential between the source PC’s electrical circuit and the soundbar’s circuit. The quickest fix is plugging both the source PC and the soundbar into the same power strip. If the hum persists, a ground loop isolator placed on the audio cable between the source and the soundbar typically eliminates it without affecting audio quality.
Does audio testing differ for displays that run content all day versus displays that are used only during events?
Yes. A display running continuously has speakers that are always in use, which means thermal wear and eventual cone fatigue are more significant factors over time. Event-only displays may experience auto-standby issues and Windows device-list drift between uses because the system sees the audio device reconnect each time the speaker is powered on. Test event-only displays at the start of the event day rather than 48 hours earlier; configurations can change between a Thursday test and a Saturday event if Windows updates or sleep cycles run in between.
Conclusion: Make Audio a Verified Guarantee, Not an Assumption
School recognition programs invest time in curating narration, recording interviews, producing induction videos, and editing highlight reels. When any of that audio fails at the moment it should matter most—during an induction ceremony, at homecoming, during a senior night tribute—the content’s purpose is lost entirely.
A touchscreen recognition display speaker audio test checklist run systematically before each major event turns audio reliability from a hopeful assumption into a documented result. Phase 1 confirms the source produces audio and routes it to the correct output. Phase 2 confirms the cable carries the signal cleanly. Phase 3 confirms the speaker receives and outputs the audio at the volume the room requires. Phase 4 confirms the actual recognition content performs as intended—not just a test tone, but the real narration and event media guests will hear.
Run all four phases before any event where audio is part of the recognition experience. Document the result. Assign an owner. Test at event conditions, not at a desk.
See a Recognition Display Built for Event-Ready Performance
Rocket Alumni Solutions builds cloud-managed recognition systems designed for school staff—with dependable content delivery, intuitive remote management, and support available before your highest-attendance events of the year.
Book a Live Demo