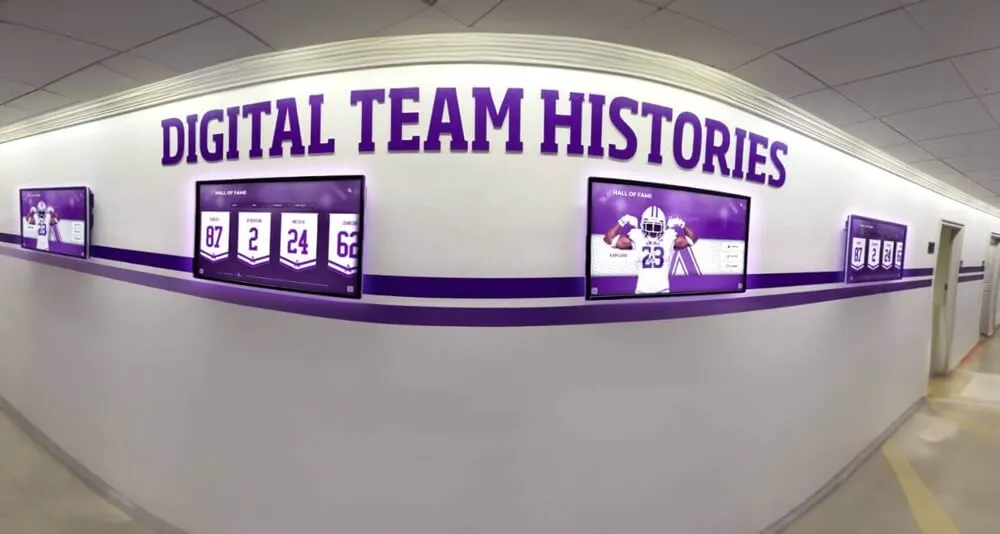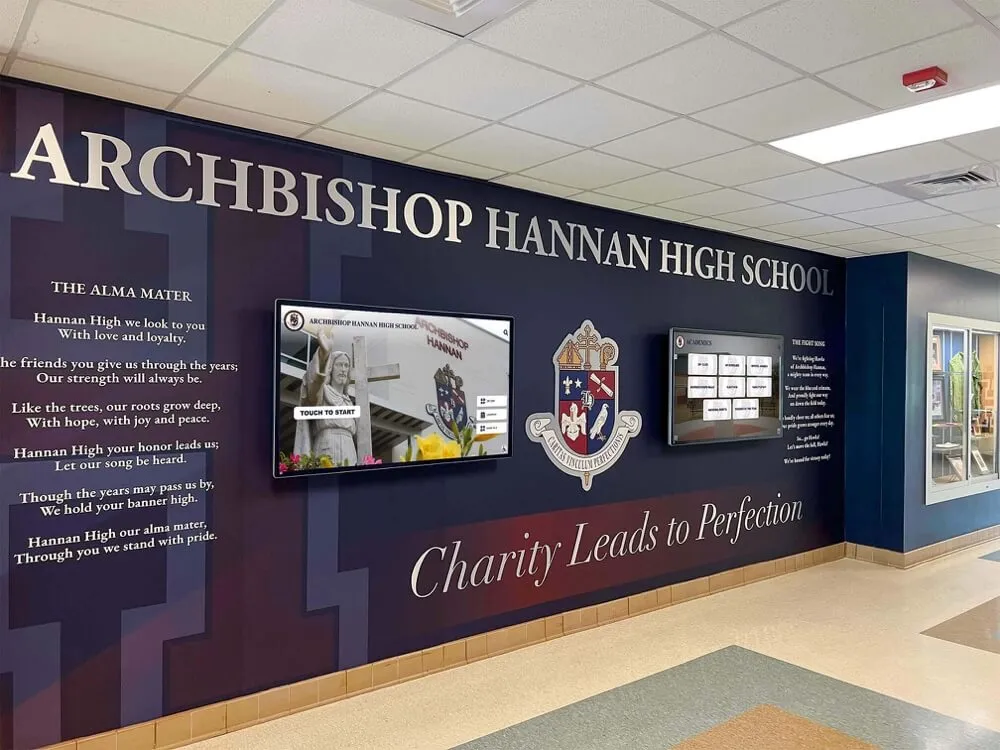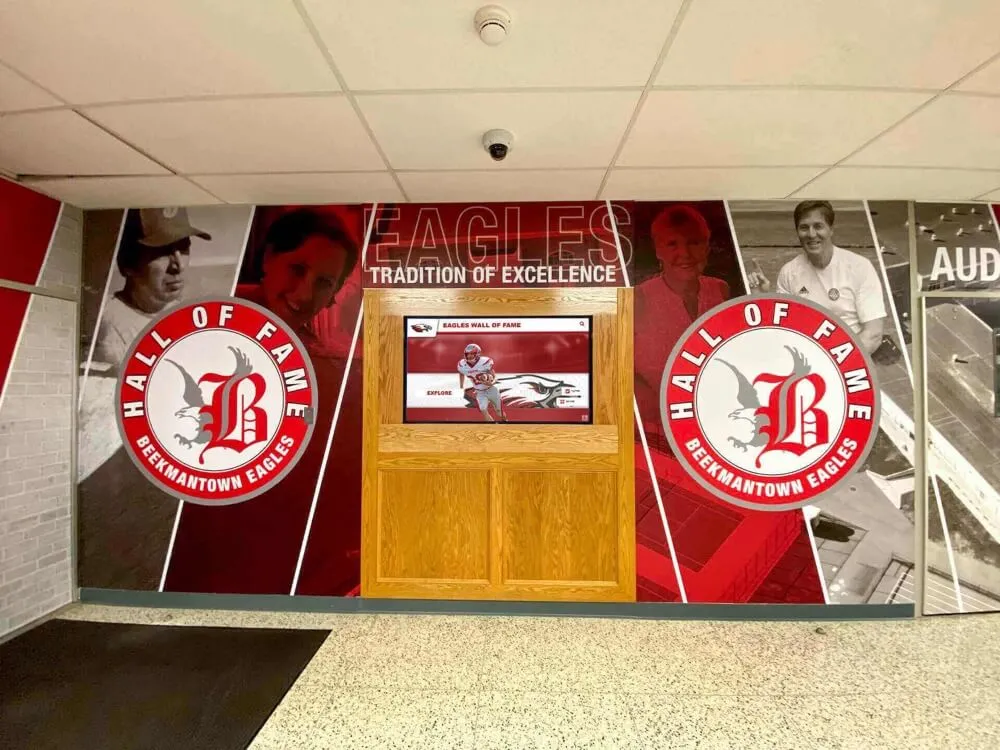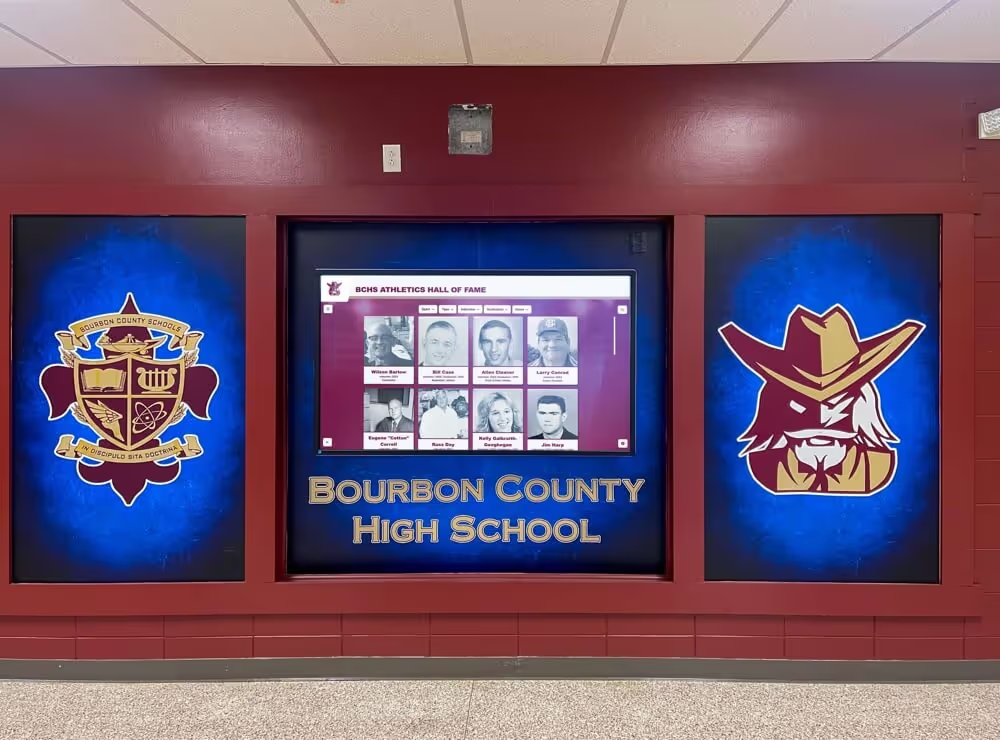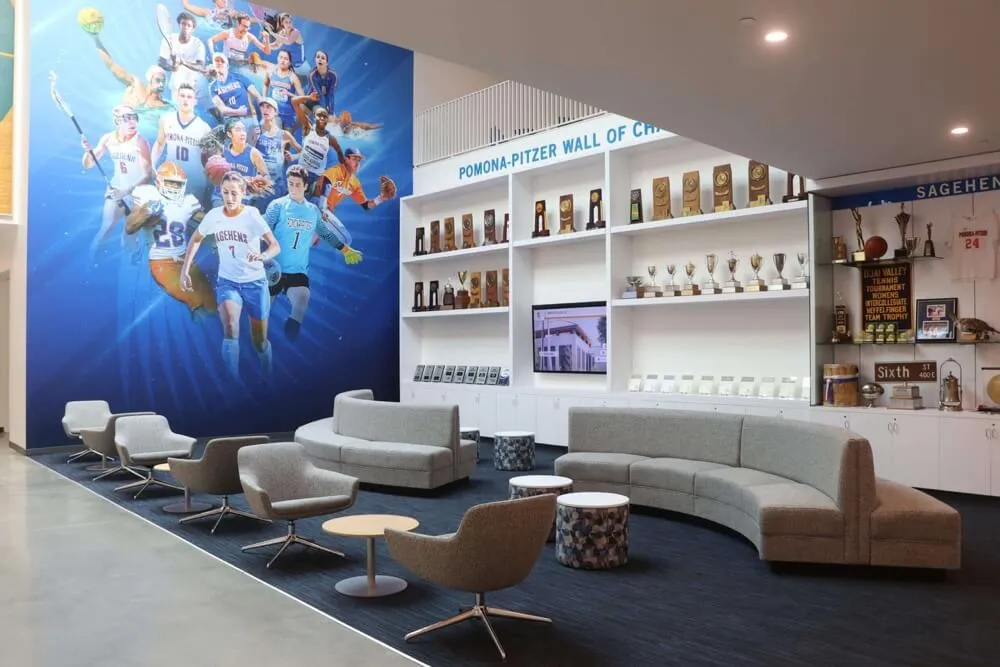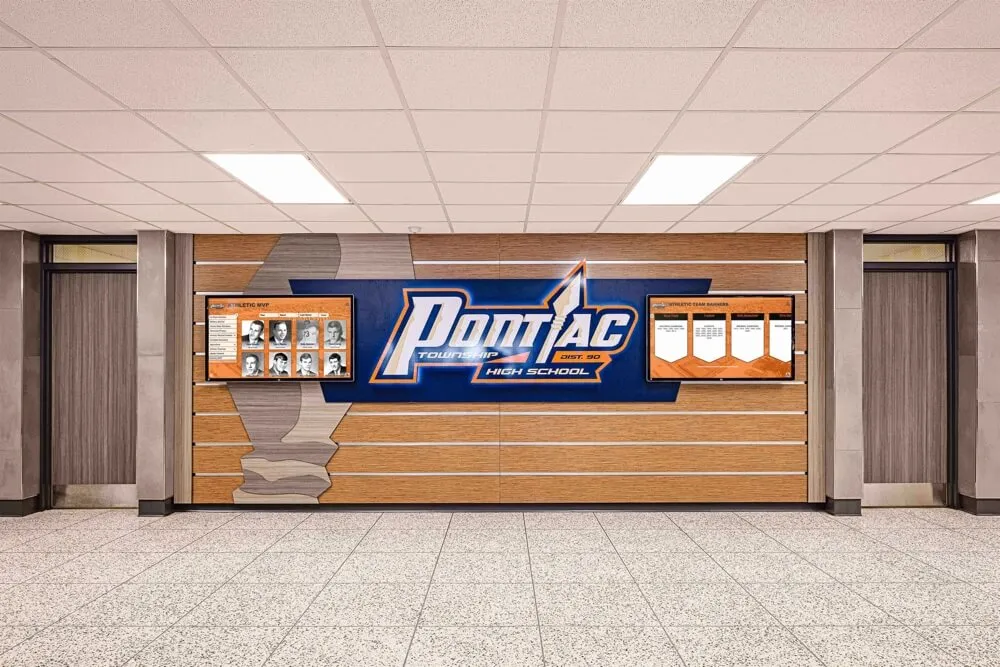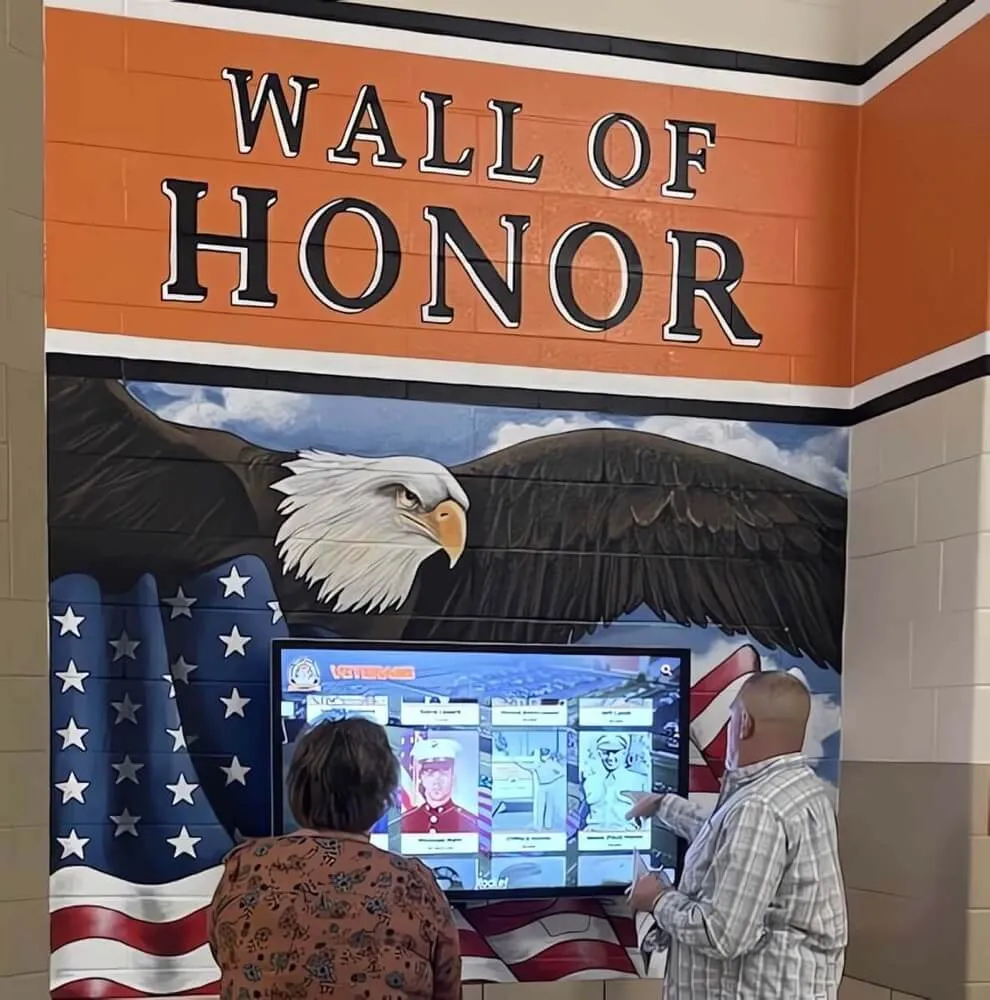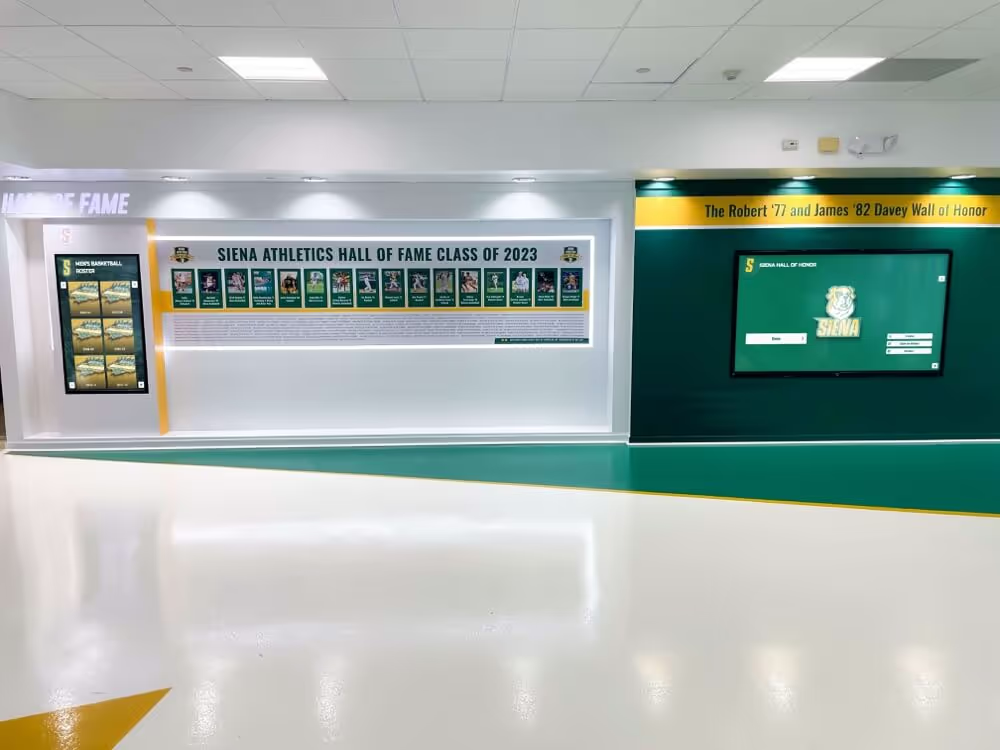




A touchscreen recognition display in a school hallway, lobby, or athletic corridor is built to do one job: show the school’s history to students, staff, and visitors who walk past. Left in a standard Windows environment, that same display is also a full desktop computer accessible to anyone who touches it—capable of opening unauthorized applications, browsing the web, accessing district network resources, or landing on an error screen after an unexpected restart. Kiosk mode closes that gap by locking the display to a single approved application or controlled set of applications, restoring the session automatically after power loss, and ensuring touch input is calibrated correctly at all times.
This checklist is written for school IT coordinators, technology directors, athletic directors, and facilities staff responsible for deploying or maintaining touchscreen recognition displays in schools. It covers Windows 11 Assigned Access configuration, touch input calibration, session restore, browser and content locking, pre-launch testing, and a troubleshooting reference for the most common issues. Whether the display is a hall of fame kiosk, an athletic award archive, or a digital record board in a trophy corridor, this checklist applies to the device configuration layer regardless of which recognition platform runs on it.
Kiosk mode on a Windows 11 touchscreen recognition display means configuring the device so that only the recognition application launches at startup, the desktop and taskbar are inaccessible to walk-up users, and the system returns to the correct state without staff intervention after a power cycle or crash. For most school recognition display deployments, that involves three layers: Windows configuration (Assigned Access or Shell Launcher), application-level locking (browser settings, content filtering), and physical and network controls (power scheduling, remote management access).

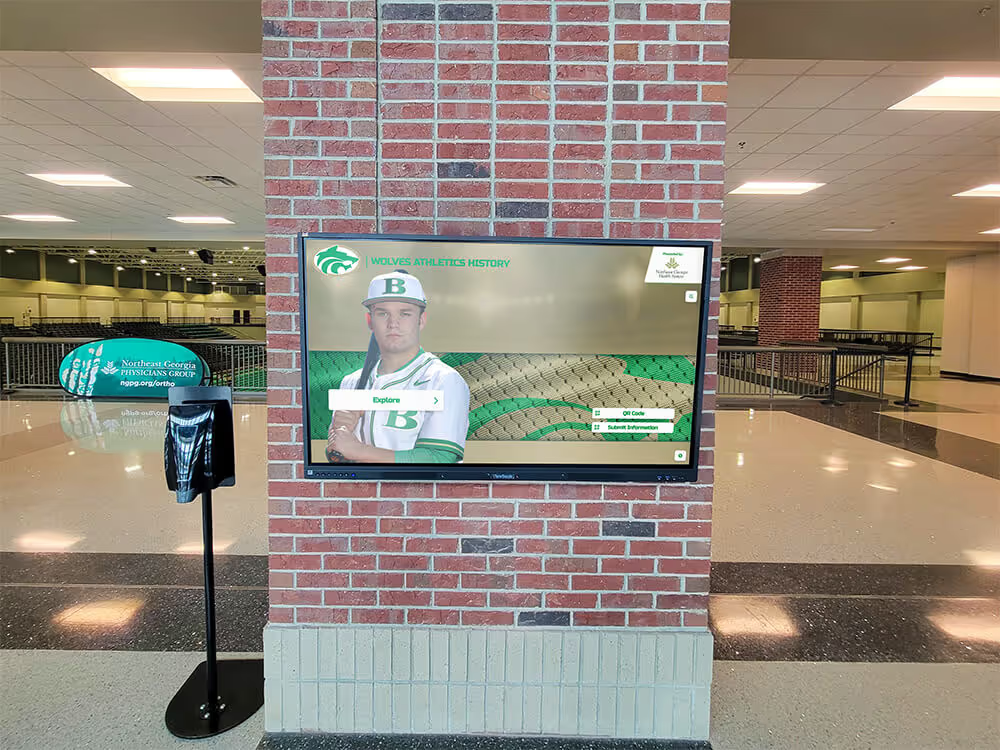
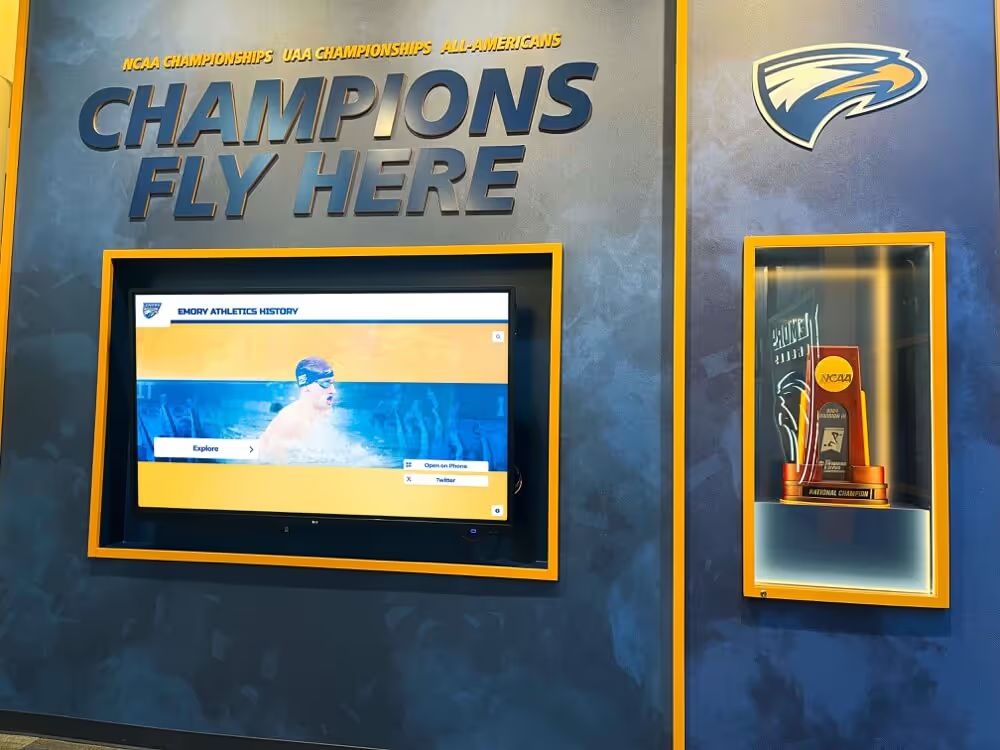
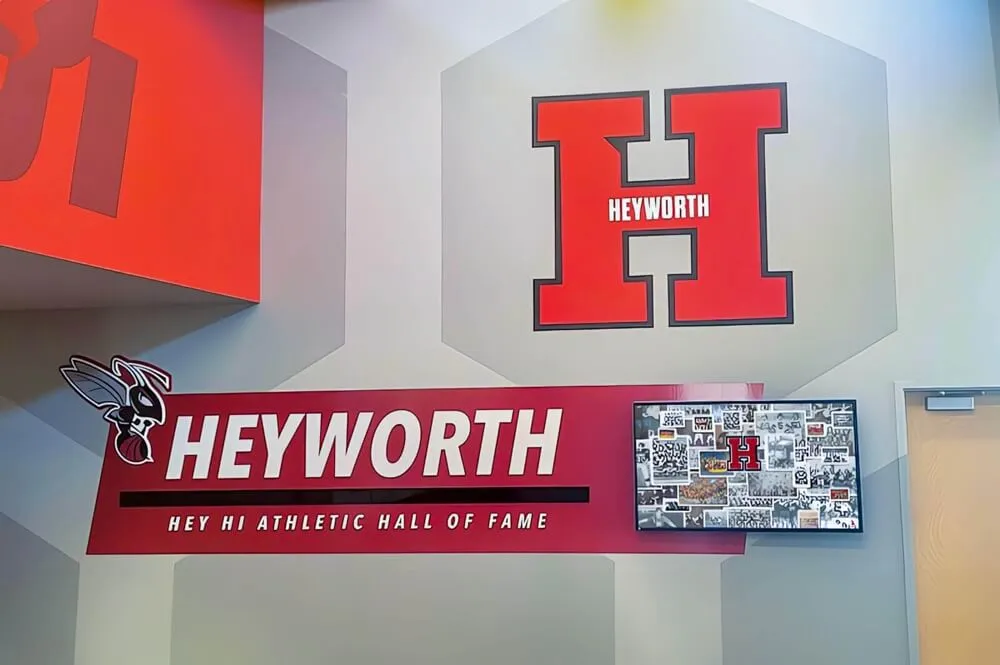
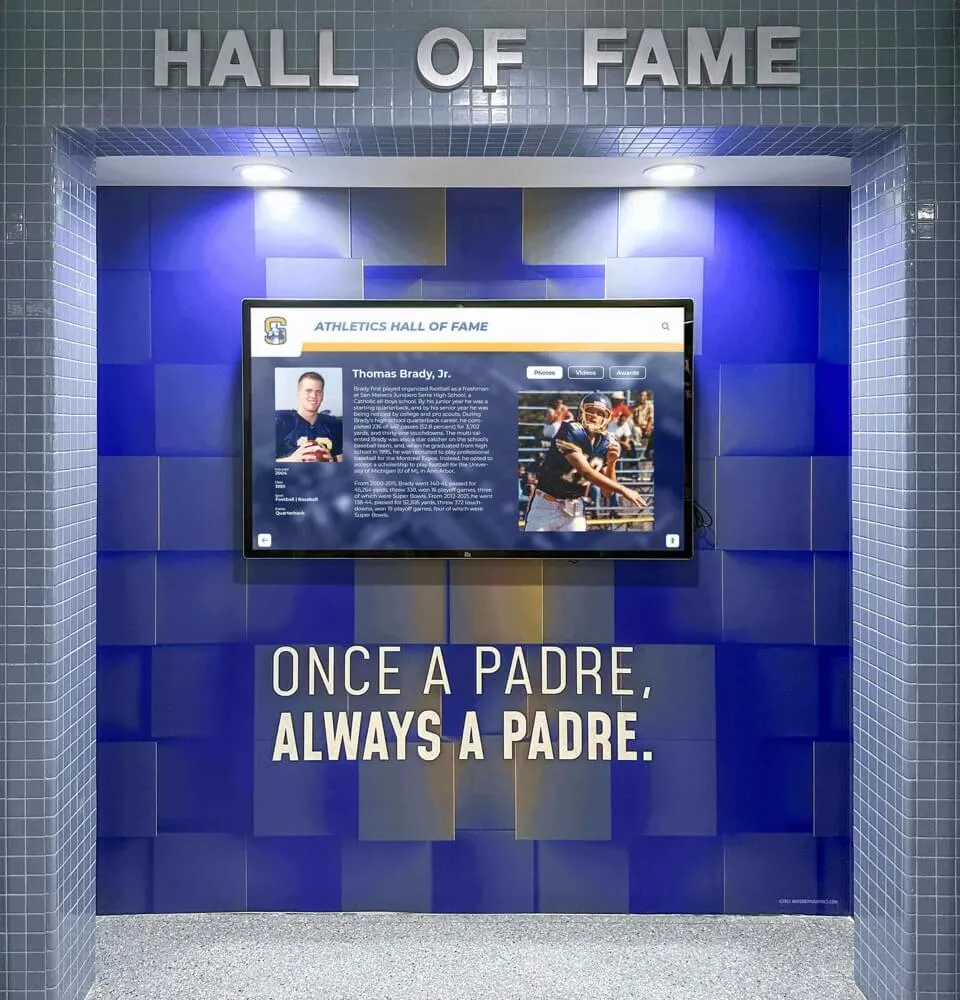
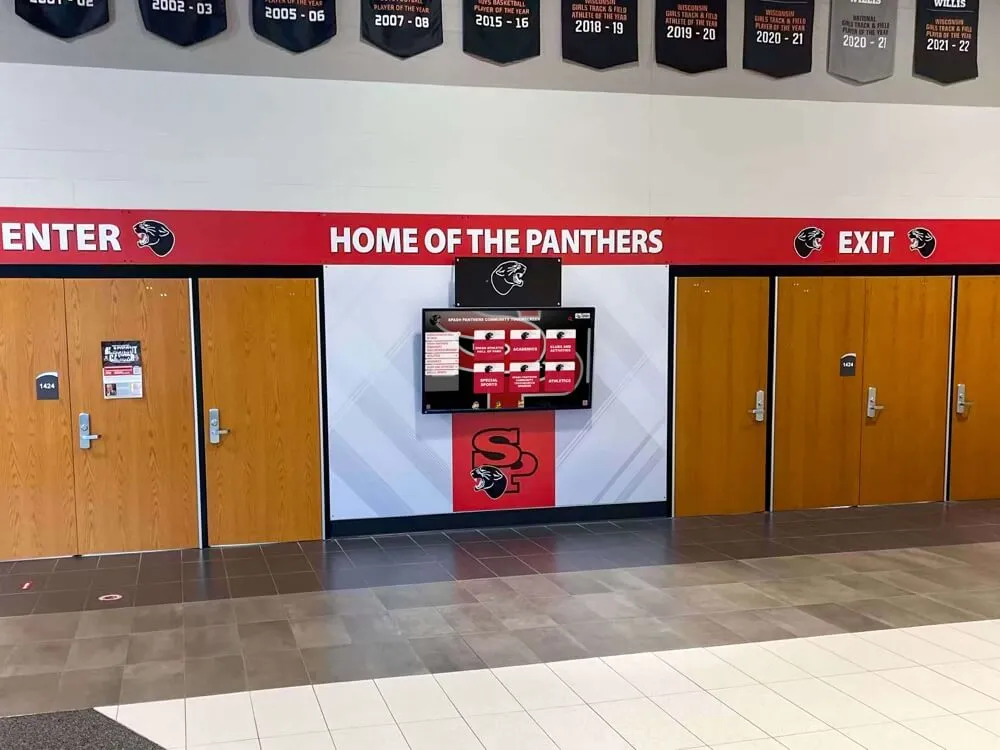
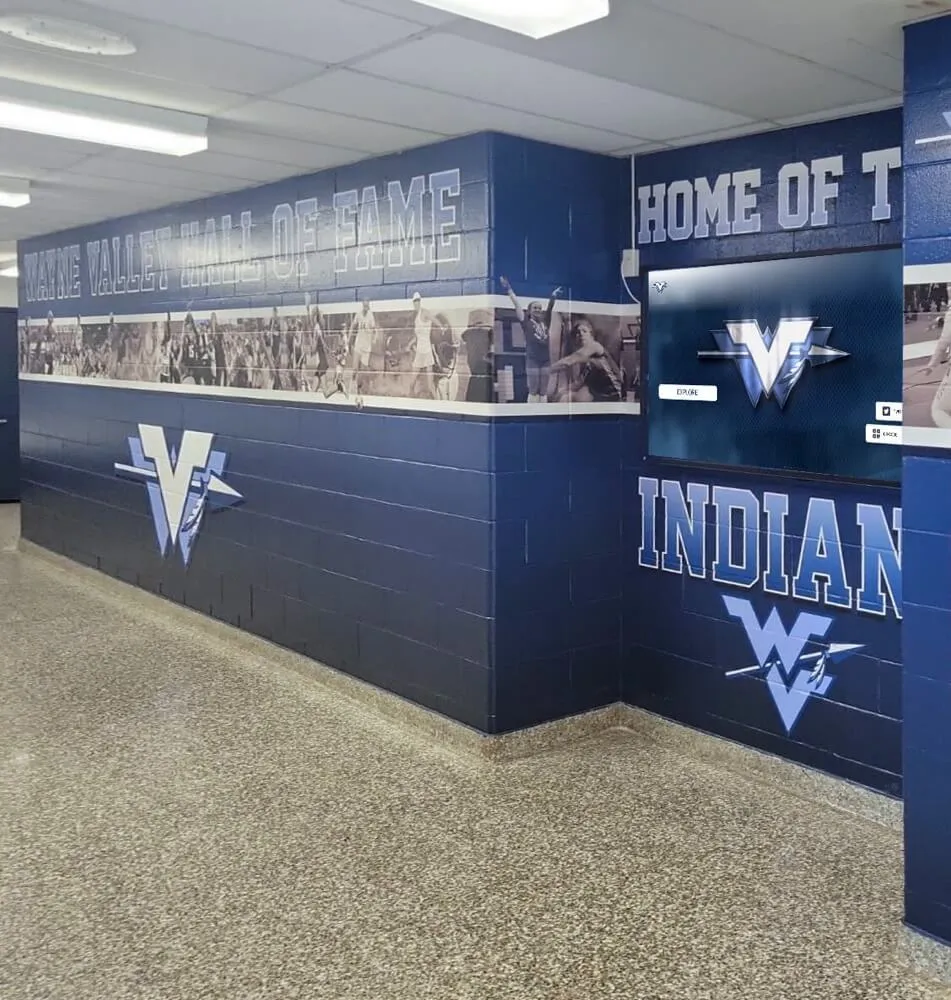
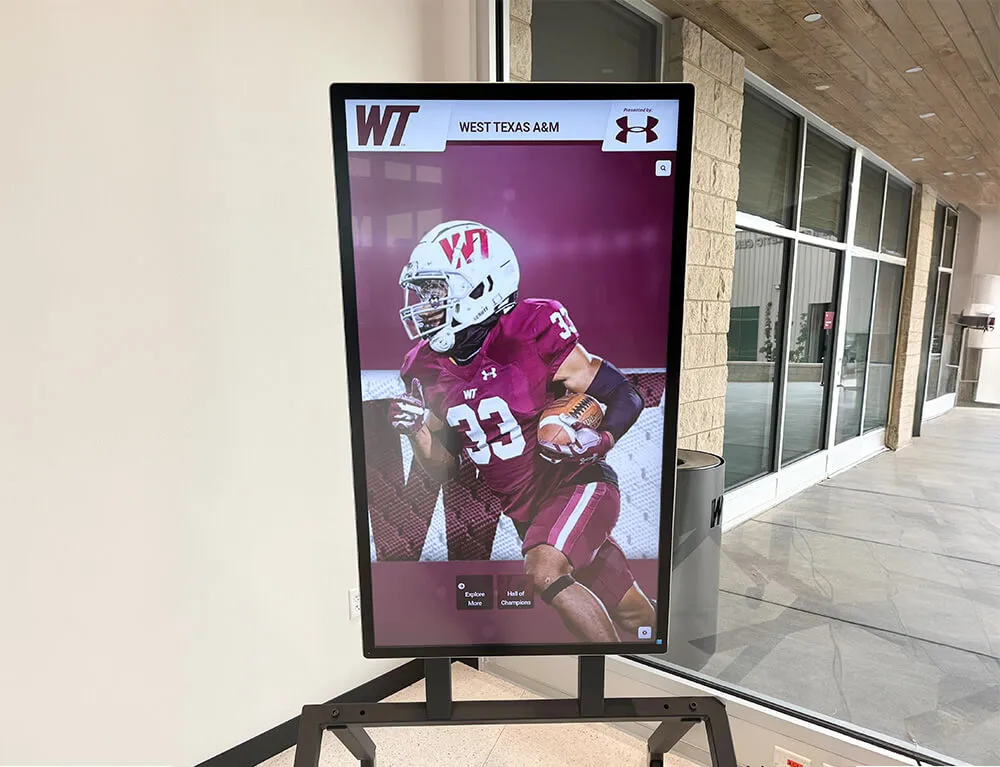
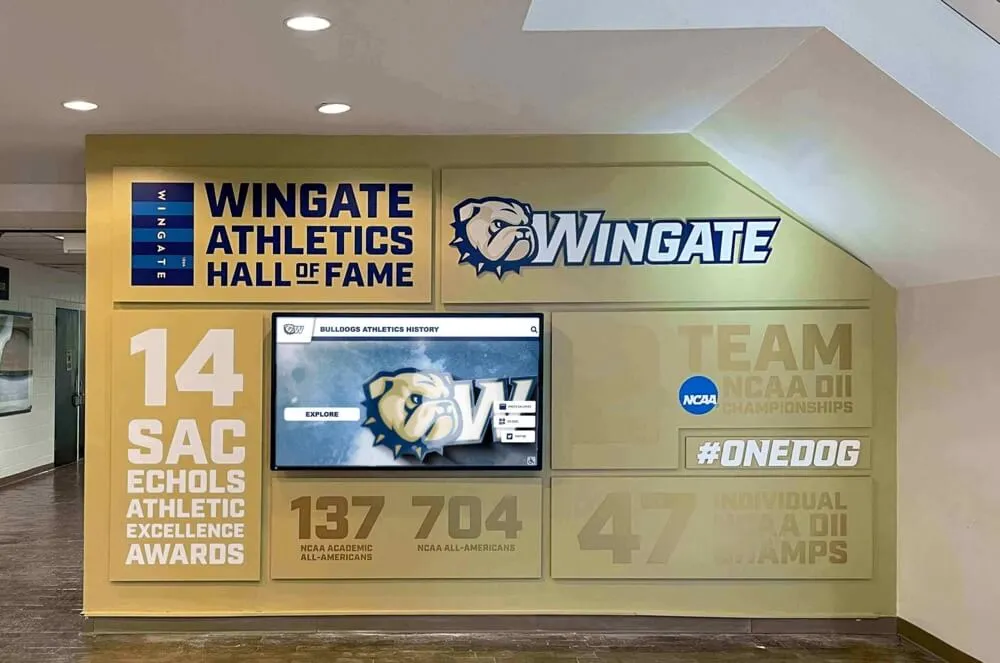
School recognition displays in high-traffic hallways and athletic corridors require kiosk mode configuration to stay locked to approved content and return automatically after power interruptions
What Kiosk Mode Does for a Recognition Display
Before working through the configuration checklist, it is worth being precise about what kiosk mode does and does not do—because the right configuration depends on which risks you are actually managing.
What kiosk mode prevents:
- Walk-up access to the Windows desktop, taskbar, Start menu, and system settings
- Browser navigation away from the approved recognition application
- Students or visitors opening unauthorized applications or accessing district network resources from the display device
- Recognition displays landing on an error screen after a restart and staying dark until a staff member physically intervenes
What kiosk mode does not prevent by itself:
- Network-level threats or vulnerabilities in the recognition application itself
- Physical tampering with the device (attached keyboard, pulled power cable)
- Content on the recognition platform that has not been approved through your normal content review process
The two main Windows 11 kiosk approaches for recognition displays:
| Approach | Best For | What It Does |
|---|---|---|
| Single-App Assigned Access | One recognition application runs full-screen; nothing else accessible | Locks to one UWP or installed app; auto-launches on login; no desktop access |
| Shell Launcher (Enterprise/Education) | Custom shell replaces Explorer; recognition app acts as the shell | More flexible for Win32 apps; requires Enterprise or Education edition; allows deeper customization |
| Multi-App Assigned Access | Multiple approved apps accessible from a locked Start menu | Appropriate if IT needs to access a second tool from the same device |
For most school recognition display deployments running a dedicated kiosk application or web-based recognition platform, Single-App Assigned Access is the correct starting point. The rest of this checklist assumes that configuration unless otherwise noted.
Phase 1: Pre-Configuration Checklist
Complete this phase before touching any Windows settings. Most kiosk configuration failures can be traced to a step skipped during preparation.
Hardware and Physical Setup
- Confirm the touchscreen display is physically mounted and power-connected before any software configuration; calibration done on a bench may not match the production orientation (landscape vs. portrait affects touch mapping)
- Verify the touch controller driver is installed: open Device Manager and confirm the touchscreen appears under Human Interface Devices or Touch Devices without error flags
- Confirm Windows 11 is fully updated before configuring Assigned Access; some older builds have known Assigned Access reliability issues
- Confirm the Windows edition: Single-App Assigned Access is available on Windows 11 Pro and higher; Shell Launcher requires Enterprise or Education
- Identify whether the device will be domain-joined, Azure AD-joined, or configured as a local workgroup device; this affects which Assigned Access configuration method applies
- Verify the display auto-powers-on when AC power is connected (check BIOS/UEFI power settings—look for “AC Power Recovery,” “Restore on AC Power Loss,” or equivalent; set to “Power On” or “Last State”)
- Attach a keyboard temporarily for configuration; remove it before go-live or document that it is present and that its access is understood
- If the display uses a dedicated PC or NUC mounted behind it, confirm BIOS boot order has the correct OS drive first
Network and Account Setup
- Create a dedicated local Windows account for the kiosk session (do not use an admin account or a personal account for the Assigned Access user)
- Assign the kiosk account a strong password; the account password is not exposed to walk-up users but should be documented in your IT credential store
- Verify that the device has network access to the recognition platform’s content servers (ping the platform URL from the device before locking it down)
- Confirm DNS resolution is working for the recognition platform domain; some school network configurations block external DNS that the recognition application requires
- If the recognition application is web-based, identify which browser it uses and which specific URL or app path should auto-launch in kiosk mode
- If the device will be managed via MDM (Microsoft Intune, Jamf, or similar), confirm MDM enrollment before configuring Assigned Access locally—MDM-pushed policies can conflict with locally-set Assigned Access configurations
- Confirm the recognition platform’s domains are on the district content filter allowlist; content filtering that blocks the recognition platform causes display errors that look like software failures
Application Readiness
- Install the recognition application (or confirm the web-based platform URL) before configuring Assigned Access; installing software after the device is locked requires temporarily exiting kiosk mode
- Test that the recognition application launches and displays correctly in a normal user session before enabling kiosk mode
- Verify touch input works correctly in the recognition application in a normal session (scroll, tap, pinch if used) before locking
- If the platform requires periodic authentication or license validation, confirm the kiosk account has the appropriate credentials or that authentication is handled silently
Phase 2: Windows 11 Assigned Access Configuration
Windows 11 exposes Assigned Access through Settings UI (simplest for individual devices), PowerShell (scriptable for multi-device deployment), or MDM policy (enterprise-managed). This checklist uses the Settings UI path, which is appropriate for most school IT deployments.
- Sign in to the device with a local administrator account (not the kiosk account created in Phase 1)
- Open Settings → Accounts → Other Users (or search “kiosk” in Settings to find Set up a kiosk directly)
- Select Set up a kiosk and click Get started
- Choose the dedicated kiosk account when prompted to select an account
- Select the application that should run in kiosk mode; if the recognition application is browser-based, select Microsoft Edge and configure the kiosk URL in the next step
- If using Microsoft Edge in kiosk mode: configure the kiosk URL to the recognition platform’s starting page; select kiosk mode type (Digital/Interactive Signage for single-URL display, or Public Browser for limited navigation)
- After completing the wizard, restart the device to confirm the kiosk account launches correctly on boot
- Verify that signing in with the kiosk account goes directly to the recognition application with no visible taskbar, desktop, or Start menu
- Confirm that pressing the Windows key, Alt+Tab, Alt+F4, and Ctrl+Alt+Del during the kiosk session either do nothing or present only an approved lock/sign-out option
For Shell Launcher (Enterprise/Education Only)
If the district uses Windows 11 Enterprise or Education and the recognition application is a Win32 application that does not work well with standard Assigned Access:
- Confirm Shell Launcher feature is enabled: open Turn Windows features on or off and enable Shell Launcher under Client Management (or enable via DISM:
dism /online /enable-feature /featurename:Client-ShellLauncher) - Use Windows Configuration Designer, PowerShell, or MDM to set the shell to the recognition application executable path for the kiosk account
- Test restart behavior to confirm the recognition application launches as the shell; if the application crashes, confirm the configured failure action (restart application, restart device, or launch alternate shell)
Phase 3: Touch Input Calibration and Testing
Touch calibration is frequently skipped and frequently causes support calls. A display calibrated before final mounting, or that shipped with factory calibration offset from your specific installation, produces touch registration errors that appear to be software bugs but are hardware configuration issues.
- With the display mounted in its final production position and orientation, open Settings → Bluetooth & devices (or search Calibrate the screen for pen or touch input)
- Run the touch calibration routine; tap each crosshair target as precisely as possible
- After calibration, open a simple drawing or input application and drag one finger across the display—verify the on-screen cursor tracks closely with no visible offset
- Test touch at all four corners and the center of the display; corner registration is where offset is most commonly observed
- Test tap accuracy using the same targets that appear in the recognition application (athlete profile cards, navigation buttons, scroll areas)
- Test with the type of interaction the display will actually receive: glancing taps from students walking by, deliberate touches from adults reading inscriptions, and scroll gestures if the application uses them
- Document the calibration date in your device maintenance log; recalibrate if the display is unmounted, remounted, or if users consistently report touch registration issues in a specific area
Phase 4: Session Restore and Auto-Restart Configuration
A recognition display that goes dark after a power outage and stays dark until a staff member physically reboots it is not a functioning display. Auto-restart configuration is the difference between a display that requires maintenance after every weather event or power blip and one that recovers without intervention.
- In BIOS/UEFI, set AC Power Recovery (or equivalent setting name) to Power On — the device should power on automatically when AC power is restored
- Confirm that Assigned Access auto-launches the kiosk account on startup; with Assigned Access configured correctly, Windows signs in to the kiosk account automatically without requiring a password entry at the screen
- Configure Windows Update so that automatic restarts do not occur during display operating hours; set Active Hours in Settings → Windows Update → Advanced Options to cover the school day plus any evening events
- If the recognition platform software has an auto-restart or watchdog feature, enable it; this catches crashes at the application level even when Windows is running normally
- Test the full restart sequence: shut the device down completely, disconnect AC power, wait 30 seconds, restore AC power, and time how long it takes to return to the recognition display
- Confirm the correct content is displayed after restart—not a login screen, not a Windows update notification, not the last error state
- If the device is behind a UPS (uninterruptible power supply), verify the UPS is configured to shut down the device gracefully during extended outages rather than letting the battery exhaust and force an unclean shutdown
- Schedule a test of the full auto-restart sequence once per semester to confirm the behavior has not changed after Windows or software updates
Phase 5: Content and Browser Locking
Assigned Access handles desktop-level locking, but if the recognition application opens a browser or allows navigation within it, content-level locking is a separate configuration step.
- If using Microsoft Edge in kiosk mode, configure the allowed URLs list through Microsoft Edge kiosk mode settings or Group Policy (Computer Configuration → Administrative Templates → Microsoft Edge → Configure kiosk mode allowed URLs)
- Block browser navigation controls (back, forward, URL bar) in Edge kiosk mode; in Digital/Interactive Signage mode these are hidden by default
- If the recognition application uses an embedded browser view, confirm with the platform vendor what navigation restrictions are built into the application
- Verify that users cannot navigate from the recognition platform to general web content; test by attempting to tap any external links visible in the application
- Confirm that any QR code features in the recognition application (if present) open on the user’s own mobile device rather than redirecting the kiosk display browser
- Test the complete interaction flow a walk-up student would have: can they navigate anywhere unintended? Can they trigger any modal or pop-up that obscures the recognition content and cannot be dismissed without admin access?
Pre-Launch Testing Checklist
Before declaring the display live, complete each test with the temporary keyboard still connected (then remove it before opening to walk-up users):
| Test | Expected Result | Pass/Fail |
|---|---|---|
| Cold boot from power-off | Device powers on, auto-launches recognition app, no login prompt visible | |
| Power cycle (disconnect/reconnect AC) | Device powers on automatically, returns to recognition display | |
| Touch tap accuracy at all four corners | On-screen selection matches intended target at each corner | |
| Touch scroll gesture | Scrolling content moves smoothly in the expected direction | |
| Attempt to access desktop (Win key, taskbar) | No desktop, Start menu, or taskbar accessible | |
| Attempt to navigate outside recognition app | Browser stays on approved content; URL bar not accessible | |
| Attempt Ctrl+Alt+Del | Either no response or limited lock/sign-out prompt only | |
| Network connectivity to recognition platform | Content loads correctly; no offline error screens | |
| Platform content is current | Latest content from the recognition platform displays correctly | |
| Windows Update active hours | Update active hours cover the school operating schedule | |
| Remote management access | IT can reach the device via remote management tool while kiosk is running |
Troubleshooting Reference
| Symptom | Most Likely Cause | Resolution |
|---|---|---|
| Display shows Windows login screen instead of recognition app after restart | Assigned Access not configured correctly or kiosk account not set as auto-login | Re-run the Set up a kiosk wizard; confirm the kiosk account is selected |
| Touch input registers in wrong location | Calibration was done before final mounting, or display was remounted | Recalibrate in the final mounted position via Settings → Calibrate screen for pen or touch |
| Recognition app loads but touch does not respond | Touch driver issue; driver may have updated and requires a restart | Restart device; check Device Manager for driver errors under Human Interface Devices |
| Display is blank or black after power restoration | BIOS/UEFI AC Power Recovery is set to “Stay Off” or “Last State” | Enter BIOS/UEFI and set AC Power Recovery to “Power On” |
| Recognition content does not load; shows error or spinner | Network access blocked by content filter or DNS issue | Confirm the recognition platform domain is on the district content filter allowlist |
| Windows Update restart prompt appears on the kiosk display | Active Hours not configured to cover school operating hours | Set Active Hours in Windows Update settings to match the school schedule |
| Kiosk account password prompt appears on boot | Auto-login for kiosk account not enabled by Assigned Access | Confirm Assigned Access is set up correctly; kiosk accounts managed by Assigned Access sign in automatically |
| Users can access the Edge browser address bar | Edge kiosk mode type is set to “Public Browser” instead of “Digital/Interactive Signage” | Change Edge kiosk mode type in Assigned Access settings |
| Application crashes and desktop appears briefly | Application failure action not configured | For Shell Launcher deployments, configure the crash action to restart the application or relaunch the shell |
| Remote management tool cannot reach device | Firewall rules changed after kiosk configuration, or MDM enrollment lapsed | Verify Windows Firewall rules allow your remote management protocol; re-enroll in MDM if needed |
Q&A: Common School IT Questions About Recognition Display Kiosk Mode
Does kiosk mode work the same way on Windows 10 and Windows 11? Assigned Access exists on both Windows 10 and Windows 11, and the general behavior is similar. Windows 11 changed some settings UI paths, and some Assigned Access XML schema elements differ between versions. If you are deploying the same configuration to devices running both Windows versions, test on each separately.
Can students bypass kiosk mode by connecting a keyboard or USB drive? Standard Assigned Access prevents access to the desktop regardless of whether a keyboard is attached. However, a keyboard allows users to attempt keyboard shortcuts, some of which may behave unexpectedly depending on the recognition application. Remove external keyboards and consider disabling USB storage through Group Policy or BIOS settings if this is a concern. Physical port covers are a practical addition for high-traffic public areas.
What account type should the kiosk account be? The kiosk account used for Assigned Access should be a local Windows standard user account—not an administrator account and not a Microsoft account (MSA, to avoid sign-in prompts). Do not use a domain admin account or any account with elevated privileges for the kiosk session.
How do we update the recognition content without breaking kiosk mode? Web-based recognition platforms hosted via CMS update automatically in the browser without local configuration changes—content changes server-side and the display picks it up on refresh. For locally-installed applications, software updates may require temporarily signing in as an administrator to run the installer, then confirming kiosk mode is still functioning after the update.
The recognition vendor says to use a specific browser. Does that affect kiosk mode configuration?
Yes. If the vendor recommends Chrome rather than Edge, you will configure Assigned Access to launch Chrome and set Chrome up in kiosk mode (using the --kiosk flag in the launch shortcut with the recognition platform URL, plus --no-first-run to skip setup prompts). Each browser has its own kiosk/fullscreen launch configuration; confirm the exact launch parameters with the recognition platform vendor before finalizing your Assigned Access setup.
Connecting Kiosk Configuration to Broader Recognition Programs
Kiosk mode configuration is an IT task, but it exists in service of a recognition program with its own content strategy, update cadence, and audience. School IT teams who understand the recognition program context tend to configure displays more effectively—because they understand which failure modes matter most to athletic directors and administrators.
For schools building out comprehensive recognition archives that these displays present, digital archives for schools and universities provide useful context for what institutional digital records programs look like and what content a recognition display is expected to serve over time. A kiosk that auto-restores and stays on approved content is the delivery mechanism for that archive; the IT configuration and the content program are interdependent.
Recognition displays in athletic hallways typically present content that matters to multiple audiences: current students who walk past daily, coaches and staff who maintain athlete records, and alumni who return for events. Alumni engagement through digital recognition content shapes what the recognition platform needs to show—which informs what application the kiosk should be locked to and how current the content needs to remain.
Schools building out coach appreciation and staff recognition content for their recognition displays face a specific content freshness challenge: this content is meaningful at the time of recognition but becomes outdated if the CMS is not updated. A properly configured kiosk mode with CMS-connected display software keeps content current without requiring a local IT visit to update files on the device.
The alumni spotlight content format is increasingly common on school recognition kiosks—profiling graduates who have gone on to notable careers, community roles, or athletic achievements. This content type requires a recognition platform that updates remotely, which is why web-based or CMS-connected recognition applications pair well with kiosk mode: the display stays locked to the platform, while the platform is updated from any device with CMS access.
For schools maintaining digital hall of fame programs alongside hallway kiosk displays, recognition records such as championship histories, award recipients, and program milestones become the anchor content on a kiosk—content that benefits from the stability of a properly configured display environment rather than a general-purpose computer. Resources like the digital hall of fame guide at halloffame-online.com illustrate the kind of structured recognition content that these displays are built to present.
Broader institutional display programs—including those in visitor-facing institutional settings—face analogous kiosk configuration requirements: locking to approved content, auto-restart, and touch calibration for audiences who are not expected to troubleshoot display issues themselves. The configuration principles transfer across institutional contexts even when the recognition content differs.
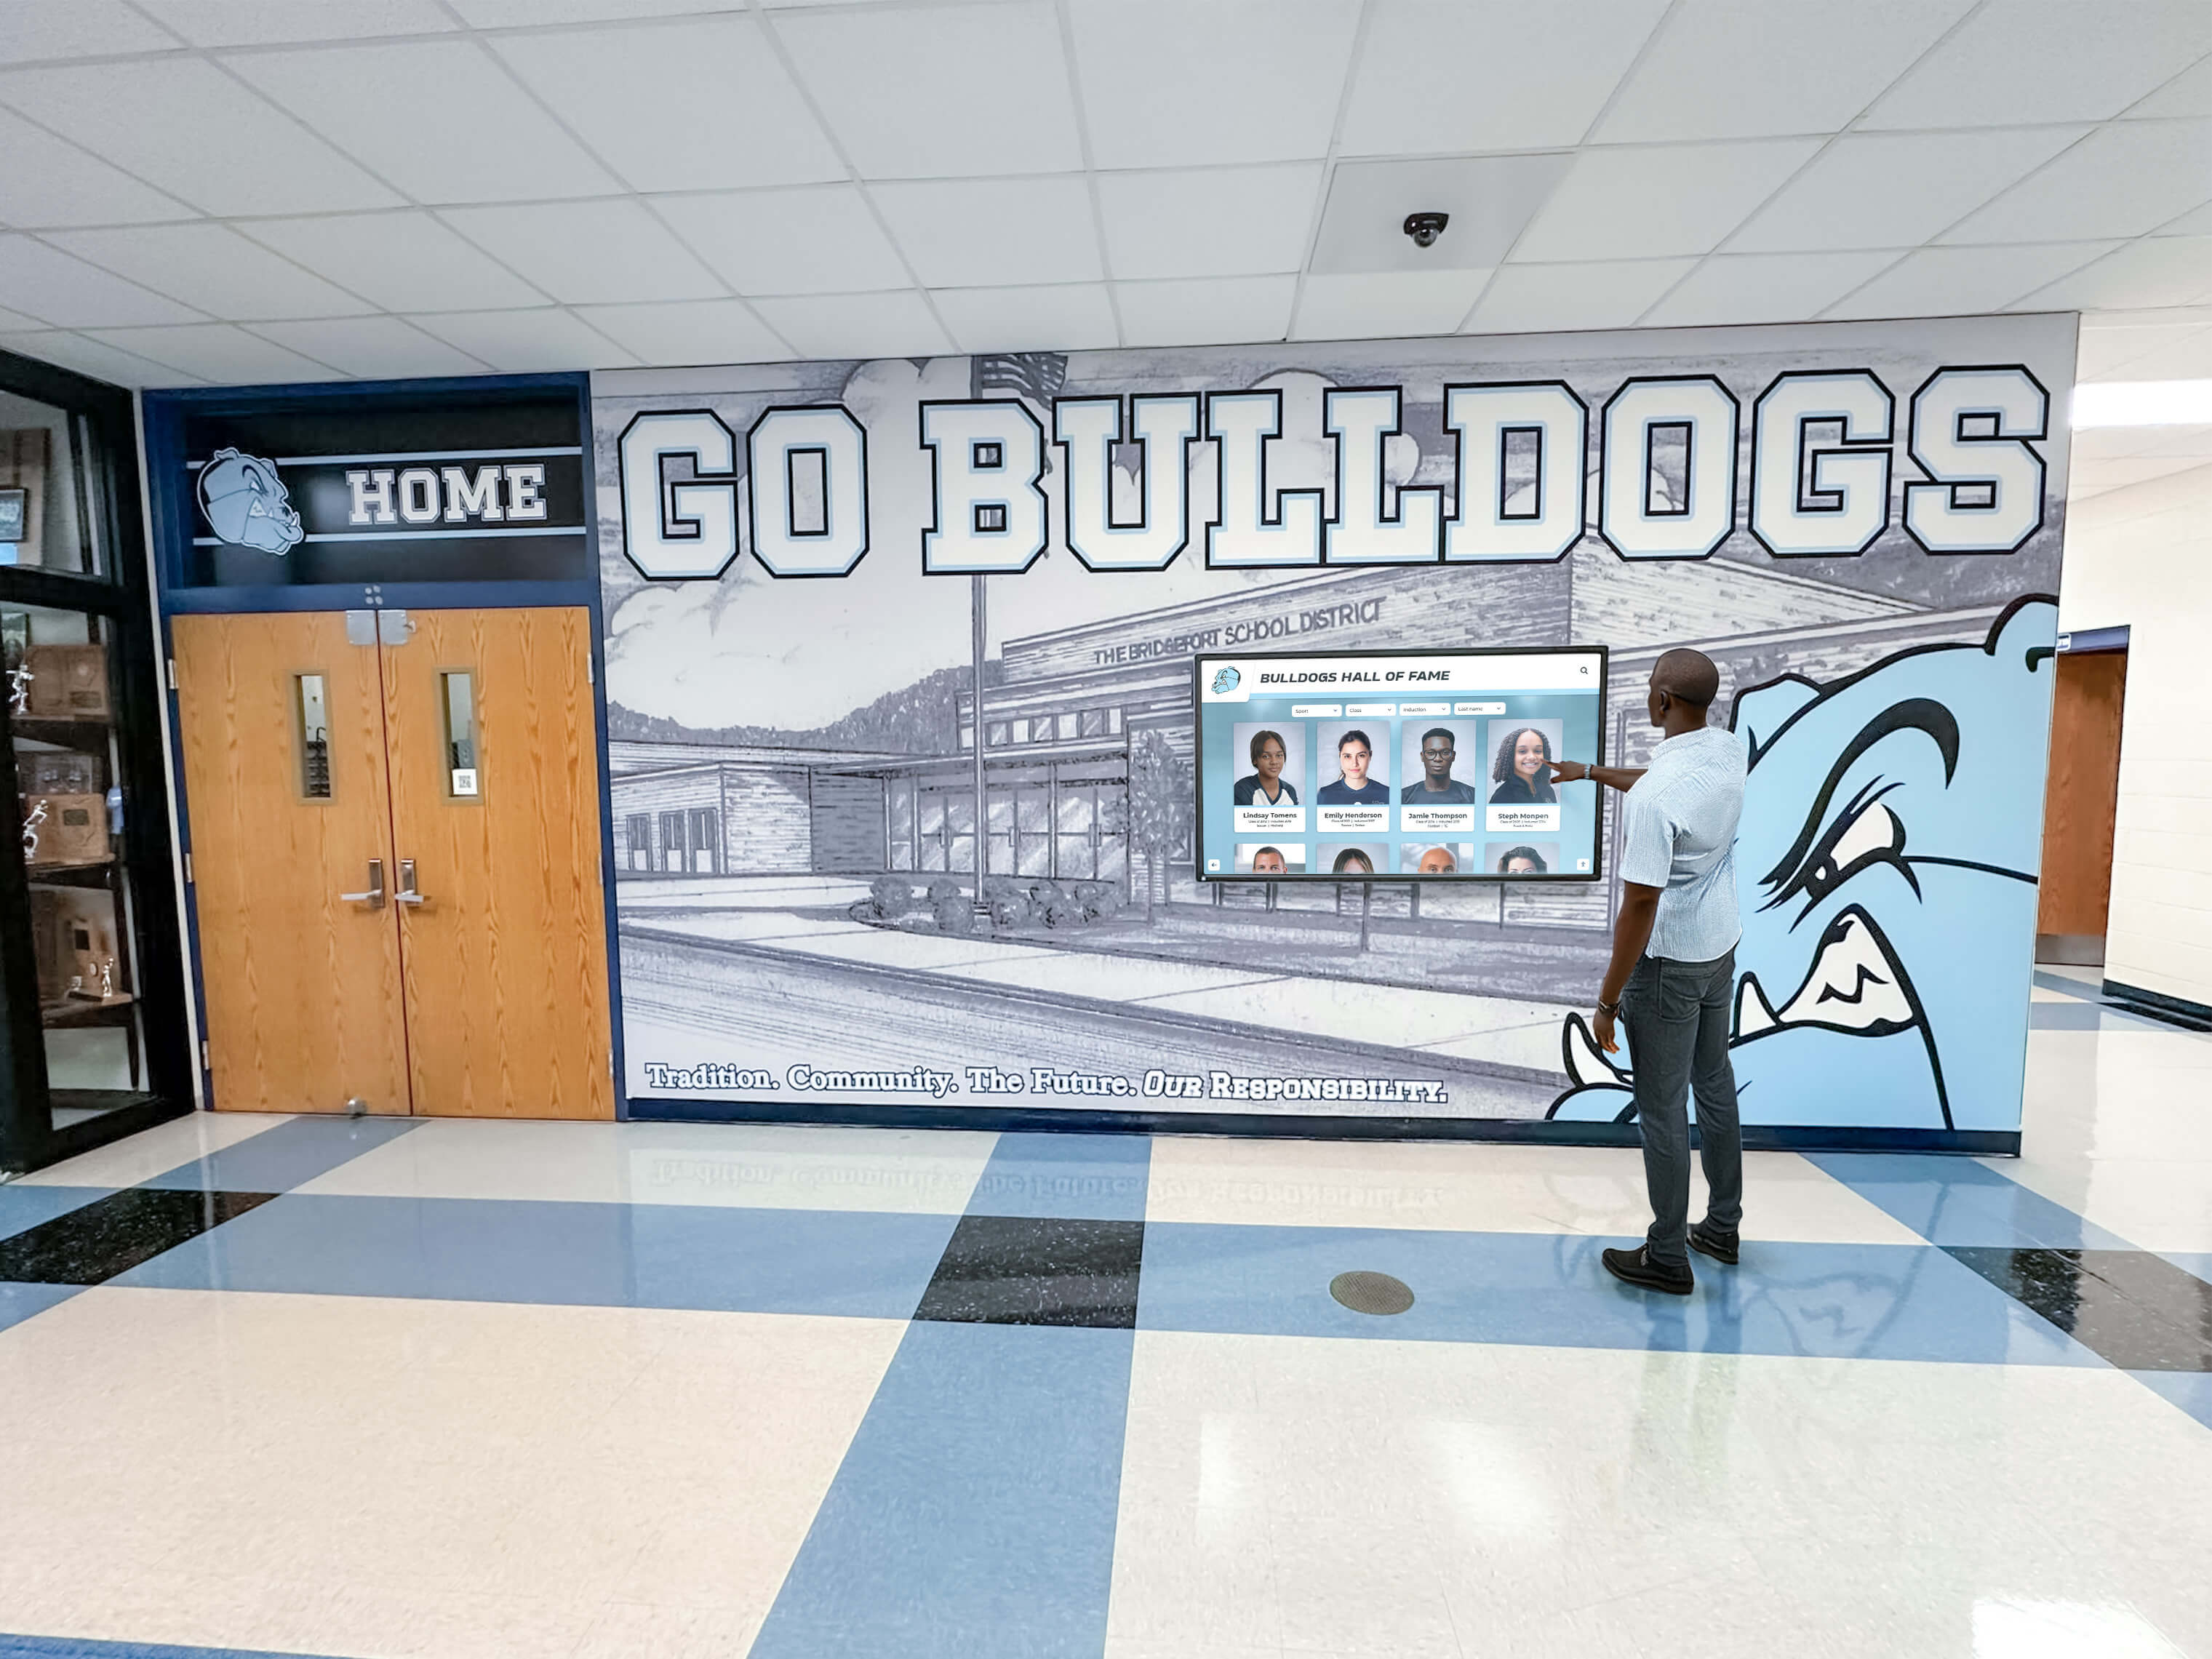
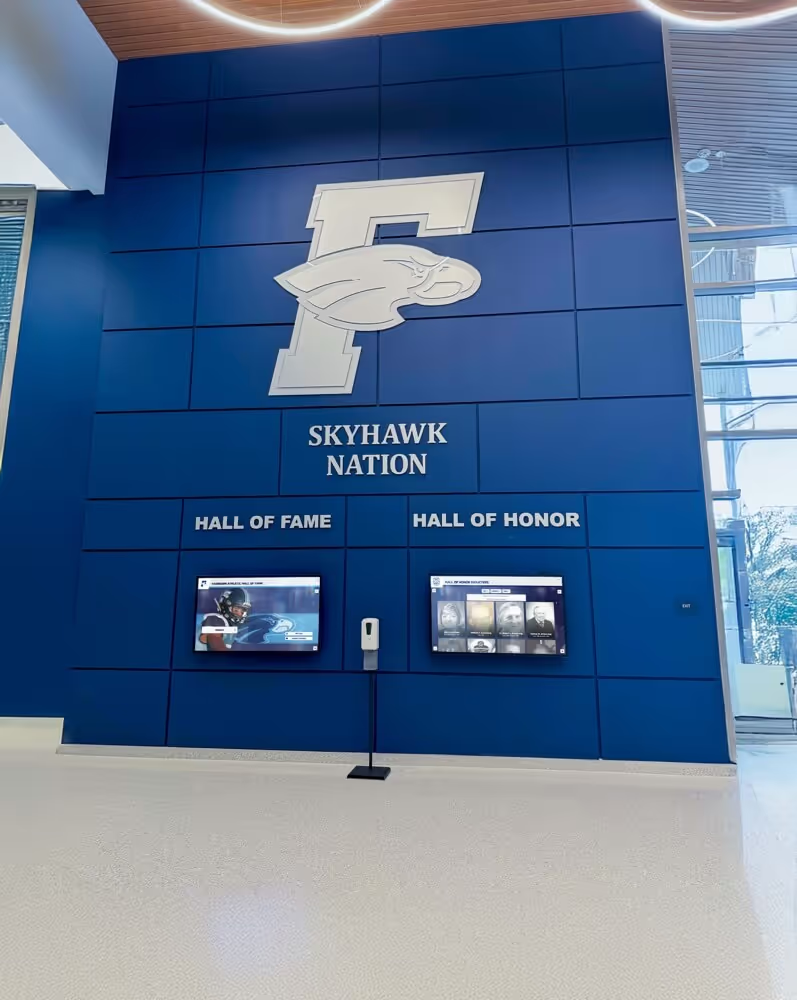
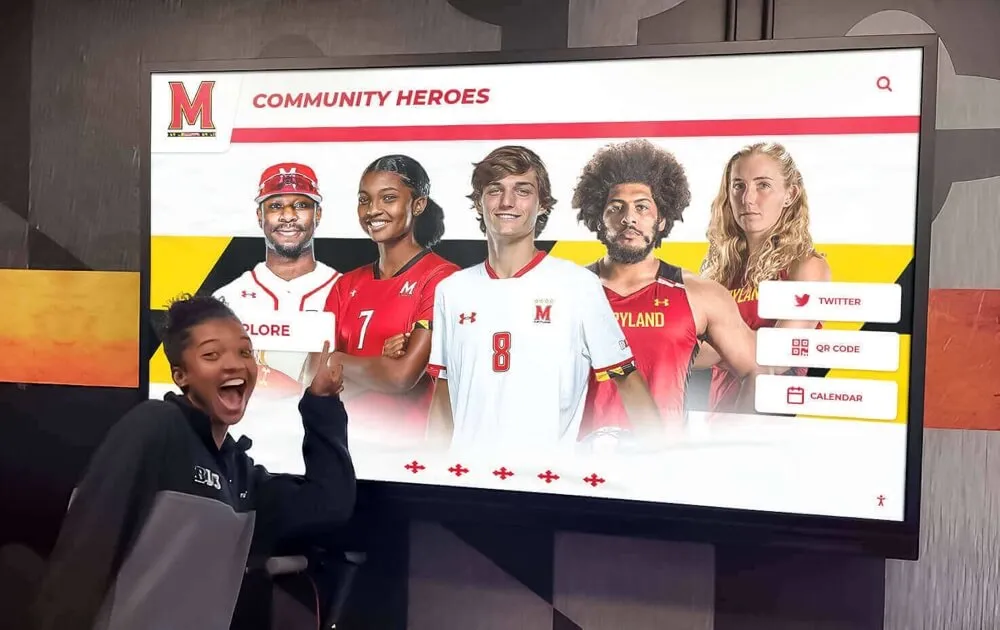
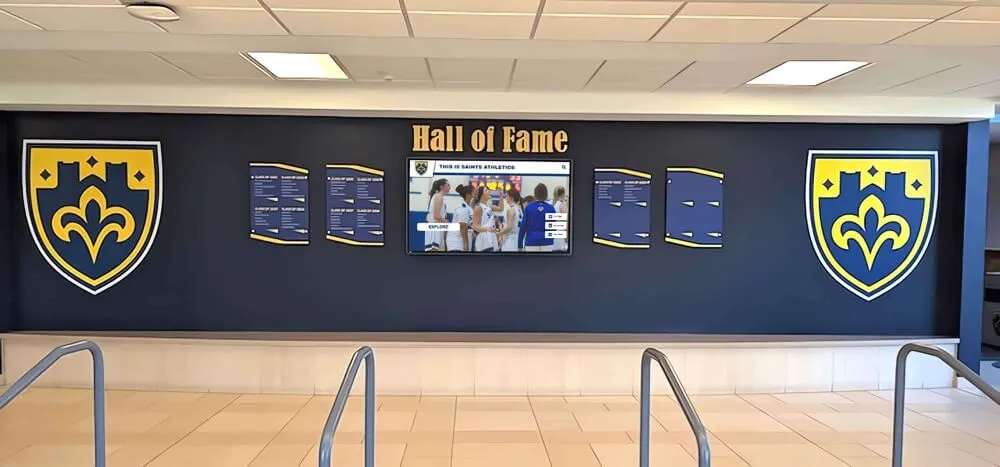
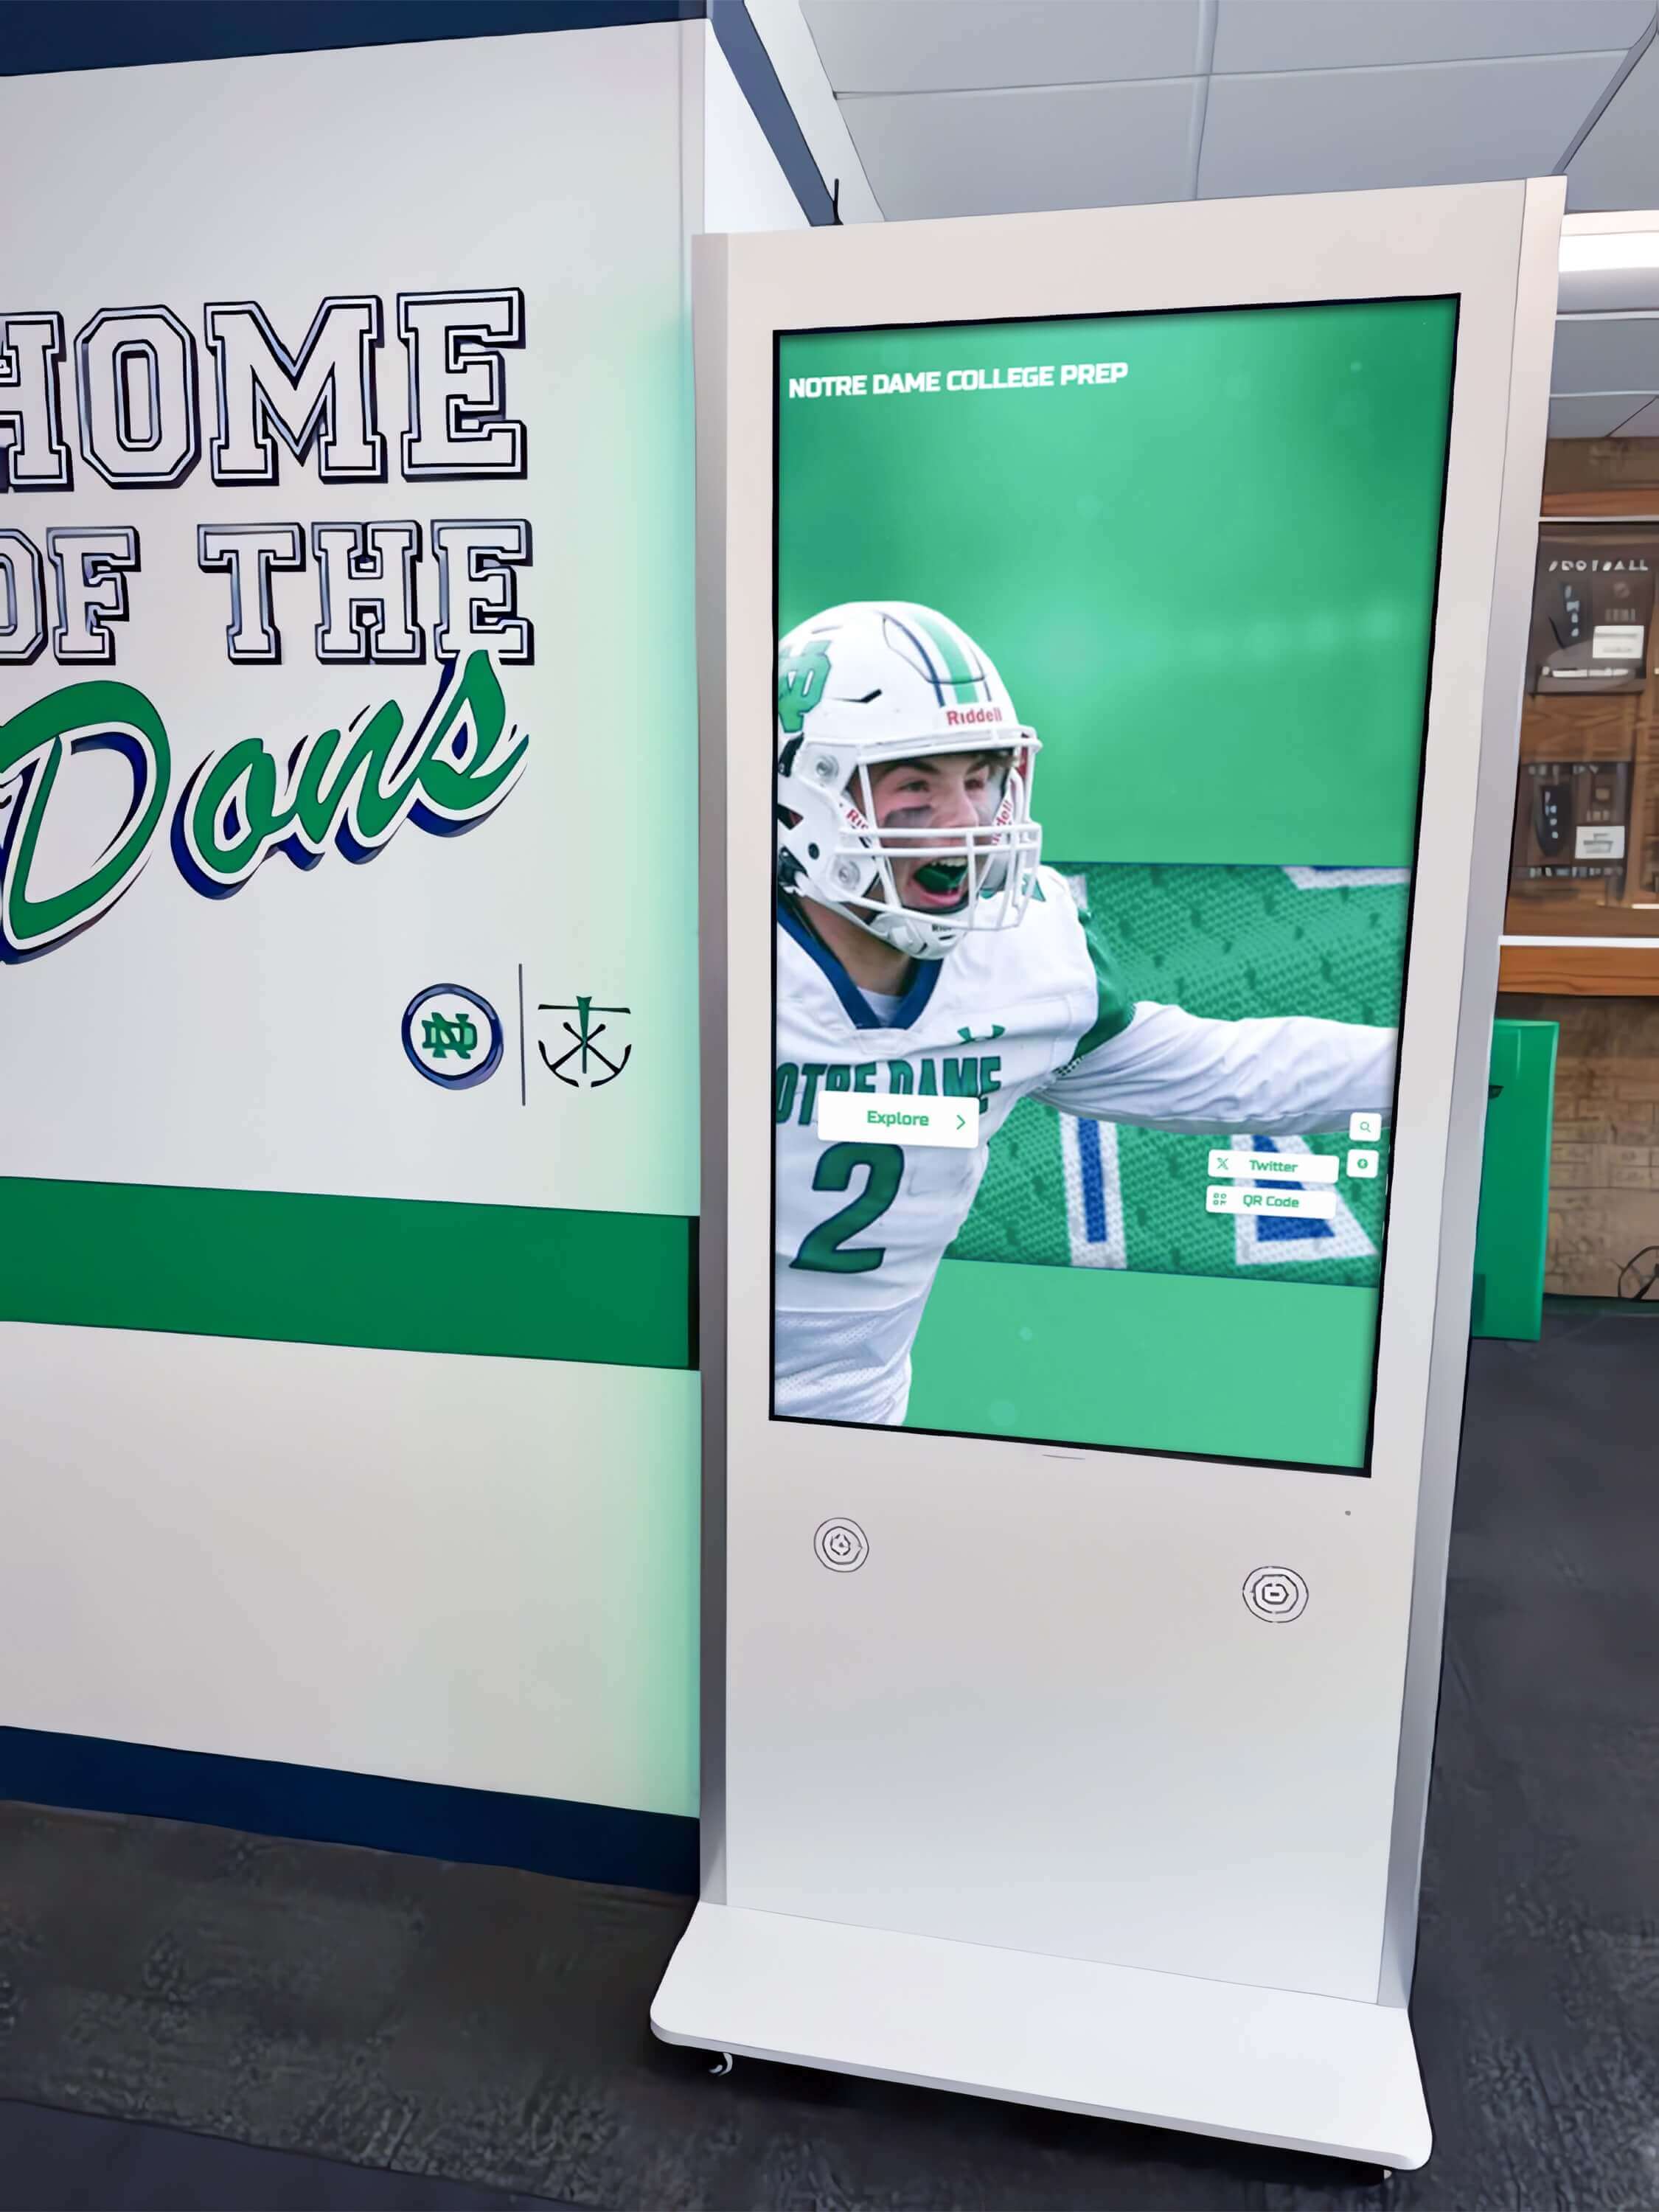
Recognition displays configured with proper kiosk mode stay locked to approved content and respond consistently to student touch input—eliminating the desktop access and session restore issues that affect general-purpose displays
Maintenance and Long-Term Reliability
A kiosk configuration is not a one-time task. It requires periodic verification to catch changes introduced by Windows updates, recognition platform updates, or network policy changes that affect display behavior.
Recommended maintenance schedule:
| Task | Frequency | Notes |
|---|---|---|
| Verify kiosk session launches correctly after boot | Monthly | Confirm remotely or ask facilities staff to verify the display shows recognition content |
| Test touch calibration at all four corners | Twice yearly (each semester) | Recalibrate if accuracy has degraded at any corner |
| Confirm content filter allowlist includes recognition platform domains | After any network policy change | Content filter updates can silently block recognition platform assets |
| Review Windows Update active hours settings | After each major Windows version update | Active hours settings may reset during feature updates |
| Test full power-cycle auto-restart | Twice yearly (each semester) | Confirms BIOS settings and Assigned Access auto-login are still intact |
| Verify remote management access | Monthly | Ensures IT can reach the device for troubleshooting without a physical visit |
| Check recognition platform CMS for stale content | Per content owner’s schedule | IT does not own content updates but can flag when the display shows outdated recognition information |
See a Recognition Display Built for Kiosk Deployment
If your school is deploying or upgrading a touchscreen recognition display and wants to see how a platform designed for kiosk deployment handles content updates, auto-restart, and touch interaction in real school environments, a live walkthrough covers exactly that. Rocket Alumni Solutions builds recognition display platforms used in school athletic halls, trophy corridors, and lobby recognition walls—systems designed to stay on approved content, update remotely, and give IT full confidence in the display environment.