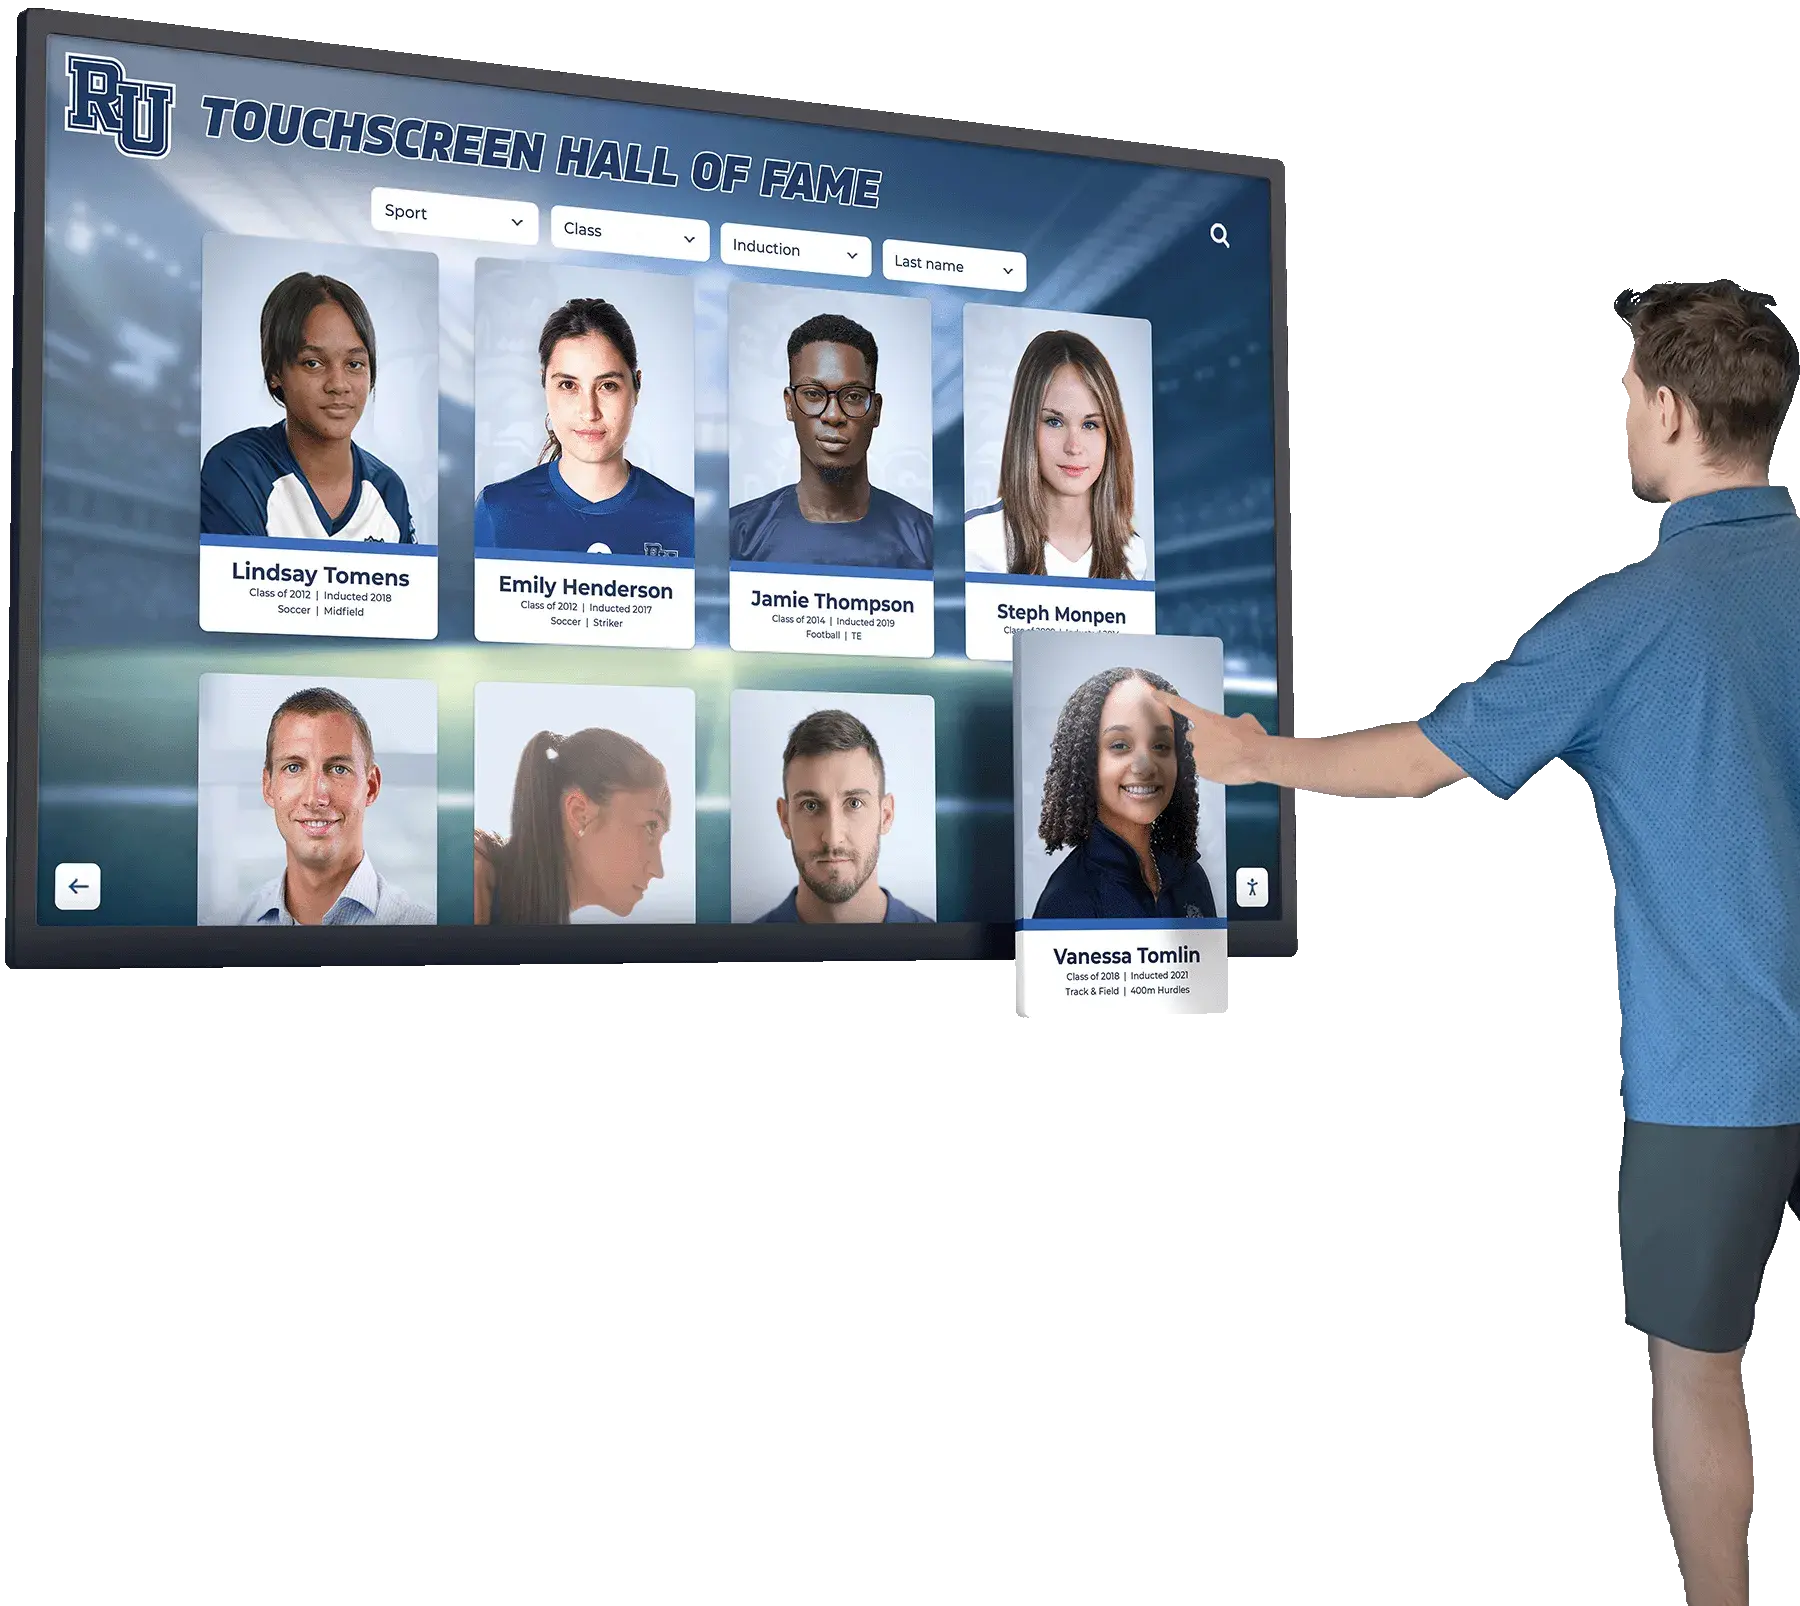




A touchscreen recognition display that goes black in the middle of a hall of fame ceremony or shows a no-signal banner during homecoming is more than a technical inconvenience. It disrupts a public event, undermines confidence in the school’s recognition program, and leaves athletes, families, and alumni staring at a dark screen instead of the content that honors their achievements. In most cases, the failure traces back to the HDMI signal path—a cable past its reliable length, a port that lost contact during a cleaning shift, a resolution handshake the display cannot complete, or an extender that was never tested under full load.
This checklist is written for school IT coordinators, facilities staff, athletic directors, and AV volunteers who need to diagnose a touchscreen recognition display HDMI cable problem methodically—without guessing, without pulling apart the installation unnecessarily, and without waiting for a vendor service call that can be avoided. It covers cable inspection, port and connector testing, resolution and refresh rate verification, full signal-path testing, and a reference table for the most common HDMI failure symptoms and their causes.
The short answer: start at the display, not the source. Confirm the screen powers on and shows any input signal at all, then work backward through the cable, extender (if present), and source device one segment at a time. Most HDMI failures on recognition displays are caused by cable length exceeding passive HDMI limits, connector seating issues from cable management stress, or resolution handshake failures after a Windows update changed output settings. The checklist below walks through each stage.

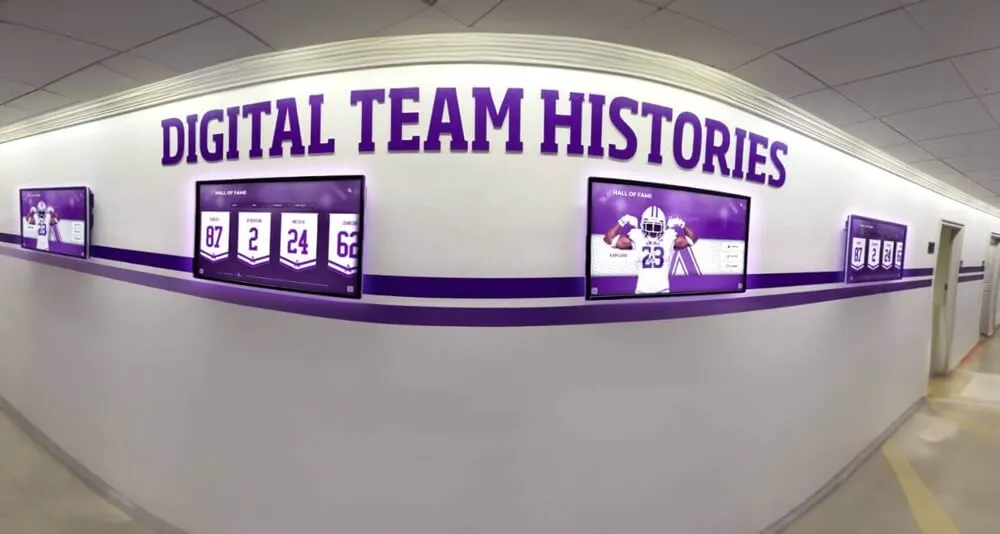
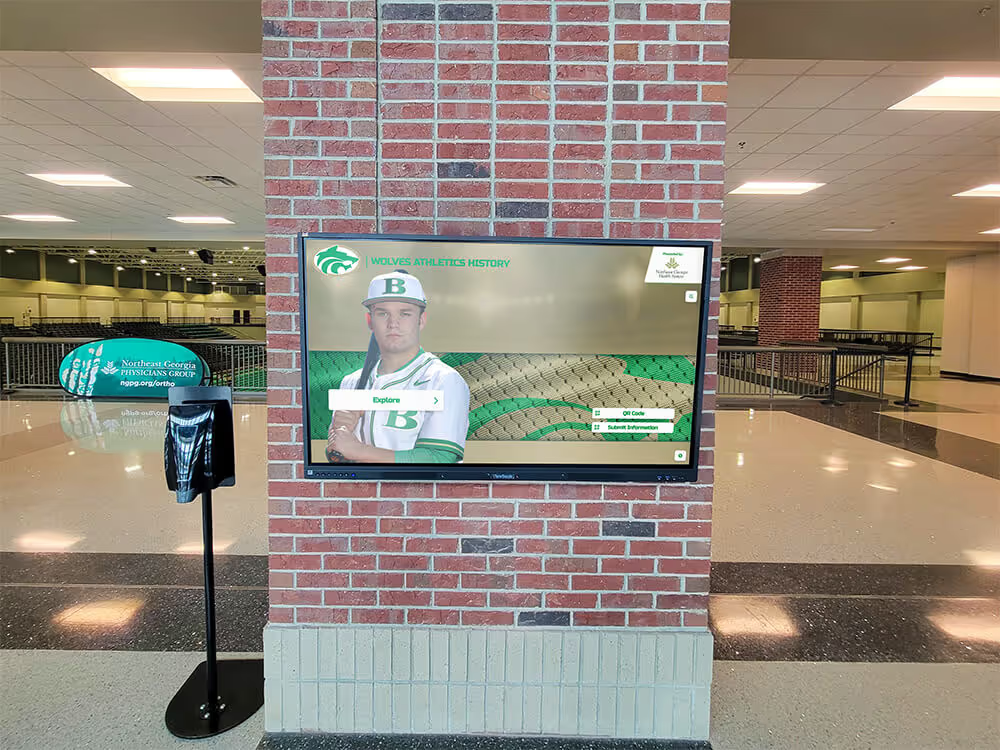
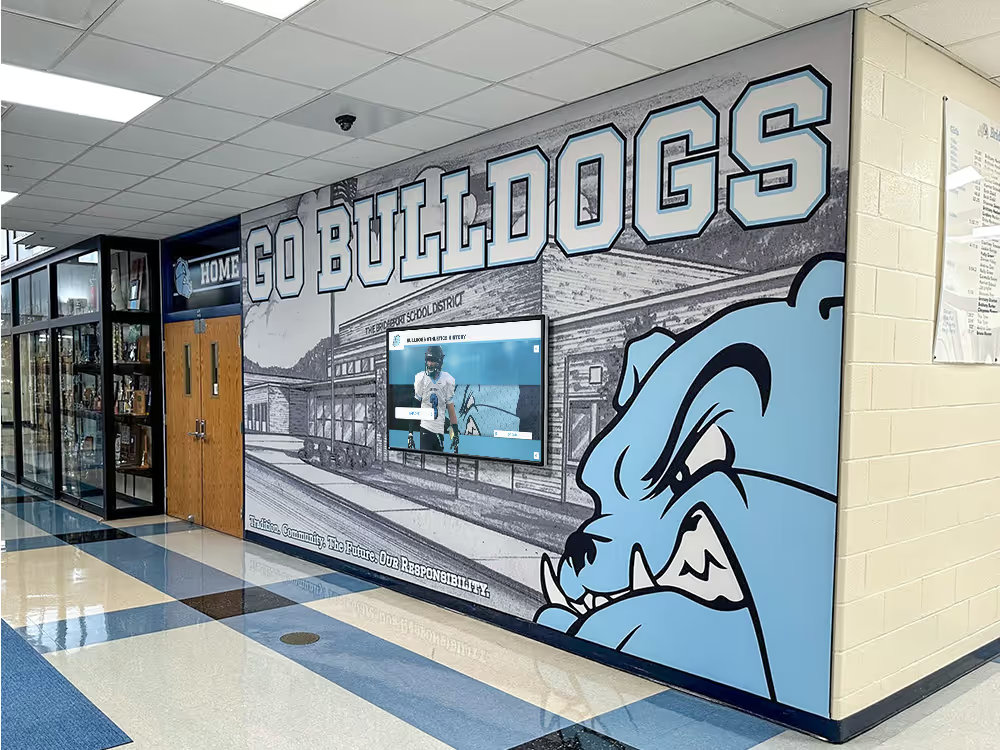
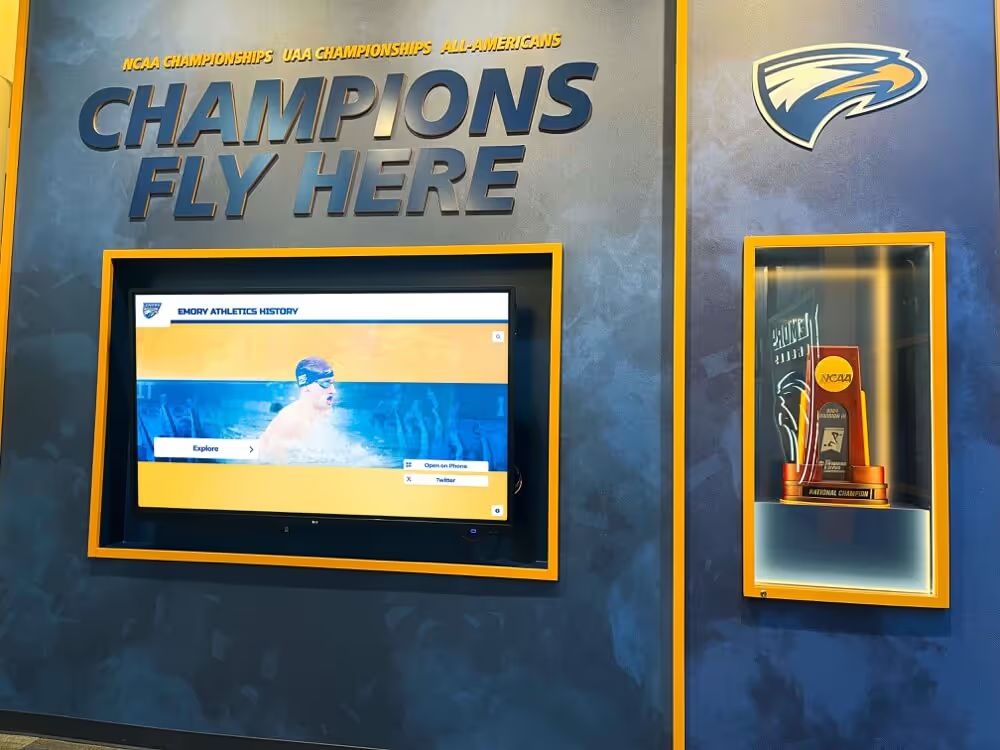
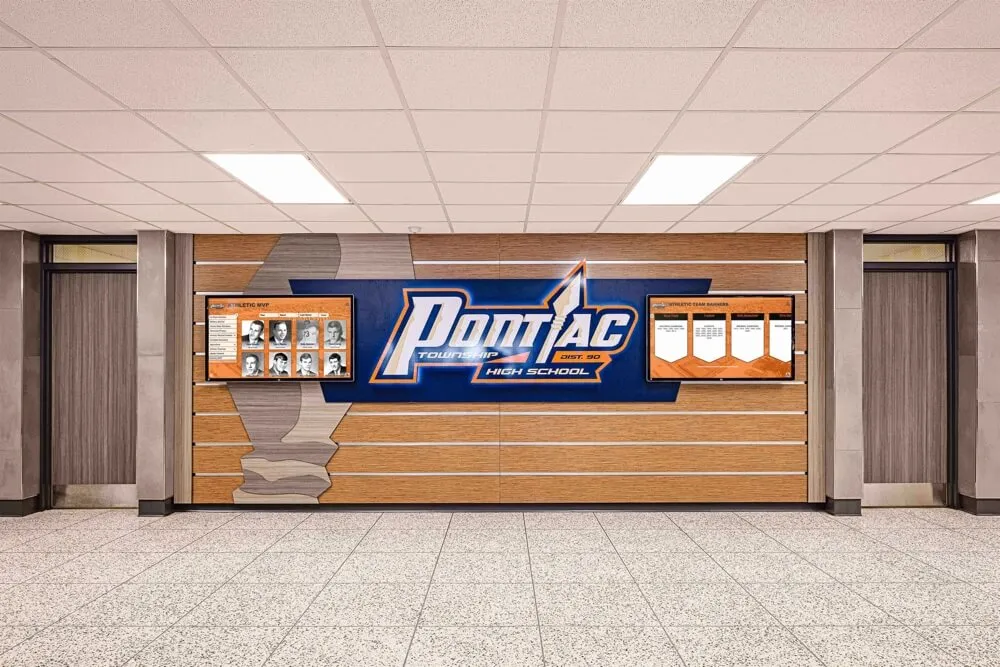
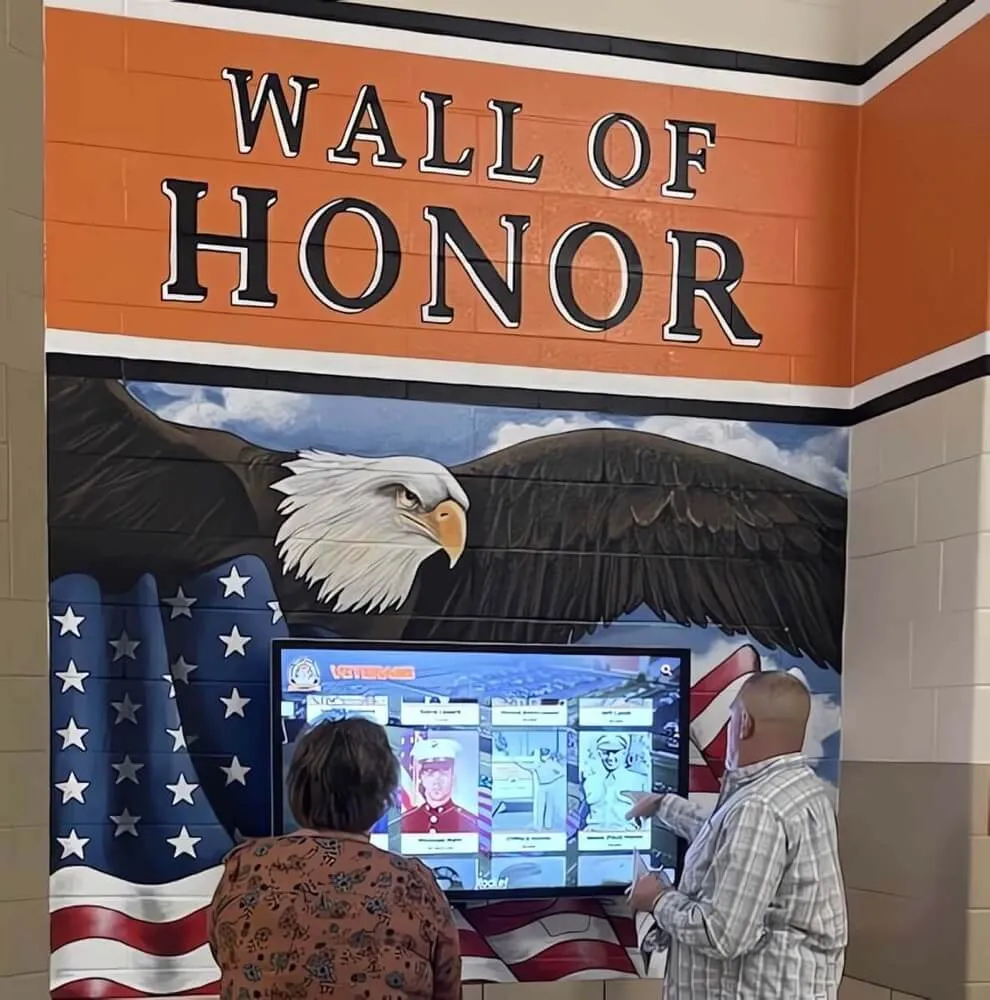
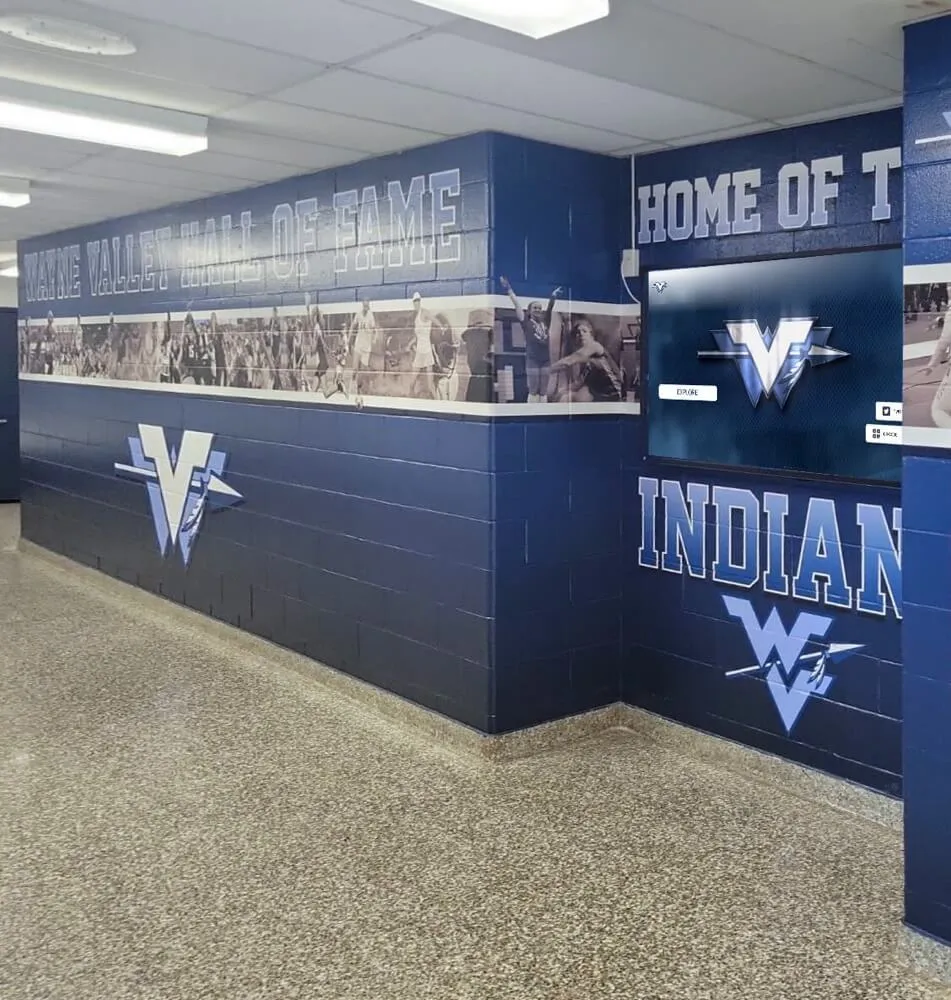
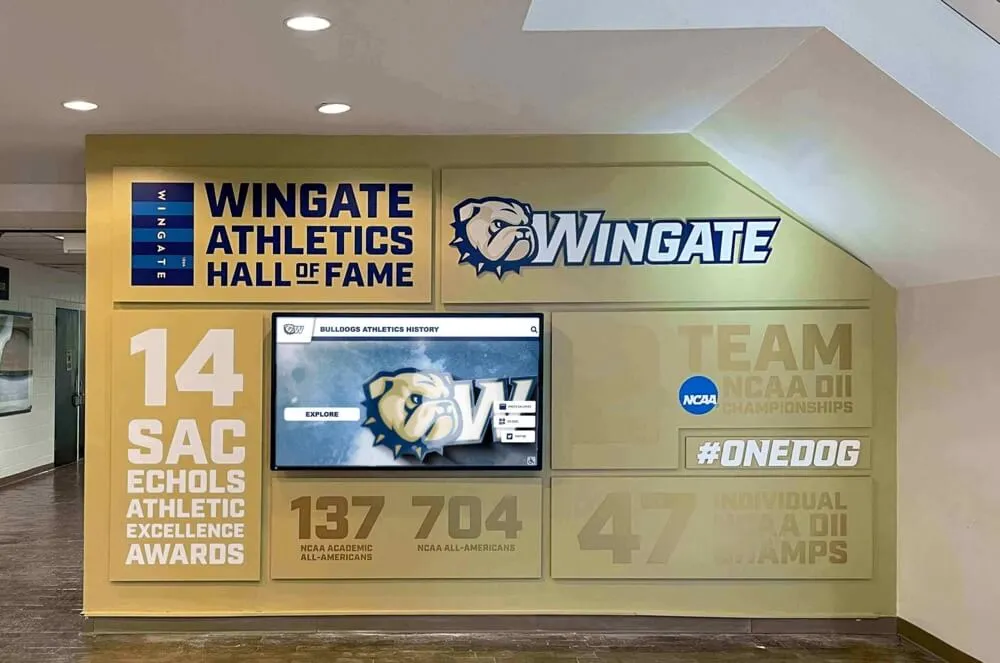
Recognition display installations in athletic corridors and hallways depend on a reliable HDMI signal path—a single cable fault or port failure can take an entire display offline before a school event
Why HDMI Signal Integrity Matters for Recognition Displays
A recognition kiosk differs from a conference room display or a classroom projector in two ways that directly affect HDMI troubleshooting: it runs continuously for long periods without staff interaction, and its cable installation is usually fixed and routed through walls, conduit, or channel track that makes quick swaps difficult.
Continuous operation creates wear points. A cable plugged in once and left for months is subject to thermal cycling, building vibration, and occasional contact from cleaning equipment. Connectors that were seated firmly at installation may develop micro-movement that causes intermittent signal loss—especially on the display end where the mount can transmit vibration.
Fixed routing limits your swap options. When a recognition display goes dark and the cable runs 30 feet through a wall, you cannot simply swap to a known-good cable without planning. This checklist is designed to help you isolate which segment of the signal path is failing before you commit to a cable pull or a vendor visit.
HDMI version and cable rating interact with recognition platform output settings. Rocket Alumni Solutions and similar recognition platforms output high-resolution content that looks best at 1080p or 4K. If the cable, extender, or port cannot sustain that resolution reliably, the display either drops signal, falls back to a lower resolution that looks incorrect on a large format screen, or intermittently blanks during high-motion content transitions.
Before You Start: Tools and Baseline Information to Gather
Before working through the testing phases, collect the following. The testing process is faster and more conclusive when you have baseline information available.
Physical tools:
- Short known-good HDMI cable (under 6 feet, rated for your target resolution)
- Alternate HDMI source device (a laptop with HDMI output, or a streaming device)
- Small flashlight or phone torch for inspecting ports and connectors
- Cable tester if available (passive HDMI testers detect wiring faults; active testers verify signal continuity)
Reference information:
- Native resolution of the recognition display panel (check the display model’s spec sheet or on-screen settings menu)
- Length and routing of the installed HDMI cable
- Whether an HDMI extender, balun, or repeater is in the signal path (and its rated length and resolution)
- Output resolution configured in the source PC’s display settings (Windows: right-click desktop → Display Settings → Resolution)
- HDMI version of the source device output port and the display input port (labeled on the device or in its spec sheet)
Start with a symptom log. Before touching any hardware, confirm and write down exactly what the display shows: no signal message, black screen with backlight visible, intermittent signal that recovers, or a specific error code. The symptom pattern often points to a specific failure type and prevents unnecessary disassembly.
Phase 1: Cable Inspection Checklist
Inspect the physical cable and connectors before testing signal. Many HDMI failures are visible on close inspection.
Connector Inspection (Display End)
- With the display powered off, carefully remove the HDMI cable from the display input port and inspect the connector under a flashlight
- Check for bent or pushed-in pins inside the connector; HDMI connectors have 19 pins in two rows—any bent pin disrupts specific signal channels
- Check for debris, dust, or oxidation on the connector contacts; oxidized contacts appear dull or slightly dark rather than bright gold or silver
- Inspect the connector housing for cracks or deformation; a cracked housing from a pulled cable often damages the internal wiring before the conductor breaks
- Check the cable jacket at the connector entry point for kinking or stress marks; a cable kinked at 90 degrees at the connector is a common failure point when cable management pulls the cable sideways under tension
- Re-seat the connector firmly into the display port; you should feel the connector seat fully with a slight resistance—loose connectors that wobble are unreliable under vibration
Connector Inspection (Source End)
- Repeat the same connector inspection at the source device end (PC, media player, or HDMI extender)
- If the source is a PC mounted behind the display, check whether cable management is placing lateral stress on the PC’s HDMI port; the port solder connections on mini-PCs and NUCs are not designed for sustained mechanical load
- Confirm the cable is not routed around a sharp corner within 12 inches of either connector
Cable Routing Inspection
- Walk the cable route from source to display and identify any points where the cable passes through conduit entry, is clamped, or is under compression from a cover plate
- Check whether the cable is coiled tightly anywhere in the run; tight coiling in an HDMI cable increases impedance and degrades signal at longer lengths
- Verify the cable has not been routed adjacent to power cables for a significant portion of the run; parallel runs close to AC power cables can introduce interference on longer HDMI runs
- If the cable passes through a wall plate or keystone jack, verify the keystone is rated for HDMI pass-through at your required resolution; some low-cost wall plates attenuate signal
Cable Length Verification
- Measure or estimate the total cable length from source to display
- Compare against the passive HDMI limit: standard passive HDMI cables are typically reliable to 15–25 feet (5–8 meters) at 1080p; 4K requires shorter runs or active cables
- If the cable is longer than 20 feet and passive, note this as a probable signal quality factor; long passive HDMI runs are the most common cause of intermittent black screens that occur after the display has been running for hours (thermal expansion affects conductor contact in long cables)
- If an HDMI extender or balun is present, verify its rated length and resolution match your actual run length and output resolution
Phase 2: Port and Connector Testing
After inspecting the physical cable, isolate whether the failure is in the cable, the source port, or the display port.
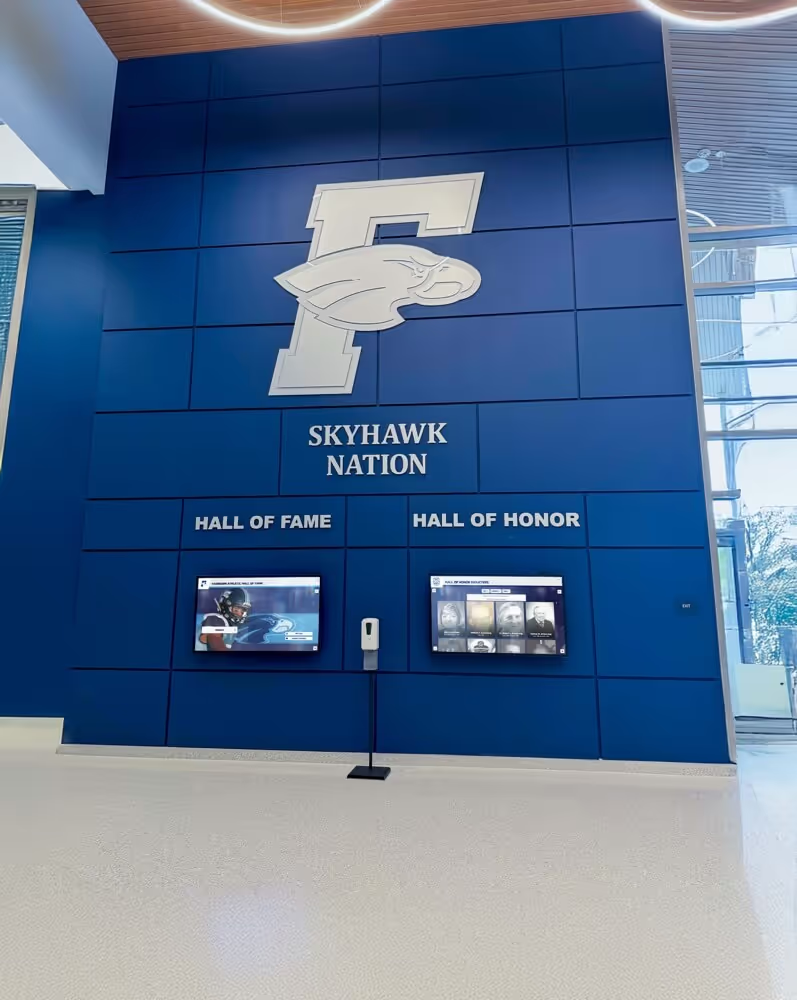
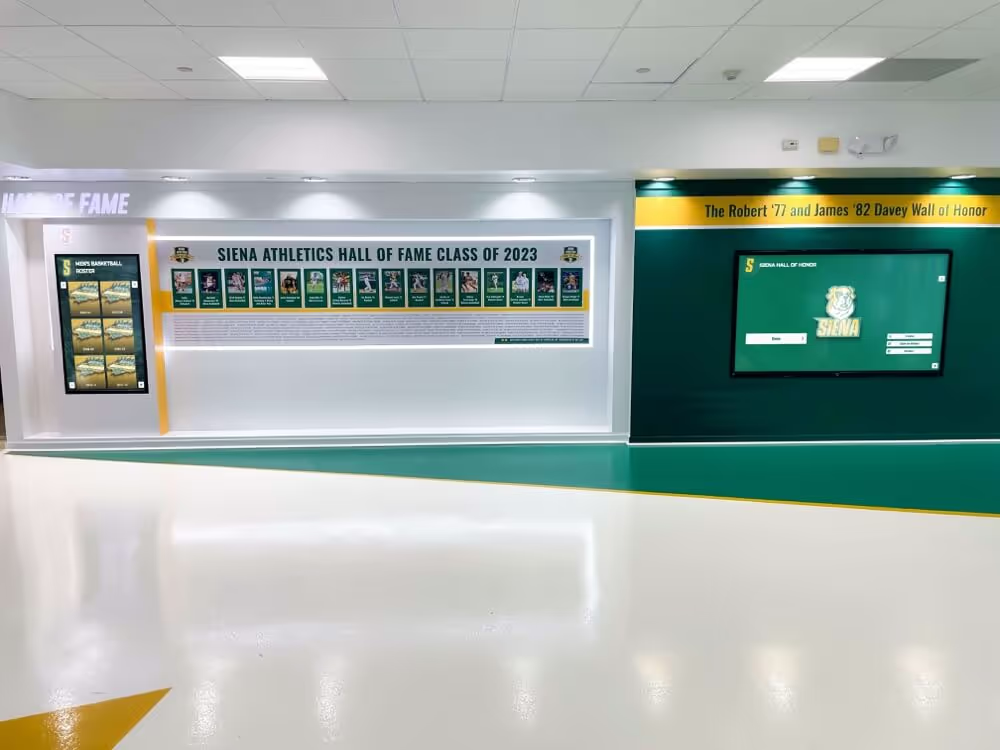
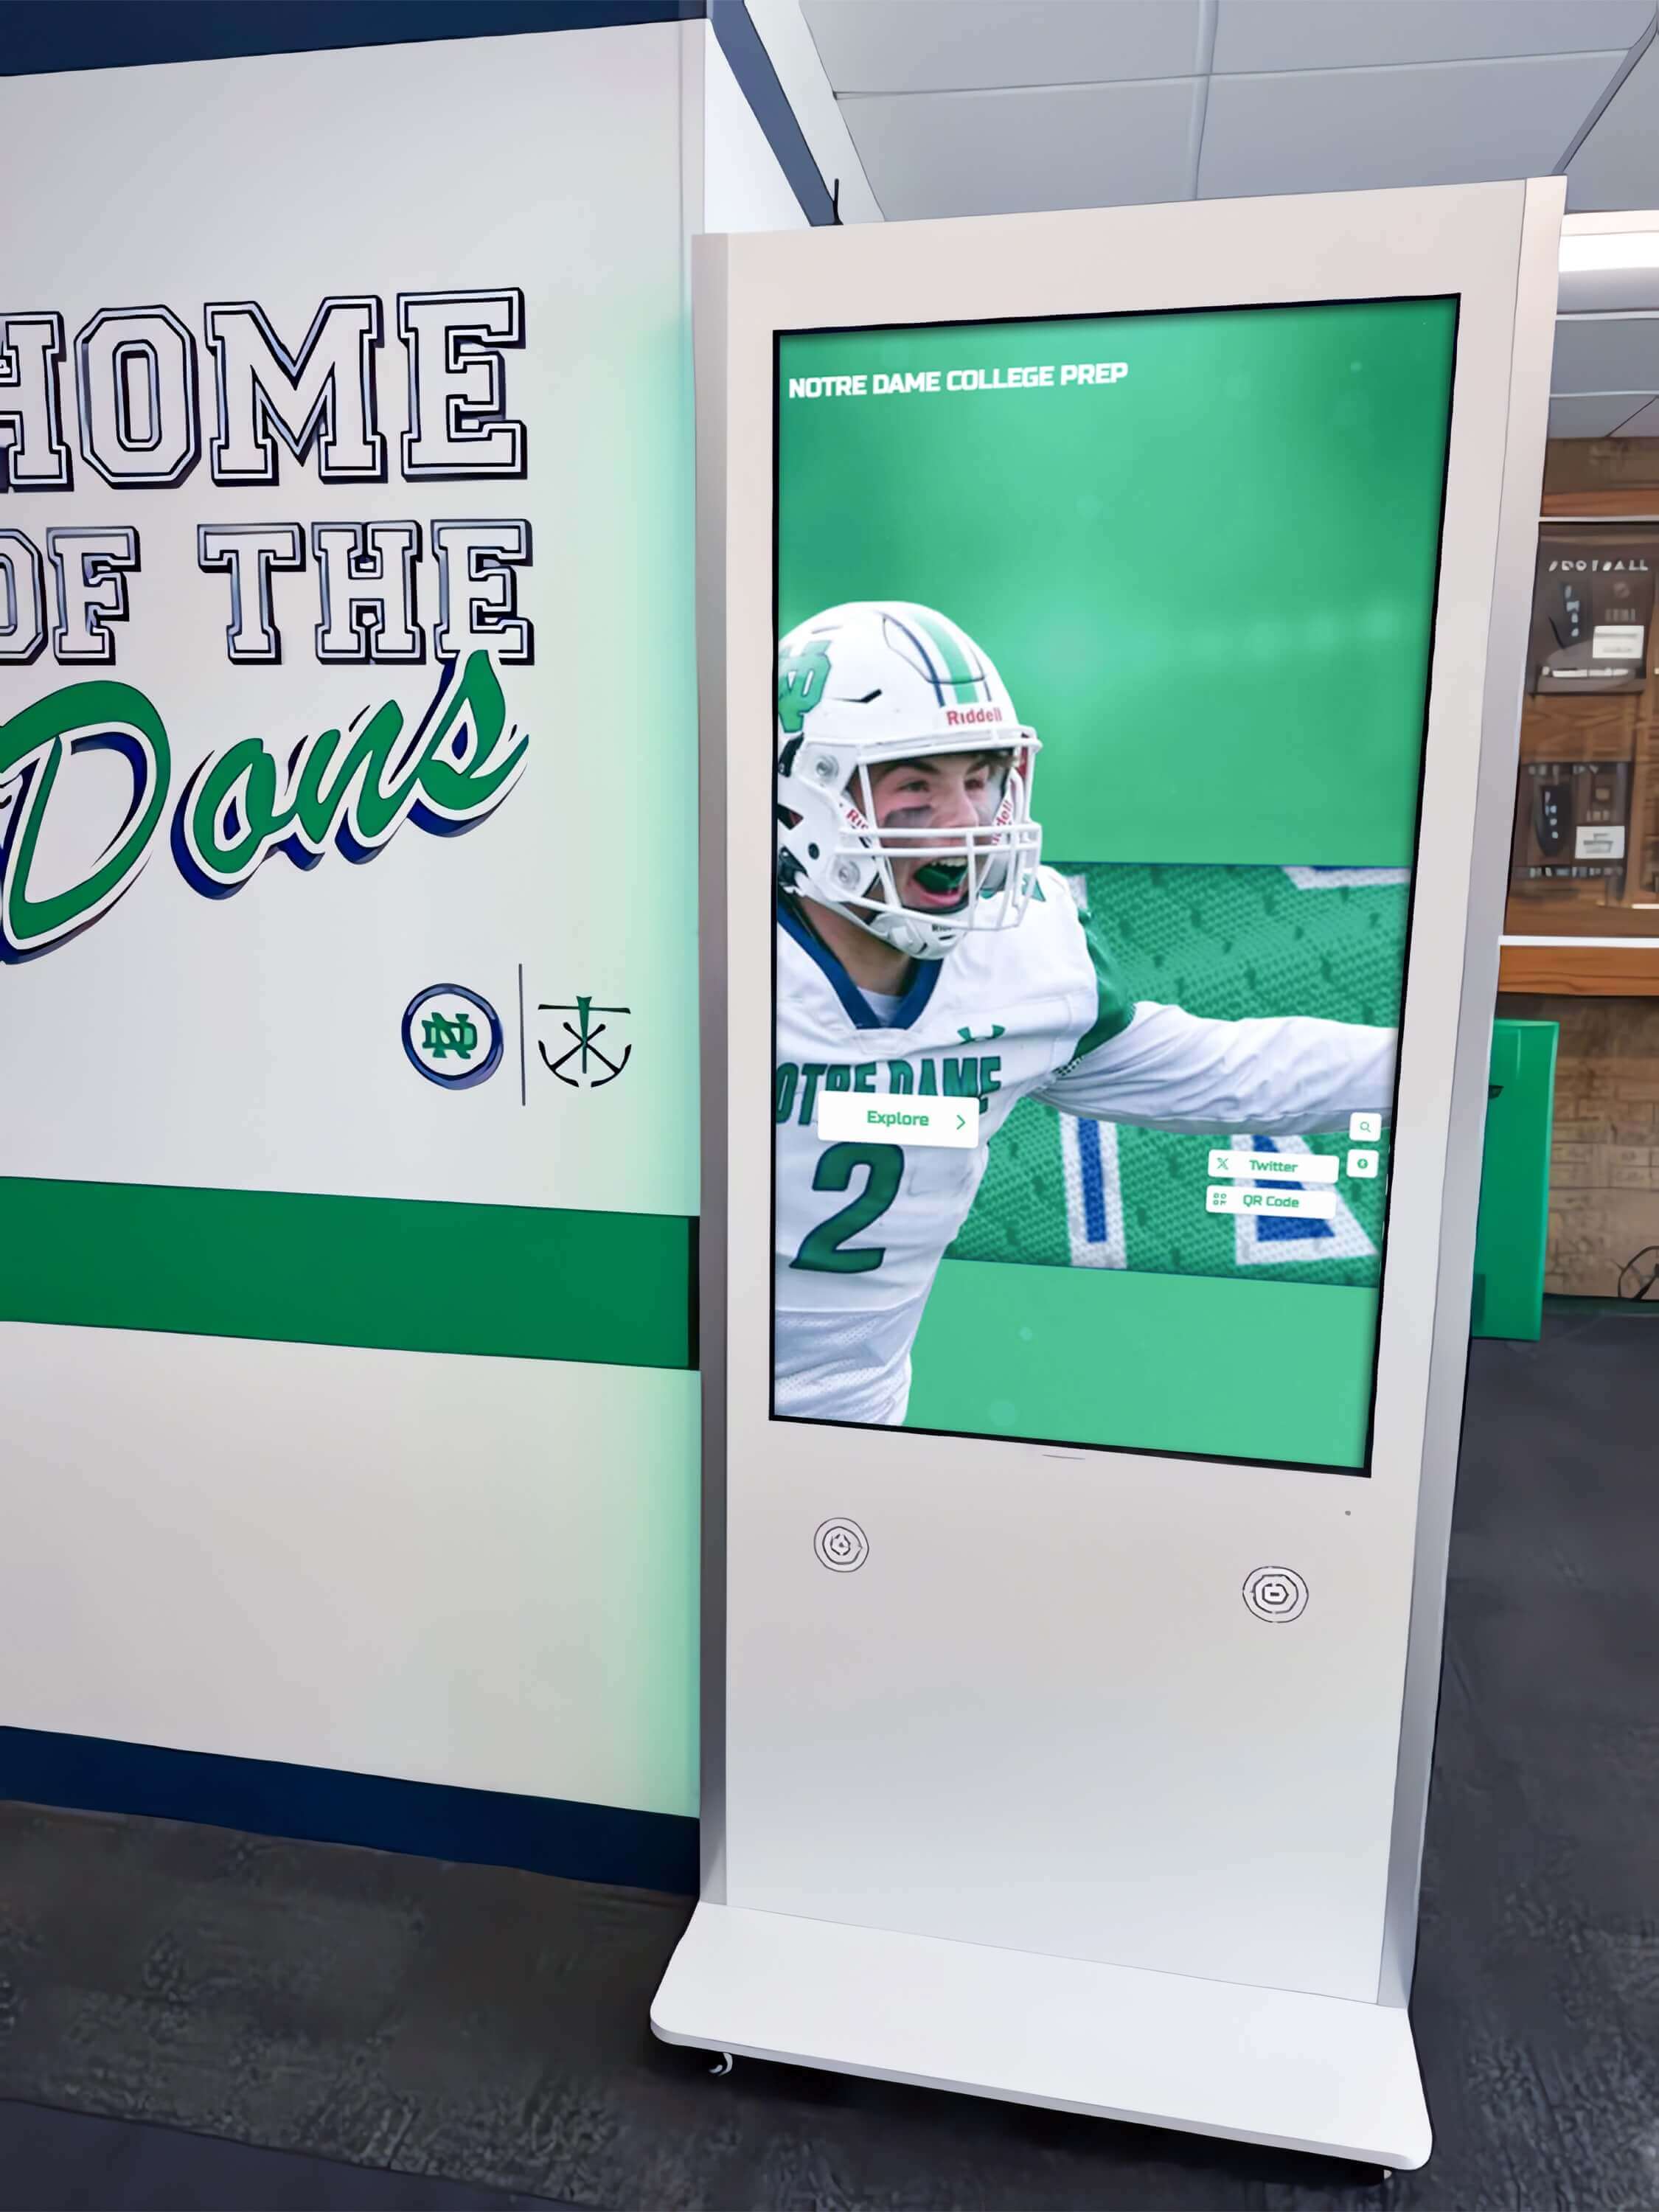
HDMI port failures on wall-mounted recognition displays are often caused by connector stress from cable management tension rather than electrical port failure
Test the Display Port
- Connect your known-good short HDMI cable to the display’s HDMI port
- Connect the other end to an alternate source (laptop, streaming device, or another PC) known to output a valid HDMI signal
- Power on the display and the alternate source; if the display shows a signal from the alternate source, the display port is functioning
- If the display shows no signal with the known-good cable and alternate source, test a different HDMI input port on the display (most recognition displays have at least two HDMI inputs); if the second port works, the first port has failed
- If neither port shows a signal with a known-good cable and alternate source, the display itself has a fault requiring service
Test the Source Port
- With the display confirmed working (from the port test above), connect your known-good short HDMI cable directly from the source PC or media player to the display, bypassing the installed cable entirely
- If the display shows a signal with the short cable, the installed cable or extender is the failure point
- If the display still shows no signal with the short cable connected to the source, test a different output port on the source device if available; if only one HDMI port is present, connect the source to a different known-working display to confirm the source port is outputting a signal
Test the Installed Cable in Isolation
- If both the display port and source port are confirmed working with a short cable, reconnect the installed cable
- If the installed cable is accessible at both ends, use a passive HDMI cable tester to check for wiring continuity on all 19 pins; a broken conductor in any of the TMDS pairs causes specific symptoms (horizontal lines, color dropout, or no signal)
- If no cable tester is available, the simplest test is whether a known-good short cable passes signal while the installed cable does not—if so, the installed cable is faulty and requires replacement
Phase 3: Resolution and Refresh Rate Verification
HDMI signal failures on recognition displays are frequently caused by resolution or refresh rate settings that exceed what the cable, extender, or display can sustain. This phase verifies that the output settings match the display and cable capability.
- On the source PC, open Display Settings (right-click desktop → Display Settings, or Settings → System → Display)
- Note the current resolution and refresh rate set for the recognition display output
- Compare the configured resolution against the display’s native resolution; a mismatch causes the display to either scale awkwardly or reject the signal
- If the resolution is set higher than the display’s native resolution, reduce it to the native resolution and test
- If the refresh rate is set to 60 Hz or above at 4K resolution over a passive or older cable, reduce to 30 Hz and test; some cable and extender combinations cannot sustain 4K60
- Open the display’s on-screen menu and confirm the selected input (HDMI 1, HDMI 2, DisplayPort) matches the port the cable is connected to; the display defaulting to a different input after a power cycle is a common source of apparent “black screen” calls
- If Windows recently updated, check whether the GPU driver update reset the display output settings; driver updates occasionally reset resolution, refresh rate, or bit depth settings that then fail to negotiate correctly with the display
- Confirm the color depth setting in Windows Display Adapter Properties → Monitor → Color Management; HDMI extenders designed for standard content may not pass 10-bit or HDR signals reliably
HDMI Version Compatibility Check
| Source HDMI Version | Cable Requirement | Display Input Requirement | Max Reliable Resolution |
|---|---|---|---|
| HDMI 1.4 | Standard 1.4 cable | HDMI 1.4 or higher input | 1080p at 60 Hz, 4K at 30 Hz |
| HDMI 2.0 | High-Speed (18 Gbps) cable | HDMI 2.0 or higher input | 4K at 60 Hz |
| HDMI 2.1 | Ultra-High-Speed (48 Gbps) cable | HDMI 2.1 input required for full bandwidth | 4K at 120 Hz, 8K at 60 Hz |
For most school recognition displays running at 1080p or 4K at 60 Hz, HDMI 2.0 source and cable is the minimum reliable specification. If your cable is unlabeled, treat it as HDMI 1.4 and limit testing to 1080p at 60 Hz until you can verify the cable rating.
Phase 4: Full Signal Path Testing
When the cable and port tests above do not identify the fault, the issue is usually in the extender, balun, or repeater stage—or in the combination of source settings and cable capability under load.
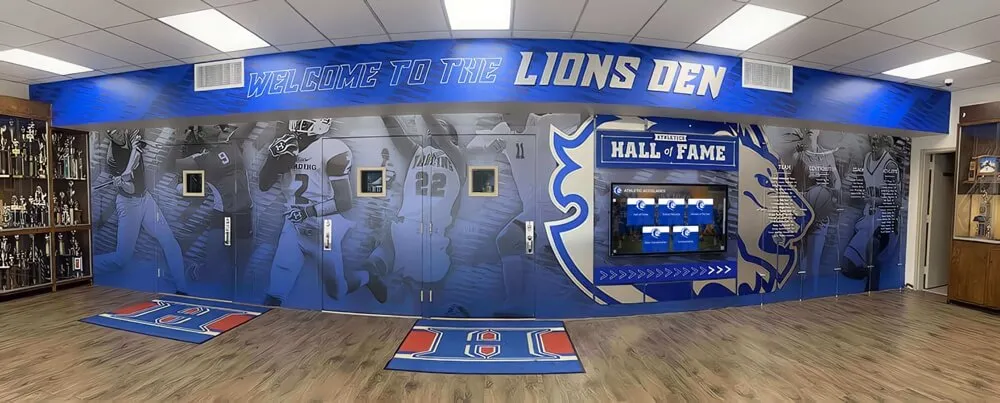
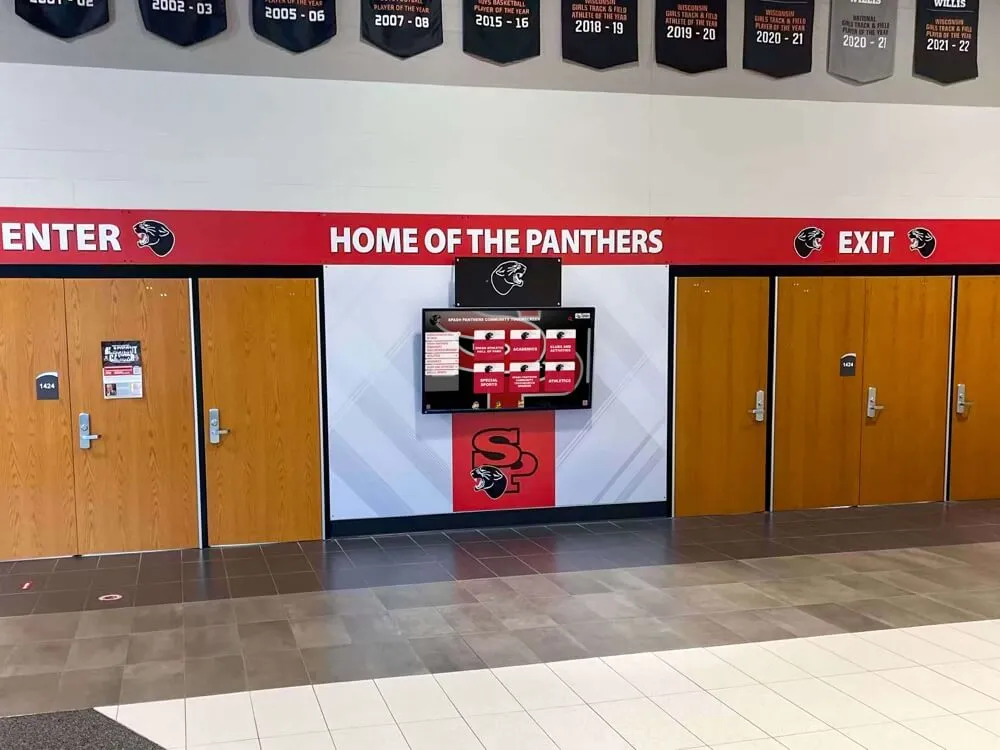
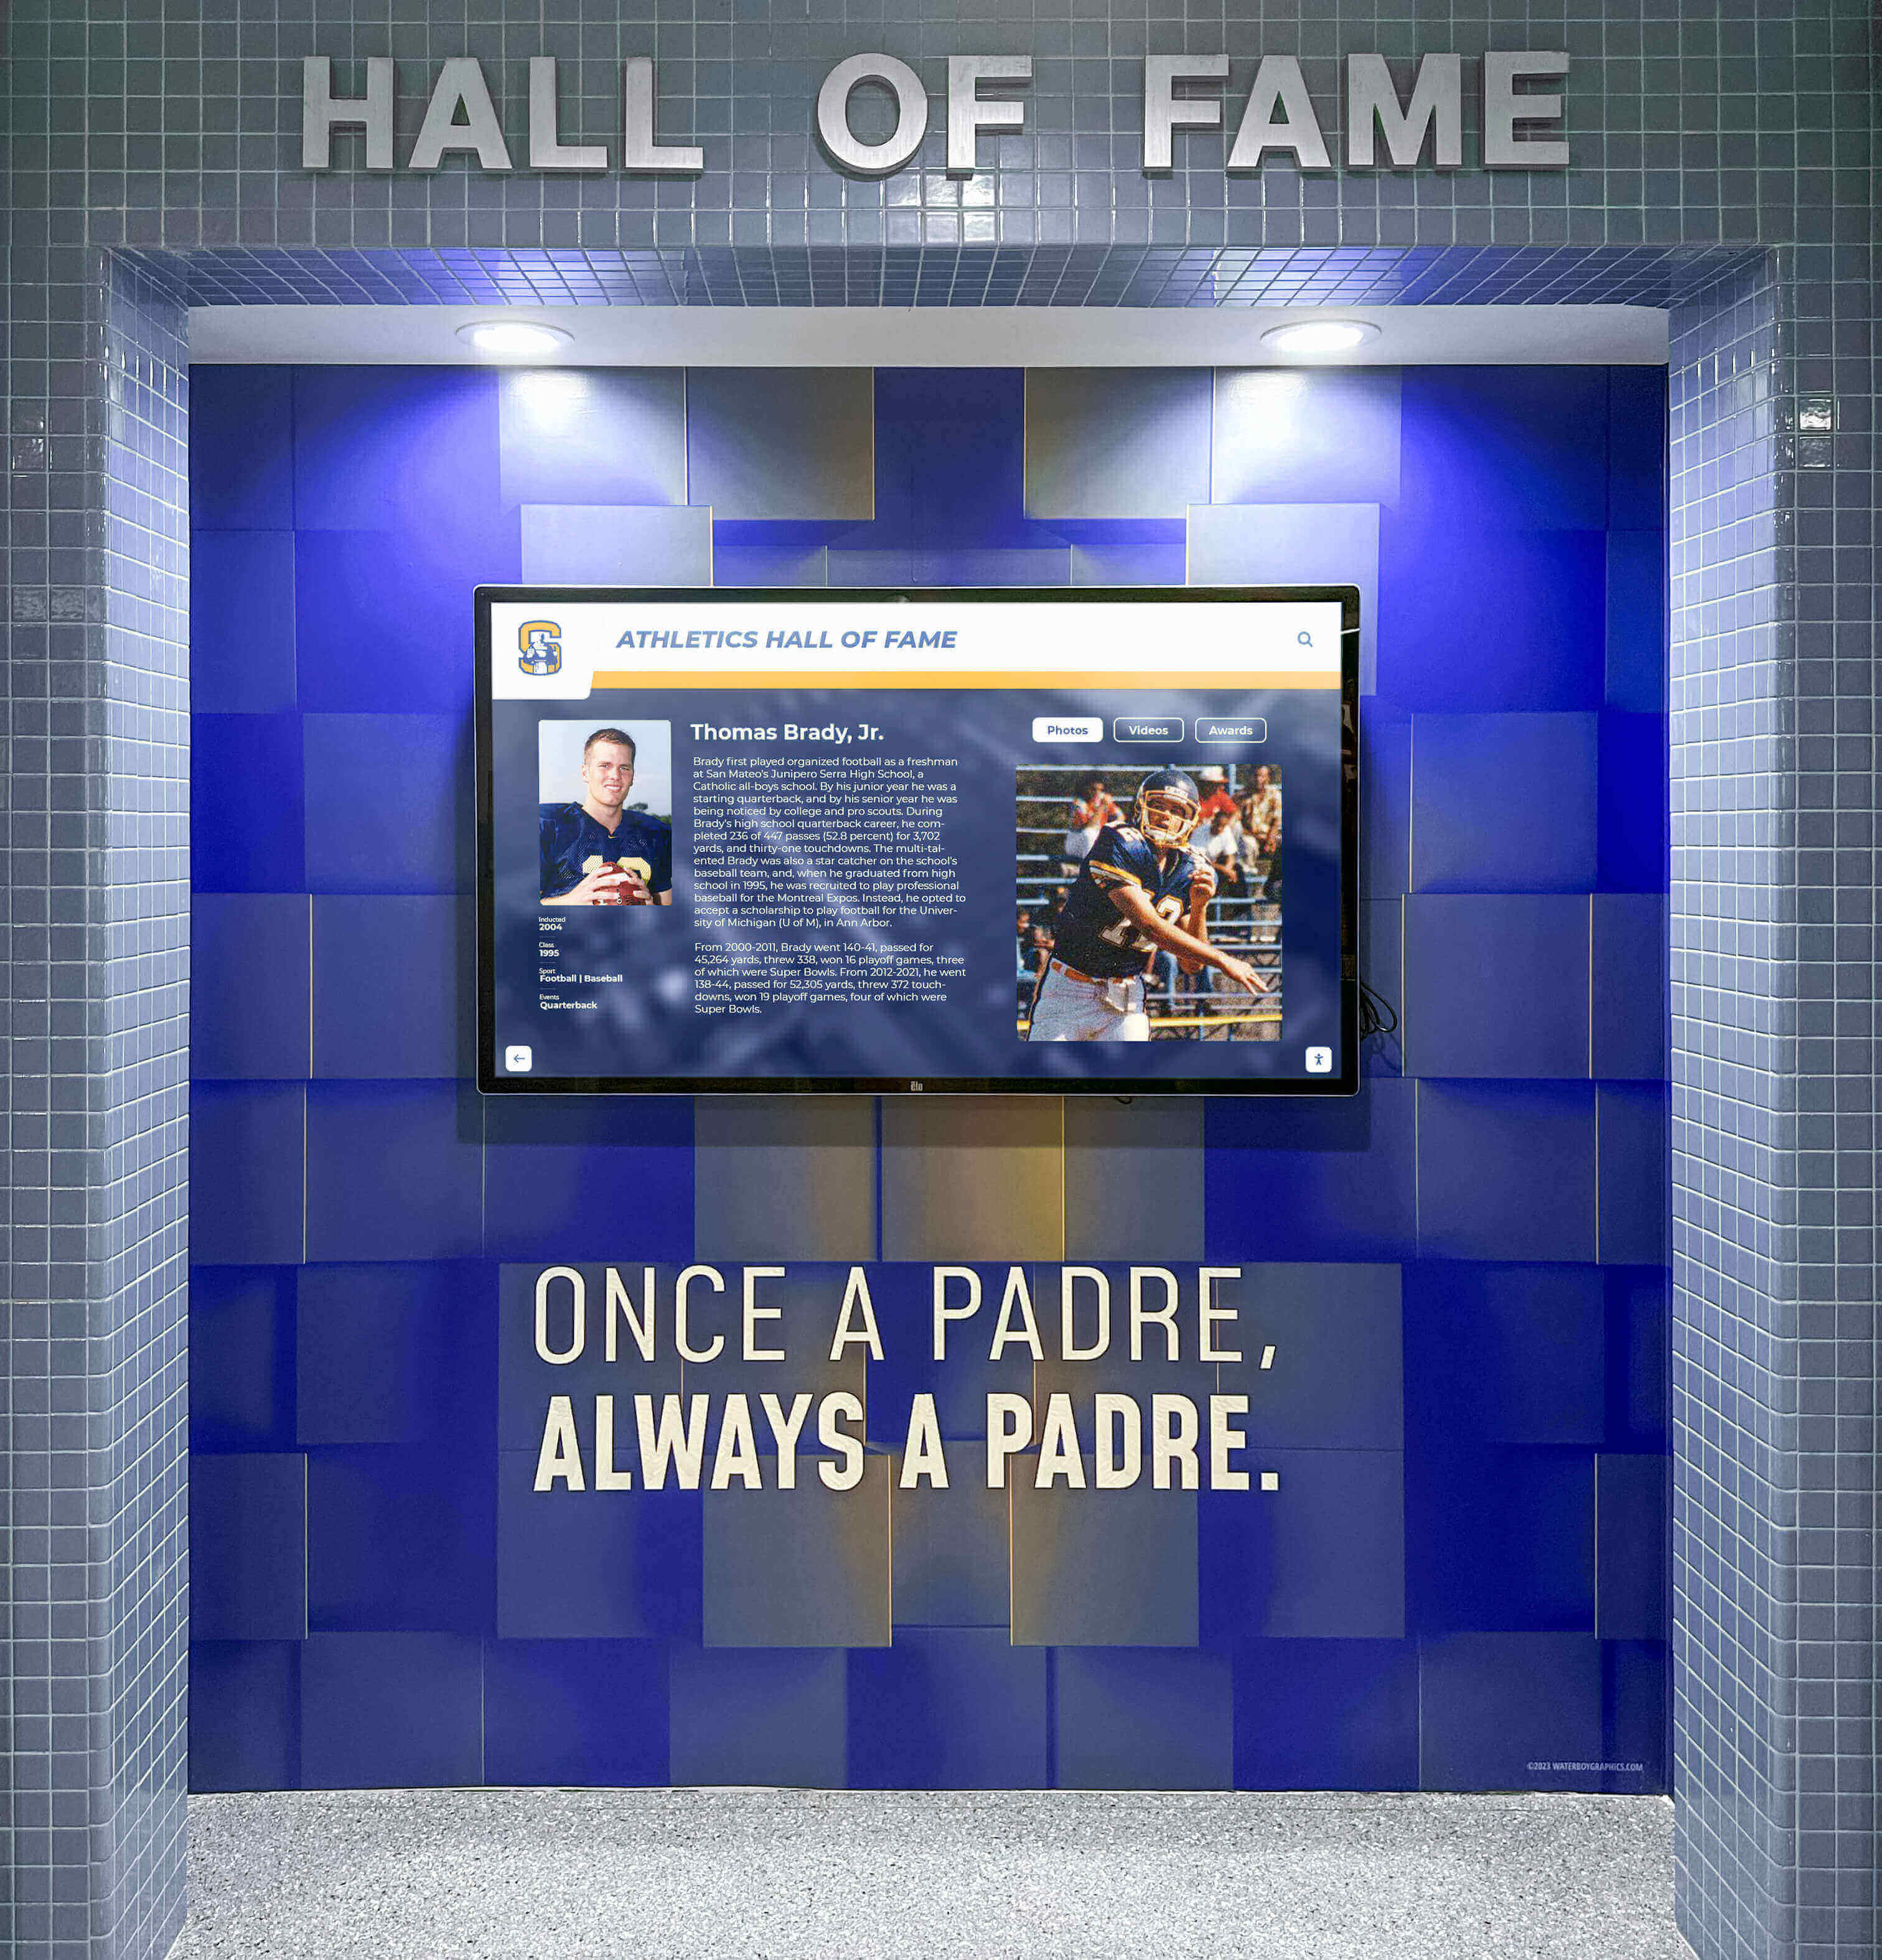
Intermittent signal drops during active use are often caused by extender failures or cable faults that only appear under sustained load—full signal-path testing isolates the segment at fault
Extender and Balun Testing
If your installation uses an HDMI extender (HDBaseT balun, HDMI over CAT6, fiber extender, or wireless HDMI sender/receiver):
- Identify all extender components: sender unit, receiver unit, the cable connecting them, and any power supplies for the extender
- Check power indicators on both sender and receiver units; a receiver with no power indicator lit is not passing signal regardless of cable quality
- If the extender uses CAT6 cable, inspect the RJ45 connections at both ends; poorly terminated CAT6 connections on HDMI extenders cause intermittent signal drops that are difficult to reproduce on demand
- Verify the extender is rated for your required resolution; extenders rated for 1080p will not reliably pass 4K, and some 4K extenders are rated only for 4K30, not 4K60
- Test the extender independently: connect a known-good HDMI source directly to the extender sender with a short cable, and a known-working display to the extender receiver with a short cable; if the extender passes signal in this isolated test, the extender is functional
- If the extender fails the isolated test, test with a short HDMI cable bypassing the extender entirely; if the direct connection works, the extender has failed
- Check whether the extender’s firmware is current; some HDMI extender manufacturers release firmware updates that address EDID handshake failures with specific display models
EDID and Handshake Testing
EDID (Extended Display Identification Data) failures cause the source to output a resolution or signal format the display cannot accept. This is common after hardware changes, OS updates, or extender replacements.
- In Windows Display Settings, confirm Windows detects the recognition display (it should appear as a named or generic monitor, not as “Unknown Display”)
- If Windows shows “Unknown Display” or defaults to a very low resolution (640×480 or 800×600), the EDID handshake is failing; the display is not communicating its capabilities to the source
- Try an EDID emulator or EDID lock function if your extender supports it; EDID lock stores the display’s capability data at the extender and prevents handshake failures from distance or extender signal quality issues
- If the extender does not support EDID lock, connect the display directly via a short cable to let Windows learn the display’s EDID, then configure Windows to use a specific resolution and refresh rate rather than “Recommended”; this manually set configuration is more stable across reconnections
Sustained Load Testing
Some HDMI failures only appear after the display has been running for 30–90 minutes due to thermal expansion of cable conductors.
- With the recognition display running normally, let it run for 60 minutes and observe whether the signal drops or the display shows intermittent black frames
- If the signal failure is intermittent and time-correlated, focus on long cable runs and connector contact quality; thermal expansion in long runs is the most common cause of failures that do not reproduce during a quick test
- If the failure correlates with content transitions (the display drops signal when the recognition platform advances to a new content section), check whether the source is changing resolution or refresh rate during content transitions; some content management platforms trigger a display reconfiguration when switching between content types
Pre-Event Signal Verification Checklist
Run this quick checklist before any school event where the recognition display is expected to be visible: athletic banquets, hall of fame ceremonies, alumni nights, graduation season.
| Check | Method | Pass Condition |
|---|---|---|
| Display powers on and shows recognition content | Power cycle 30 minutes before event | Recognition platform content visible with no signal warnings |
| HDMI connector seated at display | Physical inspection | Connector fully seated; no wobble or loose fit |
| HDMI connector seated at source | Physical inspection | Connector fully seated; no wobble or loose fit |
| Correct input selected on display | Check display OSD (on-screen display) | Active input matches the connected HDMI port |
| Resolution matches display native | Windows Display Settings | Configured resolution equals the display’s native resolution |
| No pending Windows Update restarts | Check Windows Update in Settings | No restart pending that could interrupt display during event |
| Extender power indicators lit (if present) | Check sender and receiver LEDs | Both units show active power and link status |
| Content is current in recognition platform | Log into CMS | Recognition content reflects latest additions and updates |
| Audio muted or at correct level (if applicable) | Check display audio output | Audio matches event requirements (silent or active) |
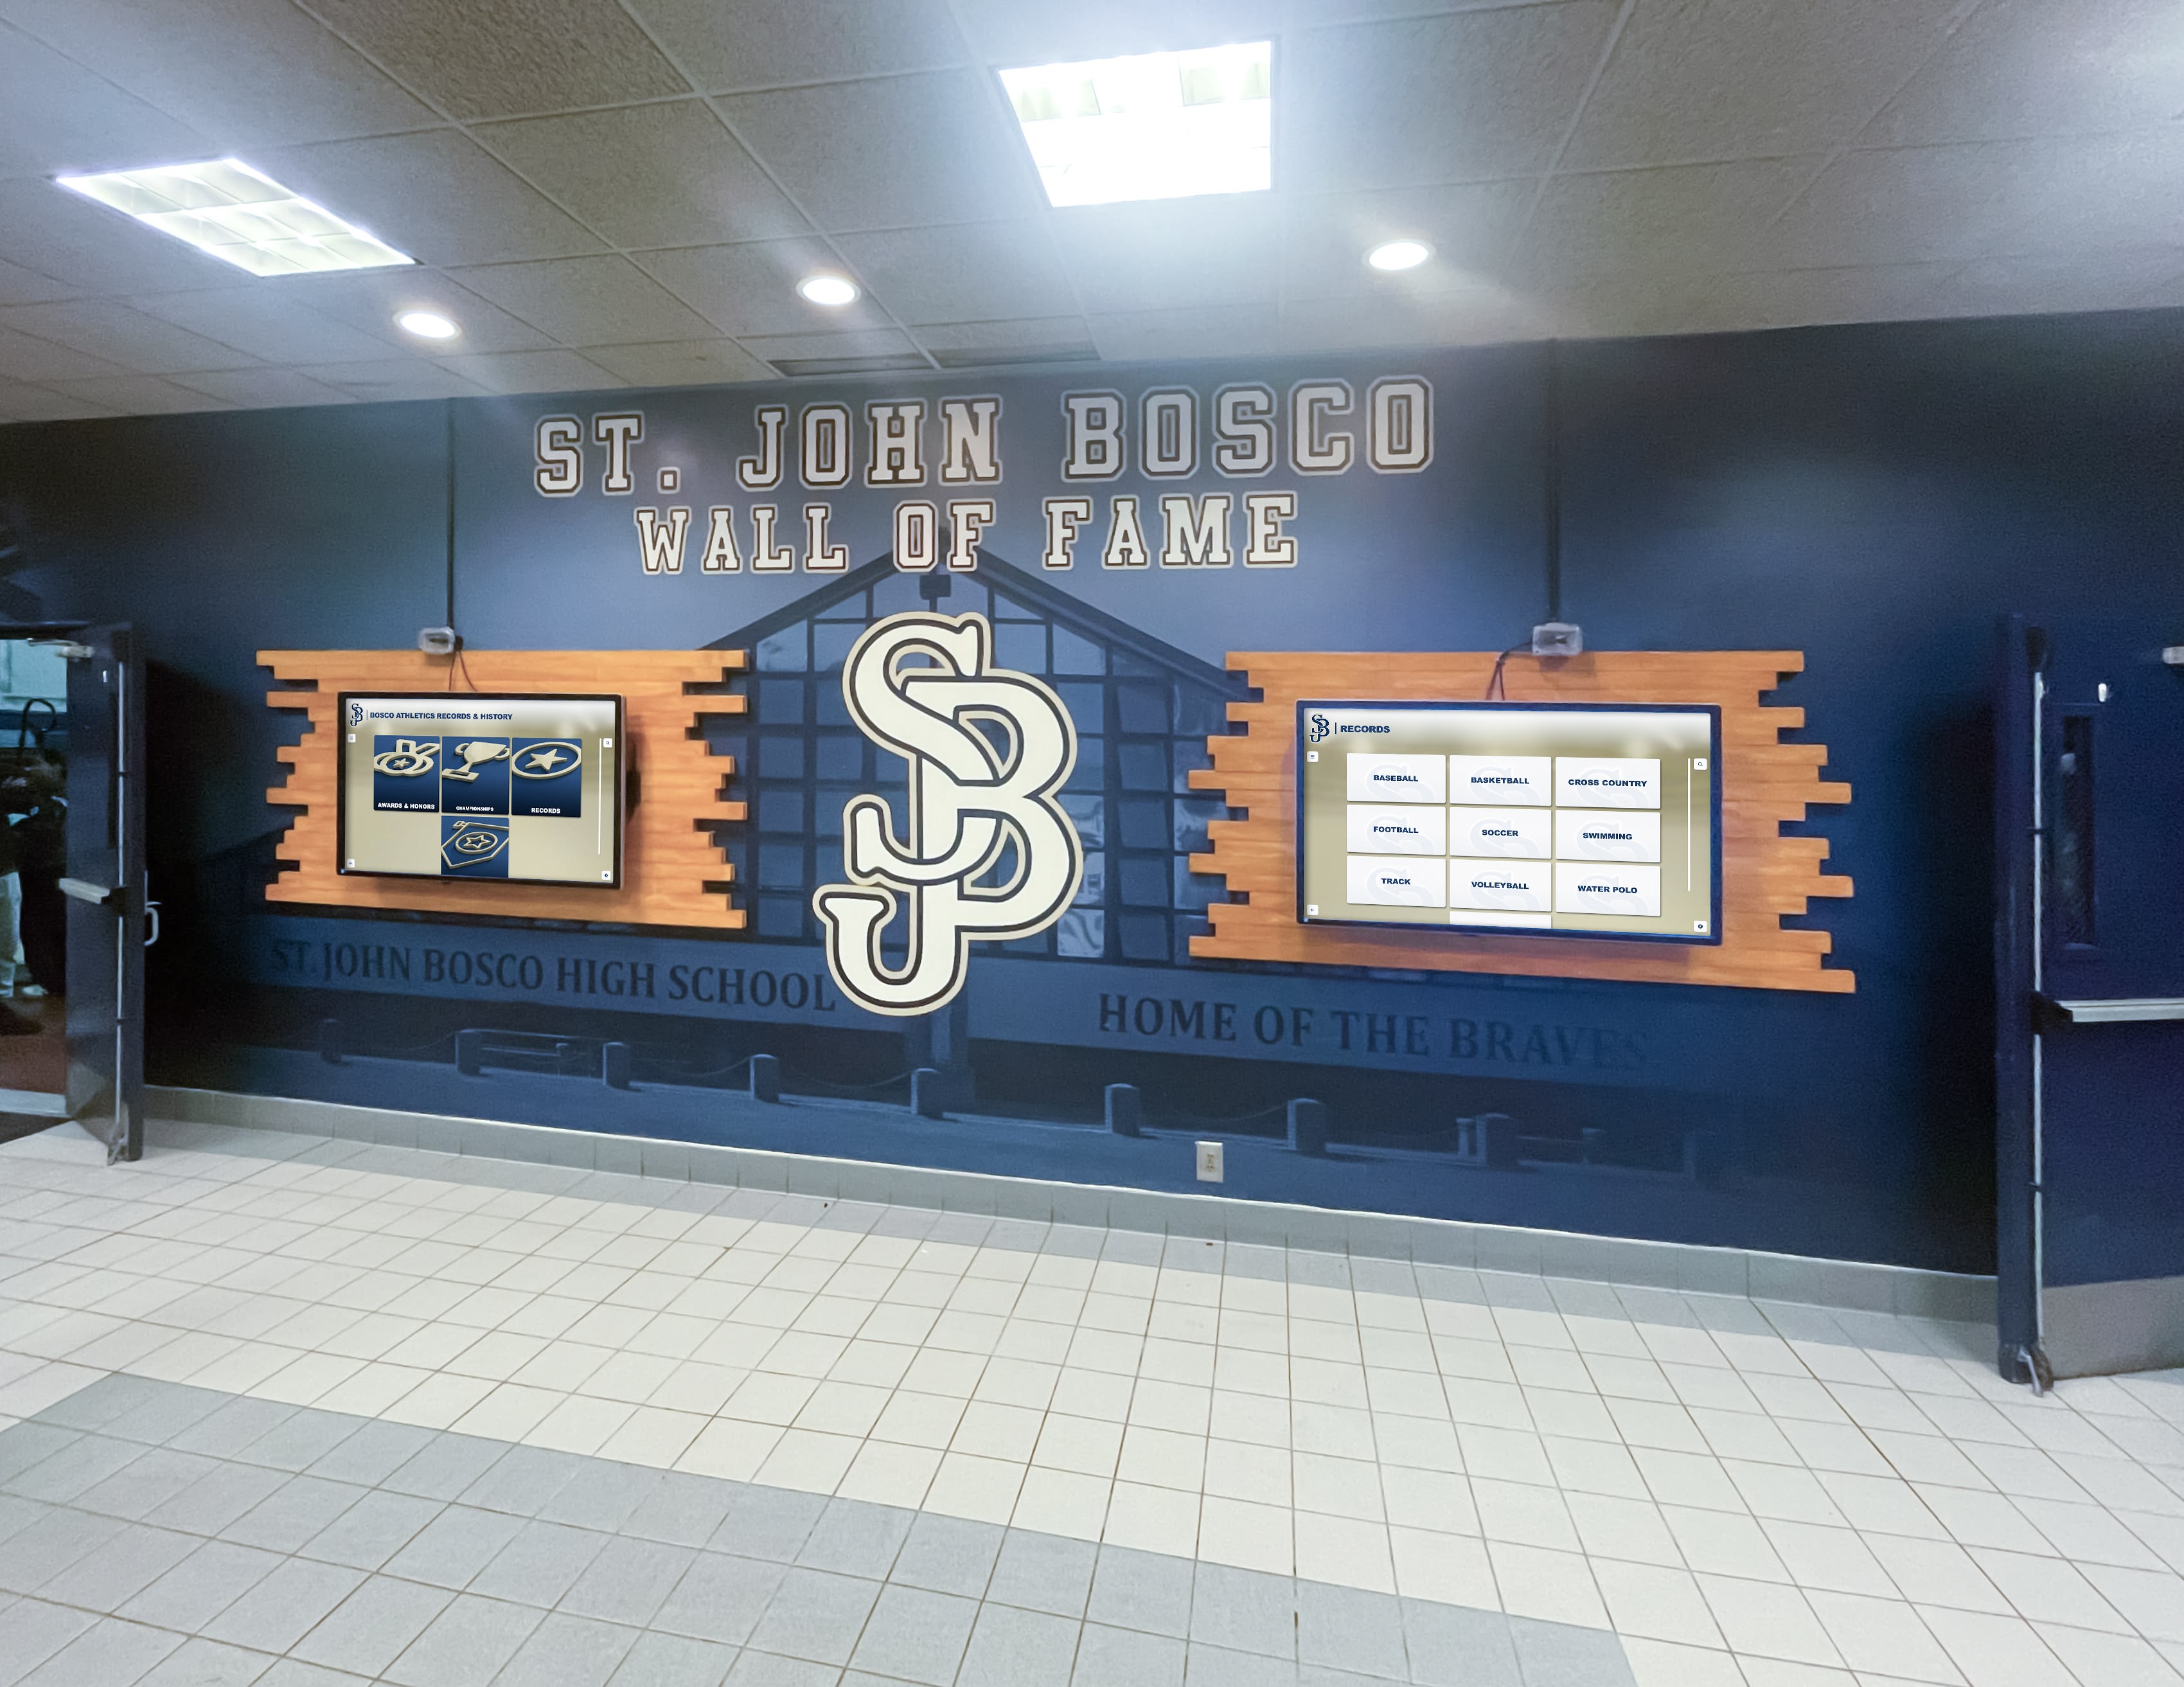
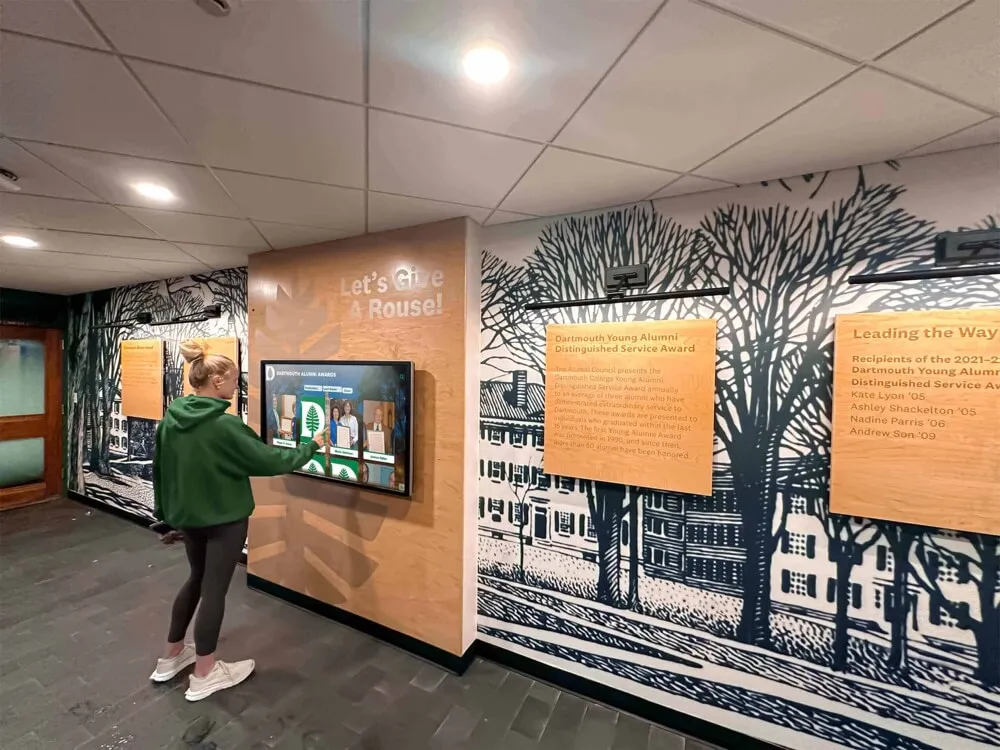
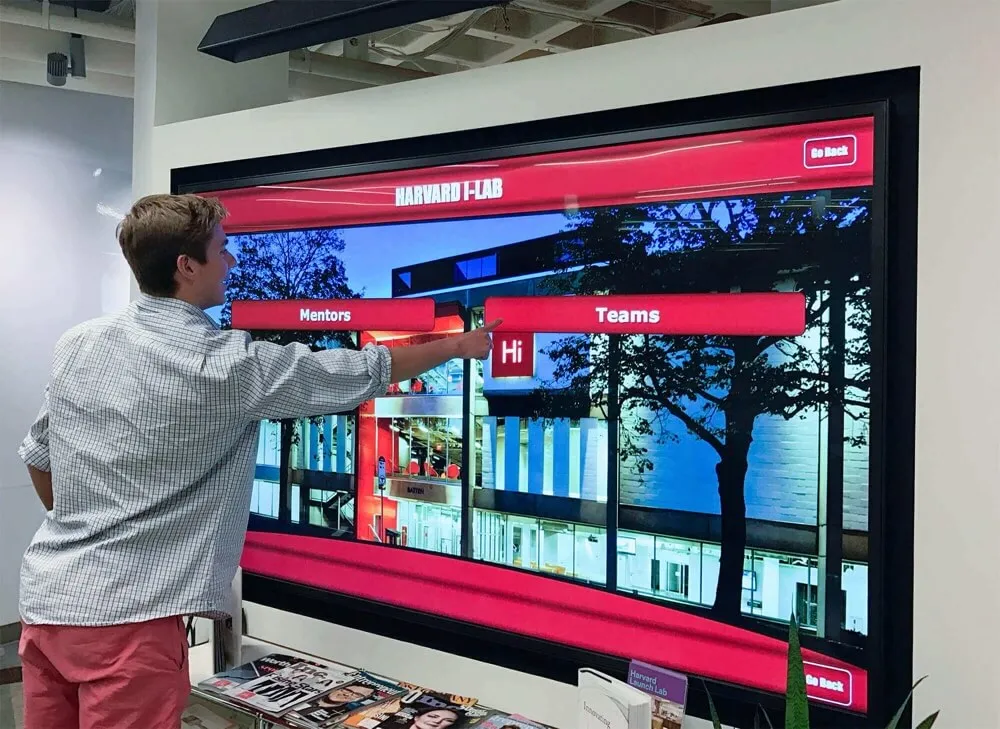
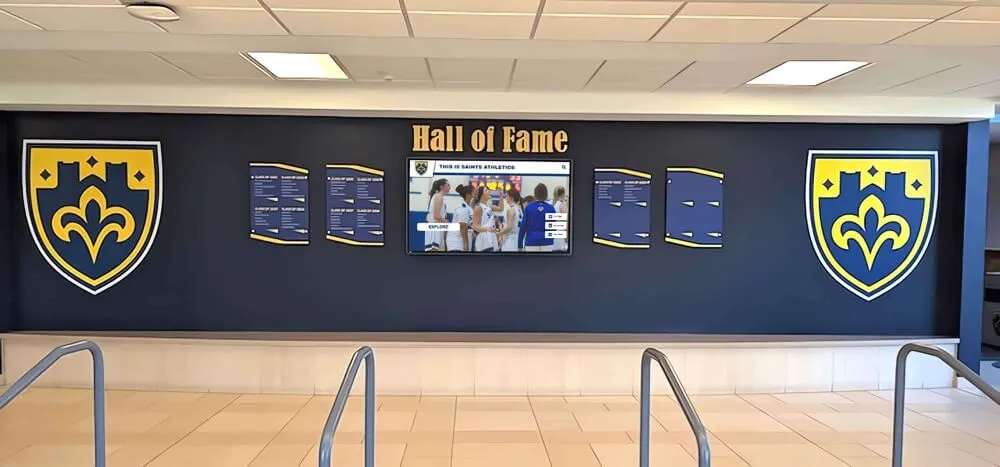
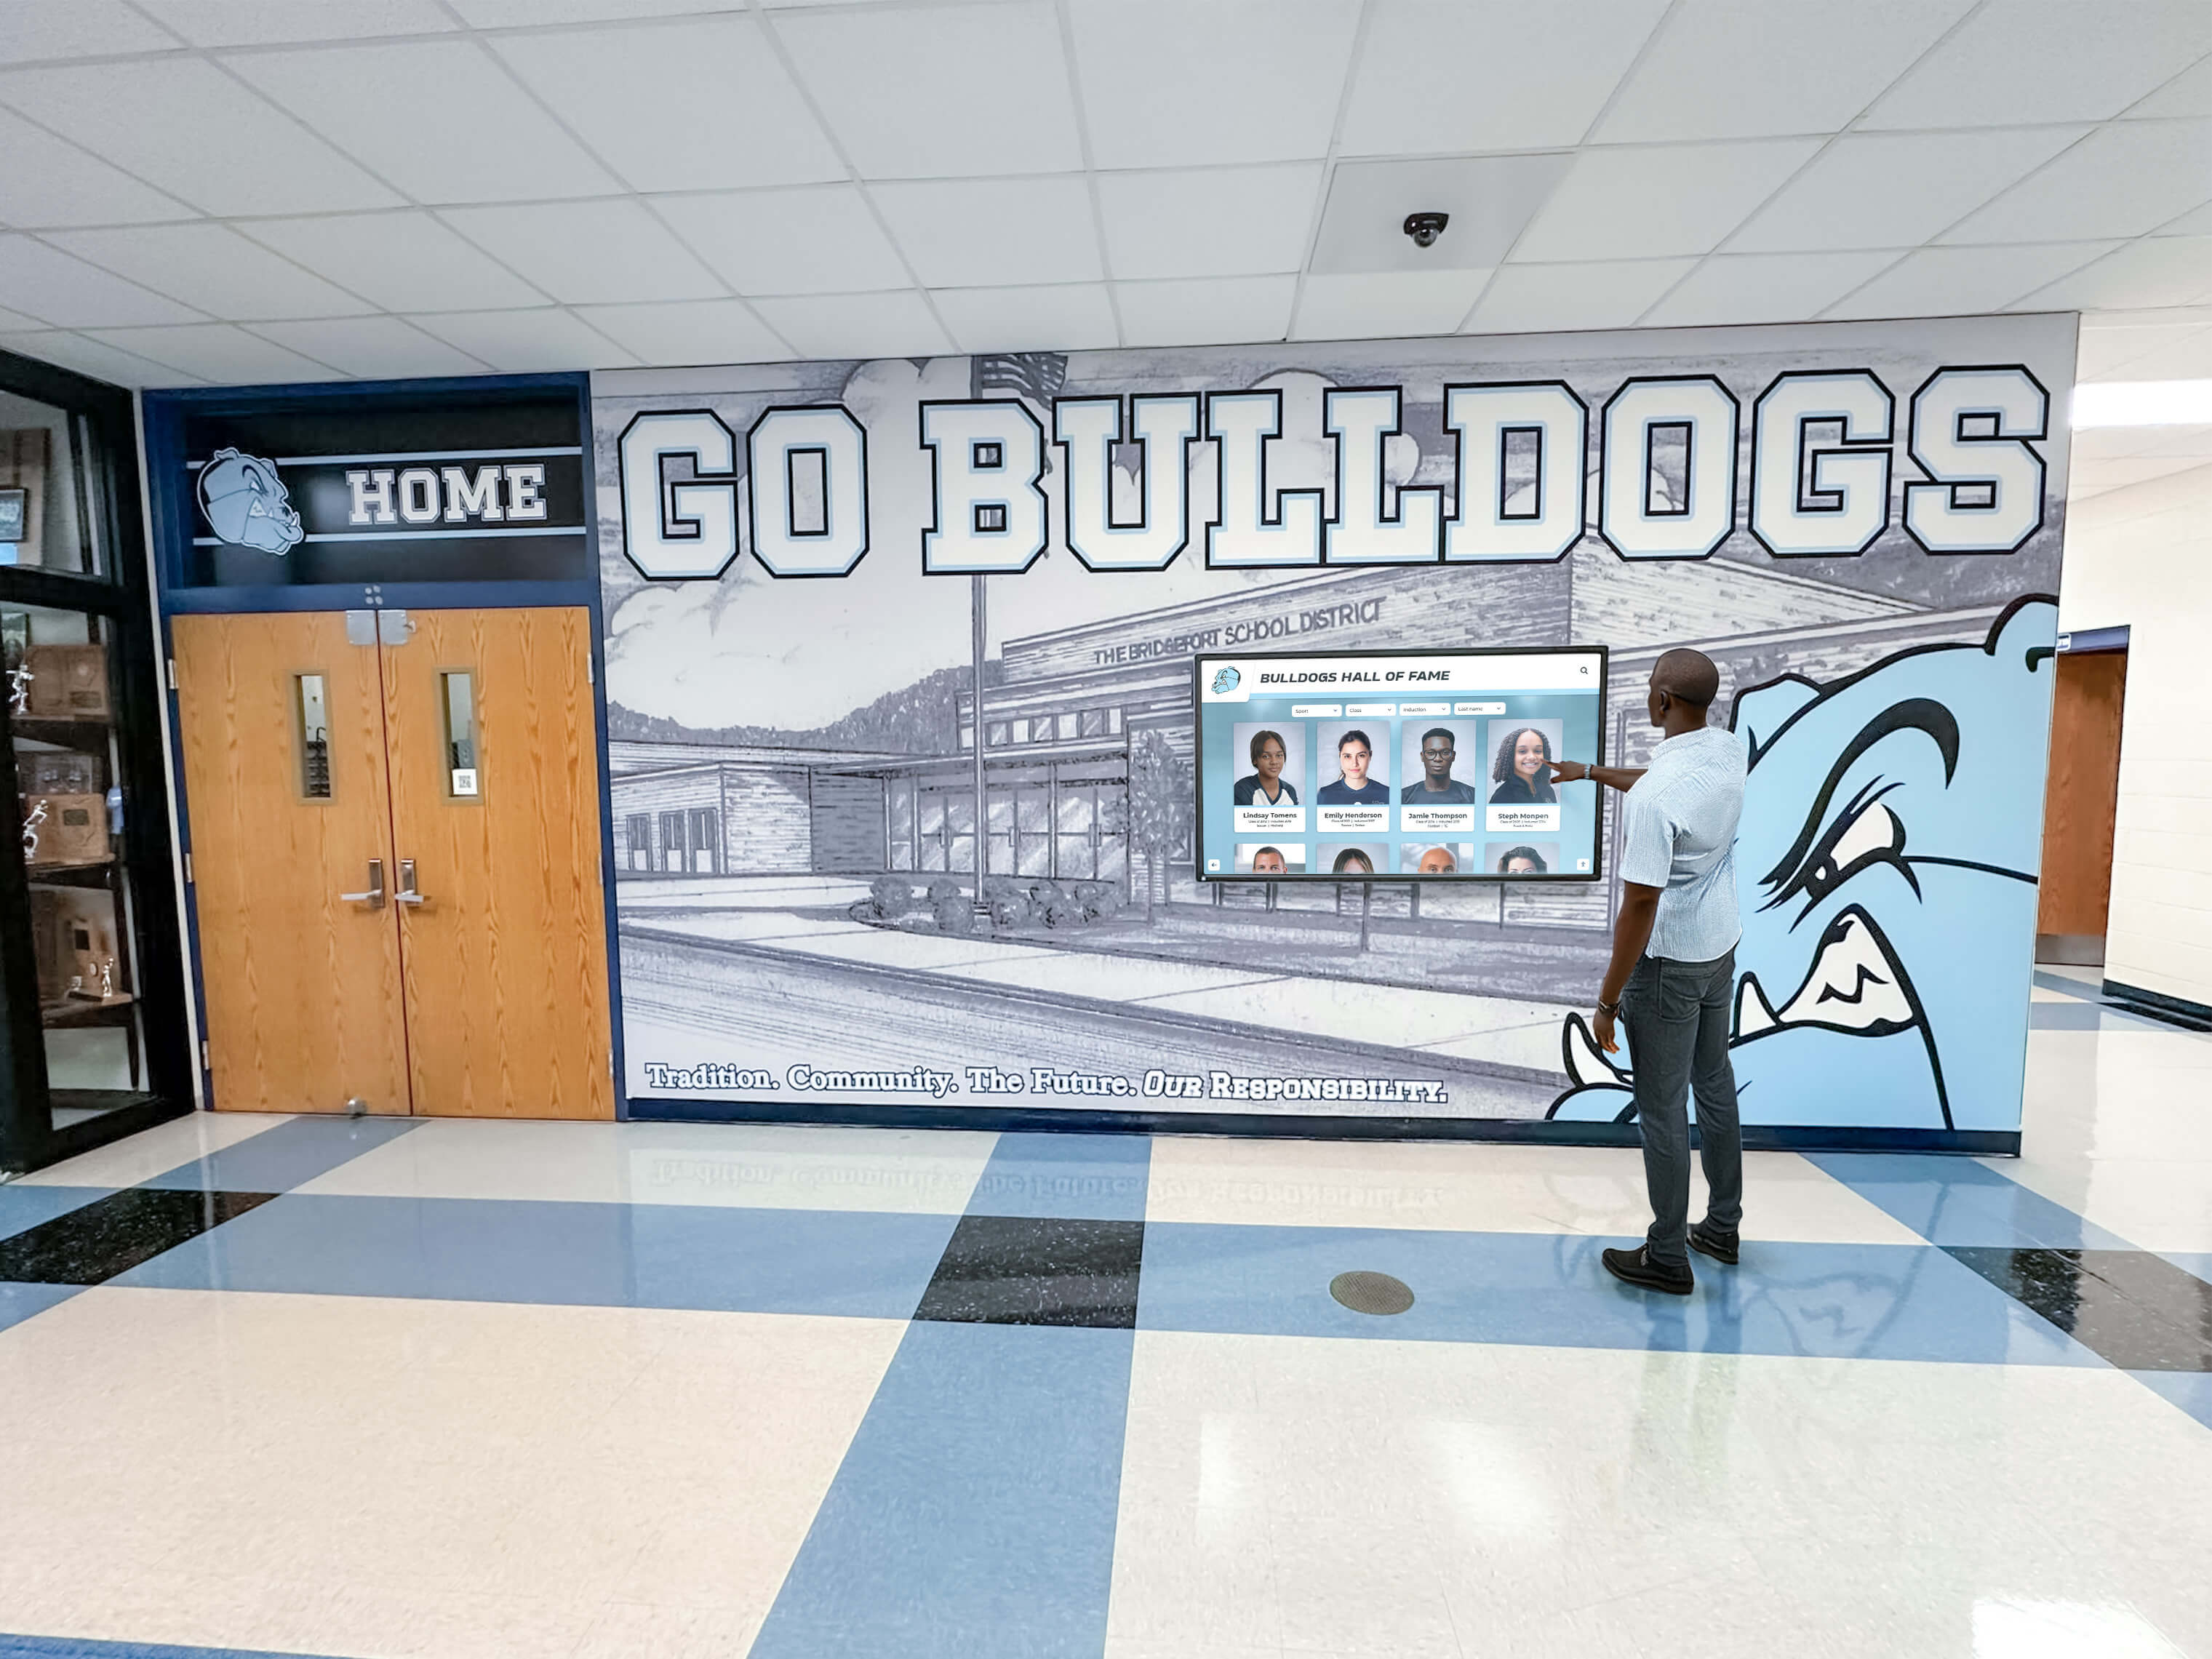
Multi-screen recognition display installations require signal path verification on each cable run independently—a fault in one cable can affect the entire display sequence
Troubleshooting Reference: HDMI Symptoms and Causes
| Symptom | Most Likely Cause | Resolution |
|---|---|---|
| Display shows “No Signal” immediately on power-on | Wrong input selected on display; disconnected cable at one end; source not outputting signal | Check display OSD for selected input; reseat both cable ends; confirm source is powered on and outputting |
| Display shows “No Signal” after running for 30–60 minutes | Long passive cable with thermal expansion; extender overheating | Replace passive cable with active cable for runs over 20 feet; check extender ventilation and move if enclosed |
| Intermittent black frames during content transitions | Source changing resolution during content switch; EDID handshake failing on reconnect | Set Windows to a fixed resolution rather than “Recommended”; enable EDID lock on extender if supported |
| Image visible but flickering horizontally | Damaged TMDS conductor in cable (specific pins carry clock and data pairs) | Replace the cable; cable tester will show the broken conductor |
| No signal on HDMI 1 but HDMI 2 works | Port 1 failure on display or bent pin in connector | Use HDMI 2 as primary input; have port 1 serviced if needed |
| Image visible but resolution is wrong (stretched or letterboxed) | Source resolution does not match display native resolution | Set source resolution to display’s native resolution in Display Settings |
| Signal drops when someone walks near the cable | Loose connector or cable under tension | Reseat connector; relieve cable tension; add cable strain relief at connector |
| Wireless HDMI extender drops signal | RF interference; range exceeded | Move wireless sender/receiver; switch to wired extender for permanent installations |
| Colors appear incorrect (washed out, oversaturated, or wrong hue) | Incorrect color range setting (limited vs. full range mismatch between source and display) | Match color range in Windows Display Adapter Properties → Monitor with the display’s expected input range |
| Signal present but no touch response | Touch USB cable disconnected (separate from HDMI on many displays) | Check USB connection between display and PC; touch on many displays is separate from the HDMI signal |
Q&A: Common School IT Questions About Recognition Display HDMI Issues
Does HDMI cable quality really matter for a display that just shows still images? Yes, because recognition platforms are not serving static images—they are running a browser or application that renders and refreshes content continuously. HDMI is a real-time digital signal, and a marginal cable that works for a static test image may fail during the high-bandwidth moments of animated transitions, video clips, or content refresh cycles that recognition platforms use.
Can we use an HDMI splitter to run two recognition displays from one source? A passive splitter copies signal to two outputs but can degrade signal quality on each branch, especially at distances. If the source PC supports two HDMI outputs (or one HDMI and one DisplayPort), two direct connections are more reliable. If a splitter is required, use an active powered splitter rated for your resolution rather than a passive Y-cable.
Our display worked fine for months and then suddenly started showing black screens. The cable was not touched. What changed? The most common causes of sudden failures on previously working installations are Windows update GPU driver resets that change output resolution or refresh rate; a Windows Update that triggered a device restart outside active hours, which reset display settings; or thermal expansion in a cable that was marginal at installation and finally crossed the reliability threshold. Start with the resolution verification steps in Phase 3 before pulling any cables.
The recognition platform vendor says to run at 1080p. Our IT team set it to 4K. Does that cause HDMI issues? It can. Some recognition platforms are optimized for 1080p output. Running at 4K at 60 Hz requires a High-Speed HDMI cable, a 4K-capable extender, and a source device with HDMI 2.0 or higher. If any component in the signal path is rated for 1080p only, running at 4K produces intermittent signal drops or no signal. Follow the vendor’s recommended resolution to ensure the full signal path is within its reliable range.
Can we use a DisplayPort to HDMI adapter if the source PC only has DisplayPort outputs? Active DisplayPort to HDMI adapters work reliably for this purpose and are preferable to passive adapters for resolutions at 1080p and above. Passive adapters depend on the source supporting DisplayPort Dual-Mode (DP++) and can be unreliable at 4K. If the source PC has only DisplayPort outputs and the display has only HDMI inputs, use an active adapter from a reputable AV equipment supplier.
Connecting HDMI Testing to Broader Recognition Display Operations
A reliable HDMI signal path is one part of a functioning recognition display installation. Schools that have built systematic processes around display reliability treat cable testing as a scheduled maintenance task rather than a reactive troubleshooting step.
The touchscreen recognition display configuration baseline checklist at touchwall.us covers the broader device configuration context—operating system settings, application configuration, and remote management access—that signal path testing sits within. Catching HDMI issues during baseline configuration verification prevents them from appearing as event-day emergencies.
For school IT teams handing off display responsibility between staff members, the recognition display admin account handoff checklist at best-touchscreen.com addresses the documentation and access transfer steps that should accompany any display installation, including notes on cable routing and extender configuration that the next administrator will need for troubleshooting.
Before deploying a recognition display after AV work or an update cycle, the release readiness checklist at digitalwarming.net covers the pre-launch verification steps that should confirm both signal quality and content integrity together.
Display hardware and content management both require periodic review. The athletic director checklist for recognition records display updates at digitalrecordboard.com connects the content update workflow to the display management cycle—a useful reference for schools where the athletic director and IT staff share display oversight.
Schools managing multiple recognition display touchpoints—hallway kiosks, lobby displays, and campus directory screens—can refer to the campus directory touchscreen display recognition guide at halloffame-online.com for perspective on how multi-location installations distribute signal path responsibility across facilities and IT.
For schools maintaining visual consistency across their recognition displays, the touchscreen recognition display color calibration log at rocketgraphics.ai is a companion reference: once HDMI signal is confirmed stable, color calibration ensures the visual output of each display matches the intended presentation of the recognition content.
SSL and platform certificate issues can also cause display errors that look like signal problems when the recognition platform fails to load content. The certificate renewal checklist at touchscreenwebsite.com covers the platform-side certificate maintenance that keeps content loading reliably once the signal path is confirmed.
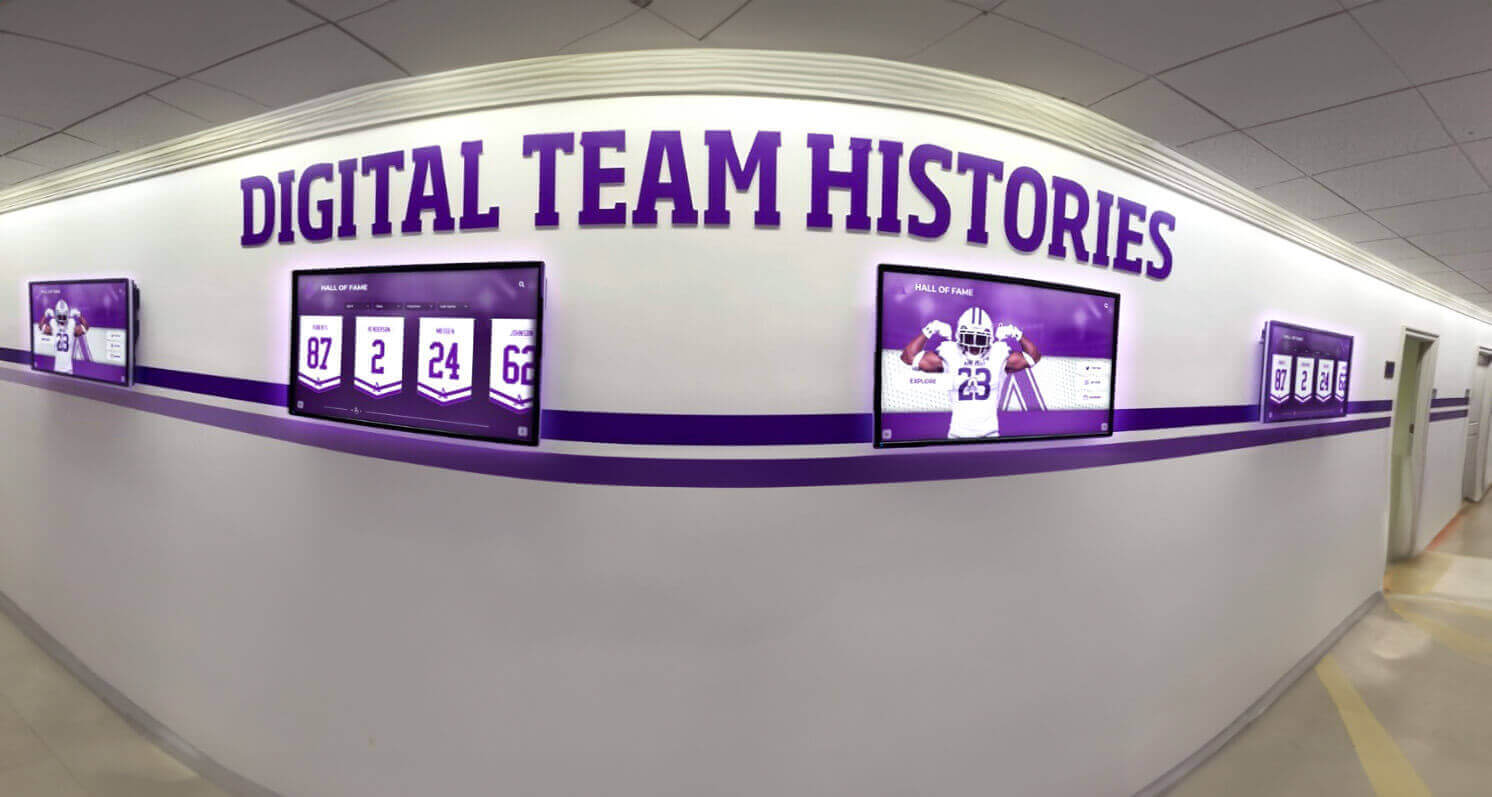
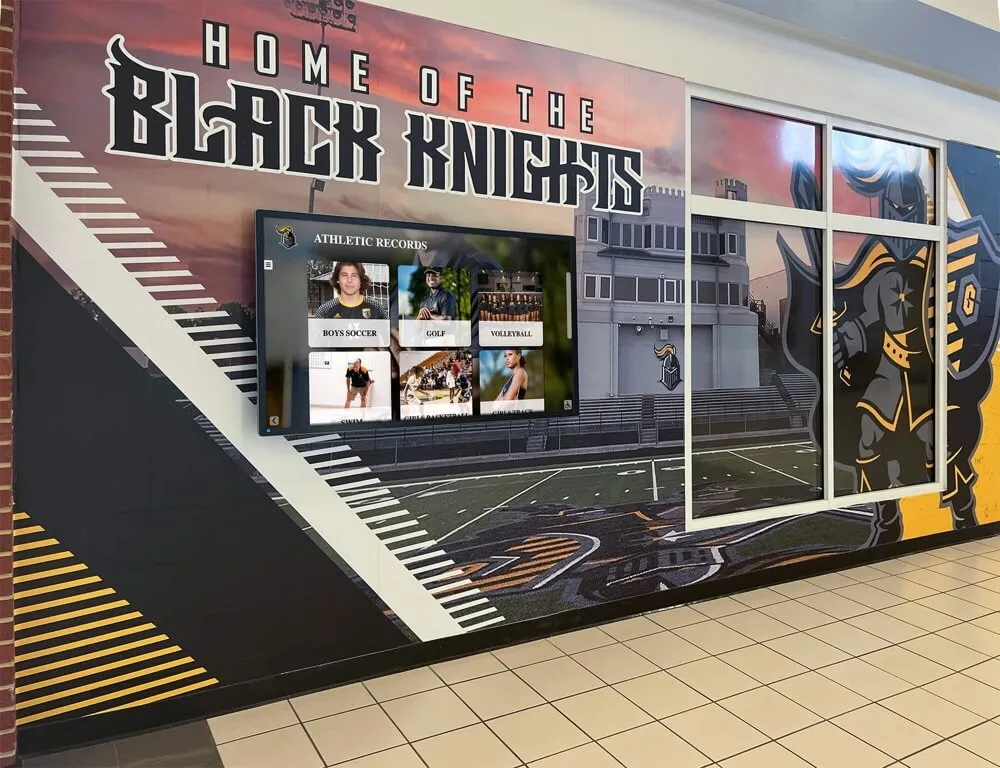
Athletic corridor recognition display installations depend on consistent HDMI signal on every screen—systematic cable testing identifies individual segment failures before they disrupt the full display sequence
Recommended HDMI Testing Schedule for Recognition Displays
Build cable testing into your recognition display maintenance calendar rather than waiting for a failure to trigger it.
| Task | Frequency | Notes |
|---|---|---|
| Visual connector inspection at both ends | Monthly | Check for loosening, debris, and stress marks; reseat if any movement noted |
| Resolution and input setting verification | Monthly | Confirm display settings have not been reset by Windows or driver updates |
| Full signal-path test (short cable bypass) | Each semester | Confirm installed cable is still passing signal cleanly; compare to short-cable baseline |
| Extender power and link indicator check | Monthly | Confirm both units show active status; note any changed behavior |
| Pre-event HDMI verification | Before each major school event | Run the pre-event checklist above 30 minutes before event start |
| Cable replacement cycle | Every 3–5 years or at first intermittent failure | Installed cables degrade with thermal cycling; proactive replacement prevents event-day failures |
| Documentation update | After any cable replacement or extender change | Record new cable length, rating, and extender model in device maintenance log |
See a Recognition Display Built for Reliable School Deployment
If your school is deploying or upgrading a touchscreen recognition display and wants to see how a platform designed for school environments handles content delivery, signal reliability, and remote management in real installations, a live walkthrough covers exactly that. Rocket Alumni Solutions builds recognition display platforms used in school athletic halls, trophy corridors, and lobby recognition walls—systems designed to stay on approved content, update remotely, and give IT teams confidence in the full display environment.