



A touchscreen recognition display is only as valuable as its ability to perform on the moments that matter most—the Friday night home game, the annual athletic induction ceremony, the 20-year class reunion. When the display goes dark or loses content right before the gymnasium fills with proud families, there is no time to troubleshoot from scratch. A structured touchscreen recognition display backup testing checklist completed days before the event turns a stressful unknown into a verified guarantee.
This guide gives athletic directors, technology coordinators, and front-office staff a concrete, reusable routine for proving that every layer of the recognition system—content library, network connectivity, touch calibration, and restore procedures—can recover cleanly. The checklist is organized in the same order you would actually perform the tasks, so staff can work through it top to bottom without jumping between systems.
Events like inductions, homecoming games, and reunions draw the largest audiences of the year, and recognition content is front-and-center. Running this checklist at least 48 hours before any major event gives your team time to fix problems while the pressure is still low.
Schools invest significant resources building digital recognition programs that celebrate athletes, honor donors, and preserve institutional history. That investment depends on the display working reliably the moment visitors arrive. Yet many schools skip systematic pre-event validation, relying instead on informal “I checked it last week” assurances that leave real gaps in recovery readiness.

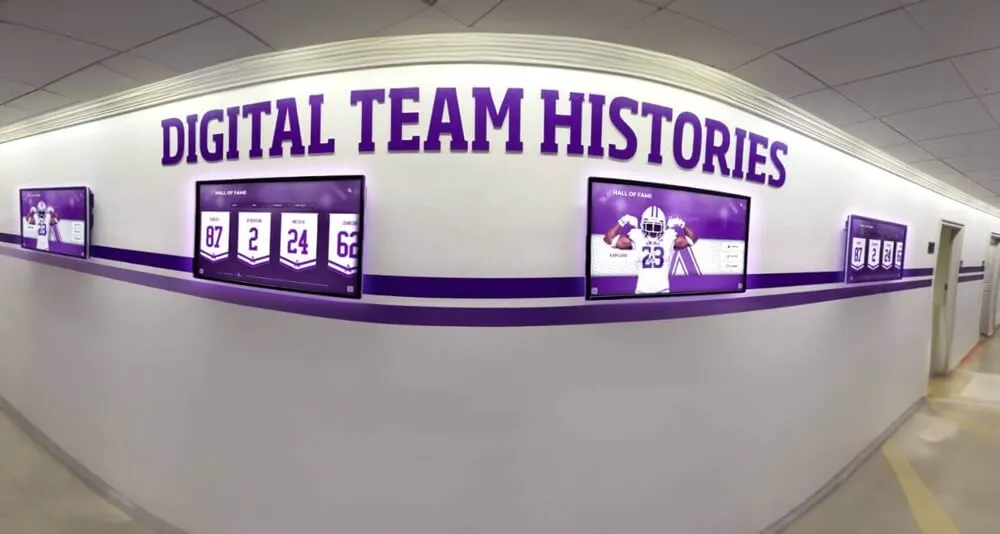
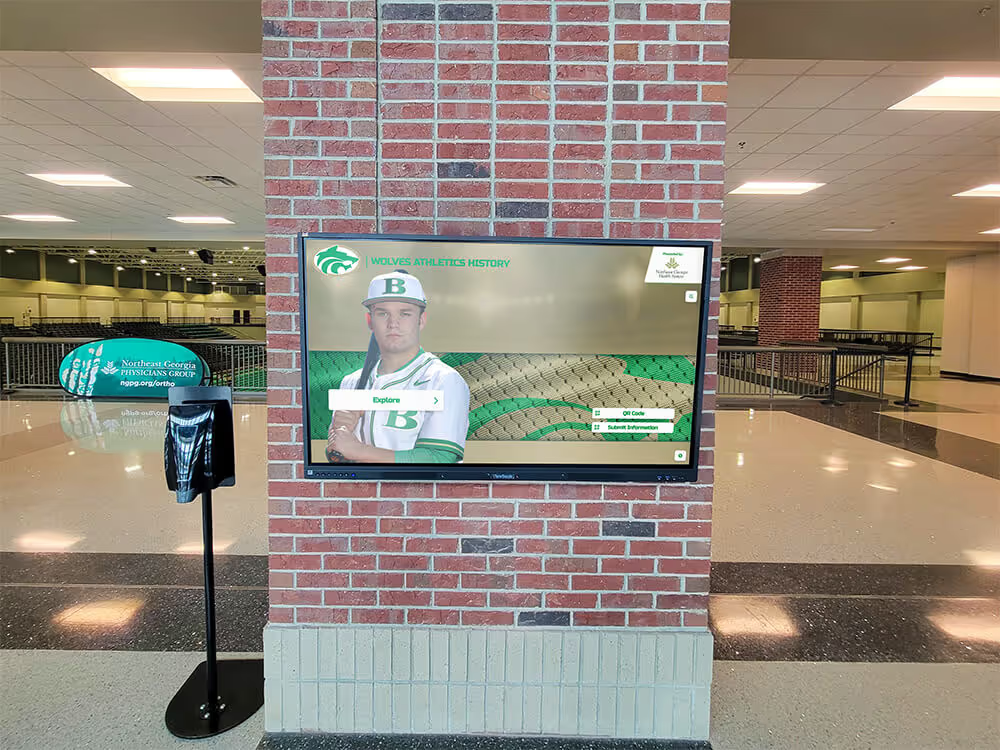
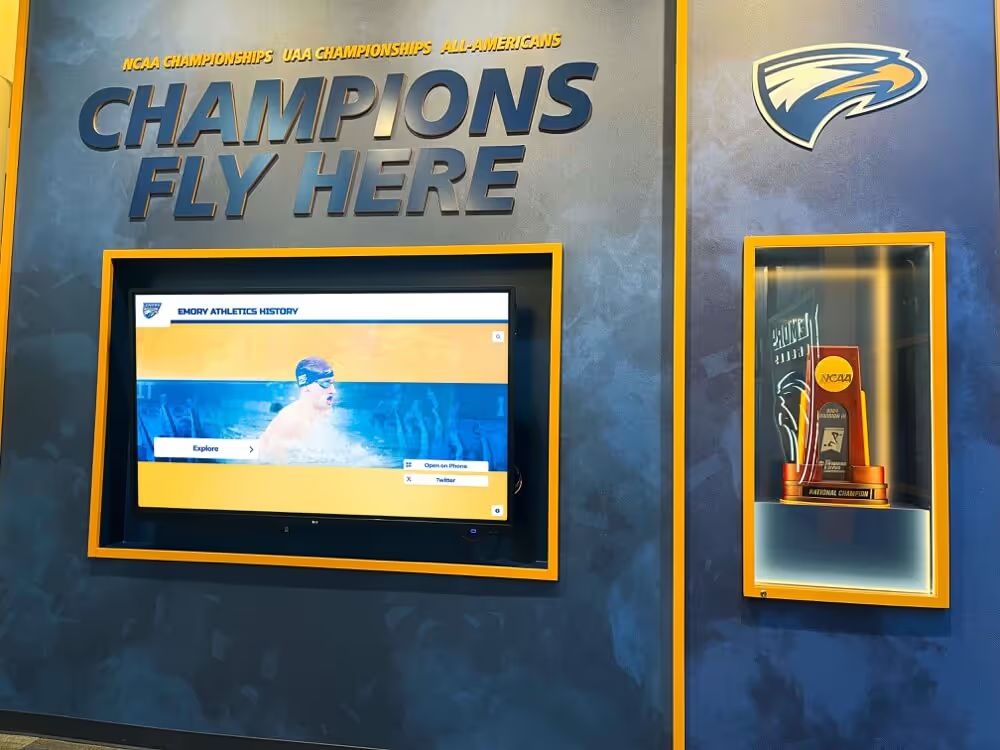
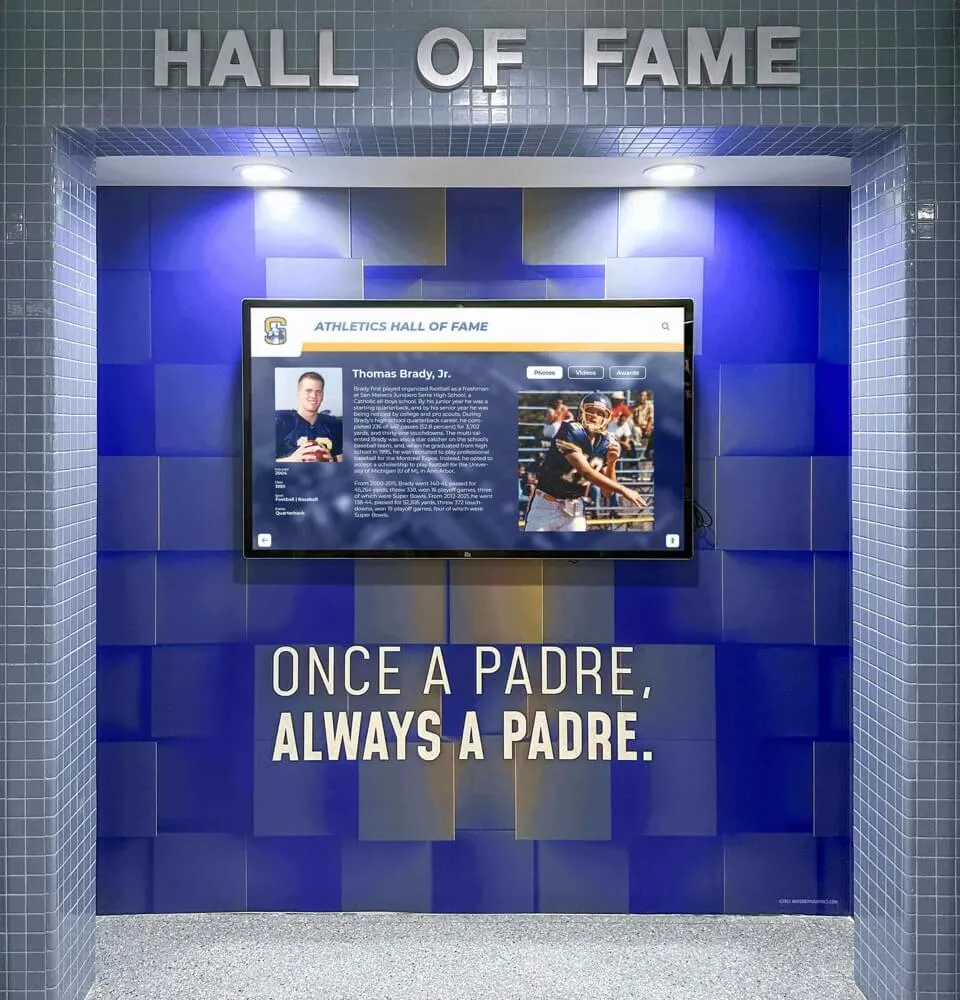
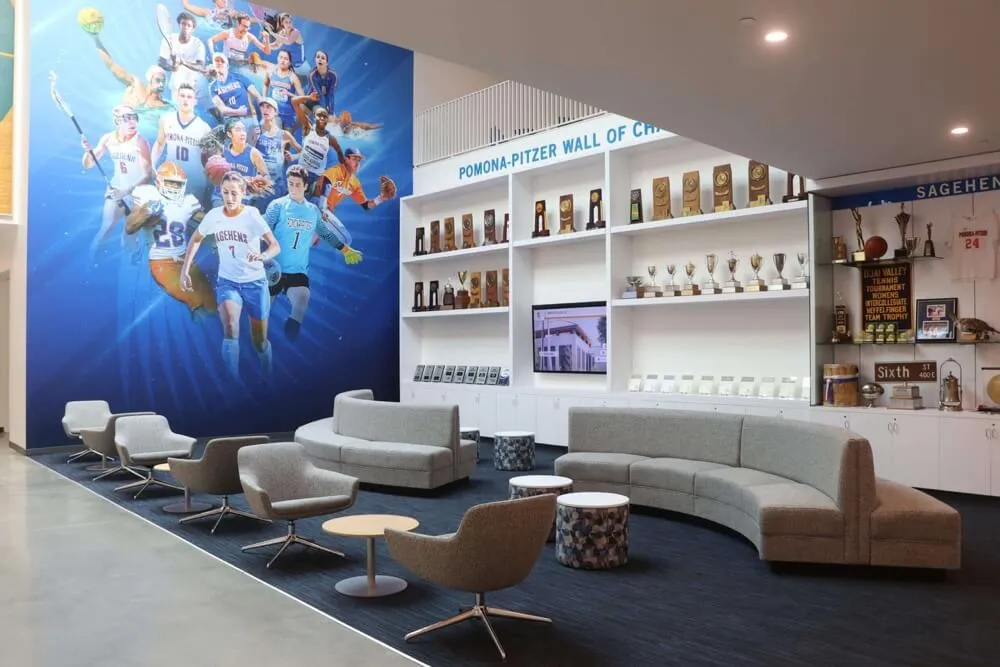
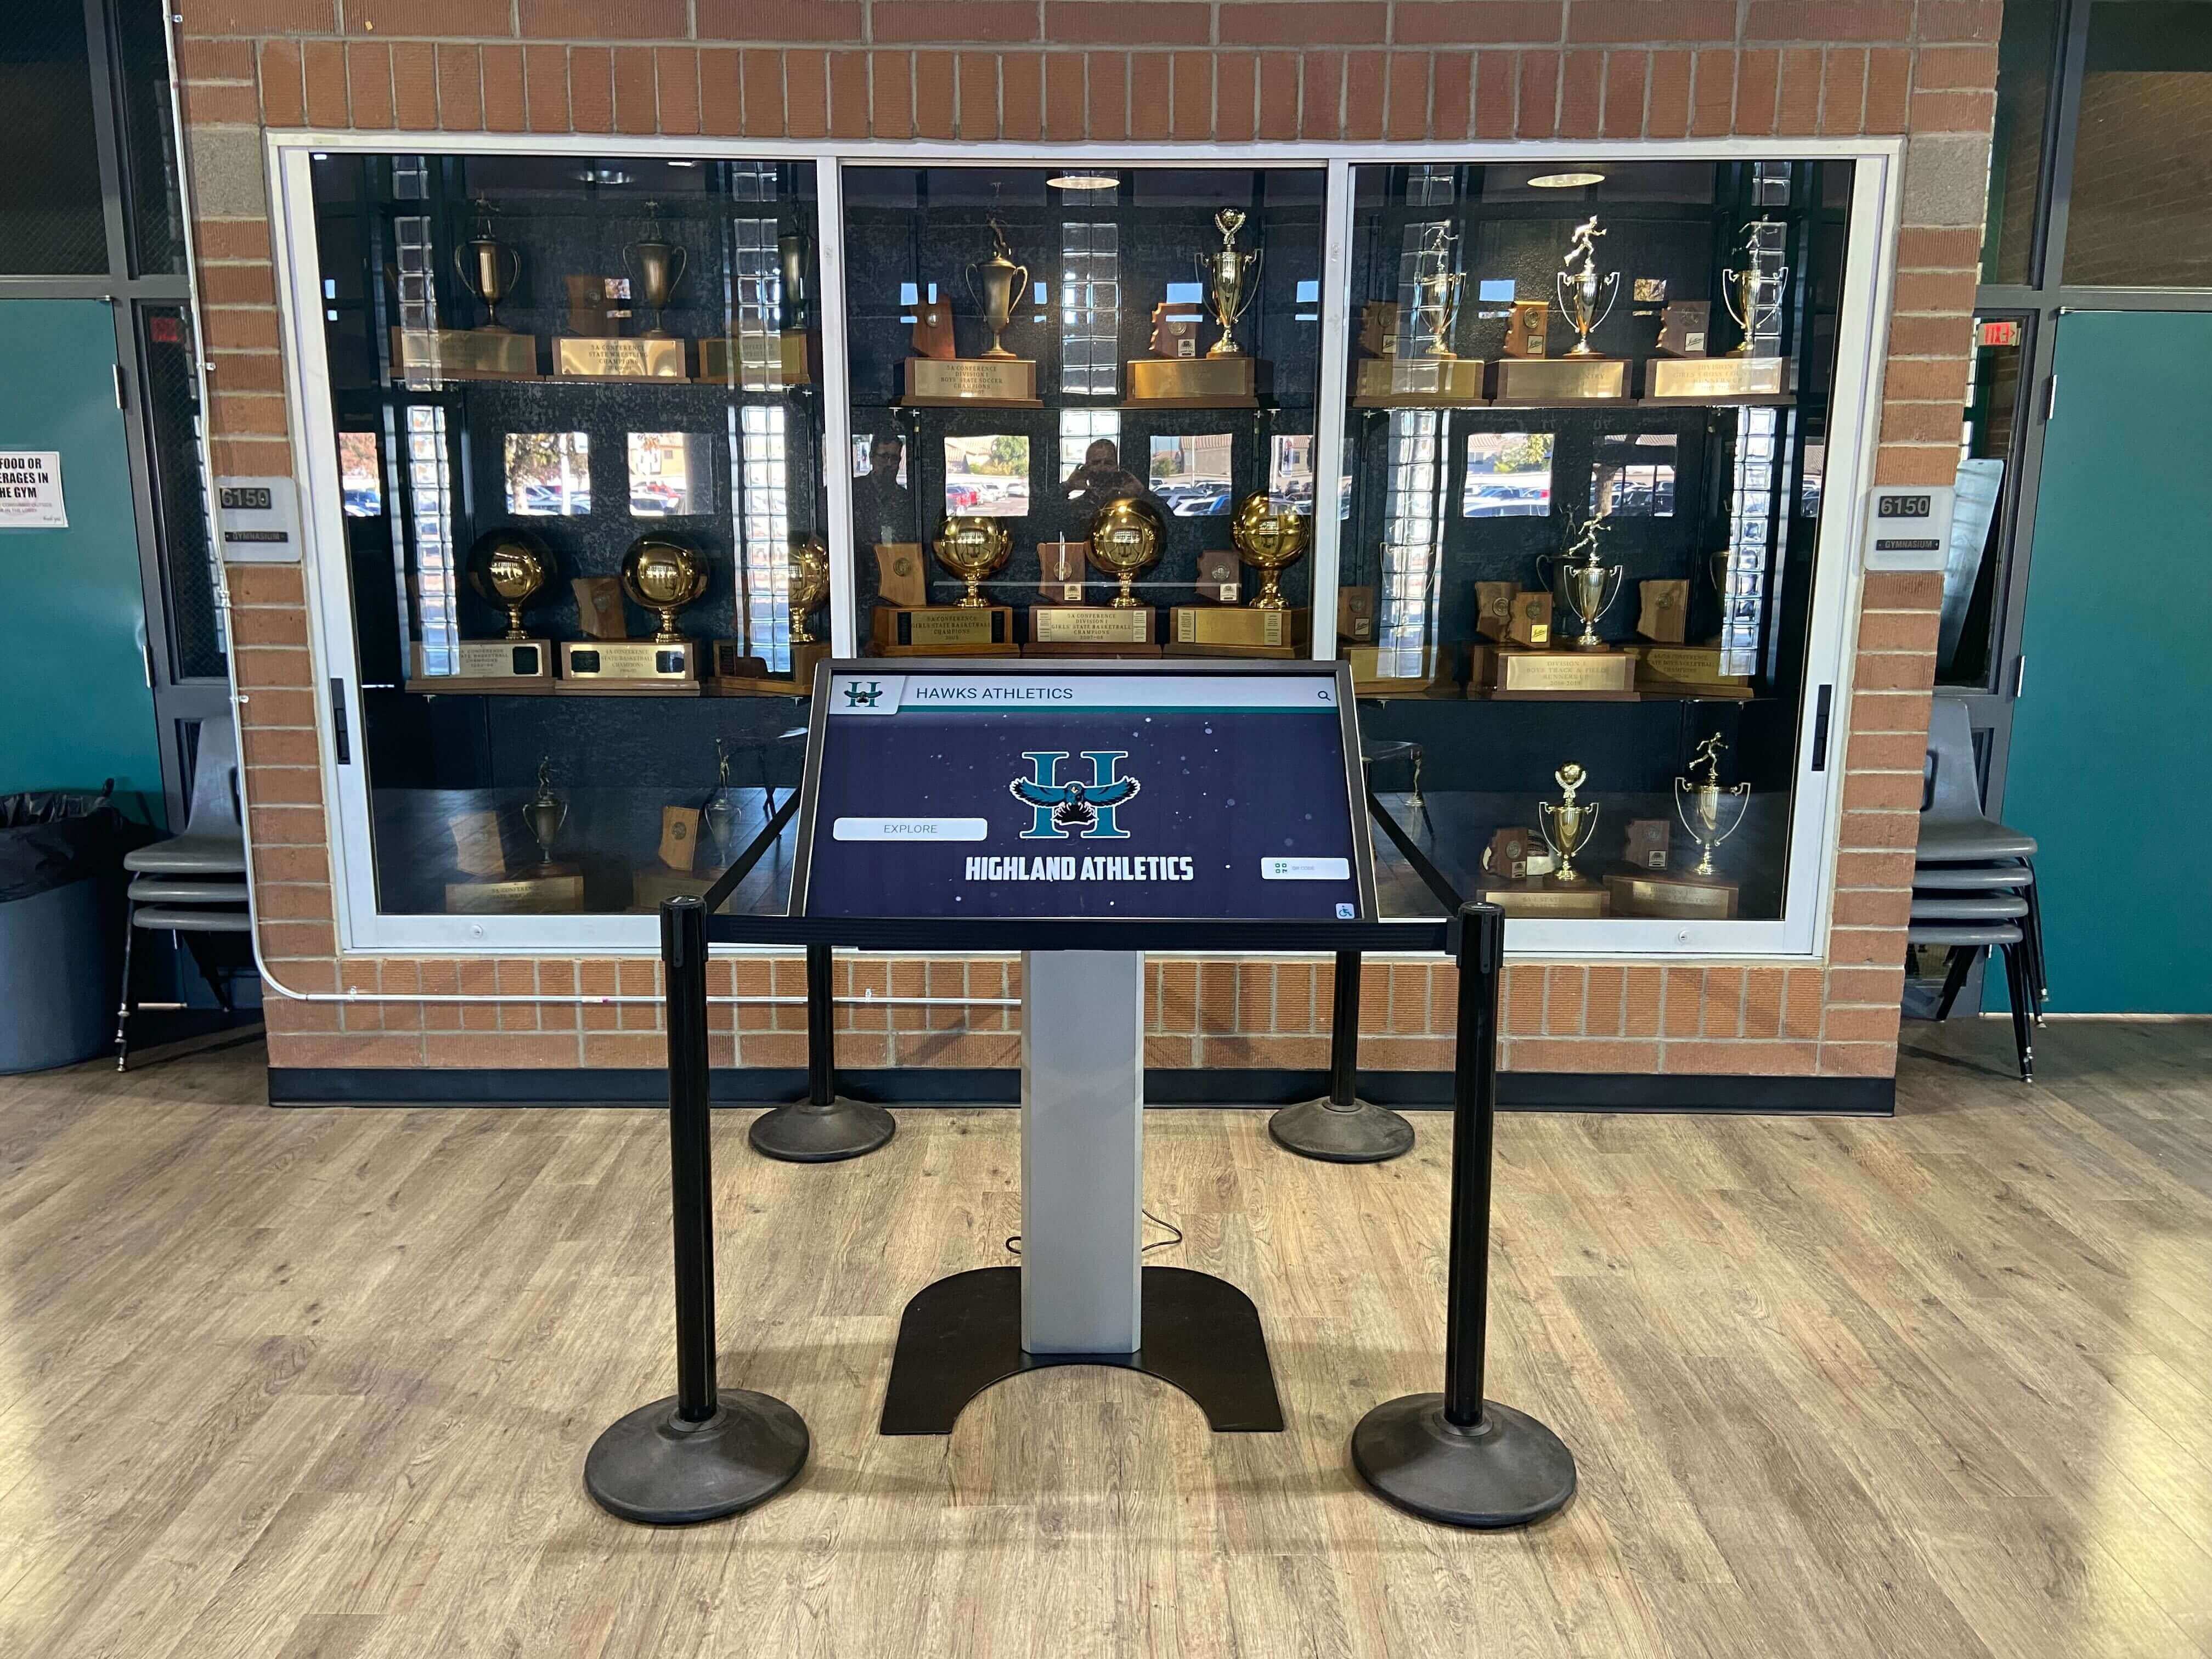
A touchscreen display installed in a trophy case area must be verified end-to-end before high-attendance events to ensure content is accessible and current
Why Backup Testing Is a Separate Practice From Regular Maintenance
Regular maintenance keeps displays running day-to-day. Backup testing answers a different question: if something goes wrong tonight, can we restore it before the bleachers fill up?
The distinction matters because display failures at events tend to involve scenarios outside normal daily operation—a power surge during a pre-game setup, an accidental content deletion by a volunteer, a network outage caused by extra devices on the gym WiFi. These are low-probability events that become high-consequence events when they happen in front of 400 guests.
A backup testing checklist validates three things your maintenance routine may never test:
- Restore speed — How long does full content restoration actually take from your backup?
- Offline behavior — What does the display show when the network drops during an event?
- Handoff readiness — Can a staff member who did not set up the system operate it independently?
For more on organizing the underlying digital asset library that feeds your display, see this DAM guide for schools covering how to structure and protect recognition media at scale.
The Master Touchscreen Recognition Display Backup Testing Checklist
Work through this checklist from top to bottom. Use a printed copy or a shared checklist app so every item gets a confirmed pass or a documented issue. Allocate 60–90 minutes for a complete run.
Section 1: Content Backup Verification
Before testing hardware or software recovery, confirm the content that needs to be recovered actually exists in a reliable backup.
1.1 Locate your most recent CMS content export or snapshot. Log into the content management platform and verify the last automatic backup completed successfully. Most cloud-based recognition CMS platforms create daily snapshots. Confirm the most recent snapshot is less than 24 hours old and matches the live content you expect to show.
1.2 Download or access the backup from a secondary device. Do not test the backup from the same computer used to manage the display. Use a different machine—a staff laptop, a tablet, or a phone with hotspot access—to simulate the scenario where your primary management device is unavailable.
1.3 Verify that honoree photos and bios are included. Spot-check five to ten athlete or honoree profiles in the backup. Confirm photos load at full resolution, names are spelled correctly, and stats or accolades match the current live display. Missing photos are the most common content loss scenario at inductions.
1.4 Confirm video and slideshow assets are backed up. If the display runs highlight reels, intro videos, or looping slideshows, verify those media files are present in the backup library. Large video files are often excluded from automatic backups if storage limits are set too low. Check file sizes match expected values.
1.5 Verify sponsor and donor recognition content is current. Sponsor logos and donor name lists change throughout the school year. Confirm the backup contains the most current approved versions, not a version from several months ago that may list outdated sponsors.

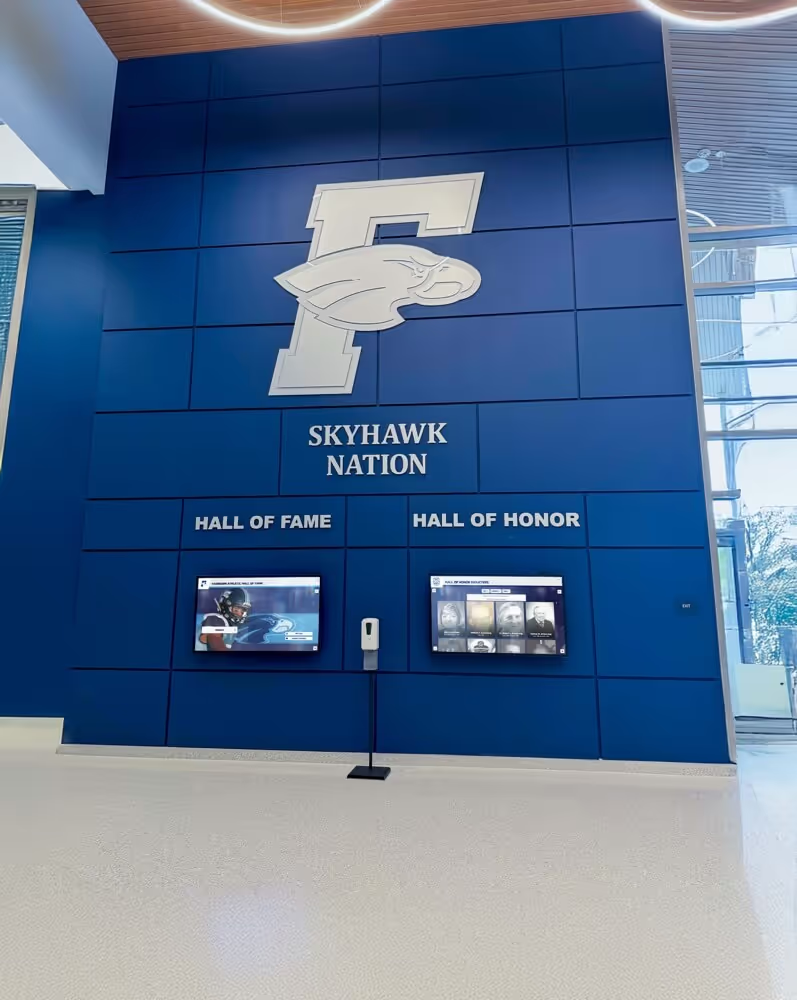
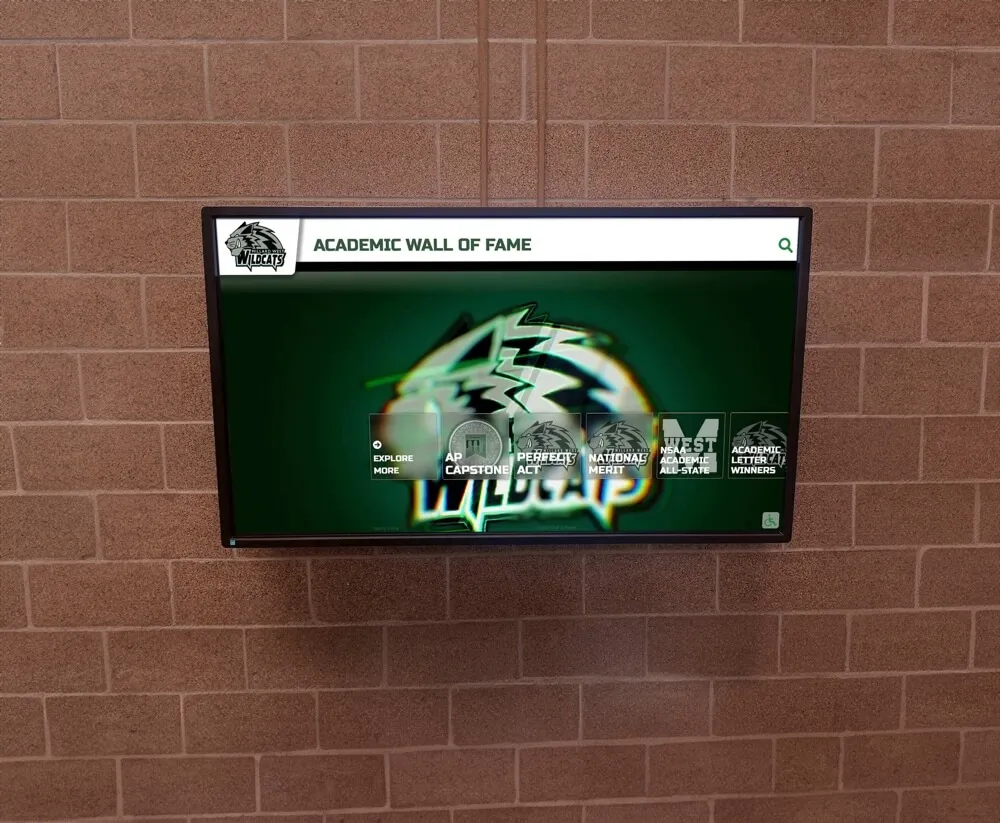
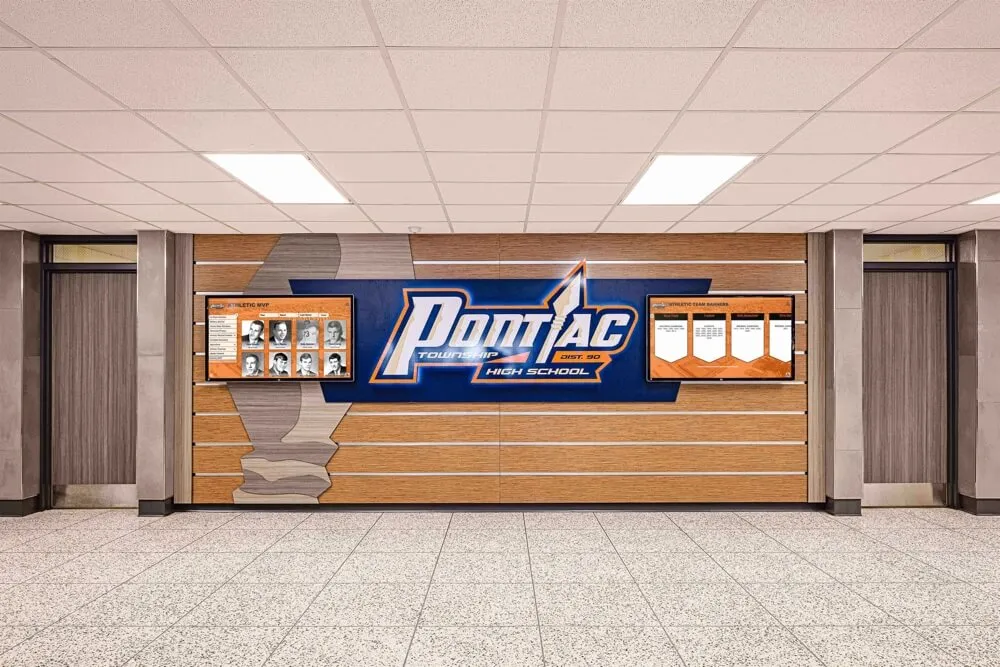
Verified content backups ensure every honoree profile, photo, and statistic is recoverable before induction night or a major game
Section 2: CMS and Remote Access Testing
2.1 Log into the CMS from a non-school network. Use a cellular data connection rather than the school’s WiFi. This test confirms that remote administration does not depend on the school’s internal network—critical if you need to push a content fix from the parking lot during an event.
2.2 Push a minor content update and confirm it appears on the display within 5 minutes. Change a test honoree’s bio or add a placeholder photo, then watch the display for the update. If it takes longer than expected, investigate sync delays before the event—a content change made at halftime needs to appear quickly.
2.3 Roll back the test change. Restore the original content and confirm the display reverts cleanly. This validates both your push and rollback workflows simultaneously.
2.4 Test admin credential handoff. Have a second staff member—the athletic director’s assistant, the front office coordinator, or a tech volunteer—log into the CMS independently. Confirm they can navigate to the recognition content, make a test change, and reverse it without guidance. If they cannot, update your event staffing plan.
2.5 Verify backup admin credentials are stored securely off-device. Credentials should not be stored only in a browser saved-password list or on the display computer itself. Confirm a secondary record exists in your school’s password manager or in a sealed envelope in the AD’s office.
Section 3: Display Hardware Verification
3.1 Power-cycle the display from the physical power switch. Turn the display fully off, wait 30 seconds, and power it back on. Confirm it auto-boots to the recognition application without requiring manual intervention. A display that needs someone to walk over and press buttons to start is a liability at a crowded event.
3.2 Time the boot sequence. Record how long the display takes from power-on to showing live recognition content. If boot time exceeds 3 minutes, investigate whether background processes or firmware updates are running at startup.
3.3 Test the backup input source. If the display has a secondary HDMI or USB input connected to a backup media player, switch to that input and confirm the fallback content plays correctly. Switch back to the primary input and verify the return is clean.
3.4 Inspect the screen surface and touch layer. Look for visible scratches, smudges, or debris on the touch surface that could interfere with accurate touch detection. Clean the screen with an approved microfiber cloth and touch-safe cleaner before running calibration tests.
3.5 Confirm mounting hardware is secure. Inspect wall brackets, floor stands, or case mounting hardware for any looseness. A wobbling display creates accessibility concerns and signals that a mount may fail under the pressure of many users interacting during a busy event.
Section 4: Touch Calibration Testing
Touch calibration is frequently skipped in pre-event prep and is among the top causes of visitor frustration at recognition events.
4.1 Run the display’s built-in calibration utility. Access the touchscreen’s system settings and run the calibration sequence. Follow all on-screen prompts precisely. Calibration quality degrades over time, particularly on displays that see heavy use or are mounted in locations with direct sunlight causing thermal expansion of the touch layer.
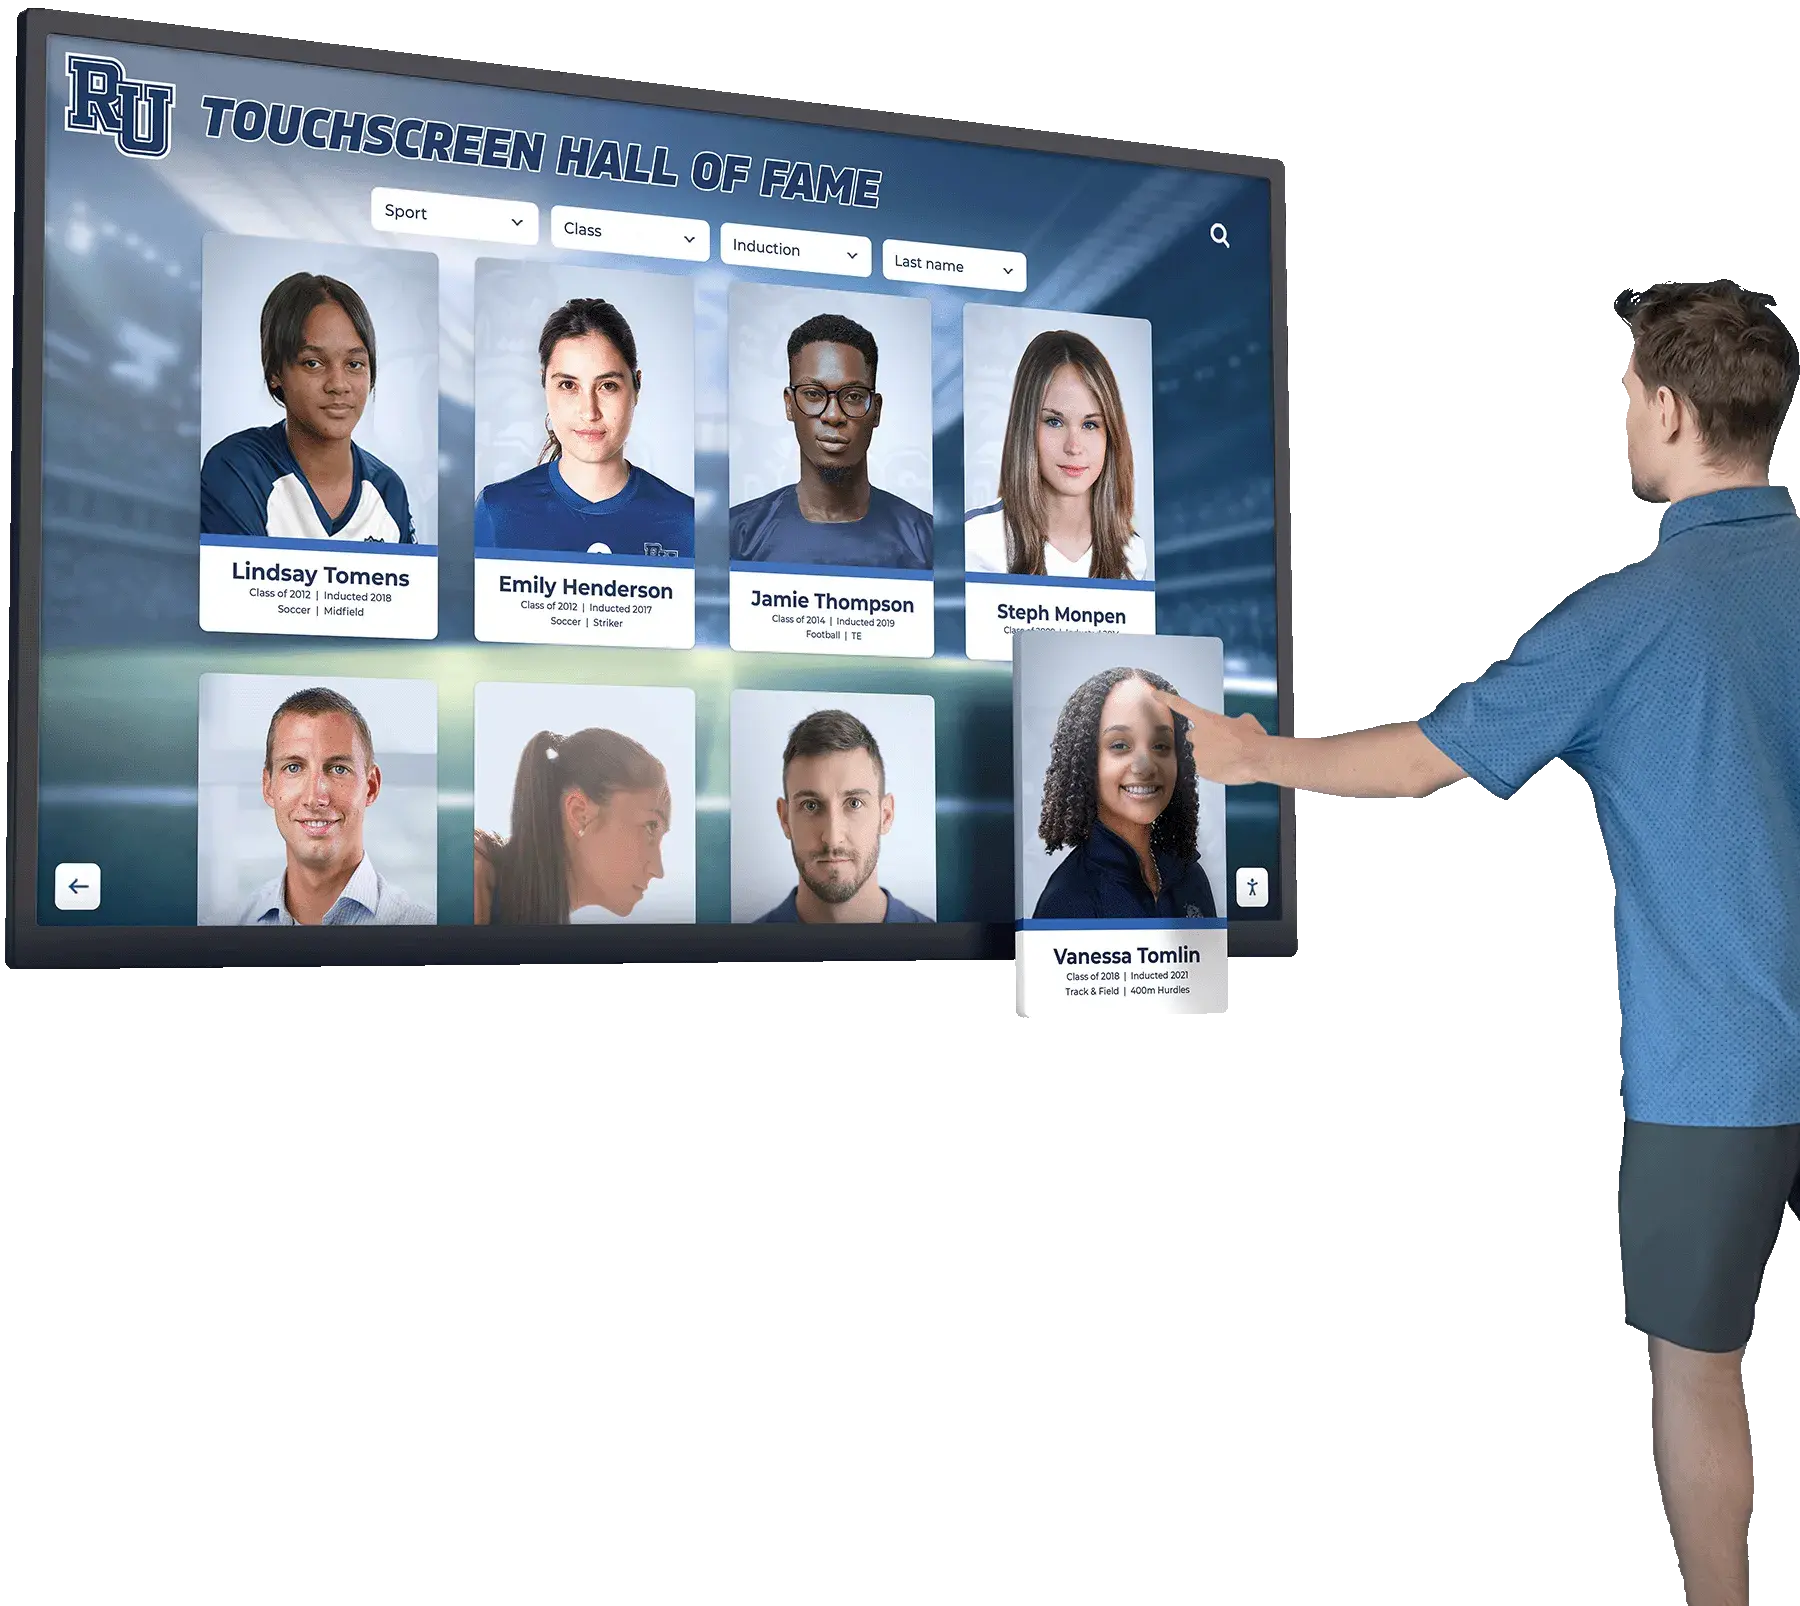
4.2 Test touch accuracy at all four corners and the center. After calibration, tap each corner and the exact center of the screen. A correctly calibrated display registers the tap precisely where your finger makes contact. Edge drift—where taps near the corners register several centimeters off—is a common sign of an overdue recalibration. For detailed calibration procedures, the guide on touch calibration verification logs provides hands-on walkthrough steps used in real school installations.
4.3 Test multi-touch responsiveness. Have two staff members tap different parts of the screen simultaneously. Recognition applications that allow users to browse athlete profiles while a second user interacts with a navigation menu depend on accurate multi-touch handling. Confirm simultaneous inputs are each registered correctly.
4.4 Test swipe and scroll gesture accuracy. Navigate through a roster or photo gallery using swipe gestures. Verify the swipe threshold is not too sensitive (triggering on accidental contact) and not too slow (making the interface feel unresponsive to deliberate swipes).
4.5 Test touch response in gloves or with stylus. If your events take place in cold gym lobbies during winter sports season, consider whether staff or visitors commonly use thin gloves. Some capacitive screens require bare-skin contact. If this is a concern, confirm whether glove-mode is available in settings, or plan signage asking users to remove gloves.

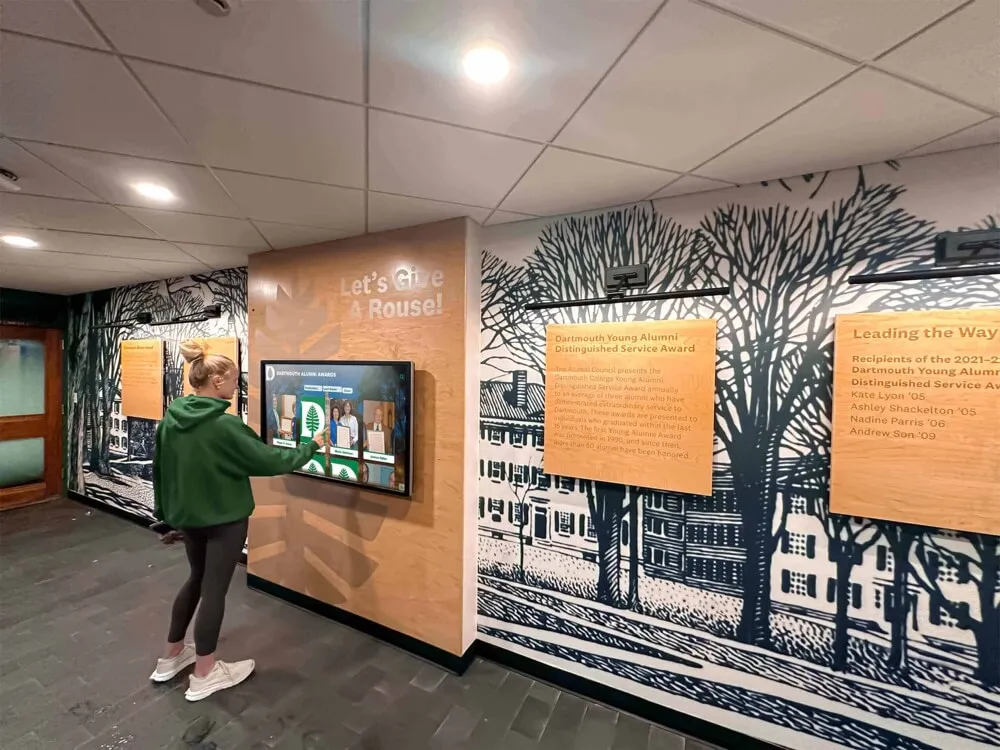
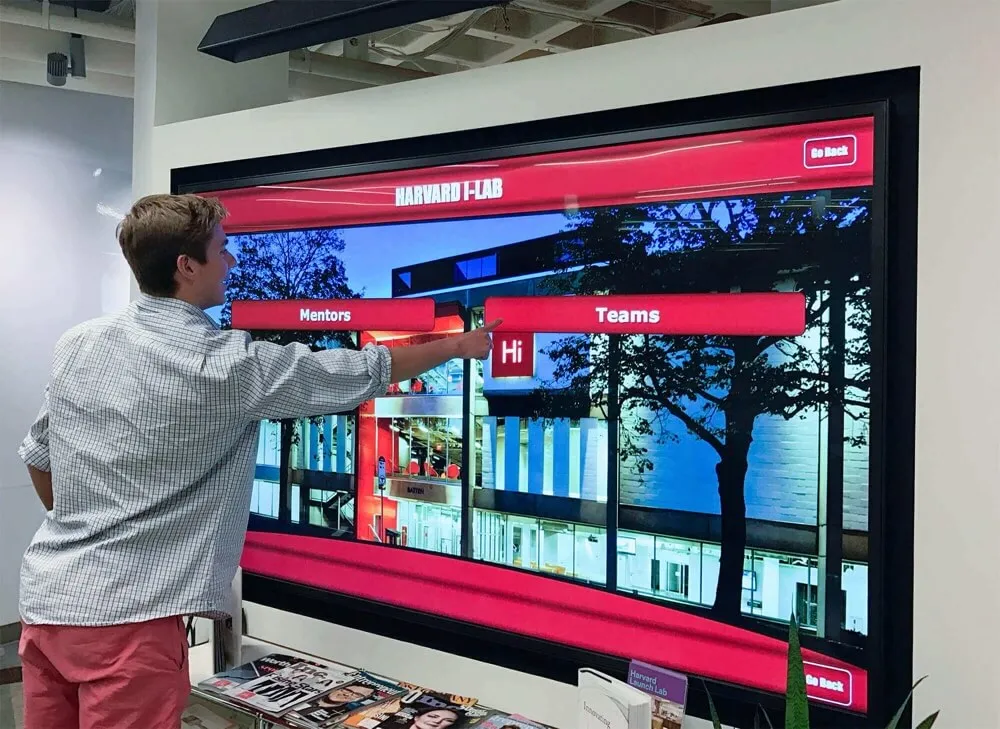
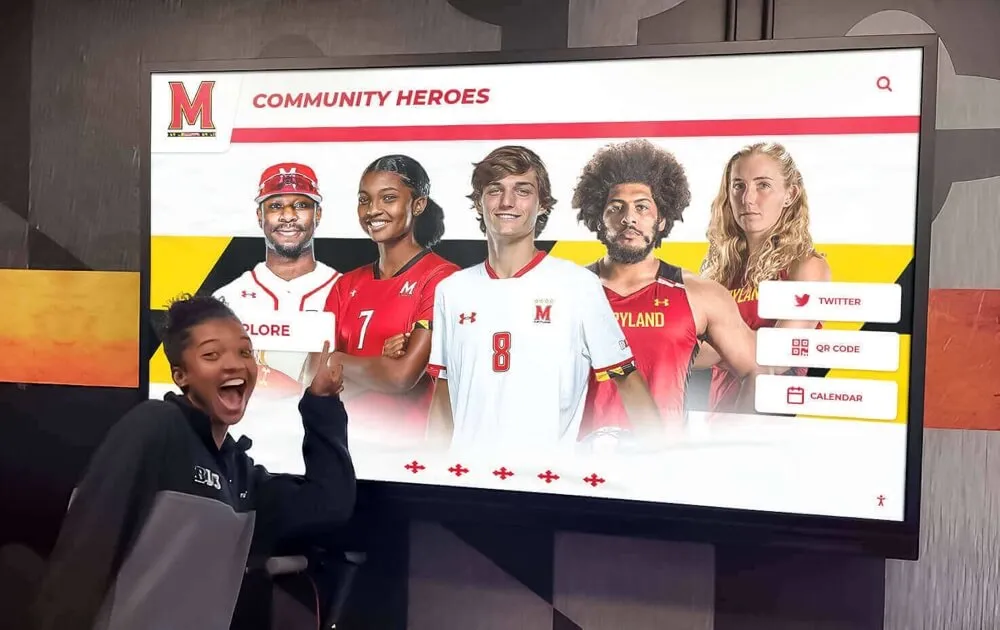
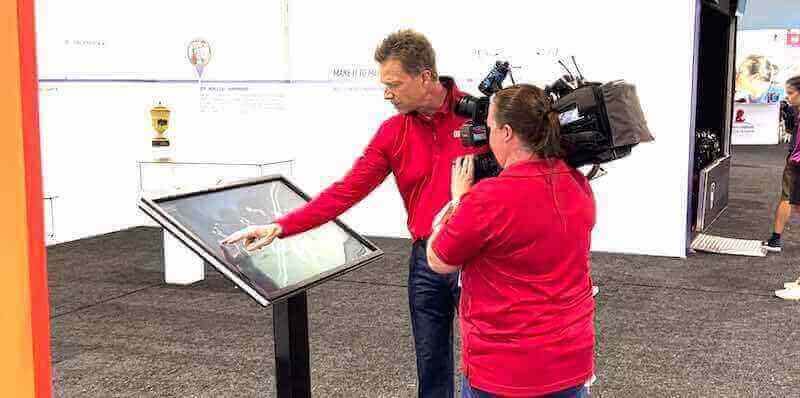
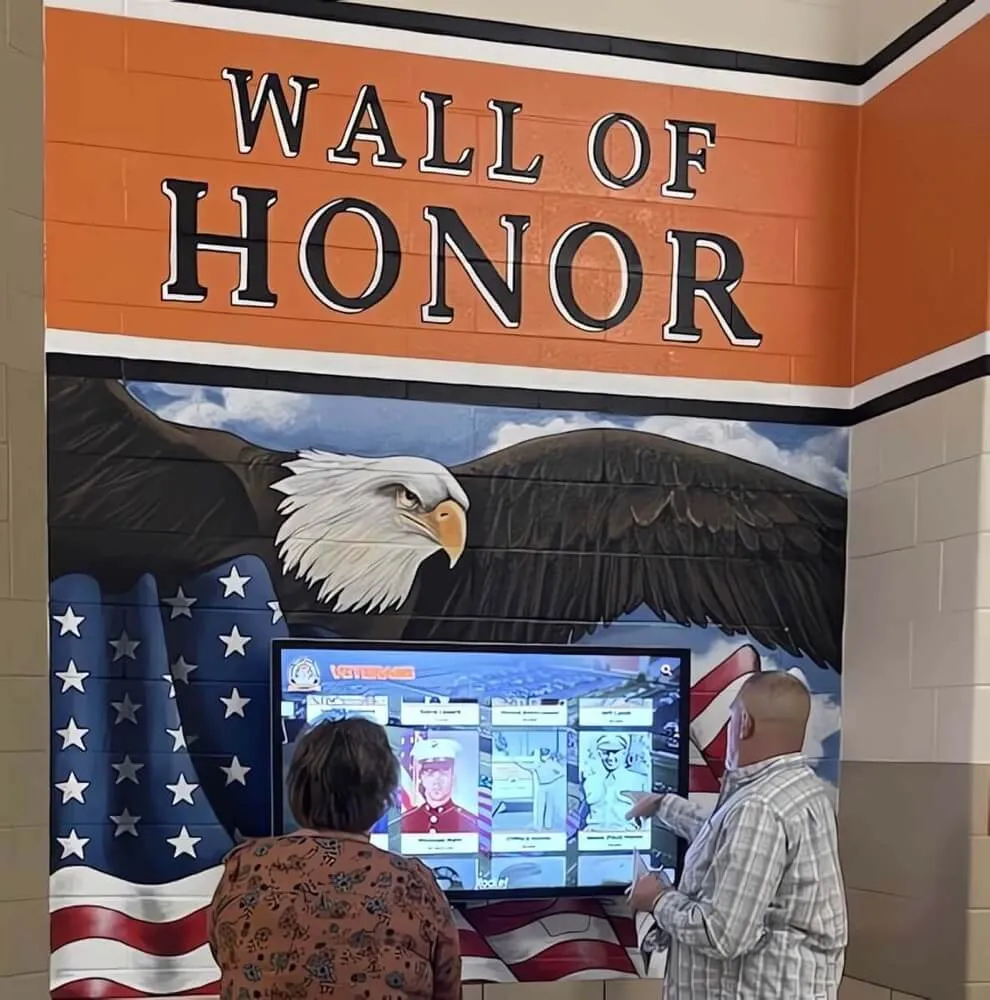
Touch accuracy across the full screen surface must be verified before heavy-use events where many visitors will interact in quick succession
Section 5: Network and Connectivity Recovery
5.1 Disconnect the display from WiFi and observe behavior. Temporarily disable the WiFi connection from the display’s network settings. Confirm the display does not go blank or show an error screen. A well-configured recognition system should fall back to locally cached content and continue displaying recognition profiles without active network connectivity.
5.2 Document what cached content is available offline. While disconnected, navigate through the application and note which sections are accessible. If certain sections (live score overlays, remote-managed sponsor feeds) go blank offline, plan your content layout to ensure core recognition content is always locally cached.
5.3 Reconnect and verify automatic sync. Re-enable the WiFi connection and observe how quickly the display resumes full functionality. Time the reconnection. If the display requires a manual application restart after network restoration, update your event response plan to include that step.
5.4 Test on the gymnasium or lobby’s specific network segment. Displays installed in lobbies or gymnasiums often sit on a different network segment or VLAN than administrative devices. If you manage content from the front office, confirm the sync pathway works across that network boundary—not just from the same room as the display.
5.5 Test cellular backup connectivity if your system supports it. Some installations include a cellular LTE backup modem. If yours does, test it by disabling the primary network while the cellular backup is active and confirming content continues to sync. Confirm the cellular data plan is current and has sufficient capacity for a high-traffic event day.
Section 6: Full Content Restore Drill
This is the most important section and the one most often skipped. A restore drill proves that your backup is actually usable—not just that it exists.
6.1 Simulate a complete content loss scenario. On a test device (not the live display), clear the application cache or test-environment content and initiate a full restore from the most recent backup. Time how long the restoration takes from start to finish.
6.2 Verify all content is present after restoration. After the restore completes, spot-check 10–15 profiles across different sports and class years. Confirm photos load, bios display, and navigation paths function correctly. A partial restore that misses a specific sport or year group would be worse than a known gap—because it looks complete but is not.
6.3 Document the restoration time. Record the exact duration. If a full restore takes 25 minutes, that is your recovery window if something fails at 5:45 PM before a 6:00 PM event. Knowing this in advance lets you decide whether to extend the testing window or pre-position a backup device with cached content.
6.4 Assign the restore procedure to a named staff member. The drill is only complete when a specific person—not “the tech coordinator in general”—has successfully performed the restore and can repeat it independently. Document their name, the date of the drill, and any notes about steps that were unclear.
Backup Testing Schedule: Timing by Event Type
Different events have different lead times and stakes. Use this table to set your testing windows.
| Event Type | Recommended Test Date | Minimum Test Window | Highest-Risk Checklist Sections |
|---|---|---|---|
| Varsity home game | 2 days before | 48 hours | Hardware, Touch Calibration |
| Athletic Hall of Fame induction | 7 days before | 1 week | Content Backup, Restore Drill |
| Class reunion weekend | 14 days before | 2 weeks | Full checklist, Handoff readiness |
| Season-opening home event | 30 days before | 1 month | All sections, Network recovery |
| Graduation or commencement | 14 days before | 2 weeks | Content Backup, CMS Access |
| Donor recognition event | 7 days before | 1 week | Sponsor content, Restore Drill |
Testing earlier gives your team time to order replacement parts, contact your display vendor for support, or rebuild missing content without working under deadline pressure. For major ceremonies like inductions or reunions, a two-week window is the minimum that allows for real remediation if the restore drill fails.
For commencement-related events where the display may feature class highlights or senior recognition, the planning overlap with other ceremony logistics means starting even earlier helps. Resources like commencement planning and speech examples illustrate the detail that goes into ceremony preparation—your display should meet that same standard of readiness.
Event-Specific Testing Considerations
Athletic Inductions and Hall of Fame Nights
Induction events concentrate attention directly on recognition content more than any other school gathering. Families of inductees expect to see accurate, complete profiles the moment they walk in. For these events, extend the content verification section to include:
- Personally reviewing every inductee profile added in the past 60 days
- Confirming pronunciation guides or phonetic spellings are visible for announcers
- Verifying class year and sport category assignments are correct
- Testing that the inductee’s profile appears correctly in search results
Pair your technical checklist with the organizational prep work described in digital recognition display partnerships to ensure the vendor relationship is solid before high-stakes events.
Homecoming Games and High-Attendance Sports Events
Game nights bring large, unpredictable crowds who interact with recognition displays in bursts. The network test section is especially critical because many concurrent devices on the gym network can degrade display performance.
- Test display performance with a minimum of 20 devices connected to the gym WiFi simultaneously
- Confirm the display is on a separate network segment or has QoS priority if your network supports it
- Pre-set the display to a homecoming-appropriate layout and lock it before the event opens
Athletic booster clubs often fund display maintenance and event preparation. Understanding the booster club financial policies in place at your school helps clarify who has authority to approve emergency maintenance spending if testing reveals a hardware problem.
Class Reunions and Alumni Events
Alumni events present the longest content horizon—attendees may expect to find recognition content for athletes and honorees from 20 or 30 years ago. These events also attract visitors who have not seen the display before and will judge the institution’s investment in recognition by what they see.
Additional testing steps for reunion events:
- Navigate to the oldest class years available in the system and confirm photos load
- Test the display with the alumni content layout active rather than the standard school-year view
- Confirm yearbook-style content or historical media is accessible and loads without errors
For broader reunion programming ideas that position the display as the centerpiece of the experience, digital yearbook and interactive alumni memory resources offer complementary planning frameworks.
Building a Reusable Backup Testing Log
A one-time checklist run creates compliance. A documented testing log creates accountability and trend data. Structure your log to capture:
- Date and time of each test run
- Name of staff member who completed the checklist
- Pass/fail result for each section
- Specific issues found and resolution steps taken
- Time required for restore drill (tracked over time)
- Any vendor support tickets opened as a result
Keep the log in a shared location accessible to the athletic director, technology coordinator, and head building administrator. When the display vendor or a new staff member asks “when was this last tested?"—the answer should be a specific date with documented results, not a vague recollection.
Schools preparing for milestone events like season banquets use similar structured preparation frameworks. The planning detail outlined in end-of-season banquet preparation guides reflects the same philosophy: pre-event verification eliminates surprises that undermine celebrations.
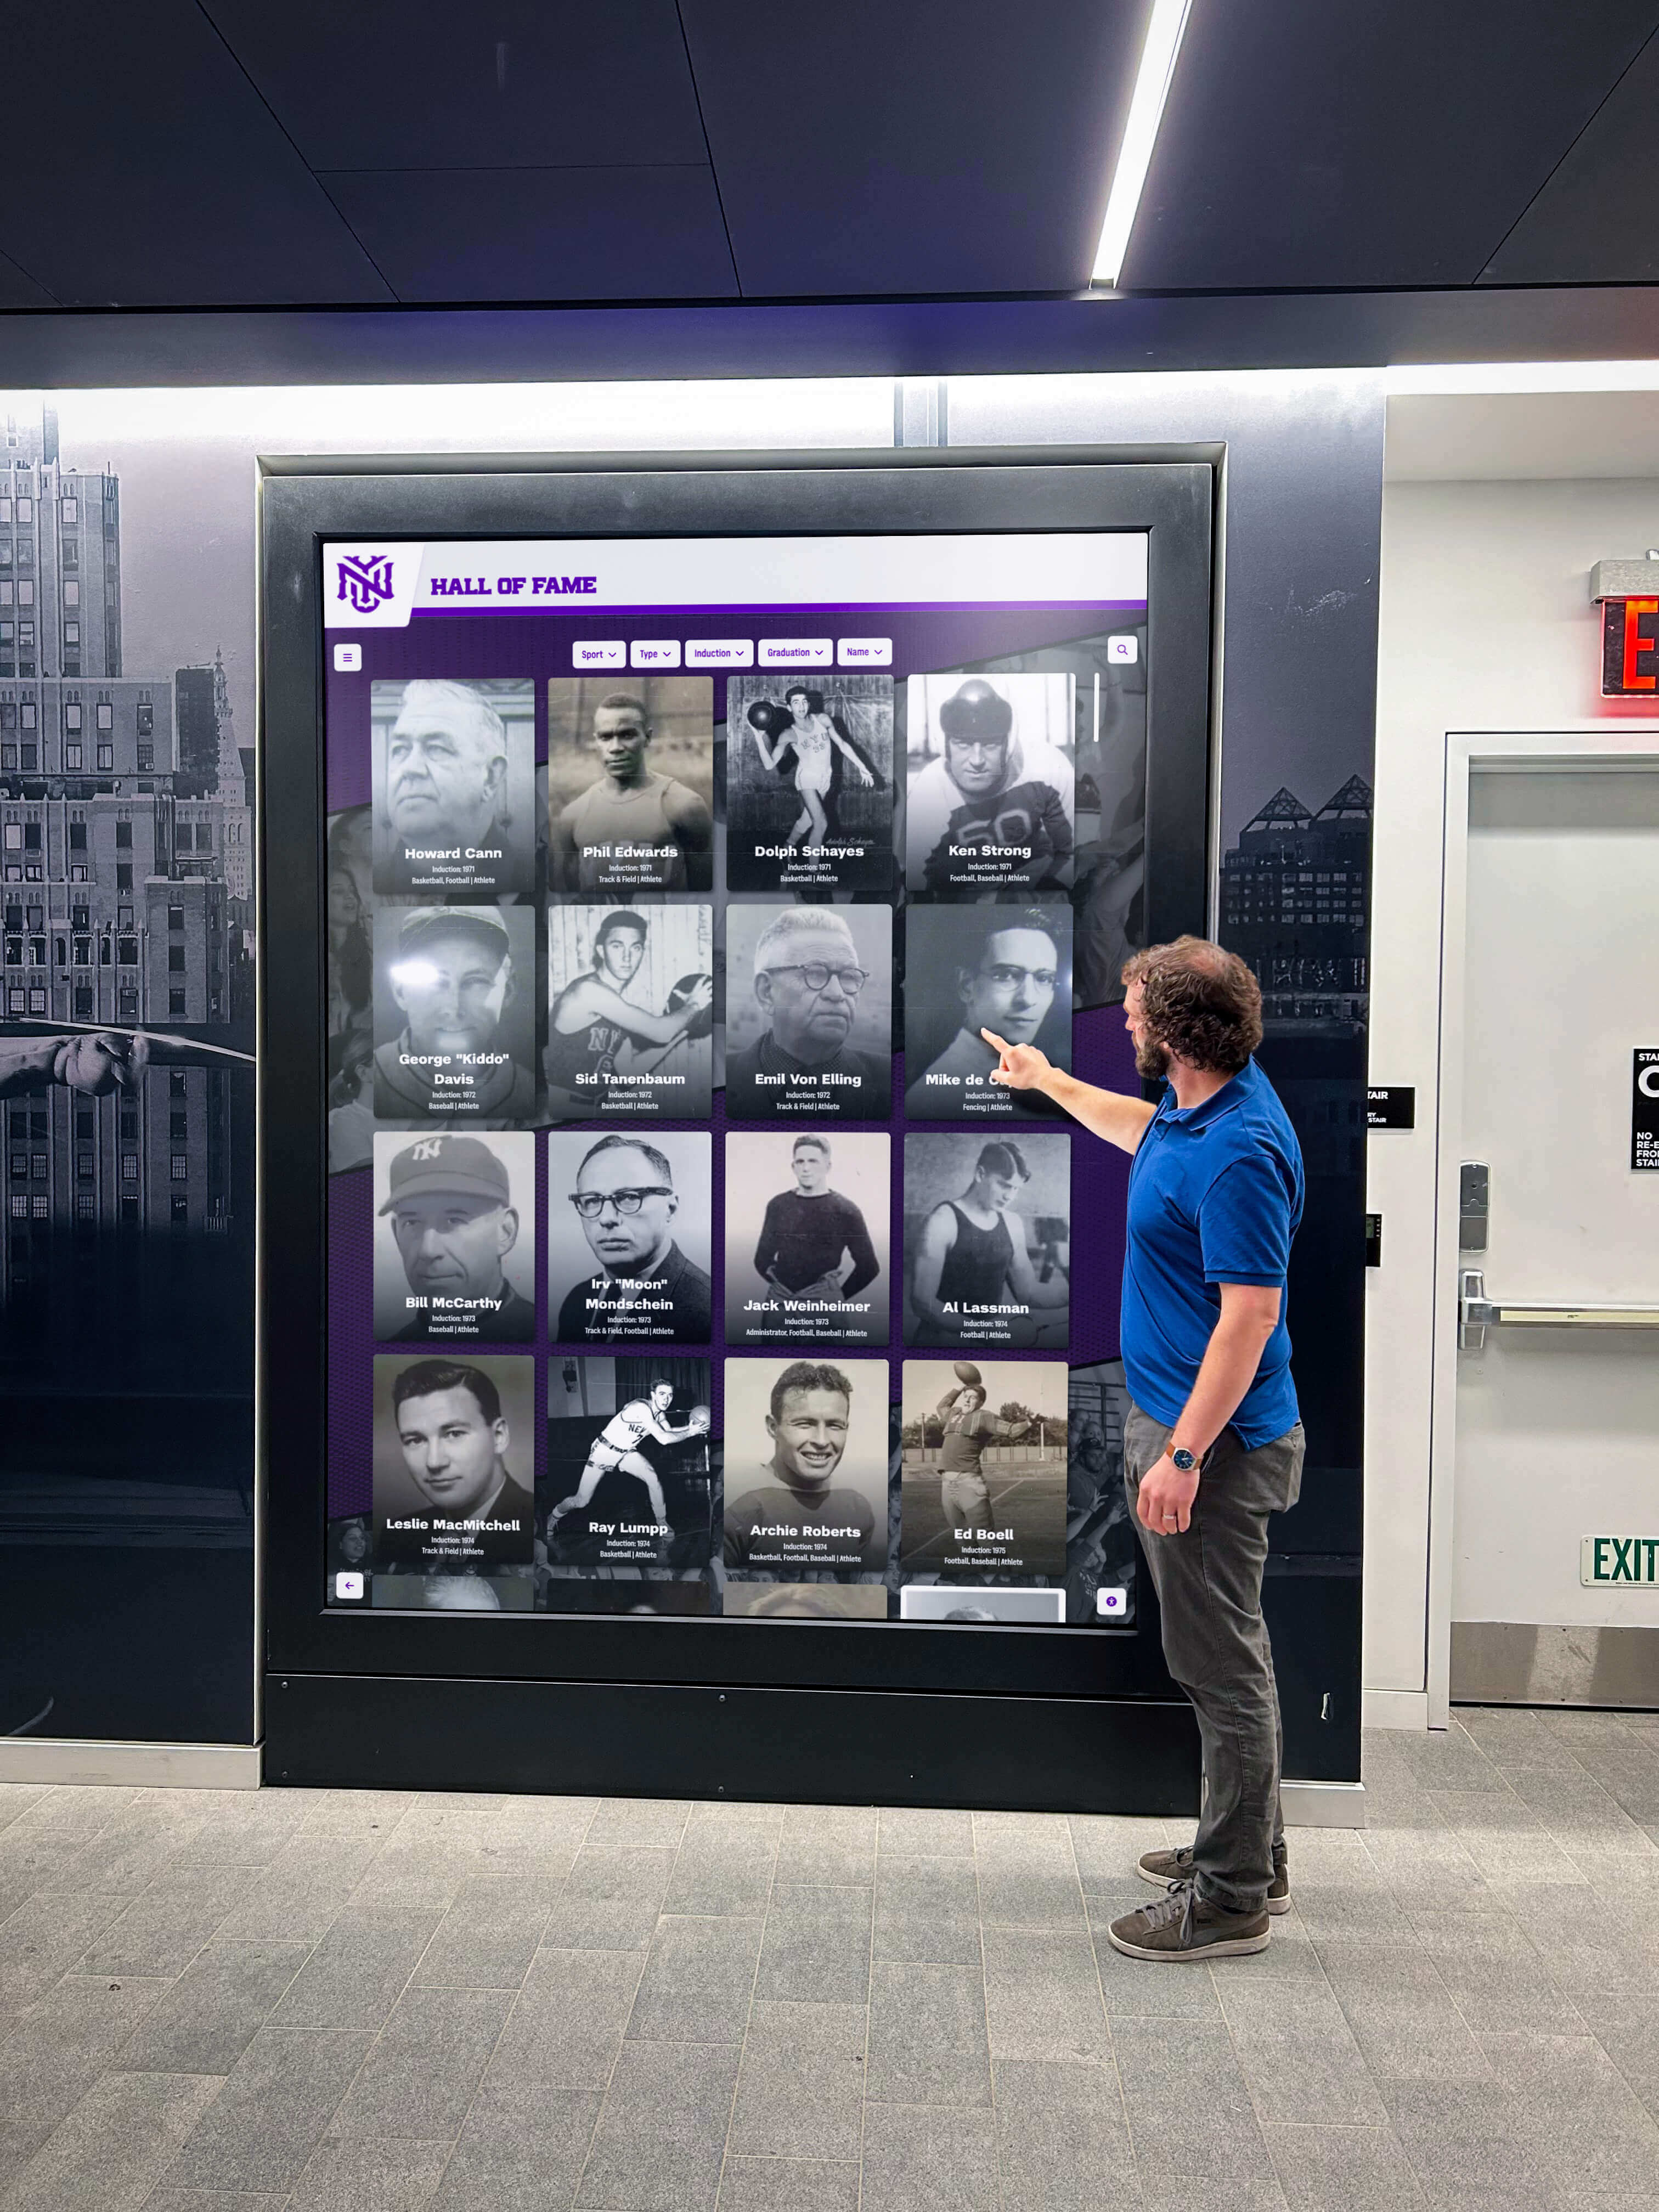
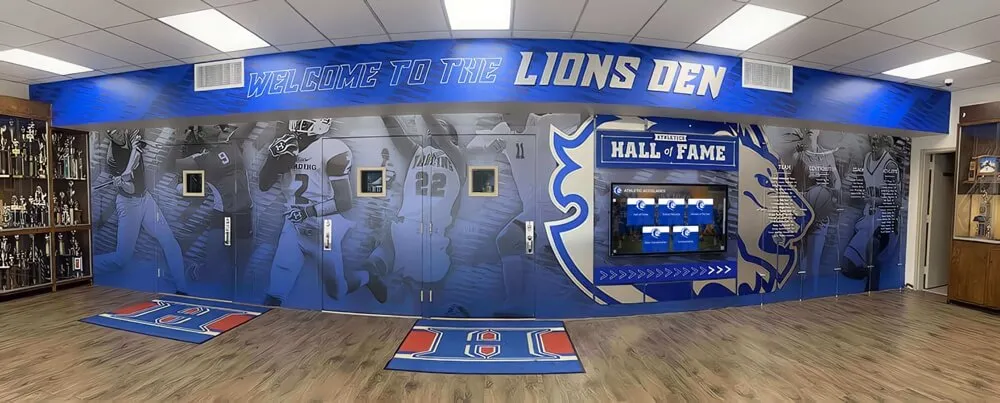
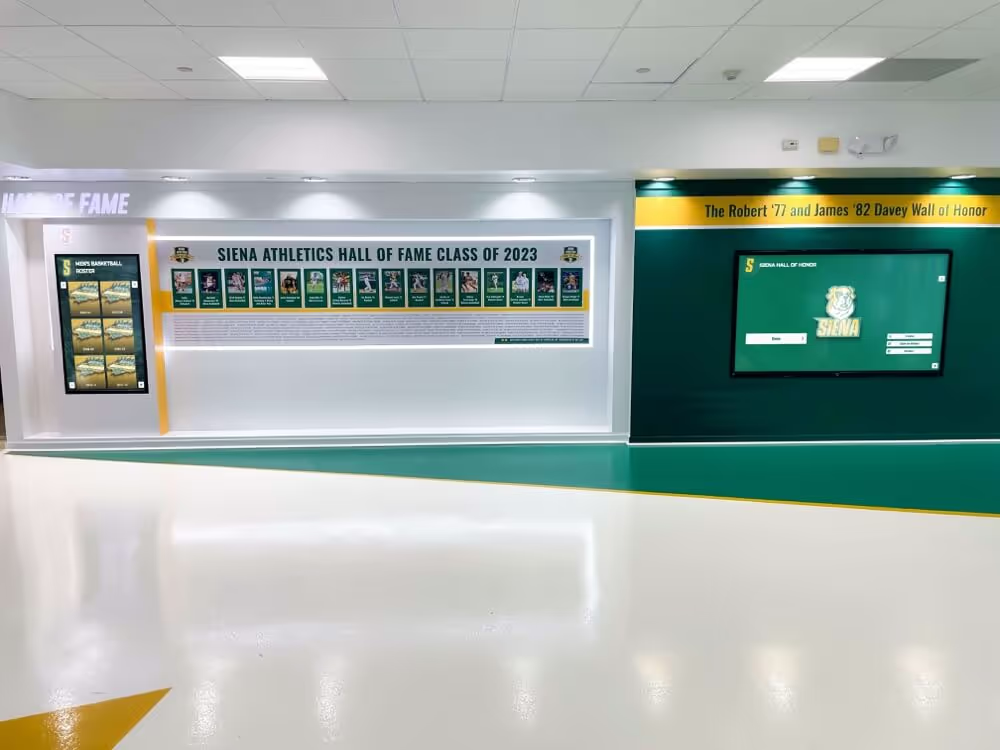
Documented testing logs prove that staff performed systematic verification—giving administrators confidence before events that matter most to the community
Common Backup Testing Failures and How to Address Them
Failure: Backup is older than 7 days
Cause: Automatic backup schedules are often set during initial deployment and never reviewed. A schedule that worked during a low-content period may fall behind as recognition content grows.
Resolution: Log into the CMS settings and confirm the backup frequency. Increase to daily automatic backups if weekly is the current setting. Manually trigger a fresh backup immediately before major events.
Failure: Restore takes longer than 30 minutes
Cause: Large video asset libraries or oversized image files bloat restore time significantly.
Resolution: Compress all image assets to web-optimized resolution (1920px maximum width, 80% quality). Move video files to a separate media hosting service referenced by link rather than stored directly in the CMS backup. Test restore time after optimization.
Failure: Touch calibration drifts within hours of recalibration
Cause: Thermal expansion from direct sunlight, HVAC vents blowing directly on the screen, or a failing touch controller board.
Resolution: Reposition the display out of direct sunlight. Ensure HVAC does not blow on the screen surface. If drift persists after environmental changes, contact the display manufacturer about touch controller diagnostics.
Failure: Second staff member cannot access the CMS
Cause: Credentials stored in a single browser’s password manager, or an account tied to a personal email that a departing staff member controlled.
Resolution: Create a shared institutional login using a school-domain email address. Store credentials in a school-managed password manager. Document login steps in the event response guide.
Failure: Offline cached content is missing entire sport categories
Cause: Cache settings configured to limit stored content by file size or by time window, pruning older content.
Resolution: Review cache configuration in the display’s application settings. Increase local cache allocation if storage allows. For cloud-based platforms, confirm offline content sync settings include all active sport categories.
Quick Q&A: Backup Testing for School Recognition Displays
How often should we run the full backup testing checklist? Run the complete checklist before any event with 100 or more expected attendees. For smaller events, run at minimum the content verification and touch calibration sections. Schedule a comprehensive test at the start of each athletic season regardless of planned events.
Can we run backup tests during school hours without disrupting visitors? Most testing sections can be completed in a maintenance mode or using a secondary device without taking the display offline. The restore drill and power-cycle tests require brief downtime—schedule those for early morning before students arrive or during a period when the lobby is closed.
What should we do if we find a problem during testing and the event is tomorrow? Contact your display vendor immediately. Most managed recognition platforms have support staff available for urgent pre-event issues. If the problem cannot be resolved in time, prepare printed backup materials—a single laminated poster listing honorees or a printed roster—so the event continues even if the display cannot.
Who should own the backup testing process at our school? Assign primary ownership to the technology coordinator or athletic director’s designee. A named owner who is accountable for completing the checklist before every major event is more reliable than a shared responsibility that no one tracks. Identify a backup owner for when the primary staff member is absent.
Do we need to test if the vendor handles our system maintenance? Yes. Vendor maintenance ensures the system is running—backup testing proves you can recover from failure independently. Even with a managed service, your staff should be able to perform a content restore, log into the CMS from a secondary device, and operate the display without real-time vendor support.
Milestone celebrations like milestone anniversary events and business celebrations face the same pre-event readiness challenge: when the moment is scheduled and the guests have arrived, there is no backup window. Your testing checklist is the insurance policy that turns that pressure into confidence.
Conclusion: Make “It Will Work Tonight” a Verified Statement
Athletic inductions, homecoming games, and reunions are the events that define a school’s recognition culture. Families travel, alumni return, and donors attend specifically because these gatherings celebrate the people and achievements that matter most. A touchscreen recognition display that fails—or shows stale, incomplete content—at these moments undermines every investment the school has made in digital recognition.
The touchscreen recognition display backup testing checklist in this guide transforms pre-event preparation from a vague “check on the display” task into a documented, repeatable process with named owners and clear pass/fail criteria. Running through the full checklist 48–168 hours before a major event gives staff time to fix problems before guests arrive.
Start with the content backup section, move through CMS access and hardware verification, complete the touch calibration testing, validate network recovery behavior, and finish with a timed restore drill. Document every step. Assign ownership. Repeat before every high-stakes event.
See a Recognition Display Built for Event-Ready Reliability
Rocket Alumni Solutions builds cloud-managed recognition systems designed for school staff—with simple remote content management, automatic backups, and support that's available before your biggest events of the year.
Book a Live DemoWhen your display vendor, your content backup, and your staff are all tested and ready, the answer to “will it work tonight?” stops being a guess. It becomes a documented fact.