



A touchscreen recognition display backlight bleed test is a structured visual inspection that confirms whether a new display panel shows unacceptable light leakage before it is mounted in a school lobby, athletic corridor, or hall of fame wall. Run on a dark test image in a controlled environment, the test takes under 20 minutes and catches a defect that would otherwise go unnoticed until the display is installed—and then becomes visible to every parent, donor, and administrator who walks past during an evening event.
This guide is written for school IT coordinators, facilities managers, athletic directors, and booster and alumni leadership responsible for accepting or rejecting a recognition display before final installation. It covers exactly what backlight bleed is, why it matters for recognition-specific content, how to run the test step by step, and how to document results in a way that supports a vendor conversation if the display needs to be returned.
Run this test before mounting. A display returned from the wall is far more difficult to replace than one inspected on a cart in the hallway.
Backlight bleed is one of those defects that registers differently in a darkened gymnasium lobby during an induction night than it does in a brightly lit warehouse or receiving dock—which is typically where a recognition display arrives, gets unpacked, and gets briefly powered on before installation. A display that looks acceptable under fluorescent warehouse lighting may show significant corner bleed when a hall of fame video plays against a dark background in front of a crowd.

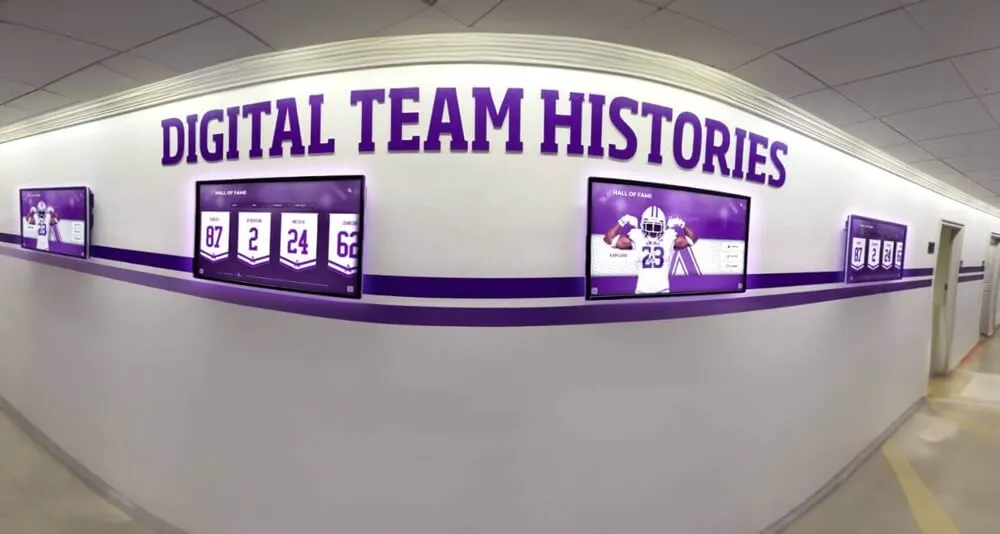
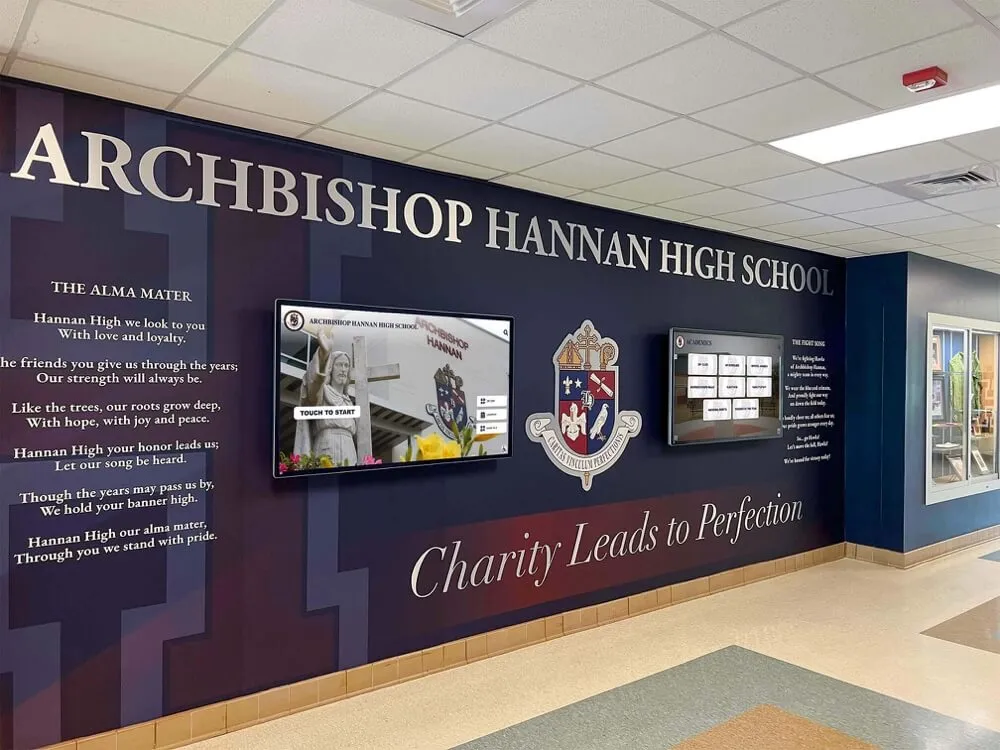
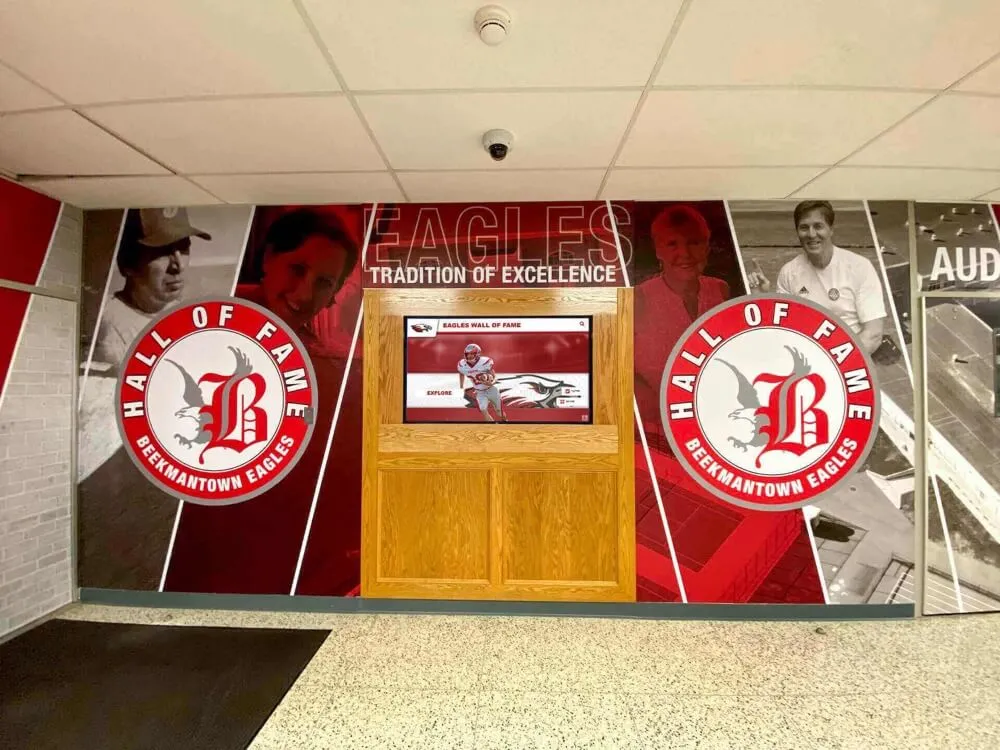
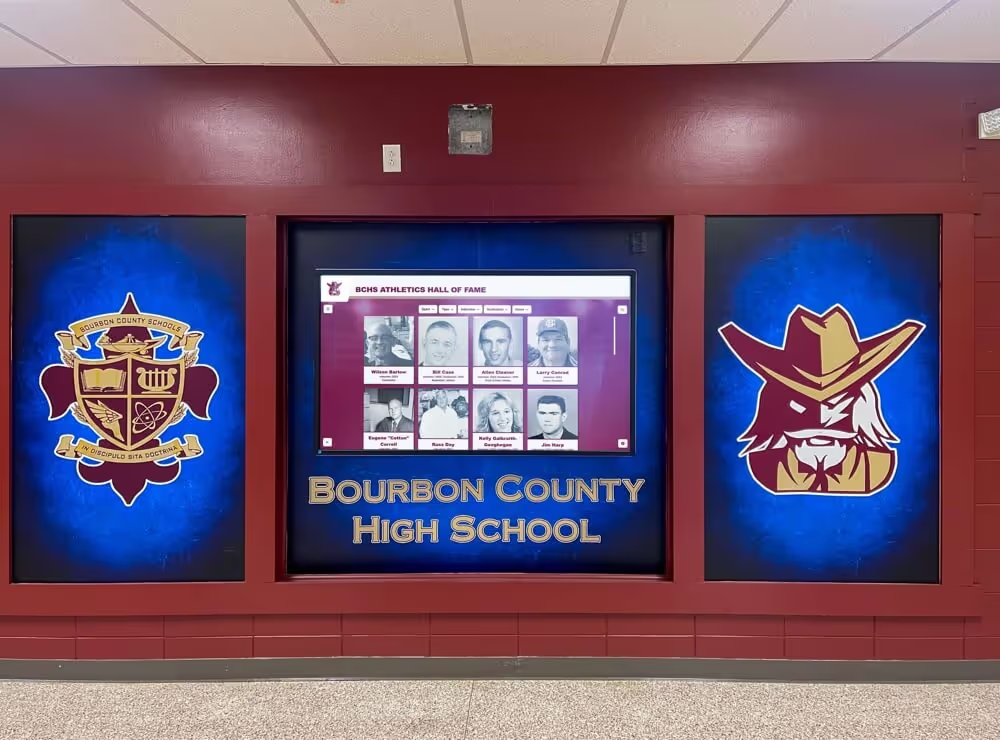
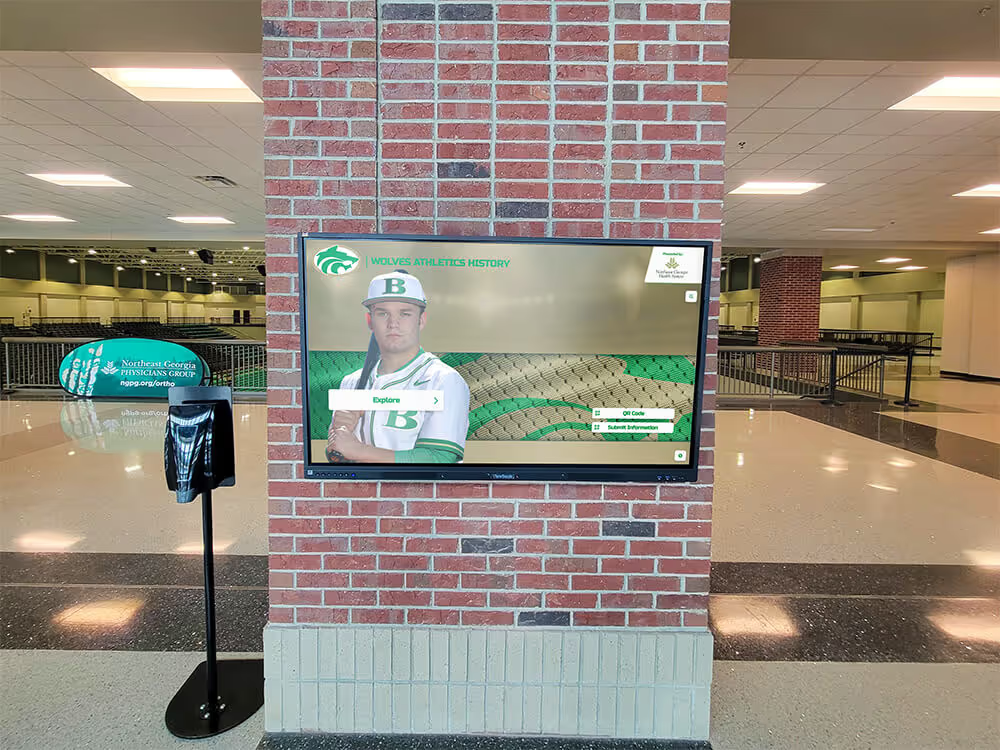
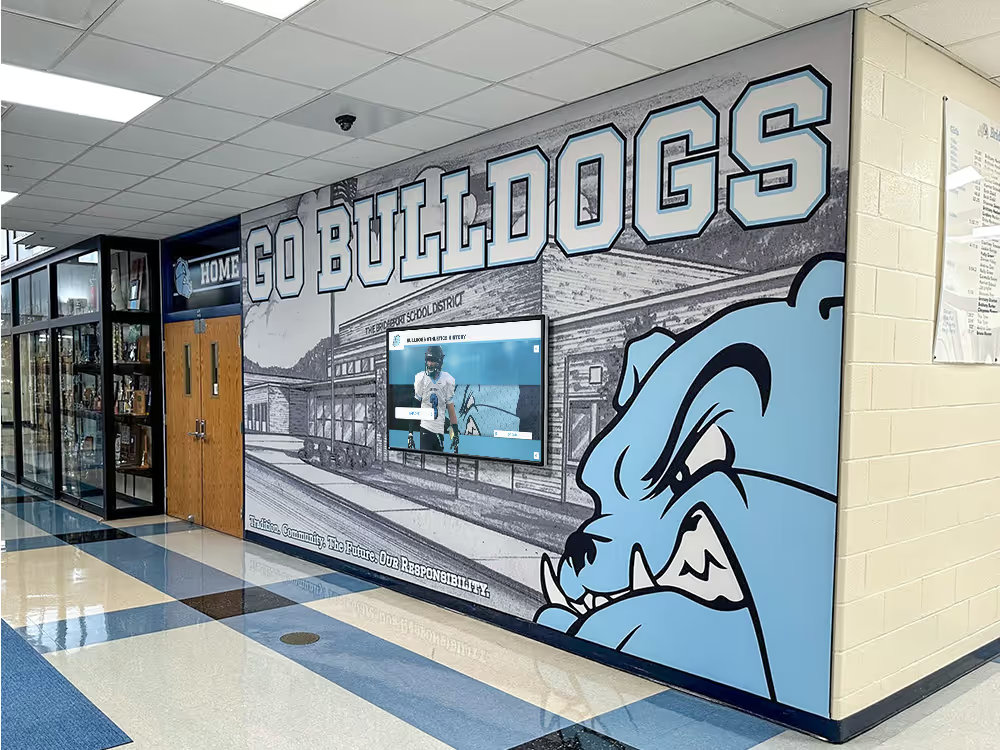
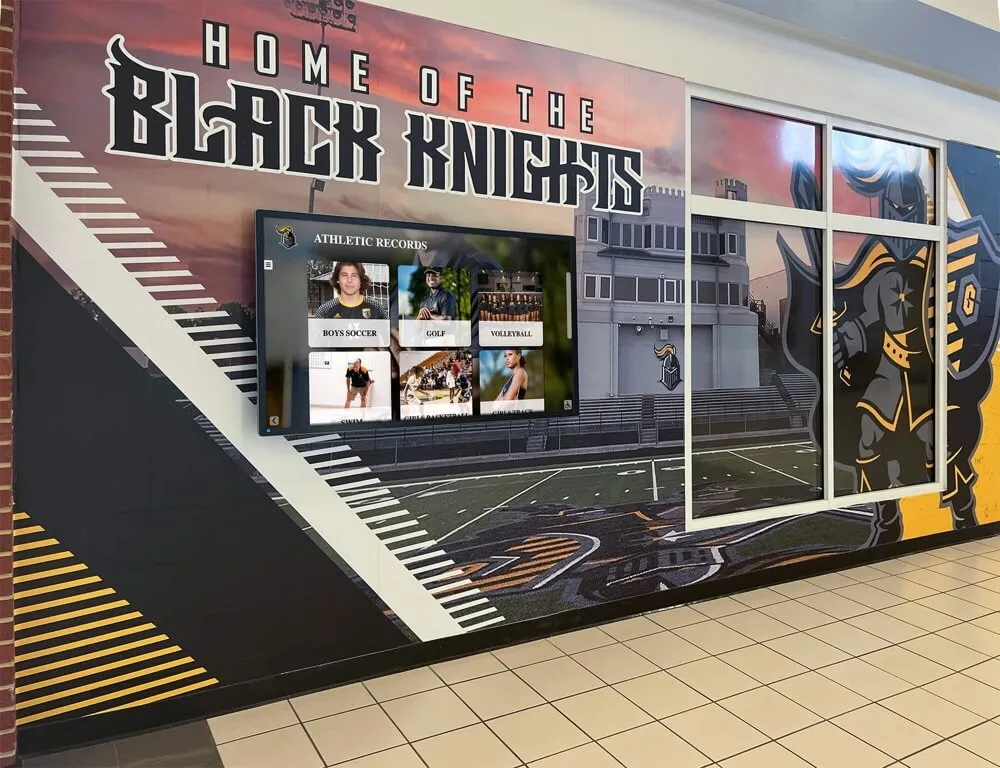
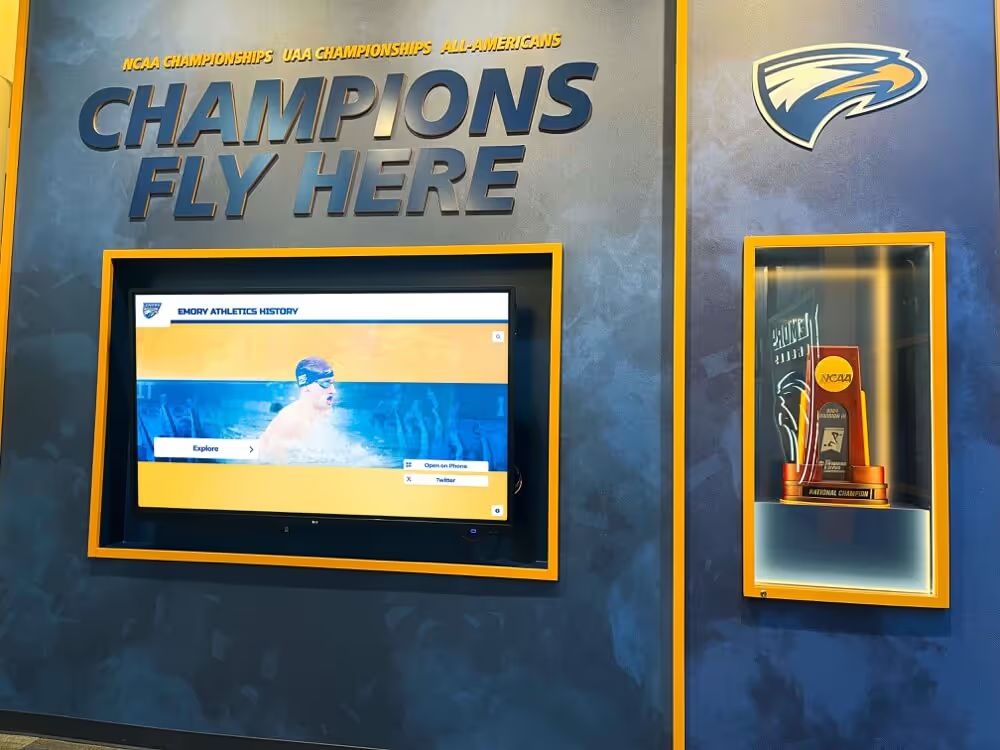
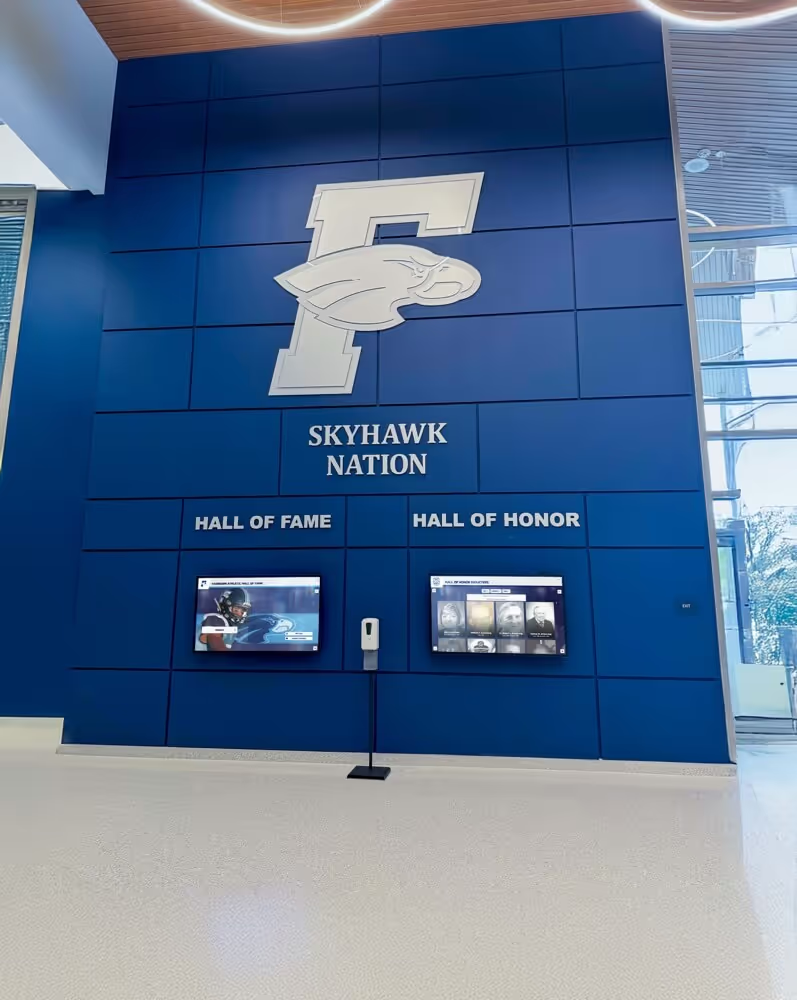
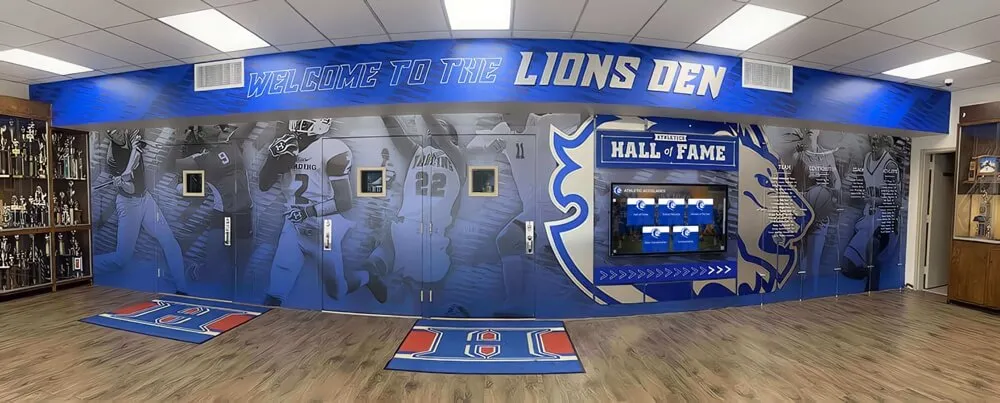
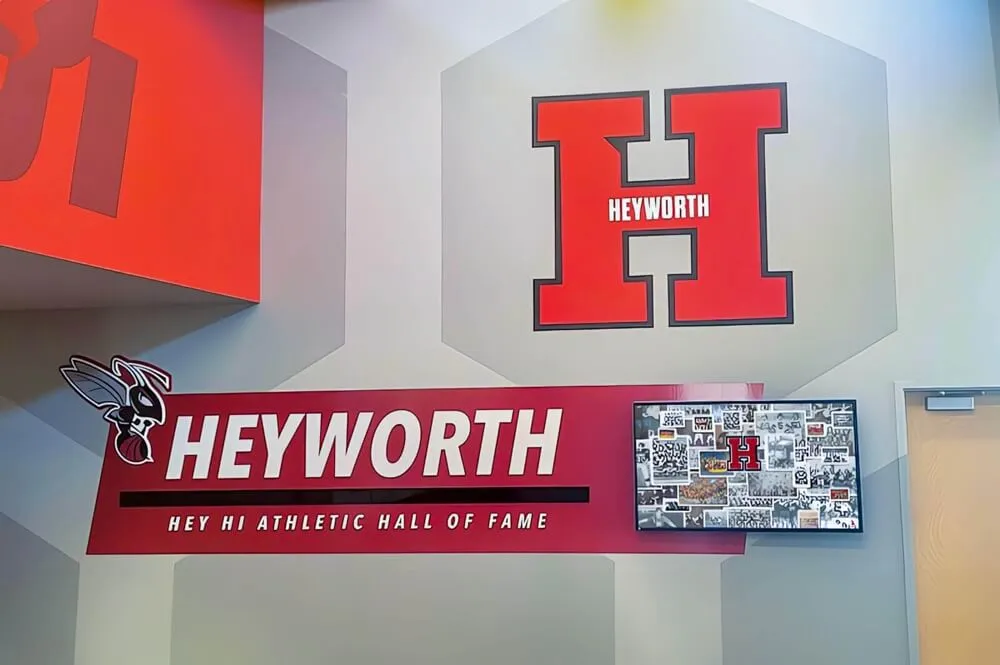
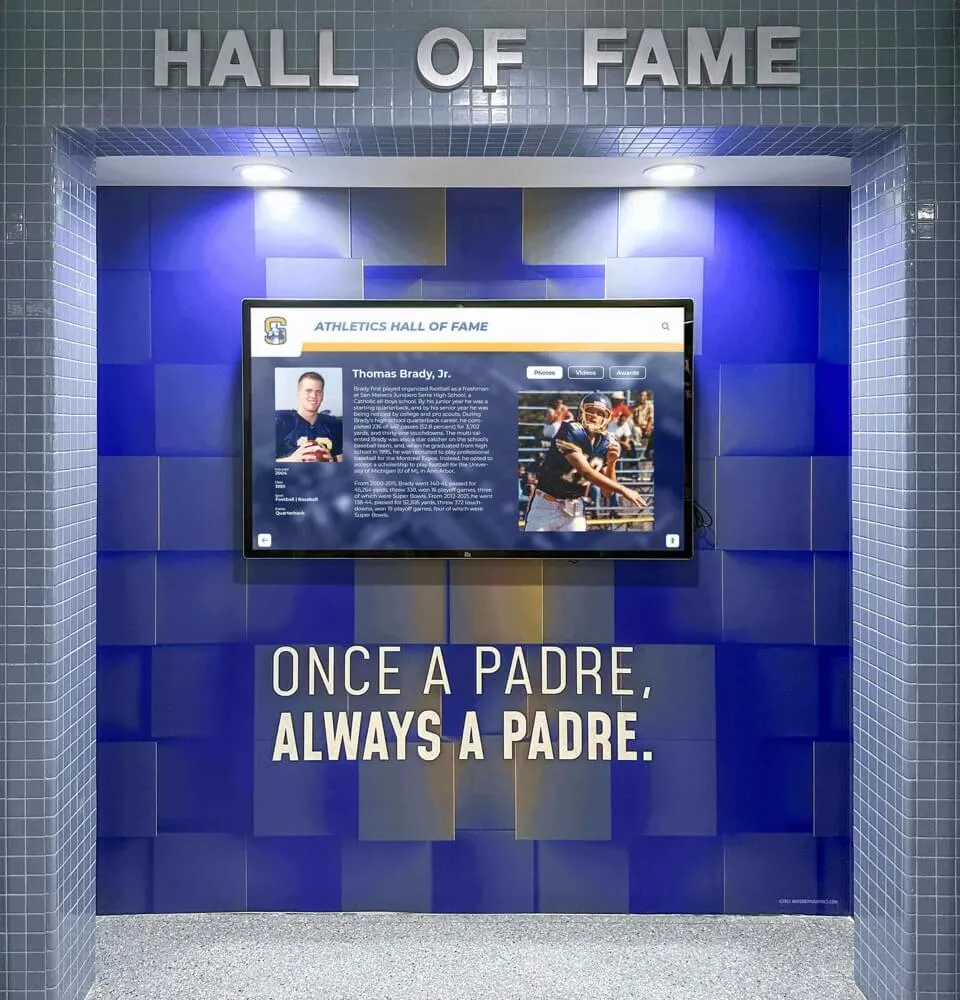
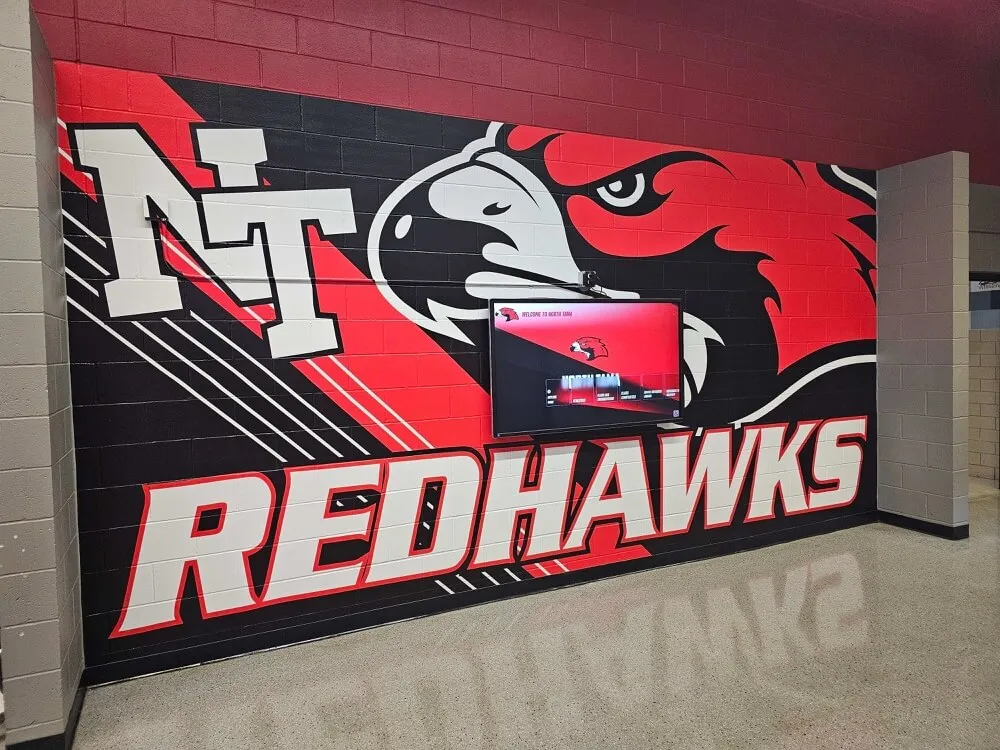
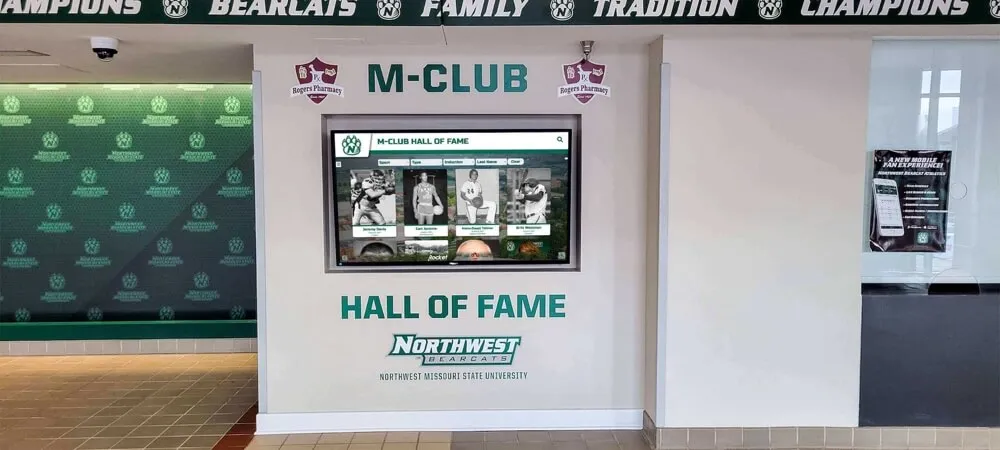
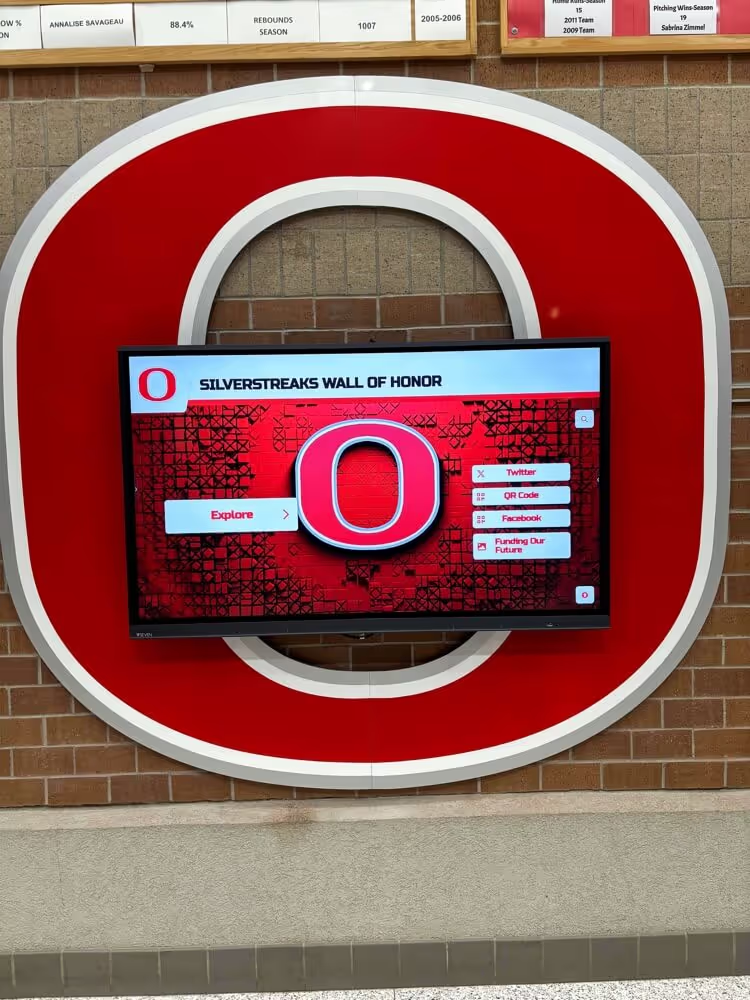
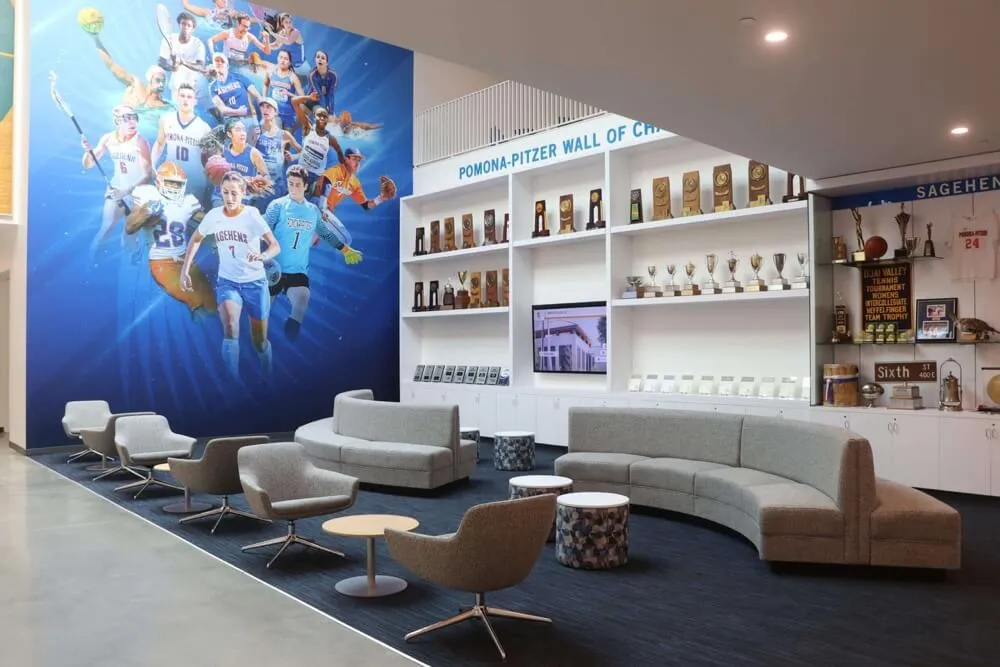
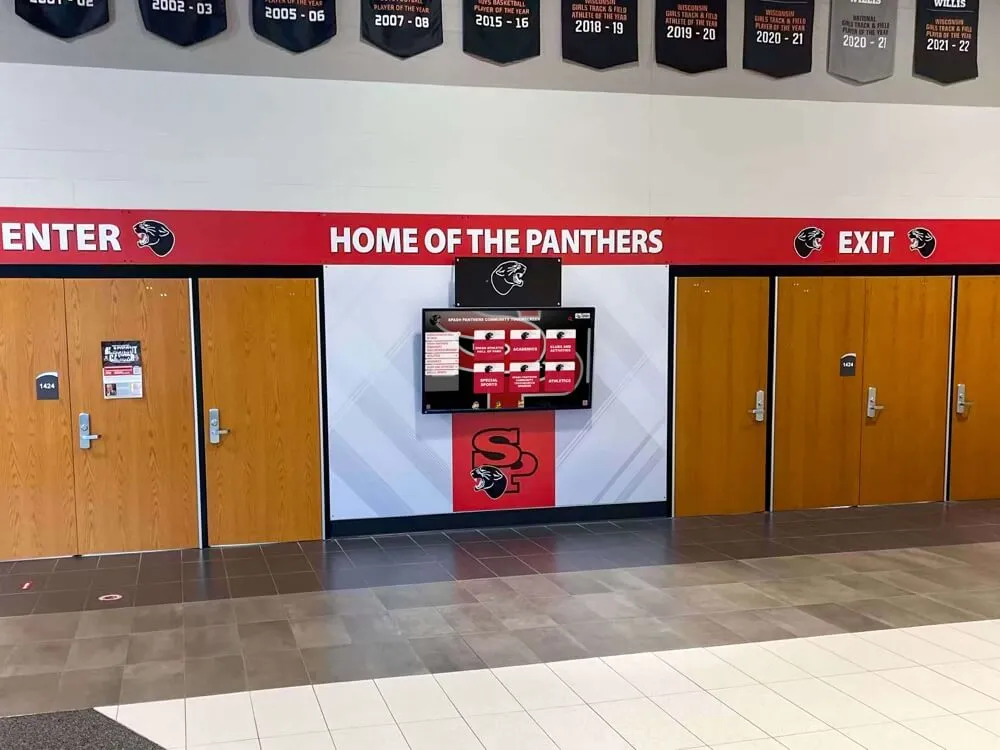
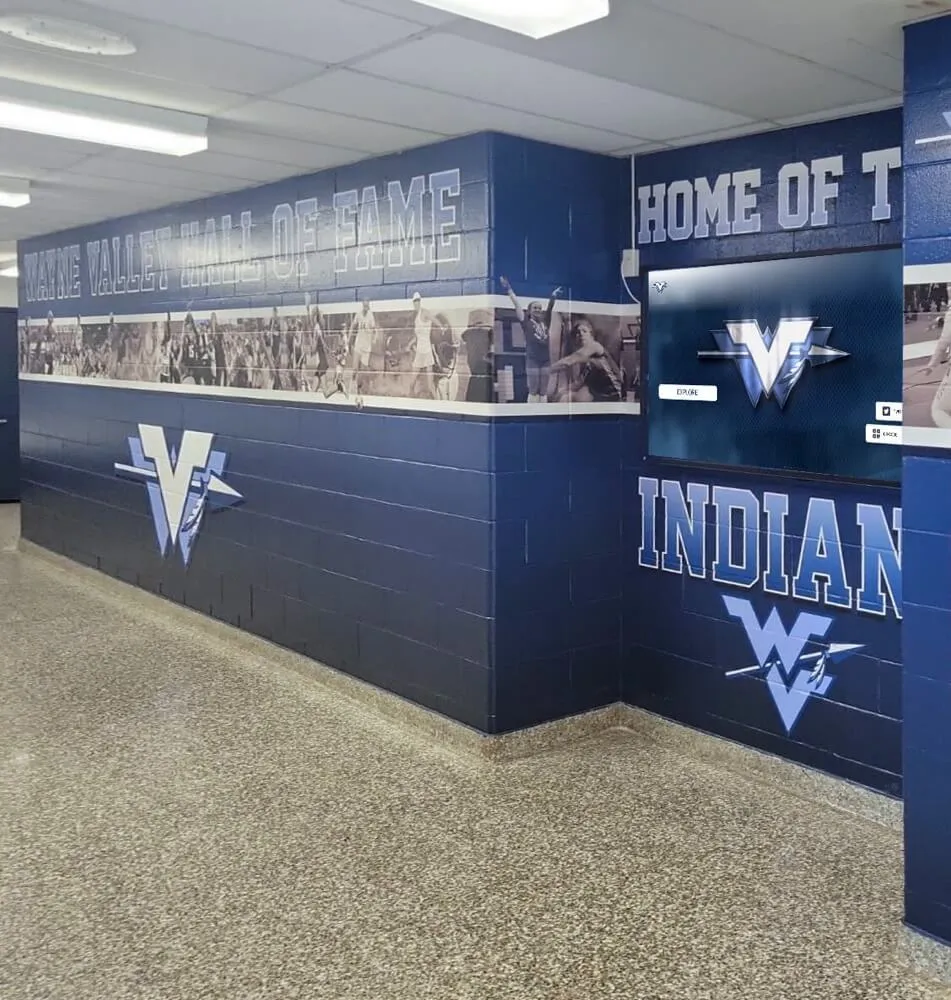
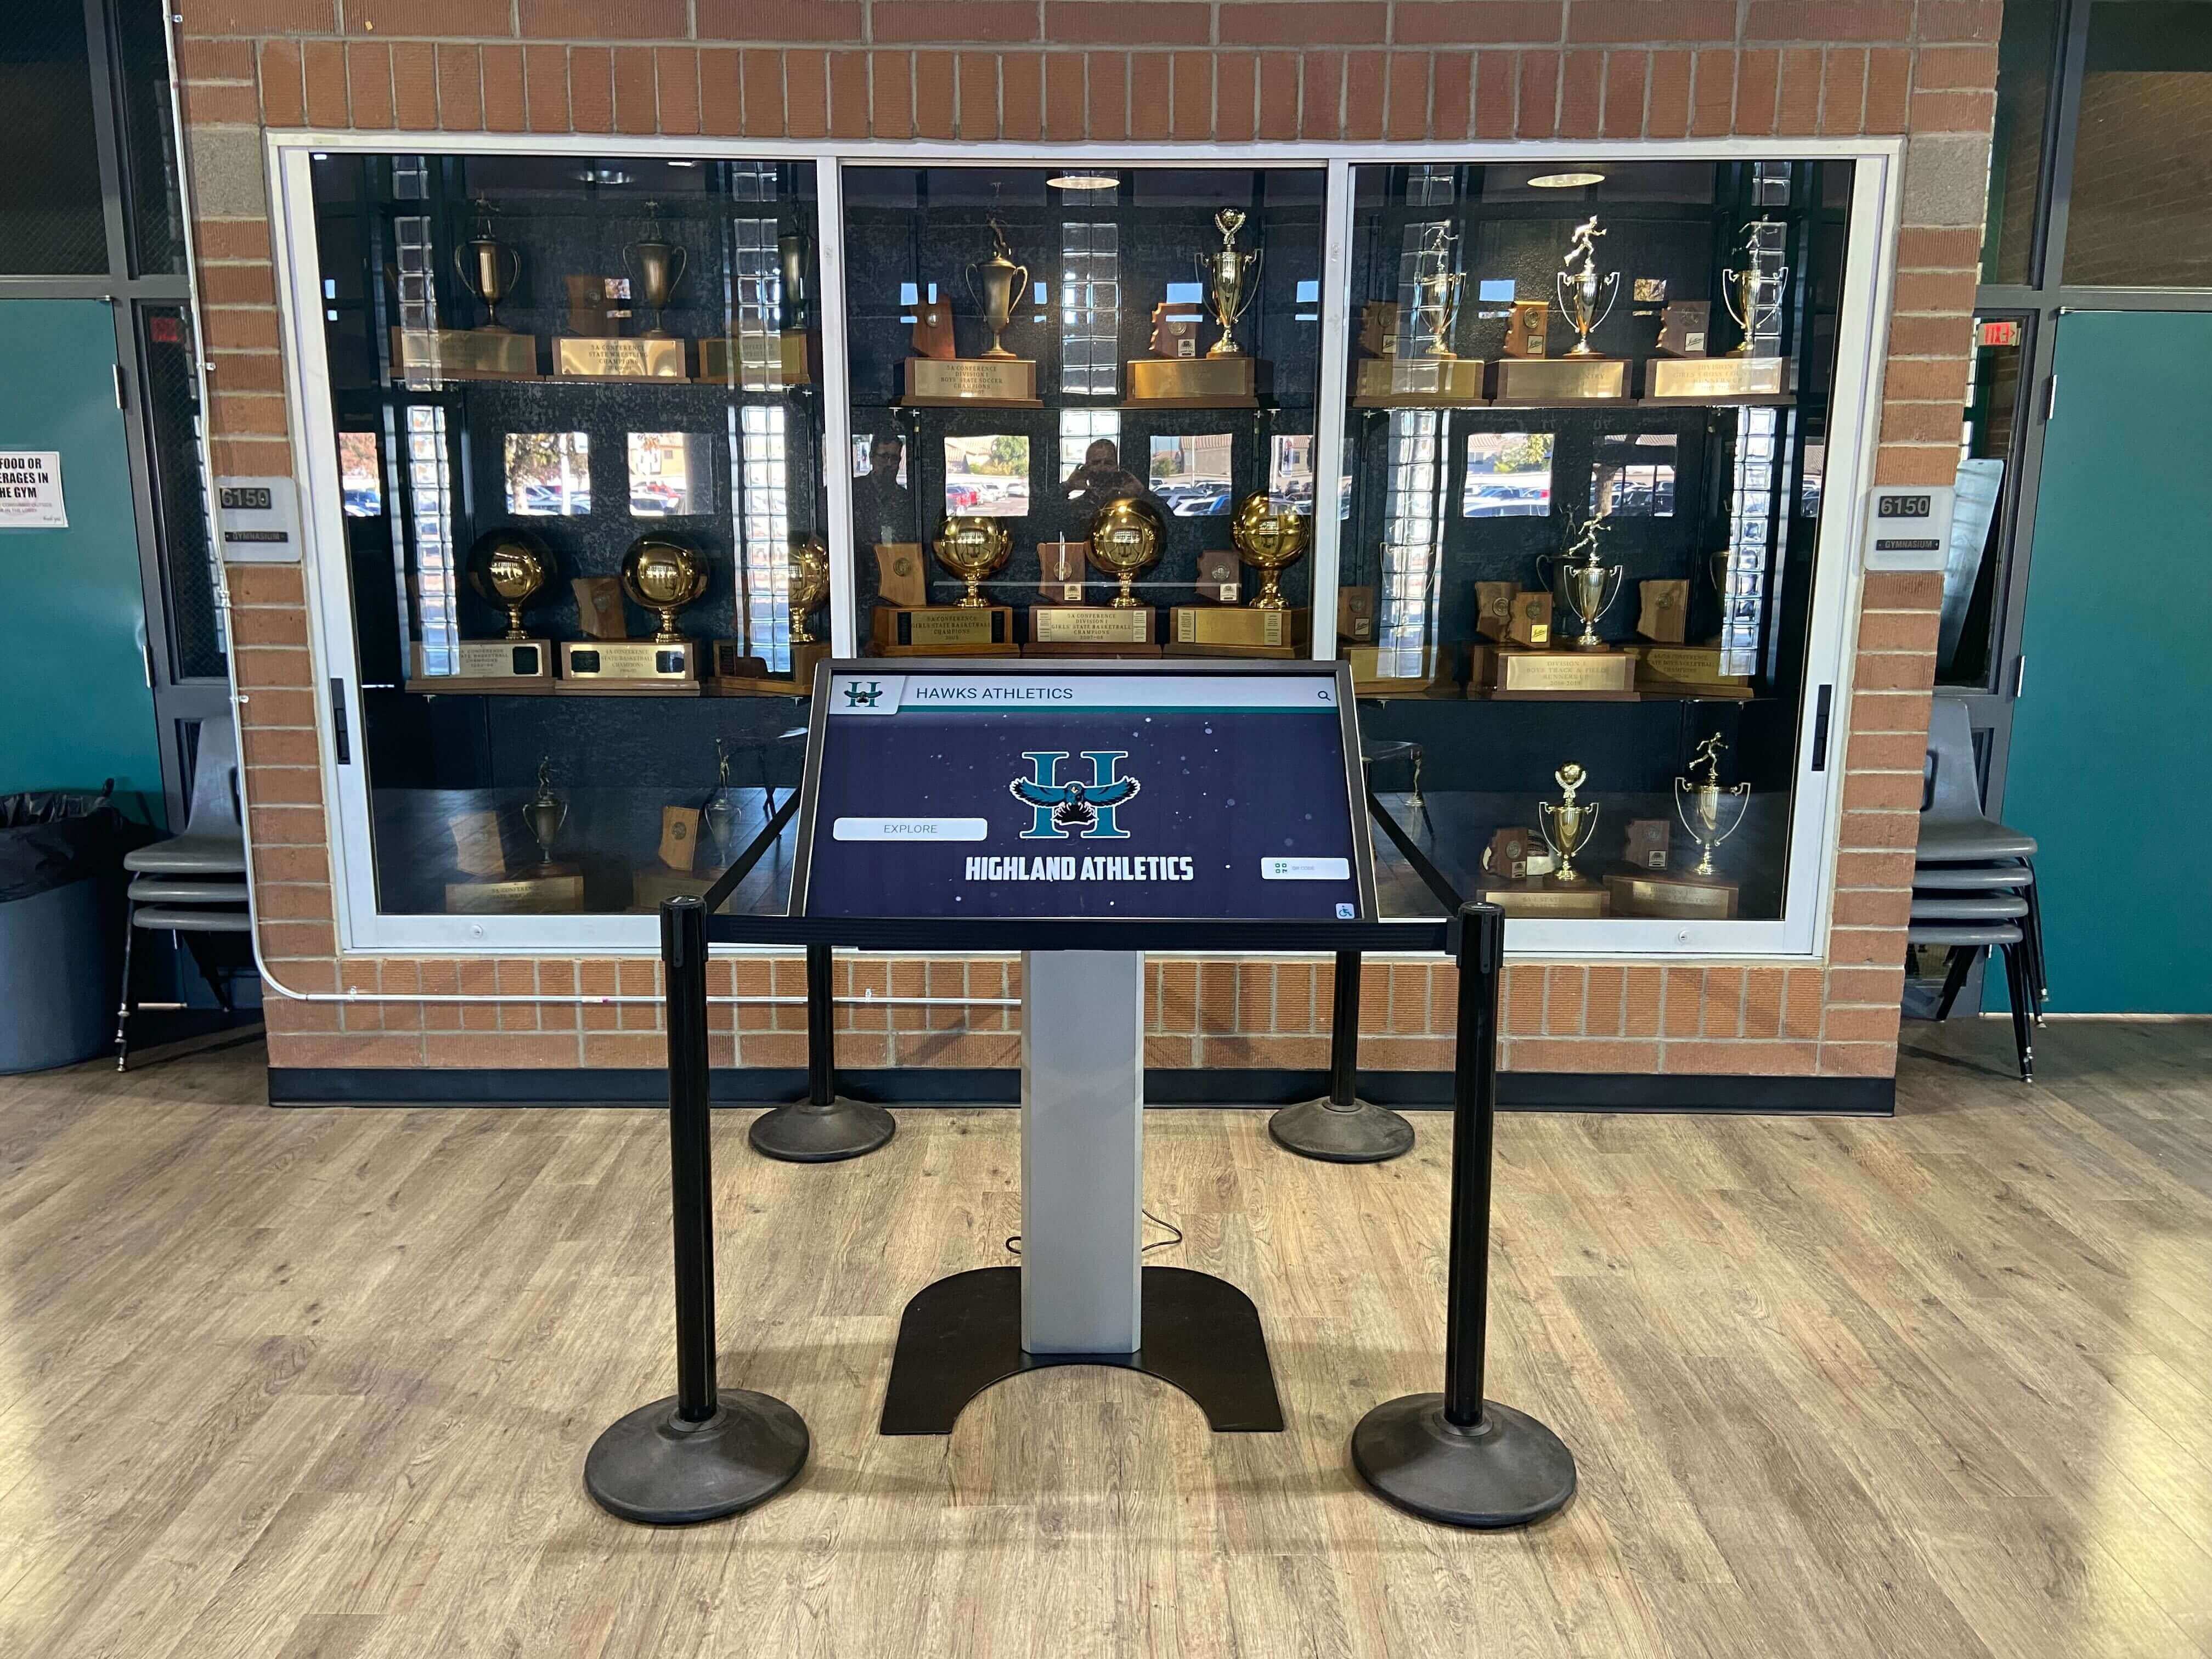
Recognition displays positioned near trophy cases and hall of fame artifacts are viewed in variable lighting conditions throughout the school day and during evening events—making pre-installation backlight quality testing essential before the display is mounted
What Backlight Bleed Is and Why It Appears
LCD and LED-backlit display panels generate light from a backlight layer behind the liquid crystal layer. The liquid crystal layer controls which areas of the screen are bright or dark by blocking or passing that backlight. Along the edges and corners of the panel, where the internal structure transitions from the lit area to the bezel, small amounts of light frequently escape around the edges of the panel components.
This escaped light—backlight bleed—appears as patches of lighter gray or white along the edges or corners of the screen when it displays a black or very dark image. It does not indicate a catastrophically failed display; moderate bleed is present in the majority of LCD panels at some level. The test determines whether the bleed on this specific panel is within acceptable limits for the environment and content type it will serve.
Backlight bleed is distinct from two related display conditions that appear in similar test scenarios:
- IPS glow: A color shift—often white, silver, or bluish—visible across a larger portion of the screen when viewing a dark image at an angle. IPS glow is an inherent characteristic of IPS-panel technology and is not a manufacturing defect. It appears across the viewing angle, not only at corners.
- Clouding or mura: Uneven backlight distribution visible as bright patches in the interior of the screen, not limited to edges. Clouding is a separate defect from edge bleed and warrants its own documentation.
A display can have all three conditions simultaneously, or only one, or none. This test addresses backlight bleed specifically. When evaluating a recognition display, note any IPS glow or clouding observed separately from edge bleed, since they affect content visibility in different ways.
Why Backlight Bleed Matters for Recognition Display Content
A general-purpose classroom monitor or meeting room display can tolerate moderate backlight bleed because its content is primarily bright: document text, spreadsheets, presentation slides, and video conferencing windows. Edge bleed on a bright-content display is invisible because the surrounding content is brighter than the bleed.
Recognition display content is different. School hall of fame platforms frequently present athlete profiles and historical records on dark-themed interfaces—dark backgrounds with white or gold typography, black inter-segment transitions, and cinematic induction videos with low-key lighting. When that content is dark and the display shows visible bleed in the corners, the bleed competes directly with the content intended to honor the subject.
Schools that display basketball and athletics recognition content on lobby and hallway displays typically use those displays during high-traffic periods: pregame evenings, induction ceremonies, alumni weekends, and senior nights. The audience at those events includes families of inductees, major donors, and community members who are forming a lasting impression of the school’s recognition program. A display with obvious corner bleed during a dark video tribute draws the eye away from the content it is meant to deliver.
Beyond athletics, recognition displays serve program areas including forensics team recognition, arts awards, academic achievement archives, and donor acknowledgment—all of which may use dark or high-contrast visual themes that make backlight bleed visible. A display accepted without a structured backlight test will serve every one of those programs with that defect permanently built in.
Before You Start: Setting Up the Test Environment
The test environment determines how accurately you can see backlight bleed. A bright room hides bleed that would be obvious in the conditions the display actually operates during evening events.
What you need:
- The display powered on and set to full brightness (accessible through the on-screen display menu or the operating system’s display settings)
- A room that can be dimmed—not necessarily completely dark, but with overhead lights off and window blinds closed if testing during the day
- A computer or laptop connected to the display via HDMI or DisplayPort
- A full-screen black test image (a plain black JPEG or PNG at the display’s native resolution, or an operating system blank-screen screensaver with all overlays disabled)
- A solid dark gray test image (approximately RGB 10, 10, 10—visually very dark but not pure black)
- A smartphone camera for documentation
- A printed copy of the pass/fail table in this guide for field use
Display settings before testing:
- Set the display’s brightness to maximum via the OSD menu. Backlight bleed is most visible at full brightness; testing at reduced brightness can mask bleed that will appear when brightness is later raised during normal operation.
- Confirm the input source is active and showing the computer signal, not a screensaver generated internally by the display’s firmware.
- Allow the display to warm up for 10 minutes before testing. A cold display may show less bleed than one at operating temperature.
The Test: Step-by-Step Procedure
Step 1: Display the Full Black Test Image
- Open the black test image on the connected computer and display it full-screen, or activate the operating system’s blank-screen screensaver with all overlays off.
- Confirm the entire visible screen area shows the black image with no taskbars, notifications, or standby indicators visible.
- Confirm the display OSD is fully closed—open OSD menus activate the display’s background illumination differently and will not represent normal operating conditions.
Step 2: Observe Corner and Edge Bleed from Normal Viewing Distance
- Stand at the display’s normal viewing distance. For most school lobby or hallway installations, this is 3 to 6 feet directly in front of the screen.
- Observe all four corners and all four edges systematically. Use a consistent order: top-left, top-right, bottom-right, bottom-left, then top edge, right edge, bottom edge, left edge.
- Note whether any corner or edge shows an area lighter than the screen center. The center of the display should appear as a uniform dark field.
- If no bleed is visible at normal viewing distance in a dimmed room, the display passes this step.
Step 3: Approach and Check at Close Range
- Move within 12 to 18 inches of each corner while the black image is displayed.
- Note any bleed that is visible only at close range. Close-range-only bleed that is invisible at normal viewing distance is generally within acceptable limits for a lobby or corridor installation where normal viewing distance exceeds 3 feet.
- Bleed that is severe at close range—bright white patches occupying a large area of the corner—should be documented even if invisible at distance, as it may become more visible if the panel’s internal pressure changes over time.
Step 4: Observe Bleed at Off-Axis Angles
- Step to a 30- to 45-degree angle from the display’s center axis while the black image is displayed.
- Note whether bleed increases significantly at viewing angles. Some bleed that is modest when viewed head-on becomes more pronounced at the side angles typical of a corridor or lobby where visitors approach from multiple directions.
- Note IPS glow separately if present—a broad color shift across the panel visible only at an angle is IPS glow, not edge bleed.
Step 5: Display the Dark Gray Test Image
- Switch to the dark gray test image and repeat the observation at normal viewing distance.
- Dark gray content reveals bleed that pure black sometimes conceals, because the gray tone makes brighter bleed patches more visually prominent by contrast.
- Confirm all corners and edges that appeared clean on the black test also appear clean on the gray test.
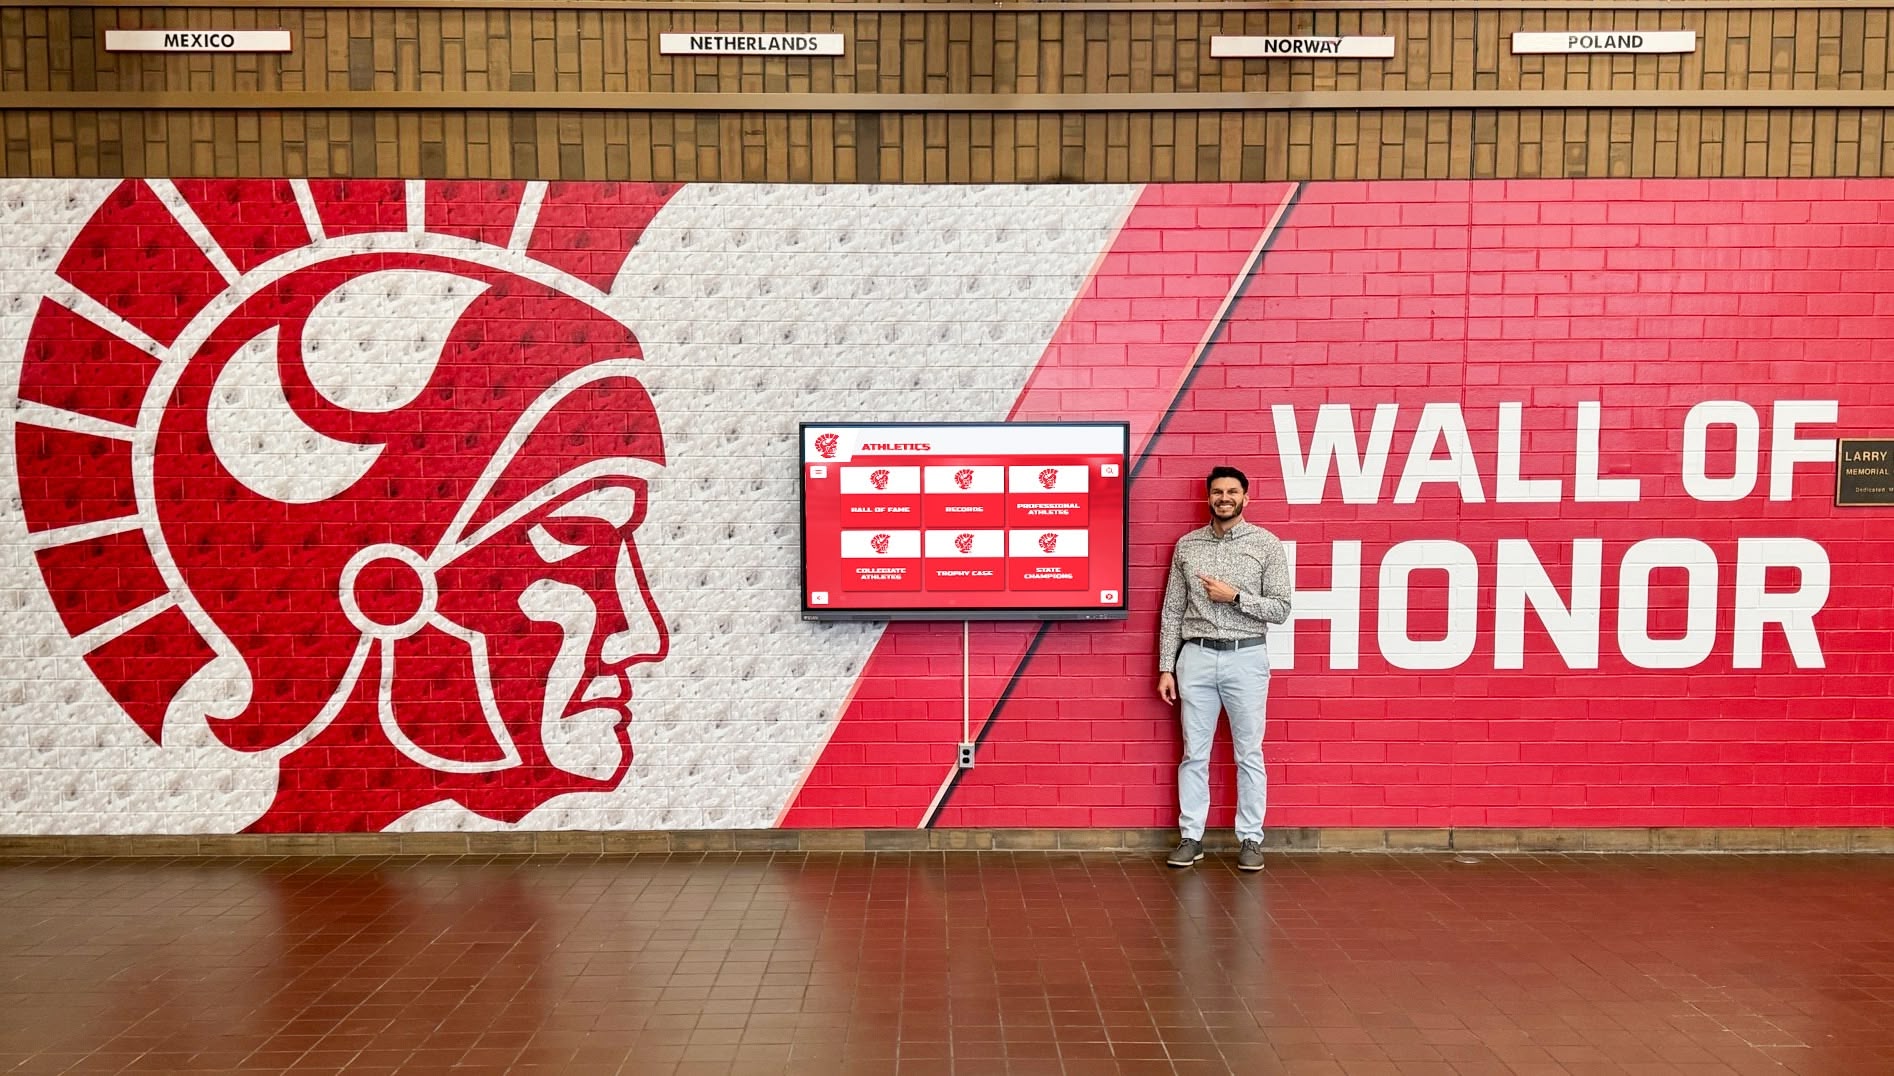
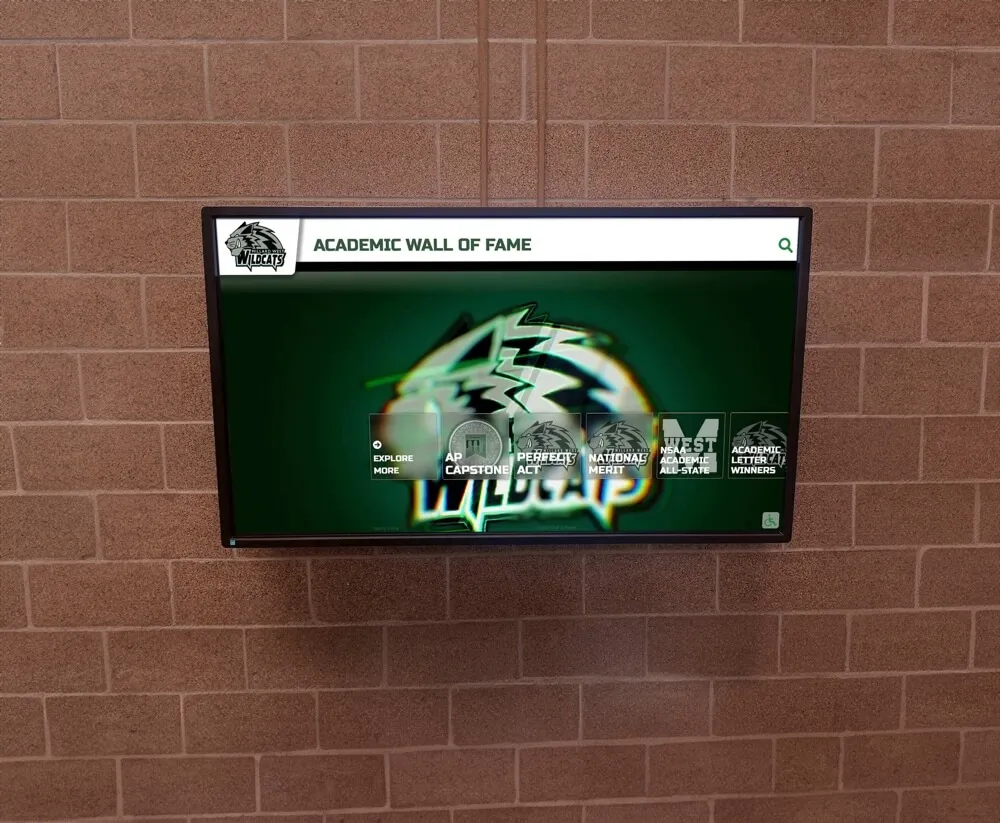
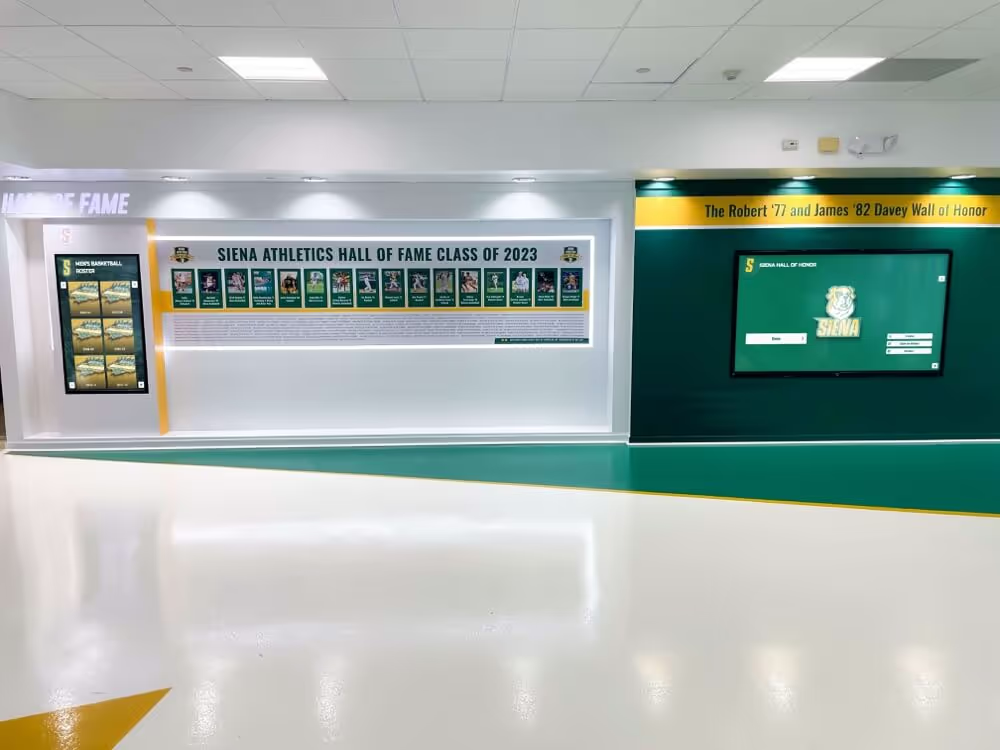
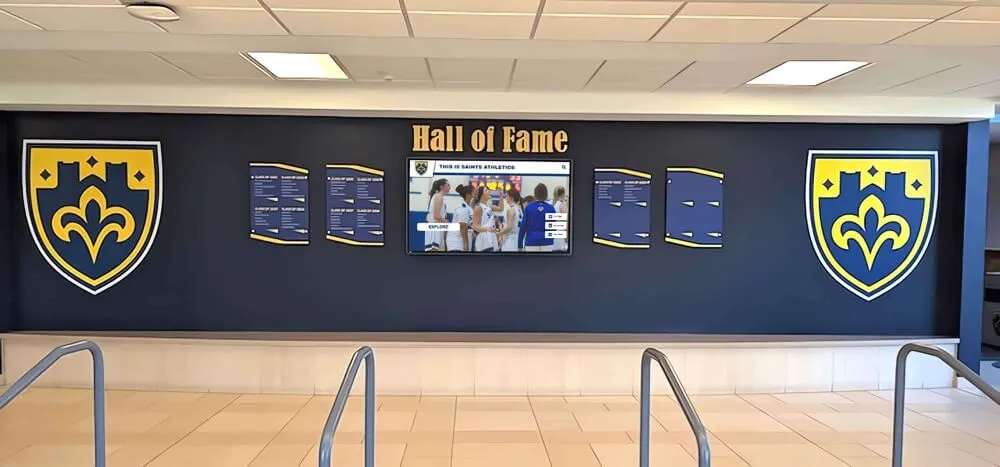
Pre-installation testing replicates the conditions in which a display will actually be used—a test run in a receiving area under full overhead lighting will not reveal corner bleed visible during an evening event in a dimmed lobby
Step 6: Run a Content-Type Test
After the solid-color tests, test with content representative of what the display will actually show:
- Load a hall of fame profile or recognition archive screen with a dark interface background
- Play a short recognition video that includes a dark title card or fade-to-black transition
- Observe whether bleed is visible during these content frames
Content-type testing catches bleed that manifests specifically during content transitions and dark-on-light text frames, which are common in recognition software interfaces and induction video production.
Step 7: Test the Touch Panel Overlay
For touchscreen recognition displays, the touch panel overlay—a glass or plastic layer bonded or suspended above the display panel—can introduce additional optical effects near its edges. These are separate from backlight bleed but are sometimes confused with it during inspection.
With the black test image displayed:
- Gently run a finger along the edge of the touchscreen without pressing and observe whether optical distortion or a bright ring appears along the contact area
- Note whether the touch panel bezel creates any visible gap between the display surface and the bezel that could admit ambient light along the edge
These effects do not originate from the backlight. They are structural characteristics of the touch panel assembly and should be documented separately.
Step 8: Photograph and Document
Before concluding the test:
- Photograph each corner showing bleed, with the room in the same dimmed state as during testing
- Record the brightness setting at which the test was run
- Record the room lighting conditions and viewing distance for each observation
- Photograph the display showing the dark gray test image from normal viewing distance to provide context for the scale of any bleed observed
This documentation supports a vendor return or exchange conversation with objective visual evidence rather than a subjective description.
Backlight Bleed Acceptance Table
Use this table to classify the test result at each corner and edge position. Rate each position independently and use the overall rating as your acceptance decision.
| Observation | Rating | Recommended Action |
|---|---|---|
| No bleed visible at 3–6 ft in dimmed room | Pass | Accept |
| Faint bleed visible only within 12 in of corner; invisible at normal viewing distance | Pass with note | Accept; document for future monitoring |
| Bleed visible at 3 ft but not at 6 ft in dimmed room | Marginal | Evaluate based on installation position; accept only if normal viewing distance exceeds 5 ft |
| Bleed visible at 6 ft or more in dimmed room | Fail | Return for replacement; document with photographs |
| Bleed present across multiple positions including center screen area | Fail (clouding) | Return for replacement; document separately as mura/clouding defect |
| Bleed clearly visible during dark video content or content transitions | Fail | Return for replacement; content-visible bleed is unacceptable in a recognition setting |
Threshold Guidance by Installation Location
Not all recognition display installations operate in the same ambient light and viewing distance conditions. Adjust the acceptance threshold based on where the display will be installed.
| Installation Location | Typical Ambient Light | Normal Viewing Distance | Recommended Threshold |
|---|---|---|---|
| Athletic trophy corridor | Mixed; often dimmed during evening events | 4–8 ft | Bleed invisible at 5 ft in dimmed conditions |
| Main lobby or reception area | Bright overhead lighting | 6–12 ft | Bleed invisible at 6 ft in dimmed conditions |
| Gymnasium lobby during events | Variable; dark during presentations | 3–10 ft | Bleed invisible at 4 ft—most critical standard due to dark event conditions |
| Dedicated hall of fame room | Low ambient, curated lighting | 3–6 ft | Strictest standard; bleed invisible at 3 ft in dimmed conditions |
| Administrative hallway | Consistent overhead lighting | 5–10 ft | Bleed invisible at 6 ft acceptable |
| Outdoor-adjacent entrance (high ambient) | High ambient light most of day | 4–8 ft | Pass or Marginal acceptable; high ambient reduces in-use visibility |
What to Do If the Display Fails
A display that fails the backlight bleed test should not be installed. Document the failure with photographs taken during the test and contact the vendor or manufacturer with the following:
- Display model, serial number, and purchase order reference
- Photograph of each affected corner showing bleed at normal viewing distance in dimmed conditions
- Description of the test conditions: brightness setting, room lighting state, and viewing distance
- Whether bleed is visible during content-type testing, and what content type revealed it
Most display vendors have a dead pixel or image quality warranty policy that covers significant backlight bleed. When evaluating digital hall of fame vendors, it is reasonable to ask prospective suppliers about their display quality warranty, defect inspection process, and replacement lead time before purchase—not after a defect is discovered during acceptance testing.
If the vendor accepts the return but cannot supply a replacement immediately, confirm whether the replacement unit will also be tested before shipping. A second display from the same production batch may share similar bleed characteristics; request pre-shipment testing if the vendor has that capability.
Broader Display Acceptance Checklist
Backlight bleed is one of several visual quality checks a recognition display should pass before installation. Run these checks alongside the backlight test.
| Check | Test Method | Pass Condition |
|---|---|---|
| Dead or stuck pixels | Display solid red, green, and blue full-screen images sequentially | No stuck pixels visible at 3 ft viewing distance |
| Backlight uniformity | Display 20% gray full-screen | No bright or dark patches visible in center screen area |
| Color uniformity | Display solid white full-screen | Consistent white tone across entire screen; no visible yellow or blue shift at edges |
| Touch accuracy at corners | Tap each corner of the touch zone and confirm registration | All taps register within 1–2 mm of the contact point |
| Bezel gap inspection | Inspect panel edge under normal lighting | No gaps between panel and bezel that would admit debris or moisture |
| Panel surface inspection | Inspect under directional light | No scratches, pressure marks, or manufacturing defects on panel surface |
| Cable connection integrity | Power cycle and confirm image stability | Image is stable; no flicker or signal dropout on power cycle |
Connecting Display Quality to Recognition Program Standards
A school’s recognition display is not a general-purpose monitor. It presents the institution’s history to families, donors, alumni, and community members in contexts that carry specific weight—induction ceremonies, homecoming weekends, senior nights, and alumni events. Schools that treat display acceptance with the same rigor they apply to other event-related decisions protect the recognition experience from technical failures that undermine otherwise well-designed programs.
Award touchscreen displays for wrestling and other individual-achievement sports often use high-contrast dark-background interfaces to convey the character of the program and the weight of individual accomplishments. These use cases place the highest demand on backlight quality because accurate dark reproduction is not incidental to the design—it is the design. A corner with visible bleed on a display showing a dark championship bracket or an athlete career profile is impossible to ignore.
Schools investing in sports banner design and athletic recognition graphics for hallways and lobbies understand that visual quality across the entire installation—graphics, display, and mounting—contributes to the impression it makes. A display with obvious backlight bleed in the corner of a championship athlete’s profile undermines the care taken in every other aspect of the recognition environment.
When a school is preparing a welcoming campus display environment for fall arrival, the quality of each installed display component is visible to incoming students, new families, and faculty from the first week. Arriving students who see the recognition display performing at high visual quality in August associate that quality with the program it represents.

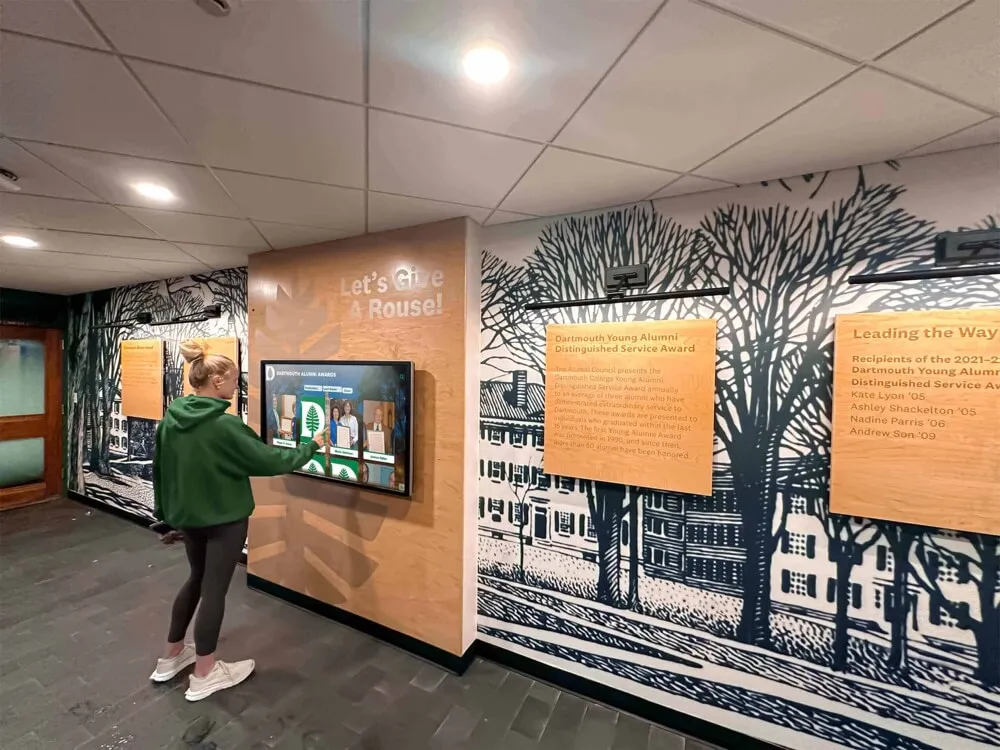
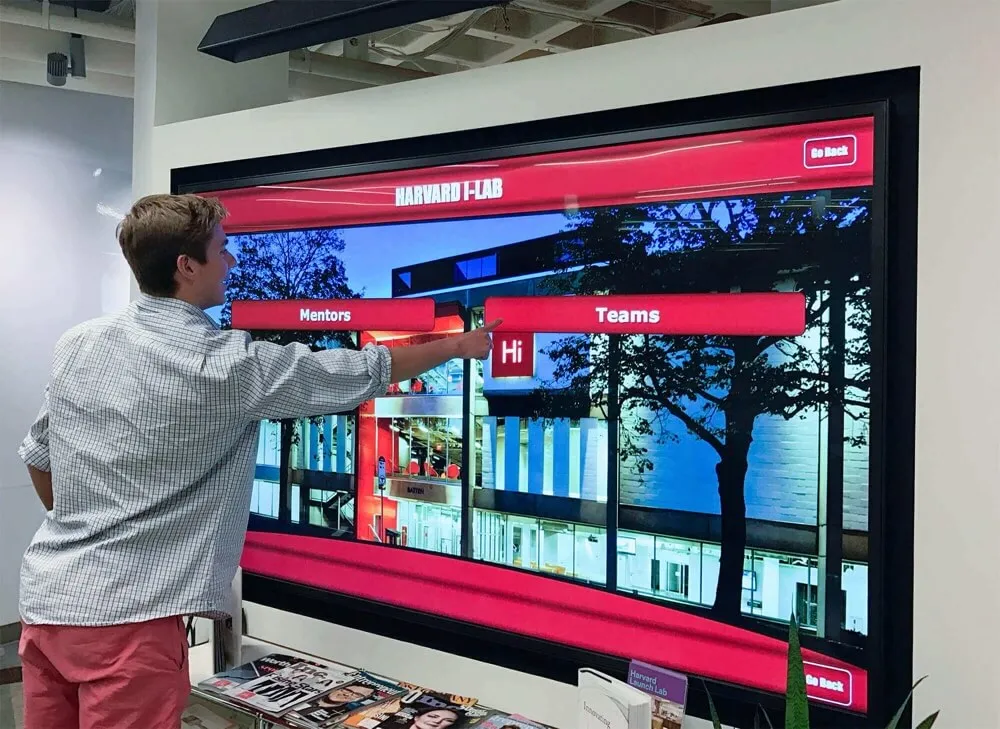
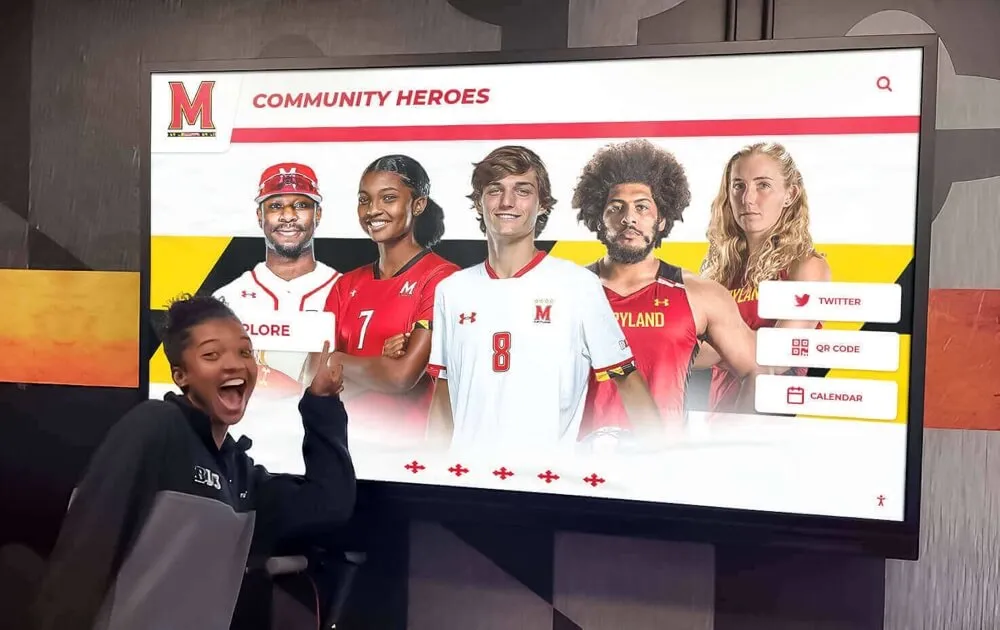
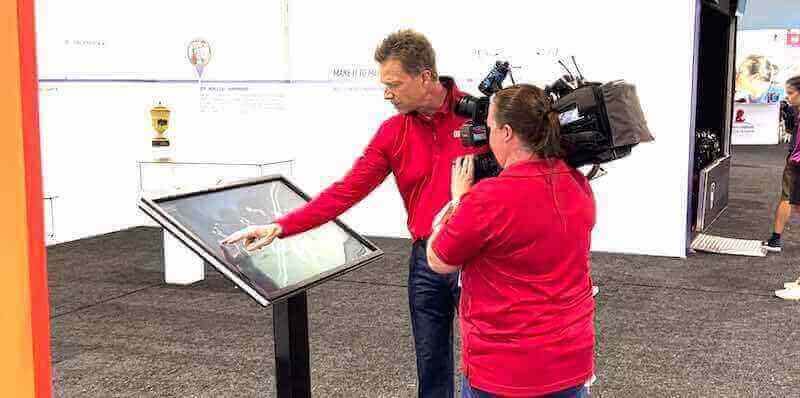
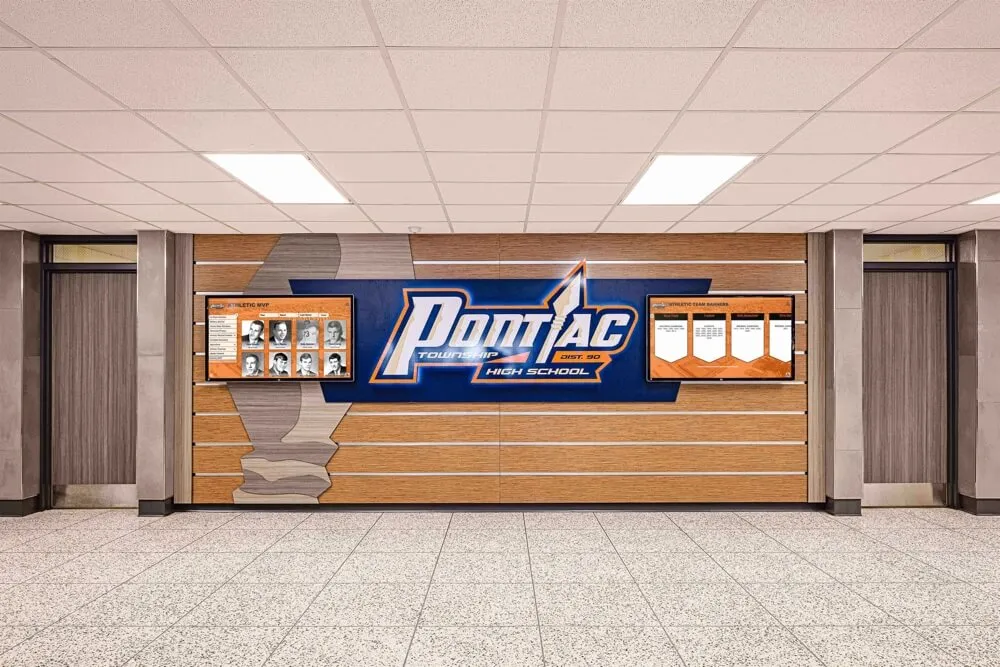
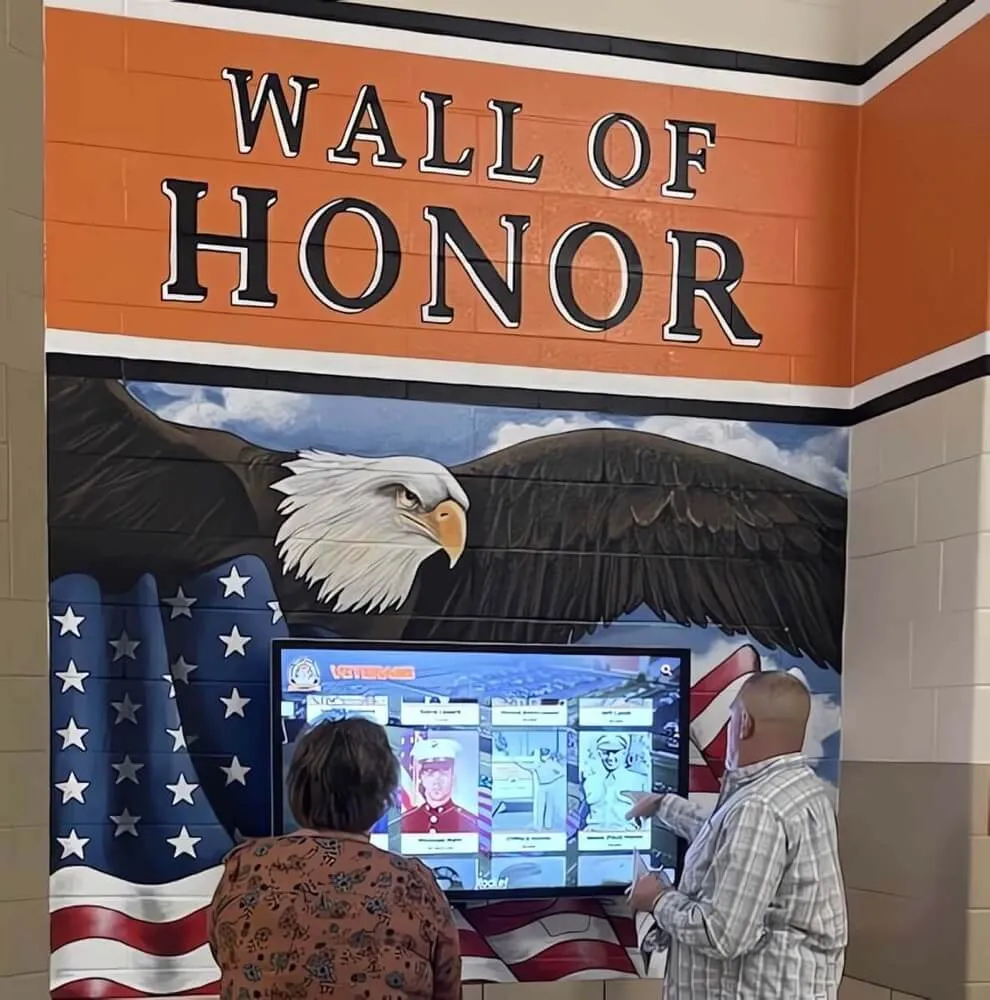
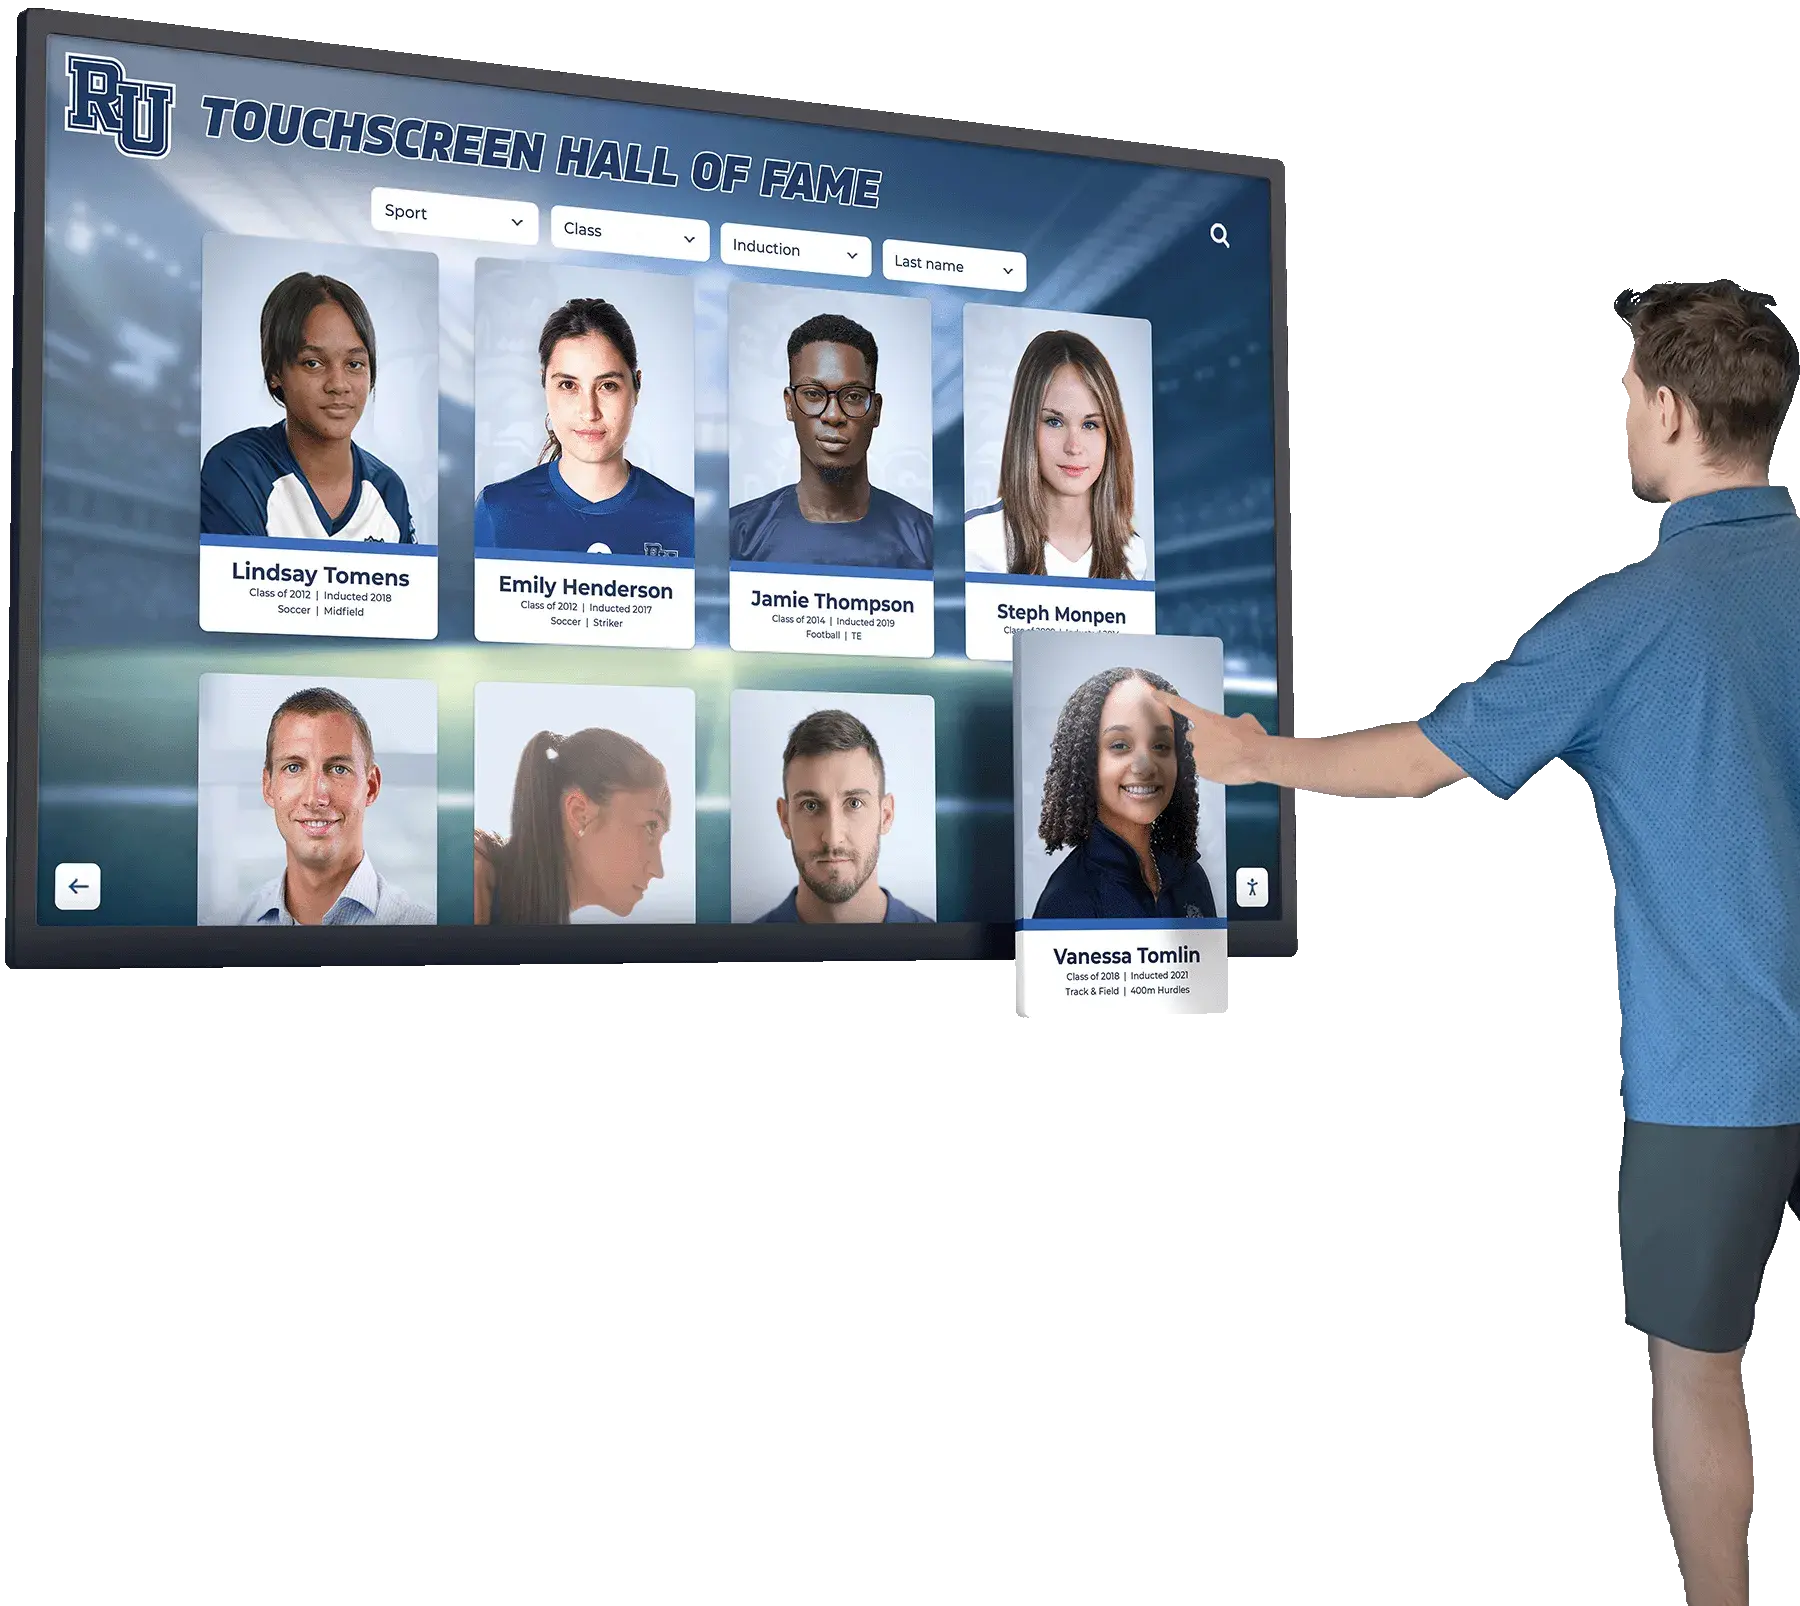
Touch interactions bring visitors within arm's length of the display surface—the exact distance at which moderate backlight bleed becomes most visible and most distracting if not caught during pre-installation acceptance testing
Testing Schedule: When to Run the Acceptance Test
| Timing | Action | Notes |
|---|---|---|
| On delivery, before installation | Full backlight bleed test | Run before the unit is mounted; return is far easier from a cart than from a wall |
| After extended storage or transport | Full backlight bleed test | Backlight pressure can shift during storage; retest before a stored unit is installed |
| After display service or panel replacement | Full backlight bleed test | A replacement panel should be treated as a new acceptance test |
| 12 months post-installation | Observation check | Backlight bleed can worsen gradually; an annual dimmed-room check confirms the display remains within acceptable limits |
| Before any major public event | Observation check | 30 minutes before a high-attendance event, run a black-image observation to confirm no new bleed has developed |
Quick Q&A: Backlight Bleed on School Recognition Displays
Is some backlight bleed normal, and does it mean the display is defective?
Moderate backlight bleed is present in most LCD panels at some level. Whether a specific level is acceptable depends on the installation environment and content type. Bleed visible only when pressing your face within 6 inches of the corner in a completely dark room is within normal manufacturing variation for most panel types. Bleed visible at 6 feet during content playback is outside acceptable limits and the display should be returned.
We received the display and tested it under full overhead lighting in our receiving area. Should we retest?
Yes. A bright overhead environment suppresses the visibility of backlight bleed. Testing under those conditions does not represent the dimmed or mixed-light environments where a lobby or gymnasium display operates during events. Retest in the closest approximation of the installation environment before the display is mounted.
The display passed the black-image test but shows bleed during actual recognition software content. What does that mean?
Some recognition platforms use near-black backgrounds that have enough brightness to make bleed patches more visible by contrast than a pure black test reveals. If bleed is visible during actual content playback, the result is a failure for a recognition application—the content the display was purchased to show is where the defect appears. Document the specific content frame where bleed is visible and return the unit.
Can backlight bleed be corrected through calibration or display settings?
No. Backlight bleed is a physical characteristic of the panel—it results from how the backlight travels around the panel edge structure—and cannot be corrected through software calibration, brightness adjustment, or display settings. Reducing overall brightness reduces the intensity of the bleed, but also reduces content visibility. Dimming a recognition display to mask a bleed defect is not an acceptable solution.
Our display will be installed near windows with strong afternoon sun. Does backlight bleed still matter?
In high-ambient-light environments, backlight bleed is less visible during daylight hours because the surrounding ambient brightness exceeds the bleed intensity. However, those same displays operate during evening events and induction ceremonies in significantly lower ambient light—bleed that was invisible at noon will be visible at 7 p.m. during a ceremony. Test under dimmed conditions regardless of typical daytime ambient light levels.
Should we run this test if the vendor handles full installation?
Yes. Many vendors offer installation services, but the acceptance decision rests with the school. A vendor who supplies and installs a display is not responsible for a defect the school accepted without documenting. Insisting on a pre-installation backlight test—even when a vendor manages the full installation—protects the school’s ability to return a defective unit. Ask the vendor to run the test before mounting and to document the results.
Conclusion: Make Visual Acceptance a Documented Step
A touchscreen recognition display backlight bleed test is a 20-minute investment that protects a recognition program from a permanent visual defect at its highest-visibility moments. The test requires no specialized equipment beyond a connected computer, a darkened room, and a black test image—resources any school IT coordinator, facilities manager, or athletic director already has available.
Run the test on every display before it is mounted. Document the result with photographs. Apply the acceptance table to make a consistent, defensible decision. If the display fails, return it before the installation crew arrives—not after.
A recognition display that passes the acceptance test is ready to serve the school’s hall of fame archive, athletic history, donor acknowledgment program, and every community member who walks through the lobby. One that does not should go back to the vendor, not up on the wall.
See a Recognition Display Built for High-Visibility Installations
Rocket Alumni Solutions supplies and configures recognition displays designed for school lobbies, athletic corridors, and hall of fame rooms—with guidance on installation requirements, display quality standards, and content management before your first event goes live.
Book a Live Demo