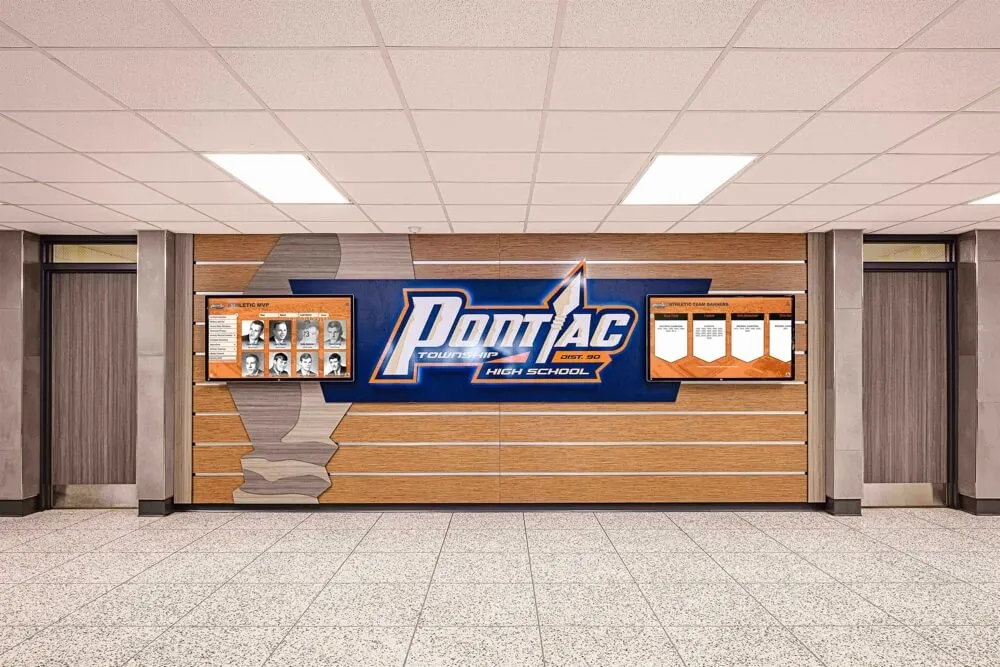




A well-built record board does more than list numbers—it tells athletes exactly what your program values and what it takes to join its history. Walk into any competitive high school gym, aquatics center, or track complex and you’ll find a record board somewhere on the wall. The better ones are accurate, current, and visually sharp. The worse ones are faded, out-of-date, and full of names that nobody can read. The difference between the two isn’t talent or budget—it’s process.
This guide walks through exactly how to make a record board from scratch: what materials you need, how to gather and verify athletic records, how to keep the board updated over time, and—when the day finally comes—how to evaluate a move from a static display to a digital record system. Whether you’re an athletic director building a first board for a new wing, a coach replacing a worn-out vinyl panel, or an advancement coordinator trying to standardize recognition across a campus, the steps below will save you considerable trial and error.

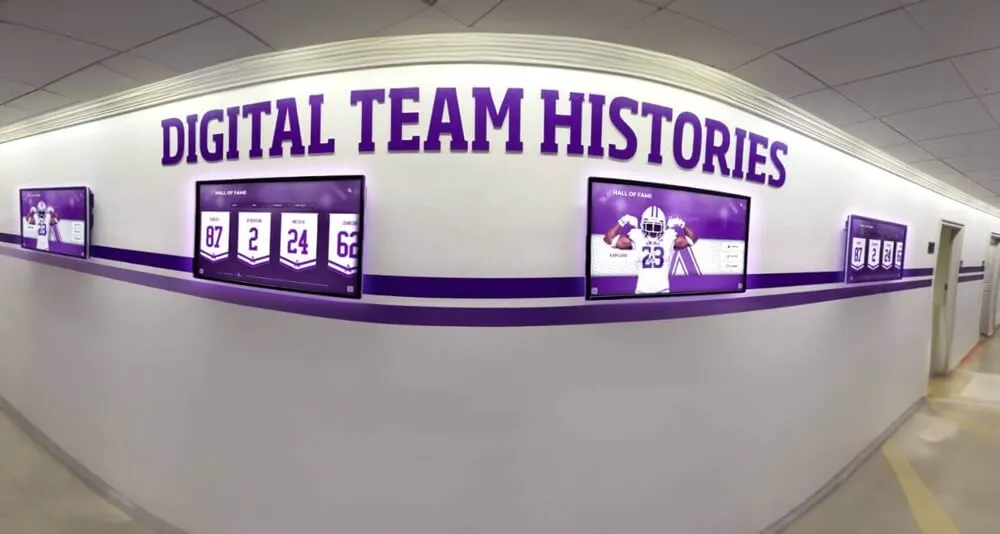
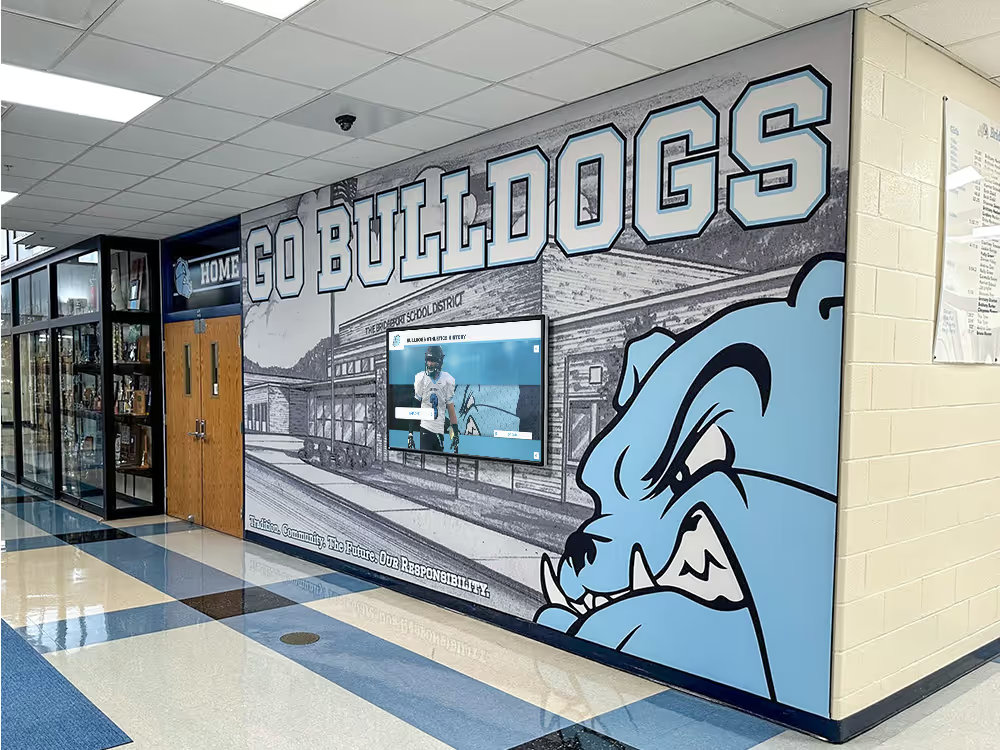
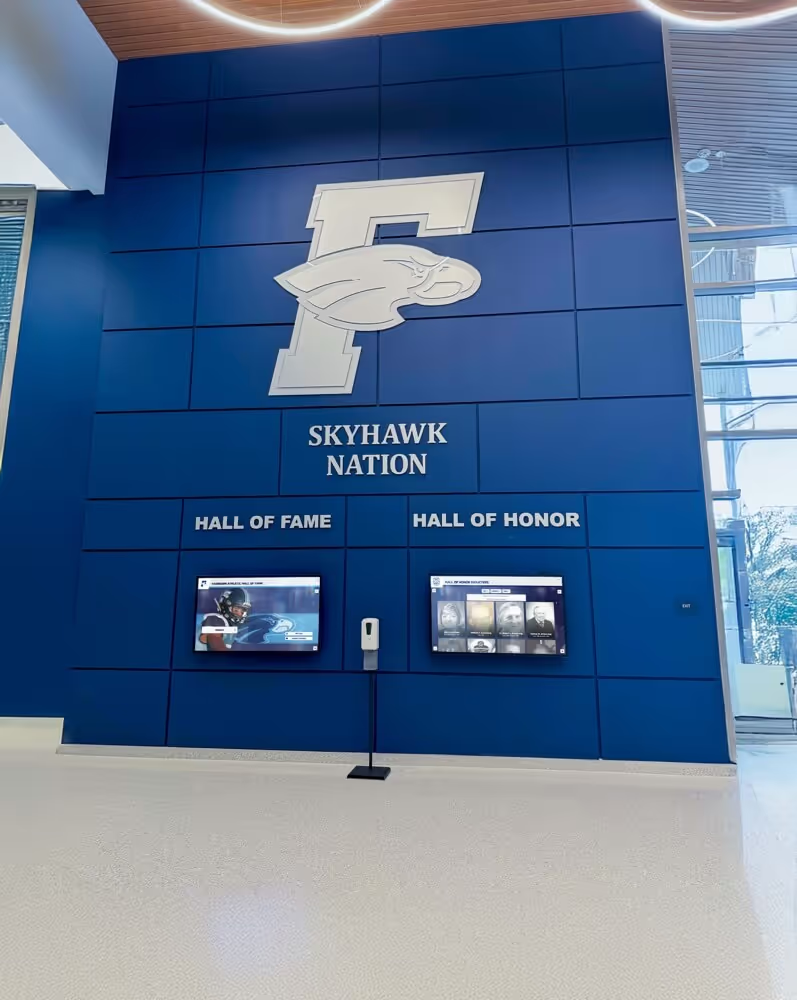
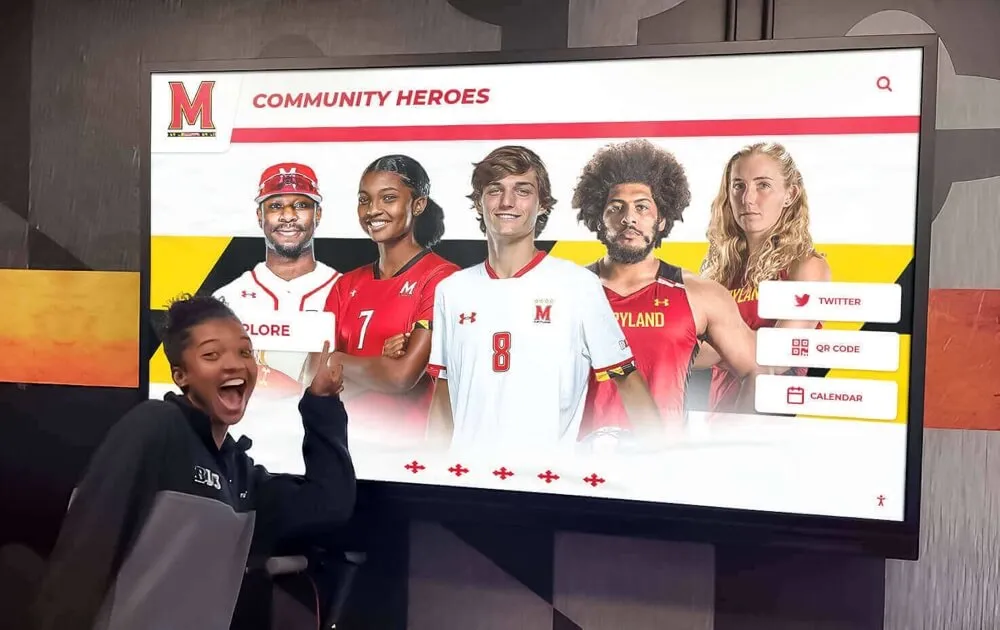
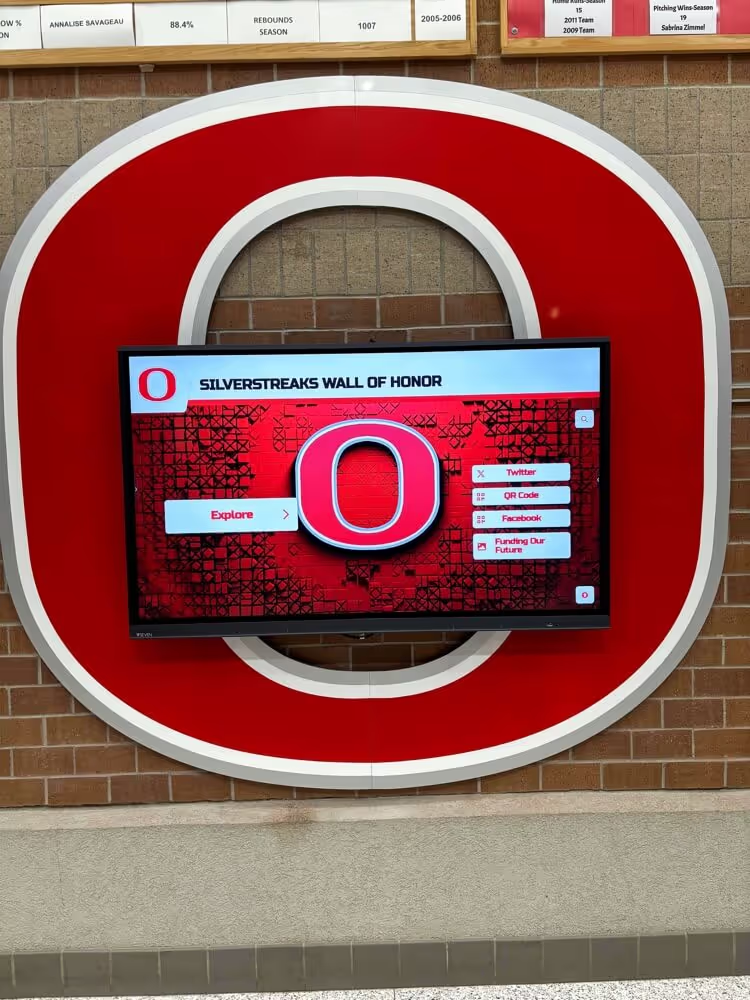
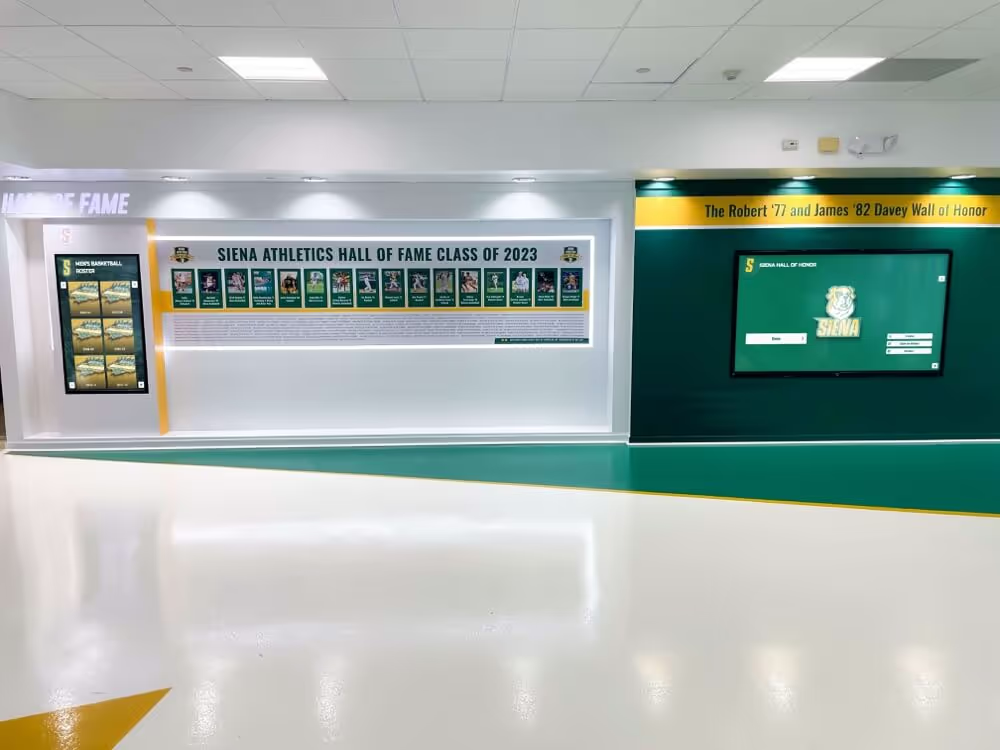
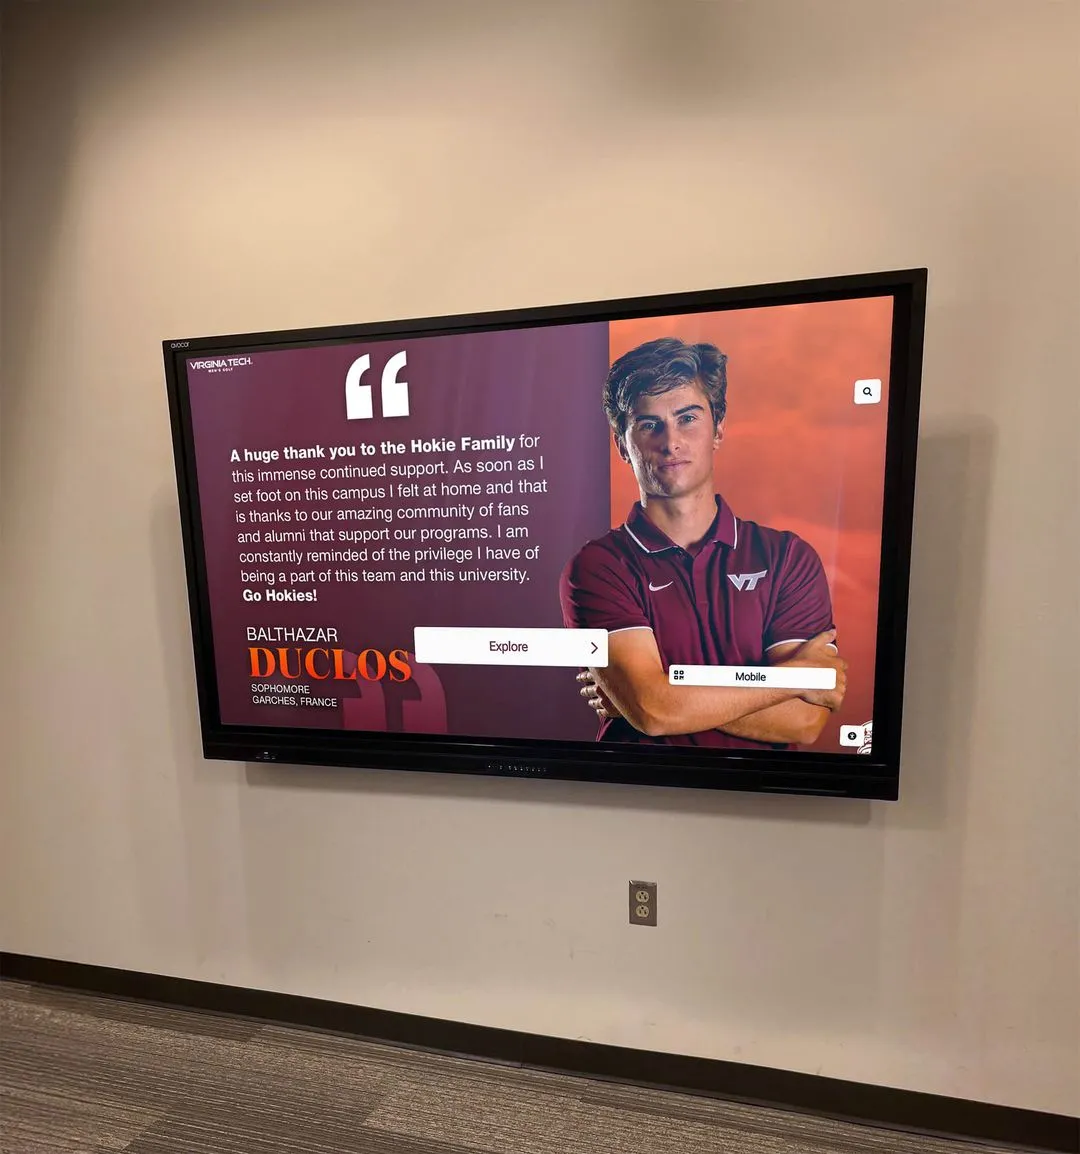
A well-organized athletic honor wall communicates program history at a glance — but the quality of the underlying process determines how long it stays accurate
What You Need Before You Start
Before cutting, drilling, or uploading a single name, gather your materials and your records. Skipping this step is the most common reason record boards end up half-finished or riddled with errors.
Physical Materials Checklist
The list below applies to a traditional wall-mounted record board—either a custom-built panel or a purchased changeable-letter system. Check off each item before you begin:
Materials Checklist — Manual Record Board
- Substrate panel — MDF, aluminum composite, PVC foam board, or high-density polyethylene; choose based on indoor humidity (pools need moisture-resistant material)
- Mounting hardware — wall anchors, lag bolts, or French cleat system appropriate for wall type (drywall, masonry, or wood framing)
- Letter system — engraved plaques, changeable vinyl letters, laser-cut acrylic letters, or printed overlays on a dry-erase surface
- Header graphics — school logo, sport name, and “School Records” or “Program Records” heading; typically cut vinyl or direct print
- Column labels — Event / Category, Athlete Name, Class Year, Performance / Achievement, Date
- School colors paint or wrap — for background panels; matte finish reduces glare in gymnasium lighting
- Level and measuring tape — essential for alignment; misaligned text reads as unprofessional
- Stud finder and drill — for proper wall anchor placement
- Touch-up supplies — extra letter sets, replacement adhesive, spare plaques for quick swaps
Records and Documentation Checklist
Physical materials are the easier half. Accurate data is the harder half. Before you build anything, collect the following for every sport you plan to include:
Proof and Records Checklist — Before Building
- Coaching confirmation — written sign-off from each head coach confirming their sport’s current records
- Official meet/game results — scorebook, official results sheet, or meet management printout for each record
- Dates verified — exact date (month, day, year) that each record was set, not just the season
- Competition context — event name or opponent, since “Region 5A Championships” carries more meaning than a blank date
- Athlete graduation year — used instead of graduation date on the board itself; confirms the athlete was enrolled when the record was set
- Previous record cross-check — confirm each new entry actually exceeds the prior mark; human error is common when records change hands
- Grade-level split (if applicable) — some programs separate JV and varsity records; decide this before designing the layout
- Spelling verification — athlete names confirmed in writing by the coach or athletic office; misspelled names on a permanent display are difficult to fix quietly
- Records from closed sports — if a sport was discontinued, decide whether to preserve those records or archive them separately; see guidance on school archives policy for best practices
Reviewing Oregon high school track and field records offers a useful model for how statewide systems document and verify performances—the same verification logic applies at the school level.
How to Make a Record Board: 6 Steps
With materials sourced and records verified, you’re ready to build. Follow these steps in order.
Step 1: Define Scope and Column Structure
Decide which sports your board will cover and what columns each sport section needs. Not every sport uses the same column structure. A swimming record board needs an “Event,” “Time,” and “Relay / Individual” column. A weight-room record board needs a “Lift” and “Weight” column. A track board needs an “Event” and “Mark” column with a unit of measure.
Write out a mock column structure for each sport before committing to a layout. This prevents the most expensive redesign: realizing after installation that you don’t have room for a critical column.
Standard column structure for most sports:
| Column | Contents |
|---|---|
| Event / Category | Sprint, distance, lift, stat category |
| Athlete Name | Last, First (or First Last for readability) |
| Grad Year | Four-digit year, not full date |
| Performance | Time, distance, score, or stat with unit |
| Date | Month / Year (season is acceptable) |
Step 2: Design the Layout to Scale
Sketch or digitally mock up the board before ordering materials. A common mistake is designing for current records without leaving room for additions. Plan for at least 20–30% more rows than you need today. Record boards that run out of space within three to five years require partial rebuilds.
Layout decisions to make at this stage:
- Will you divide by sport on the same board or dedicate separate panels to each sport?
- Will team records and individual records share the same board or appear in different sections?
- What is the minimum readable font size from ten feet away? (Typically 3/4" letter height or larger for a hallway setting.)
- Does the board need to match an existing mural or display case system in the facility?
Schools building broader recognition programs can look at academic recognition programs guides for layout principles that transfer directly to athletic contexts.
Step 3: Order and Prepare Components
With a finalized design, order your substrate, headers, and letter system. Lead times for custom engraved plaques can run three to six weeks; changeable-letter systems ship faster but require more ongoing maintenance. Confirm:
- Panel dimensions match your wall opening exactly (allow 1/4" clearance on each side)
- Header art files are submitted in vector format if using a sign shop
- Letter kits include enough of the most common letters (E, A, R, S, T) since those deplete fastest
While waiting on materials, format your records data into a clean spreadsheet matching your column layout. This becomes your source of truth and the document you hand to whoever enters data on the board.
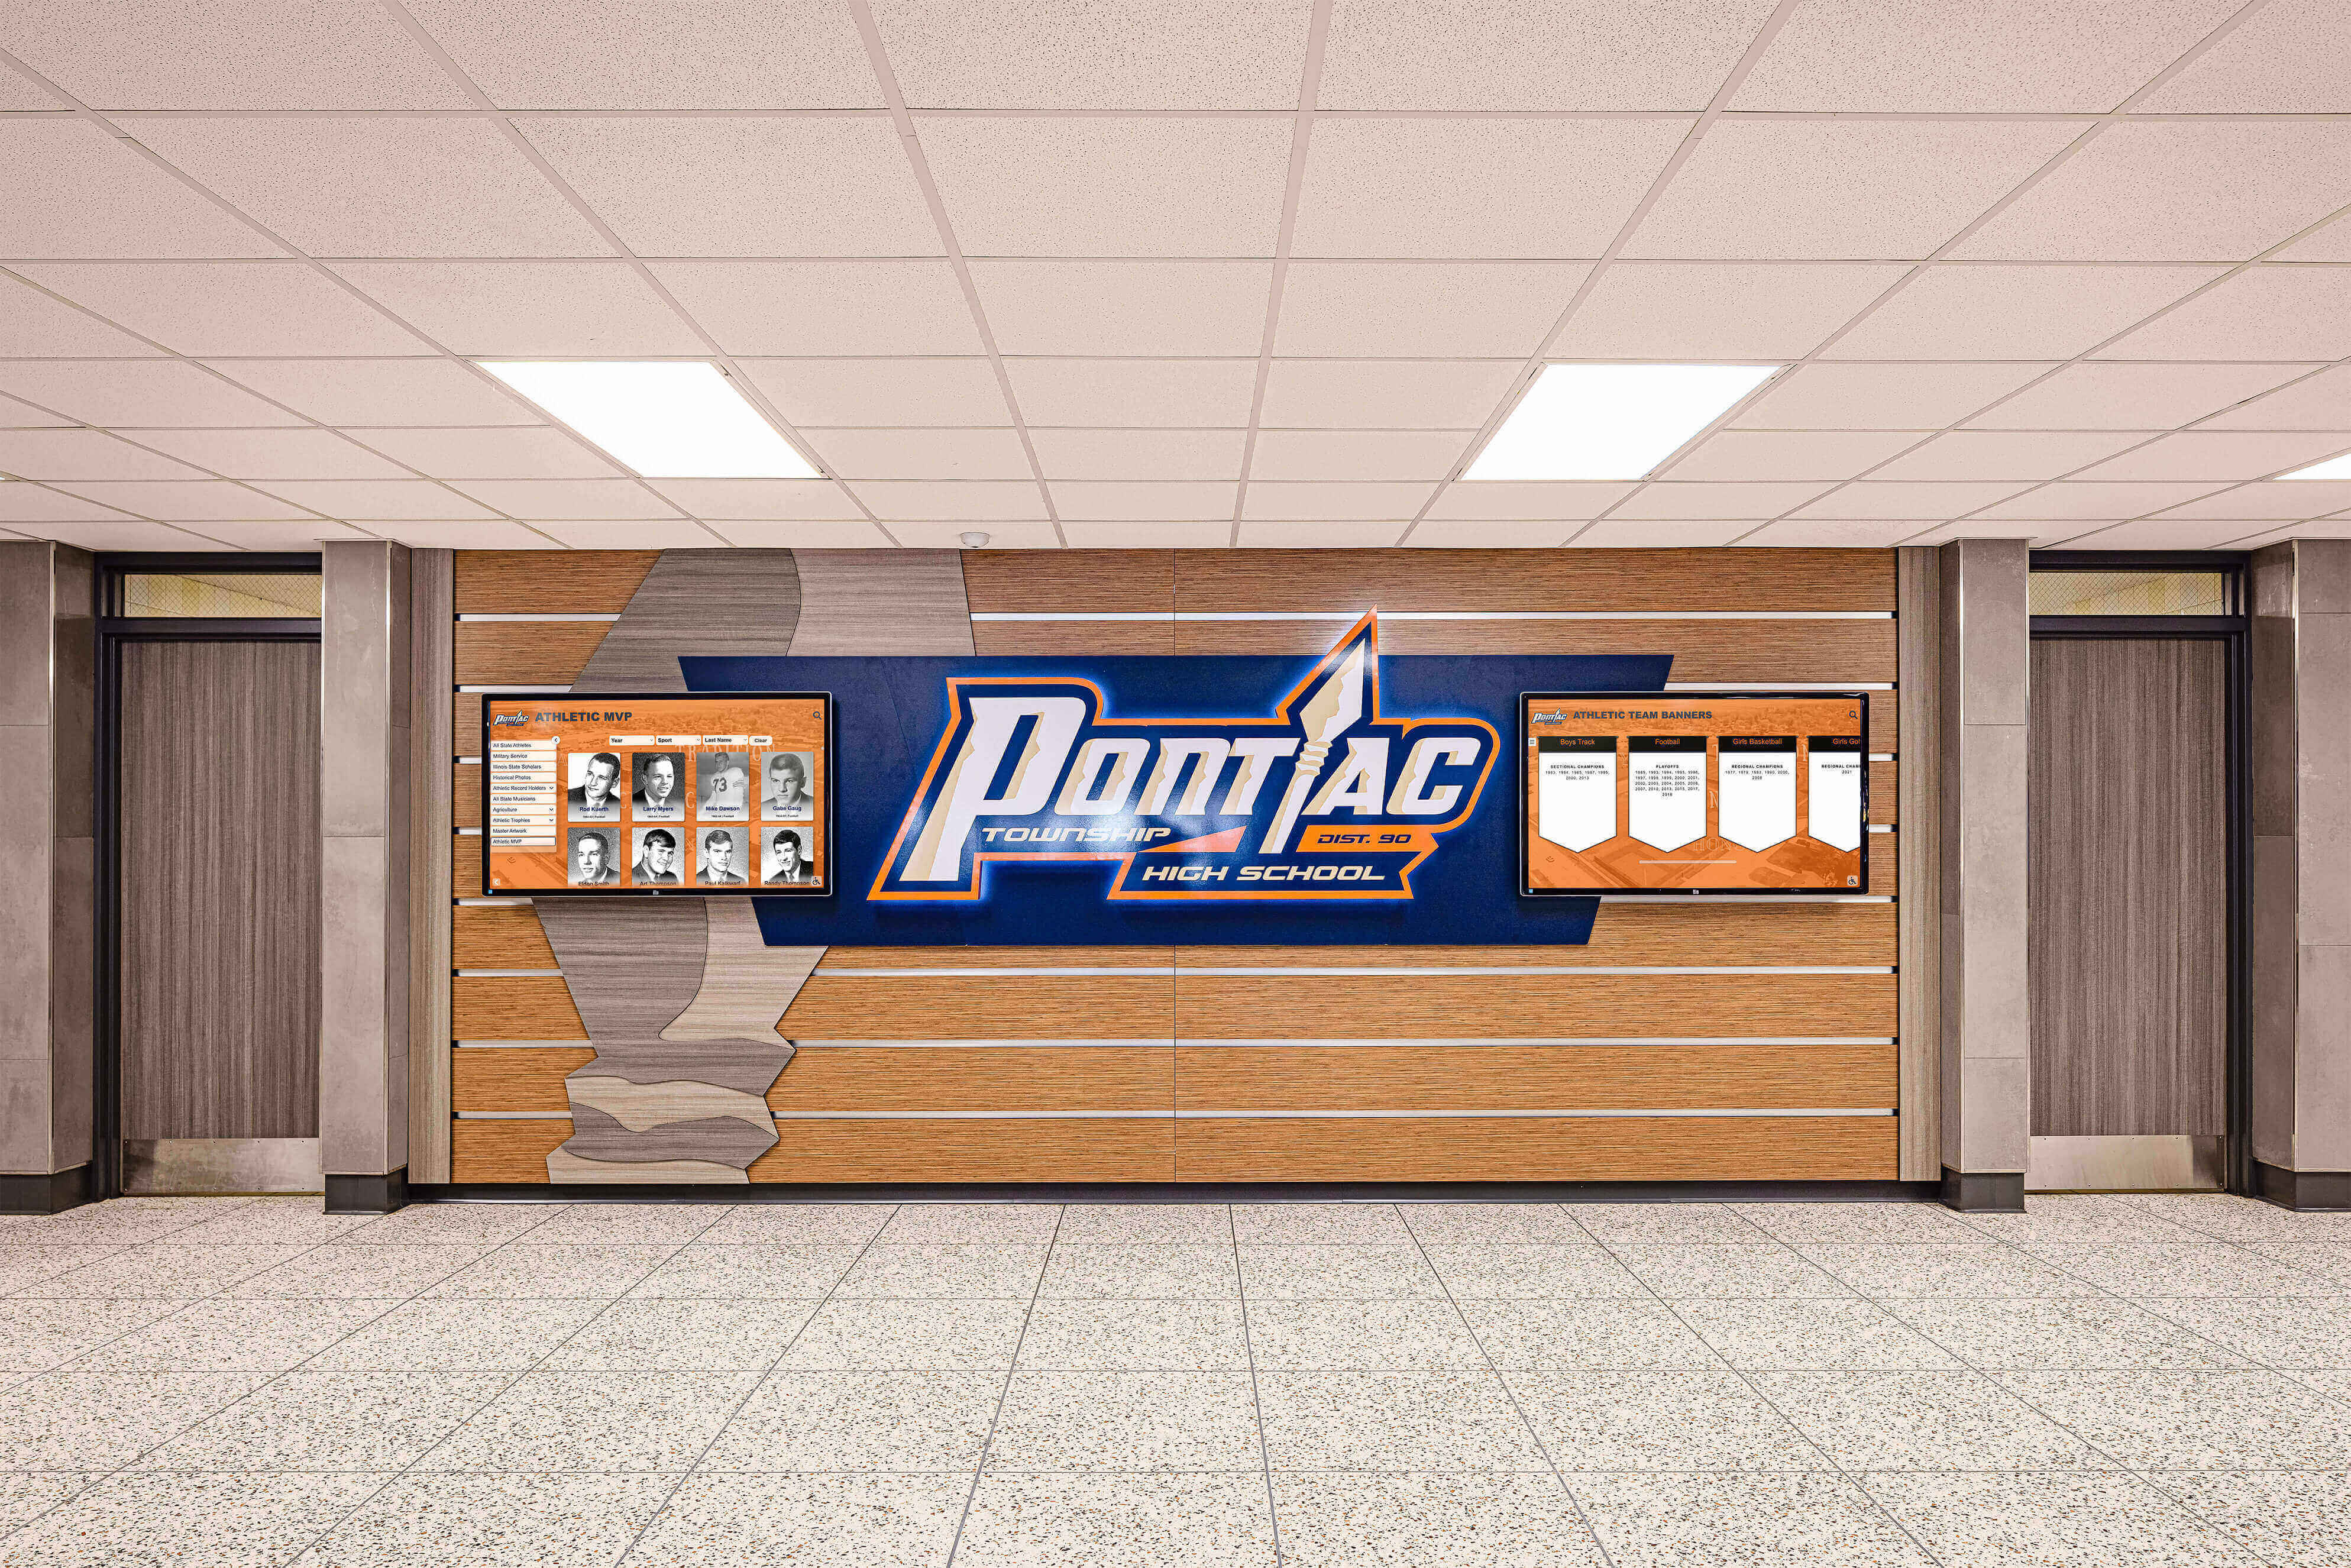
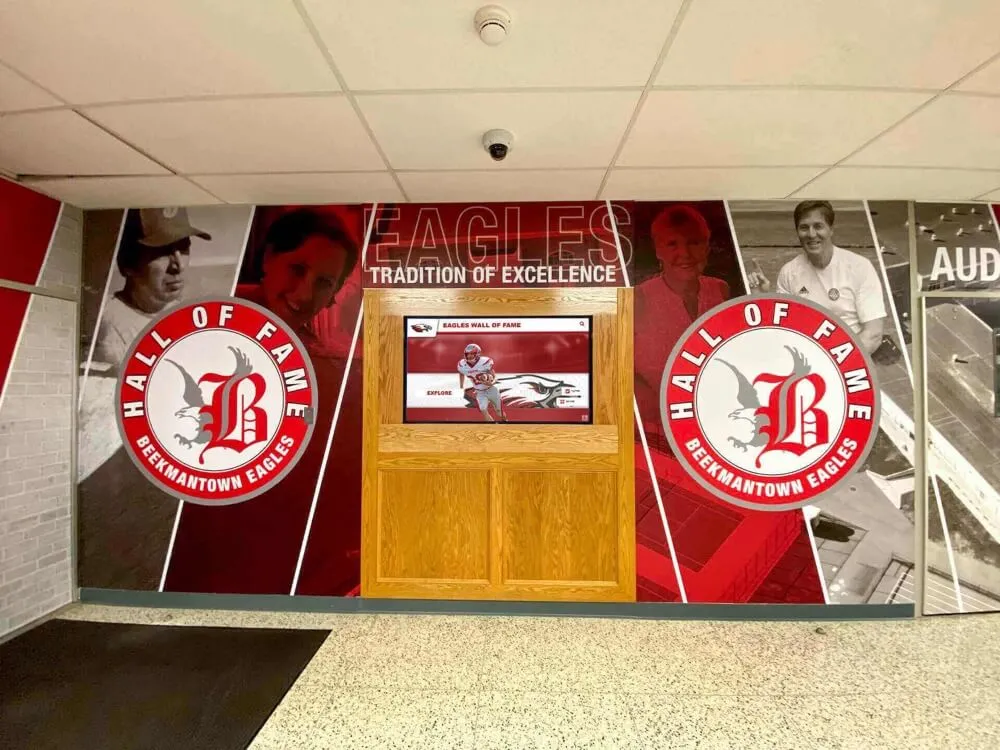
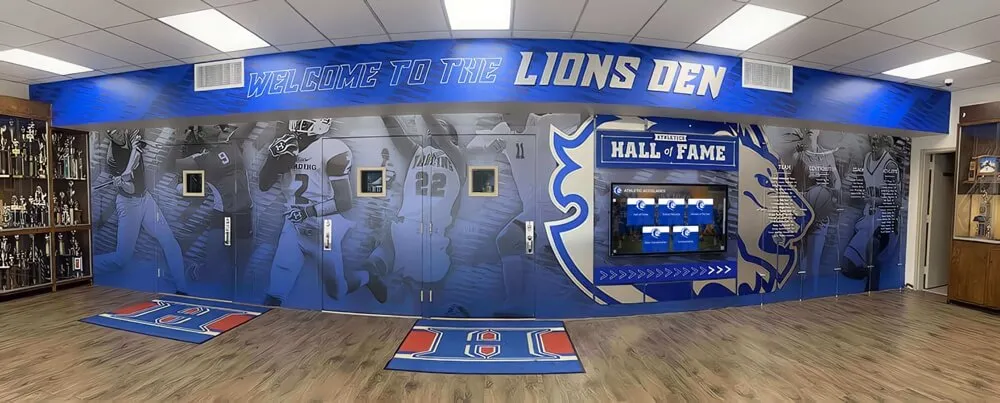
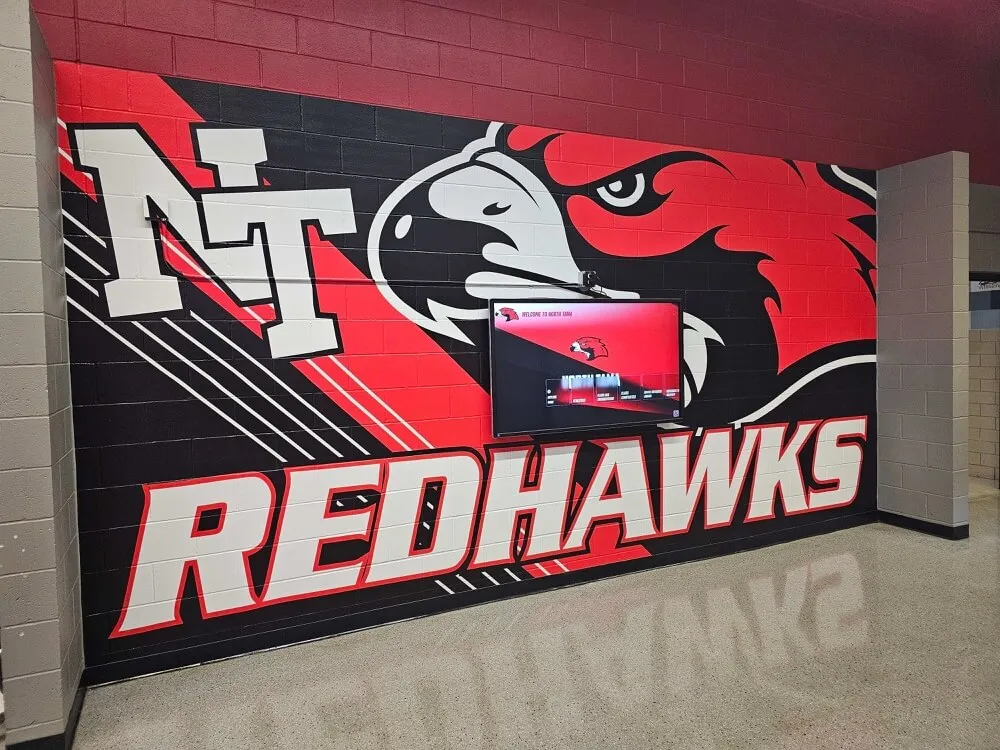
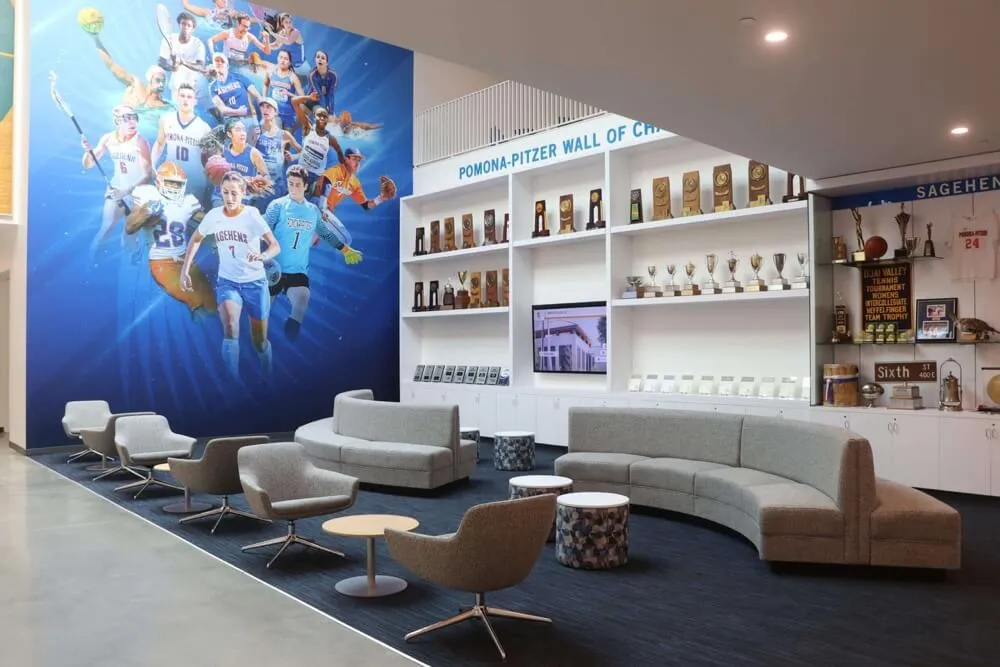
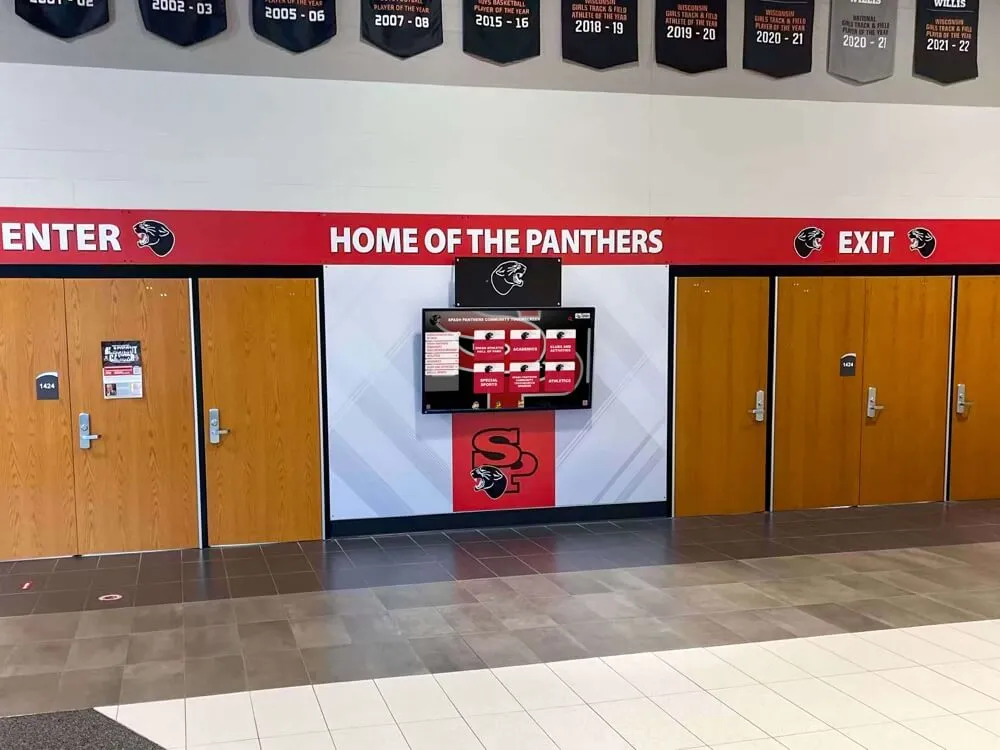
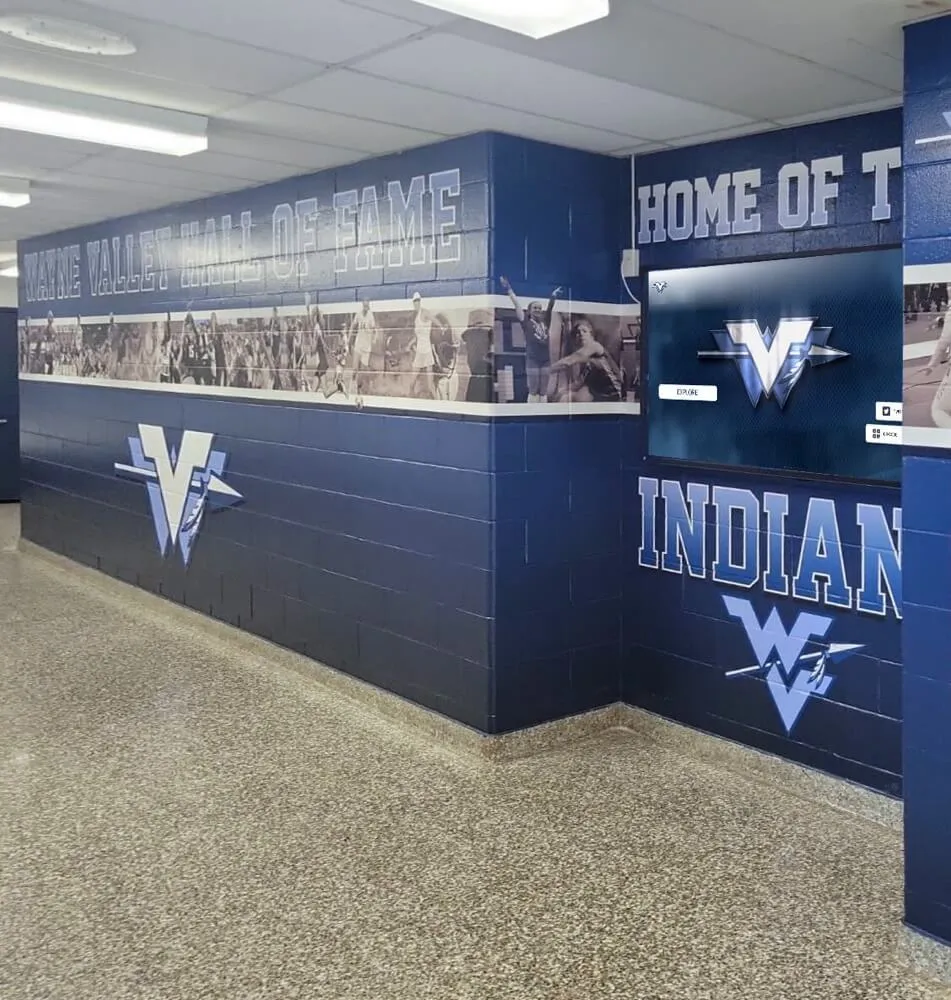
Combining school identity graphics with structured record panels creates a cohesive display that reads professionally from across a hallway
Step 4: Mount the Panel
Proper mounting is critical. A crooked or unsecured board will draw attention for the wrong reasons.
- Locate studs or use appropriate anchors for the wall type. A 4 × 8 ft aluminum composite panel can weigh 15–25 lbs; masonry anchors are required for concrete block walls.
- Mark and level the top edge before drilling any holes. Use a 4-foot level, not a 2-foot level—small errors compound over the width of the panel.
- Use a French cleat system if you want easy removal for updates or panel swaps. Cleats allow the board to hang flat and be lifted off without tools.
- Leave the protective film on the panel face until the board is fully mounted to prevent scratches during installation.
- Seal edges on panels in humid environments (pool natatoriums, field house restroom corridors) to prevent moisture intrusion and edge swelling.
Step 5: Populate the Board
Start with headers and column labels, then add records sport by sport. Work from the top down and left to right so any measurement errors accumulate at the end of a row rather than the beginning.
Practical tips:
- Use a straight edge when placing vinyl letters or plaques—eyeballing alignment creates visible waves at reading distance
- Complete one full sport section before moving to the next; switching between sports mid-process leads to missed entries
- Double-check every athlete name and performance against your verified spreadsheet before moving on
- Photograph each completed section before installing the next—a record of the “as-installed” state is valuable when questions arise later
Step 6: Install Protective Cover and Document Everything
If your board uses an acrylic or polycarbonate face panel for protection, install it after populating the board. Keep the polishing cloth and static-free cleaner accessible; fingerprints on a clear face panel are visible from ten feet away.
After installation, do two things that most schools skip:
- Photograph the completed board at medium and close distance. Upload photos to a shared drive accessible to the athletic director and the principal’s office.
- Archive your source spreadsheet in the same shared folder. This document, cross-referenced against coach sign-offs, is your chain of custody if a record is ever disputed.
For guidance on building a formal documentation system around these records, yearbook scanning and archive digitization best practices covers the broader principles of preserving institutional history.
Proof Collection: Standards That Hold Up
A record board is only as credible as the verification process behind it. Schools that skip proof collection end up with disputed records, embarrassing corrections, and staff conflict when a new coach believes the existing record is wrong.
The minimum acceptable standard for each entry:
Minimum Proof Standard per Record Entry
- Primary source document — official meet results, official scorebook, or verified game report showing the performance and the athlete’s name
- Coach attestation — written or email confirmation from the head coach that the performance is genuine and the athlete was enrolled
- Date and competition confirmed — not just a season; a specific event and date whenever possible
- Prior record documented — the previous record and its holder, so the new entry can be verified as a genuine improvement
For individual performance records in judged sports (gymnastics, diving, wrestling weight classes), a meet or tournament official’s scoresheet is the primary source. For team statistical records (season scoring average, shutout streak), the season scorebook and schedule serve as primary sources.
Schools that participate in regional or state athletic associations can cross-reference records against association databases where available. The process of gathering and reconciling these sources is similar to the documentation work described in athletic awards programs for regional recognition.
How Often to Update a Record Board
The most common failure mode for static record boards is not poor construction—it’s infrequent updates. A board that was accurate three years ago but hasn’t been touched since communicates neglect, not tradition.
Recommended update cadence:
| Trigger | Action | Responsible Party |
|---|---|---|
| End of each season | Coach submits updated records form to athletic director | Head coach |
| Athletic director review | Verify submitted records against source documents | Athletic director or designee |
| Physical update to board | Change letters or plaques within 30 days of season end | Athletic director or facilities |
| Annual audit | Full review of board accuracy across all sports | Athletic director |
| Record dispute | Pull source documentation and coach attestation | Athletic director |
| Student name change or correction | Update entry immediately with documentation | Athletic office |
The most sustainable system pairs a season-end records form (a simple one-page PDF or Google Form submitted by each head coach) with a 30-day update deadline after each sport’s final competition. Programs that let updates slide to “over the summer” typically find that several seasons pass before anyone circles back.
Athletic departments running comprehensive recognition programs—including academic awards alongside athletic recognition—benefit from integrating both into a single annual recognition calendar rather than managing them on separate timelines.
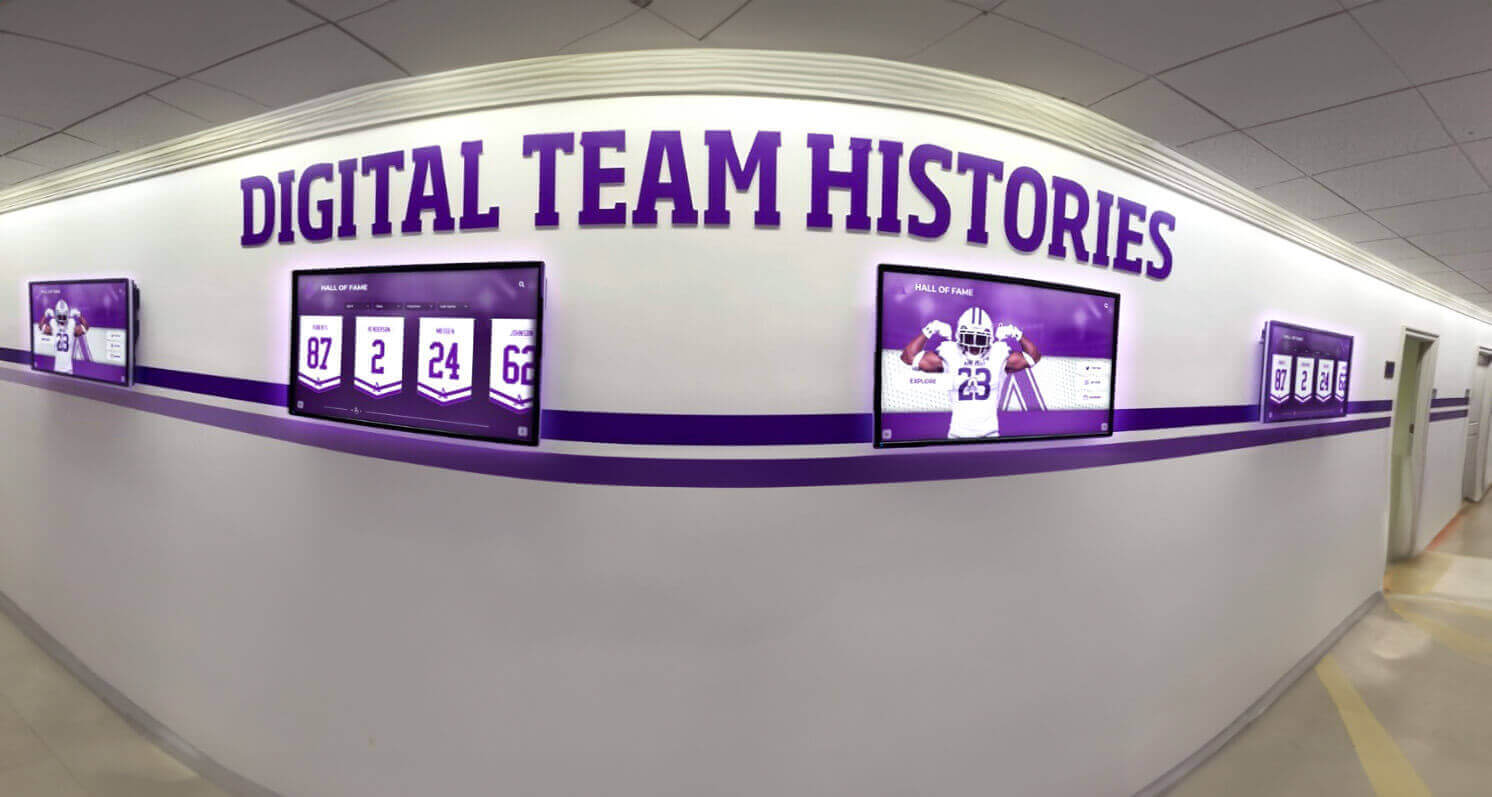
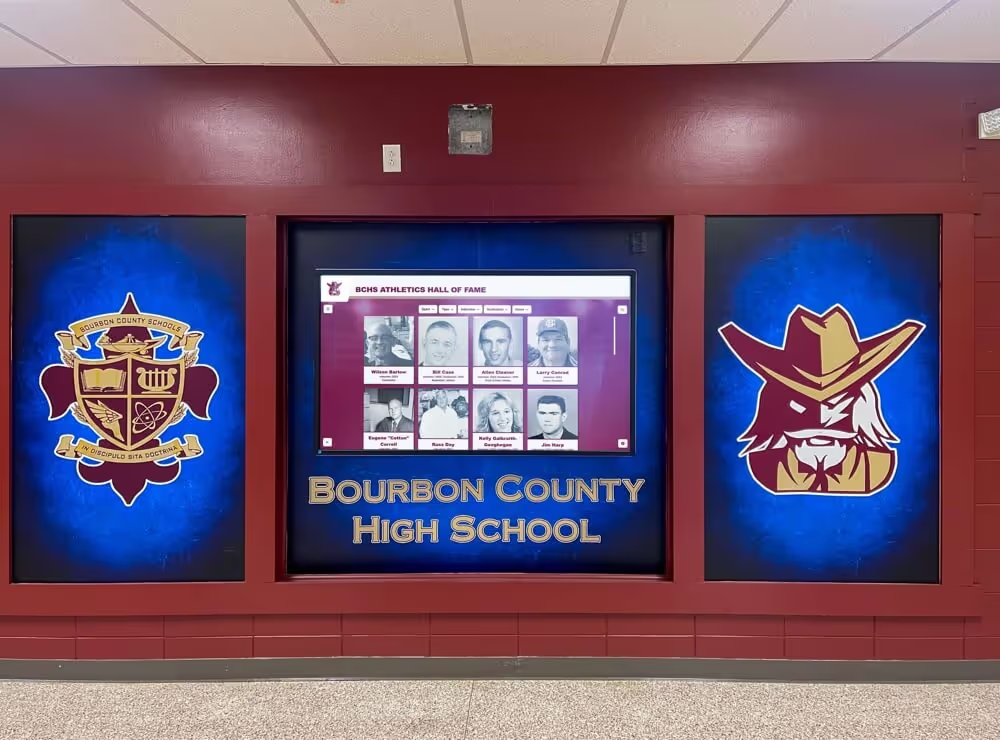
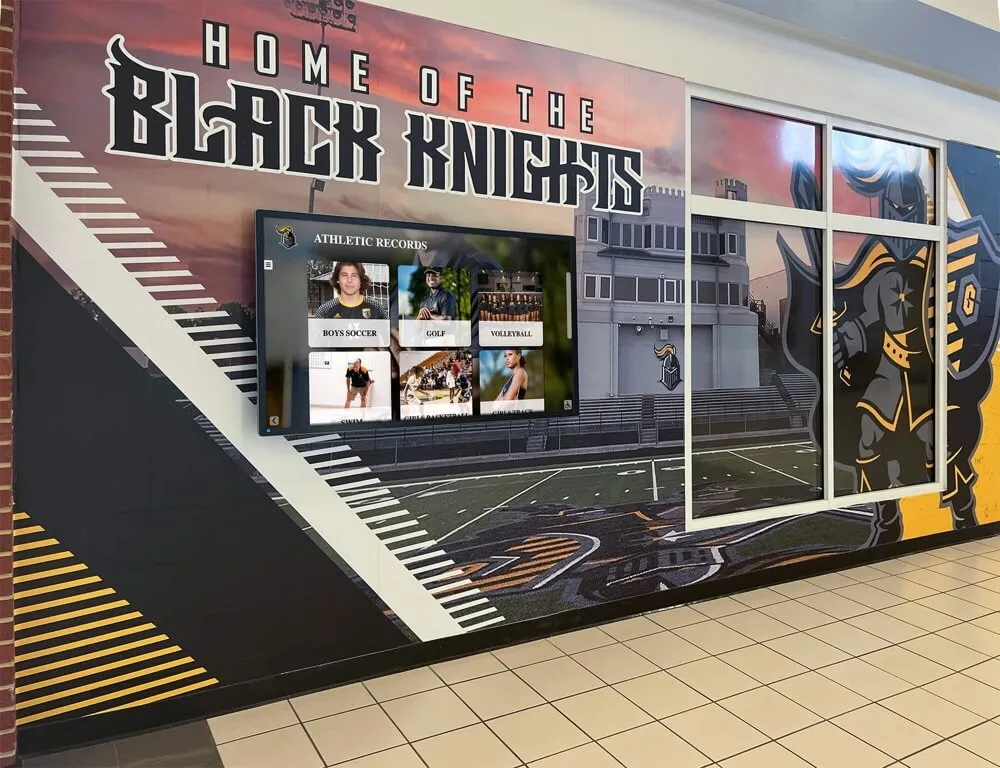
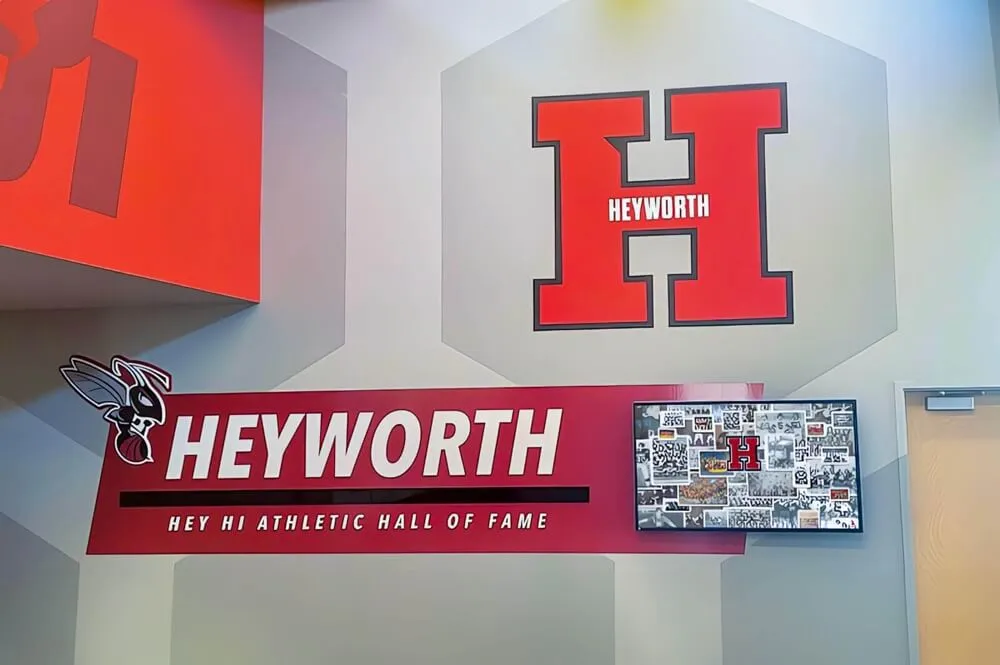
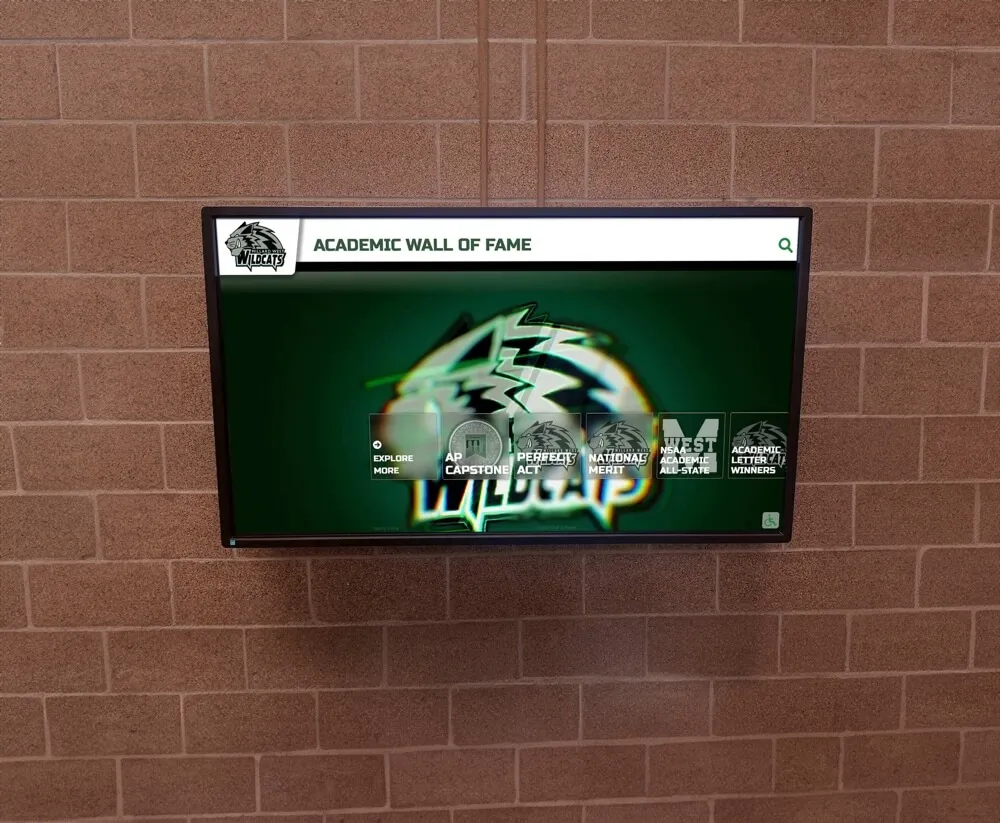
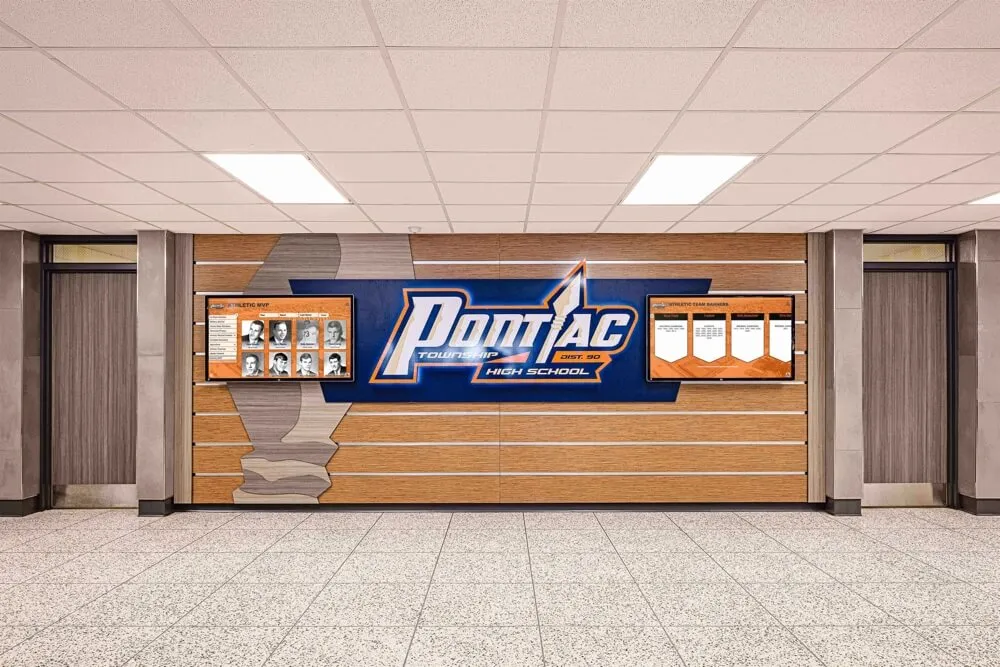
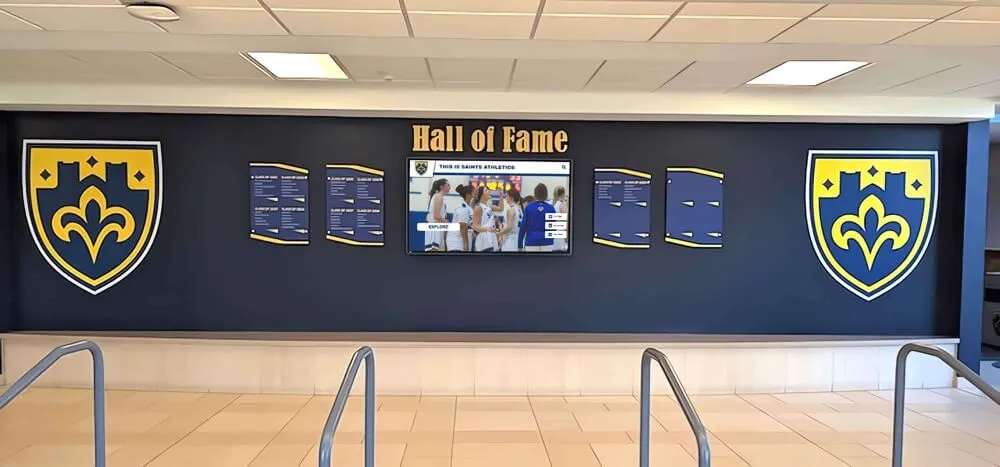
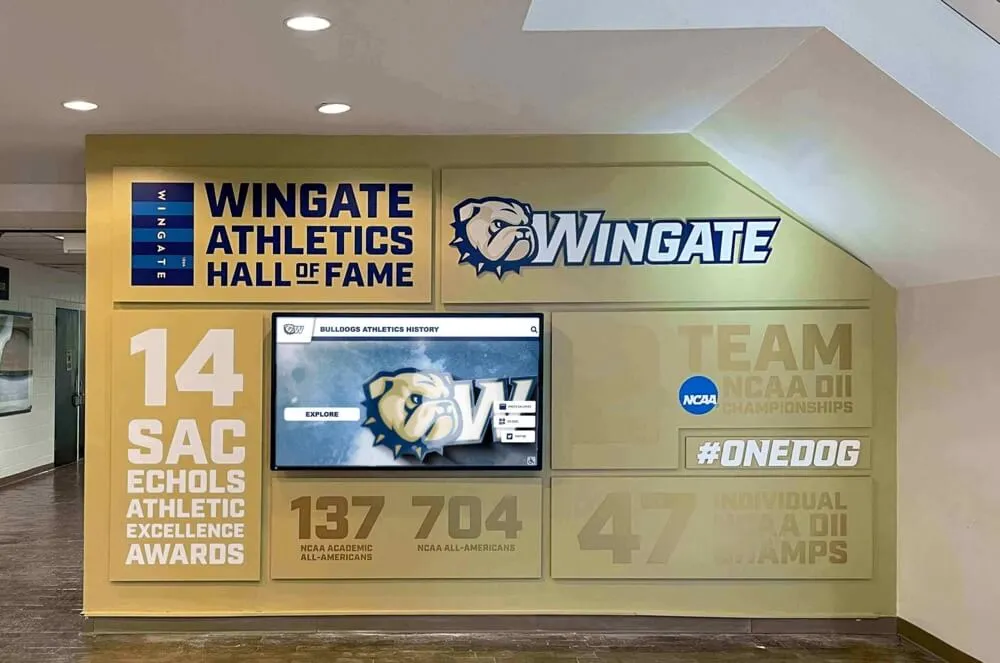
Digital screens alongside traditional hallway displays give programs flexibility to update records instantly while maintaining the physical presence of a dedicated recognition space
Static Record Board vs. Digital Record Display: Comparison
At some point, nearly every athletic program with a growing record history asks whether a static board is still the right tool. The comparison below covers the most important operational dimensions.
| Dimension | Static / Manual Board | Digital Record Display |
|---|---|---|
| Initial cost | $1,500–$8,000 depending on material and size | $8,000–$20,000 for commercial touchscreen installation |
| Update process | Physical letter or plaque swap; requires staff time and correct materials | Remote update via CMS from any device; takes minutes |
| Update frequency | Typically 1–2 times per year; missed updates are common | Real-time or same-day updates feasible |
| Capacity | Fixed by physical space; typically 1–3 sports per 4×8 panel | Unlimited records, sports, and historical periods |
| Content depth | Name, performance, year — limited by space | Full athlete profile, photo, video clip, biographical information |
| Proof of accuracy | Source documents stored separately; board itself shows no audit trail | Version history and update logs available in CMS |
| Maintenance burden | Letter replacement, cleaning, full replacement every 5–10 years | Software updates, screen cleaning, annual service |
| Visual degradation | Fading, peeling, and yellowing within 3–7 years | Commercial displays rated for 50,000–100,000 hours of use |
| Multi-sport coverage | Constrained by wall space; some sports frequently omitted | All sports covered equally regardless of physical space |
| Recruiting and alumni value | Visible in building only | Accessible on mobile, shareable, embeds in school website |
| 10-year total cost | Often comparable to digital once updates and replacement are factored | Higher initial investment, lower per-update cost |
When to Move from a Static Board to a Digital Display
A static board is the right tool for many programs—it’s proven, durable when maintained, and requires no software subscriptions or IT support. The case for upgrading to digital becomes compelling when one or more of the following conditions applies:
1. You’re running out of physical space. If you’ve added a panel to accommodate overflow or you’re regularly deciding which records to remove to make room for new ones, the system is working against you. Digital platforms carry unlimited records without square-footage constraints.
2. Updates are consistently late or missing. If the board has entries more than two seasons out of date, the problem is usually the update workflow, not the people. A cloud-based CMS with coach-level access permissions lets the right person update their sport without routing everything through the athletic director.
3. You want multi-sport equity. Static boards almost always give disproportionate space to football, basketball, and track because those programs generate the most records. A digital system makes it equally easy to document achievements in tennis, swimming, cross country, or any sport the school offers.
4. You have recruits and visitors who won’t see the hallway. A digital system creates a version of the record board that lives online—accessible to prospective athletes researching your program from across the state or country, to alumni who graduated before social media existed, and to parents who want to share their athlete’s recognition on their own devices.
5. You’re planning a facility renovation. The best time to add digital displays is during construction or renovation when conduit can be run and mounting surfaces prepared without patching finished walls.
For programs considering recognition infrastructure that extends beyond athletics—including donor recognition and alumni walls—academic recognition program design principles and interactive touchscreen recognition for institutions both illustrate how digital systems scale across multiple recognition use cases within a single building.

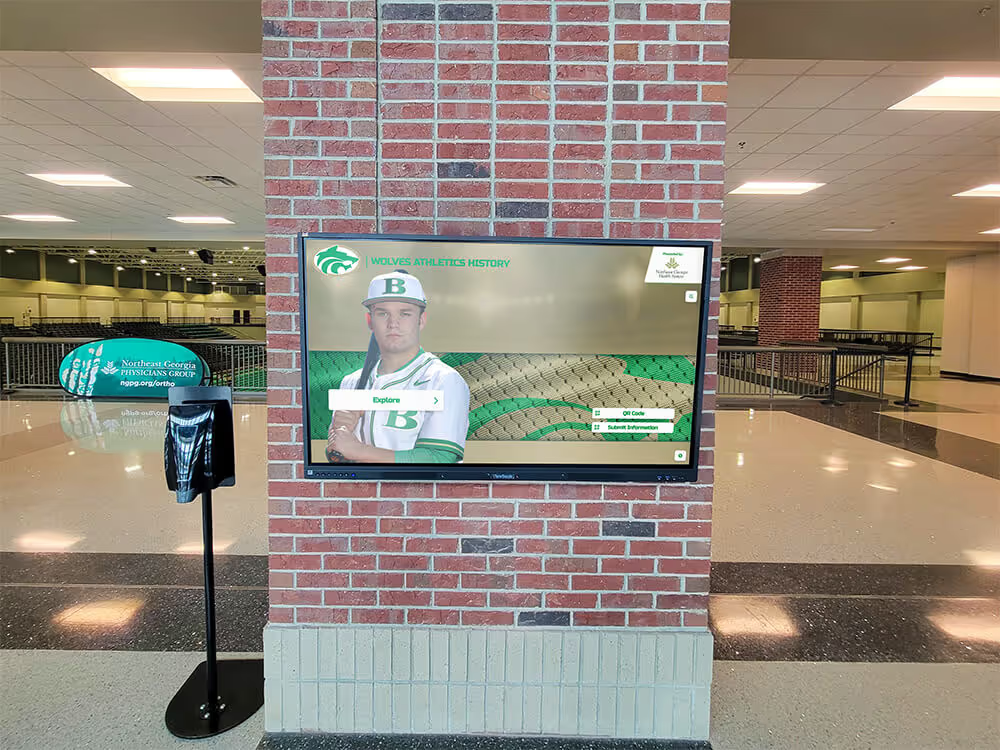
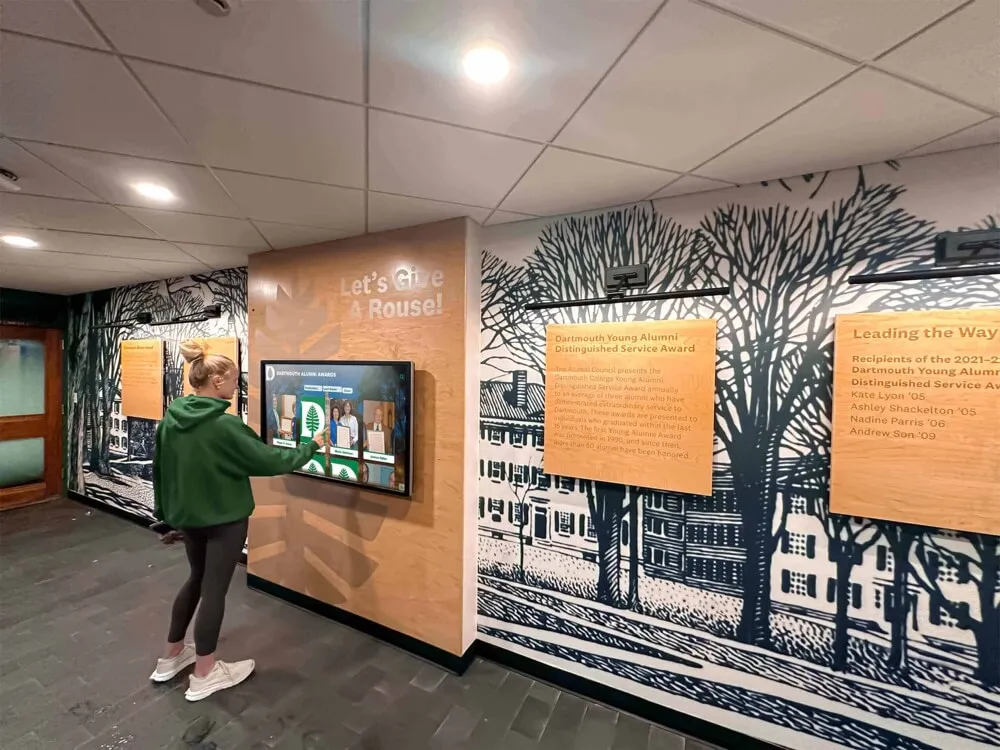
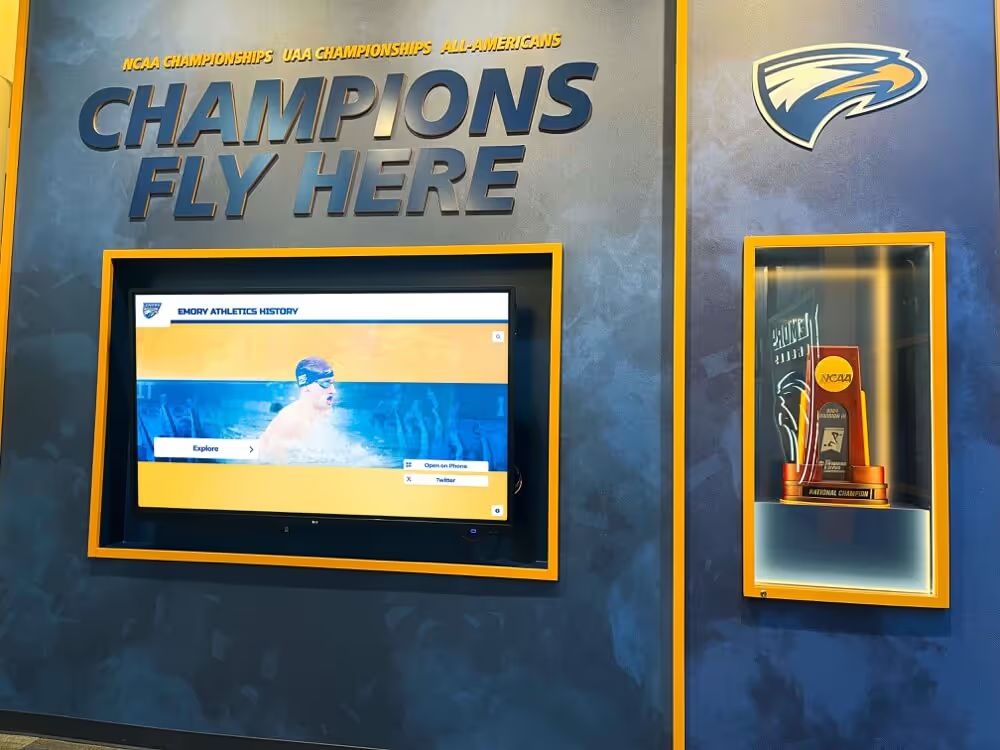
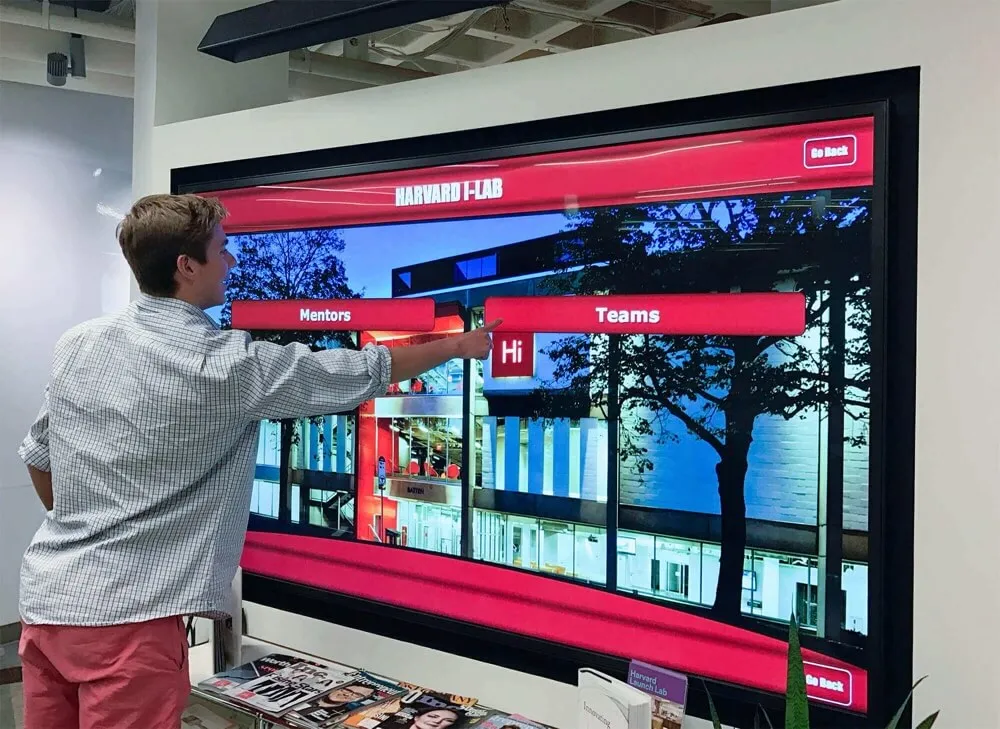
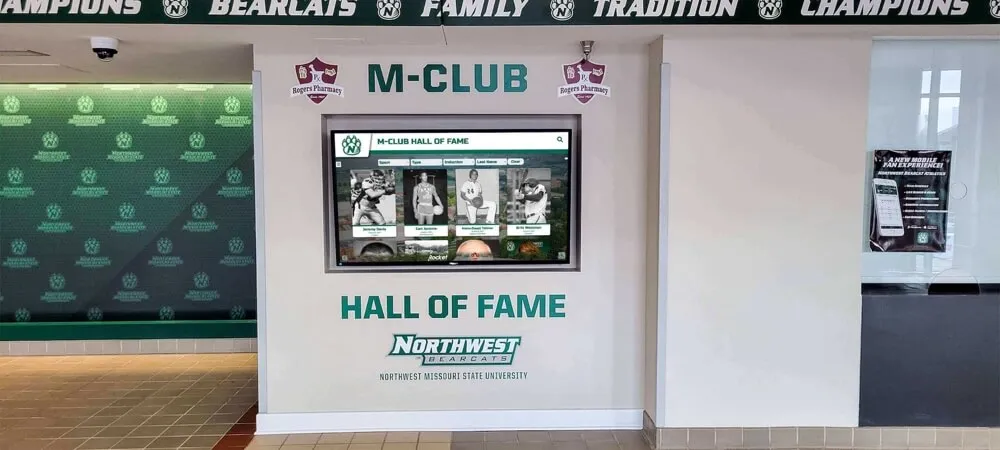
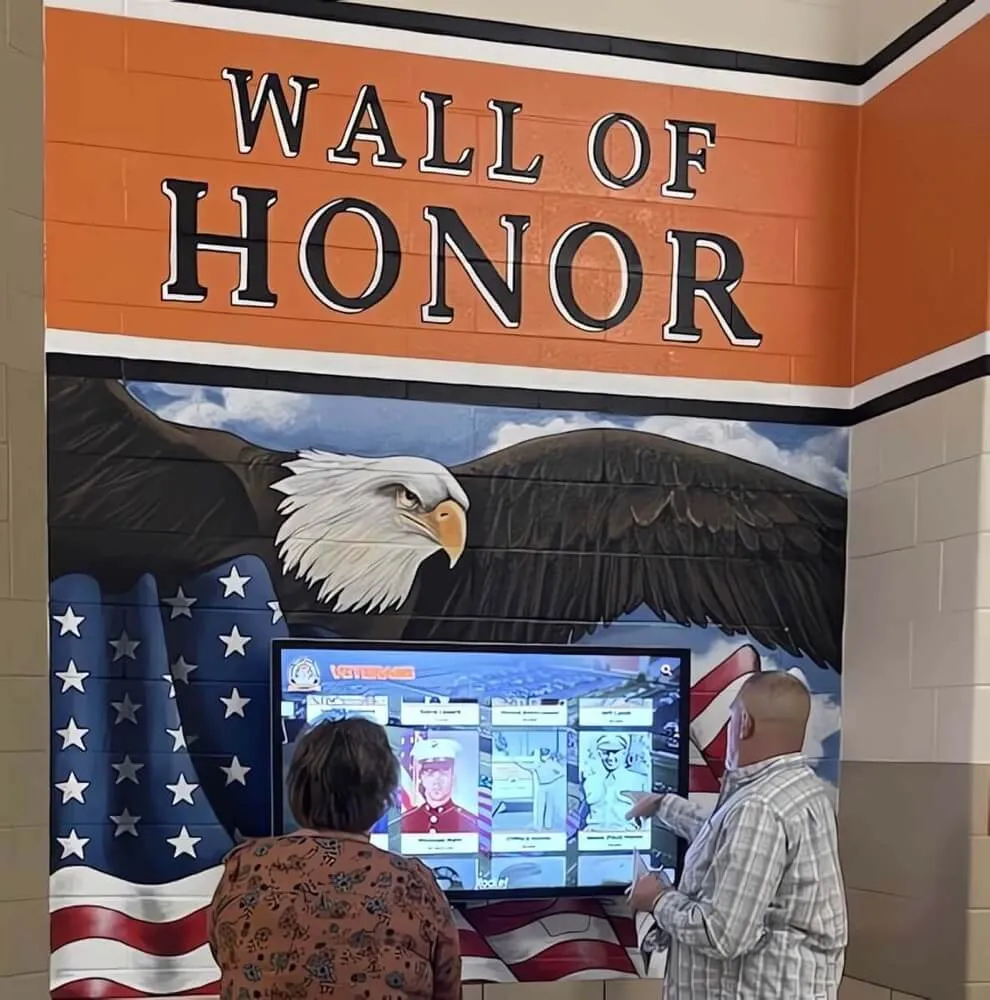
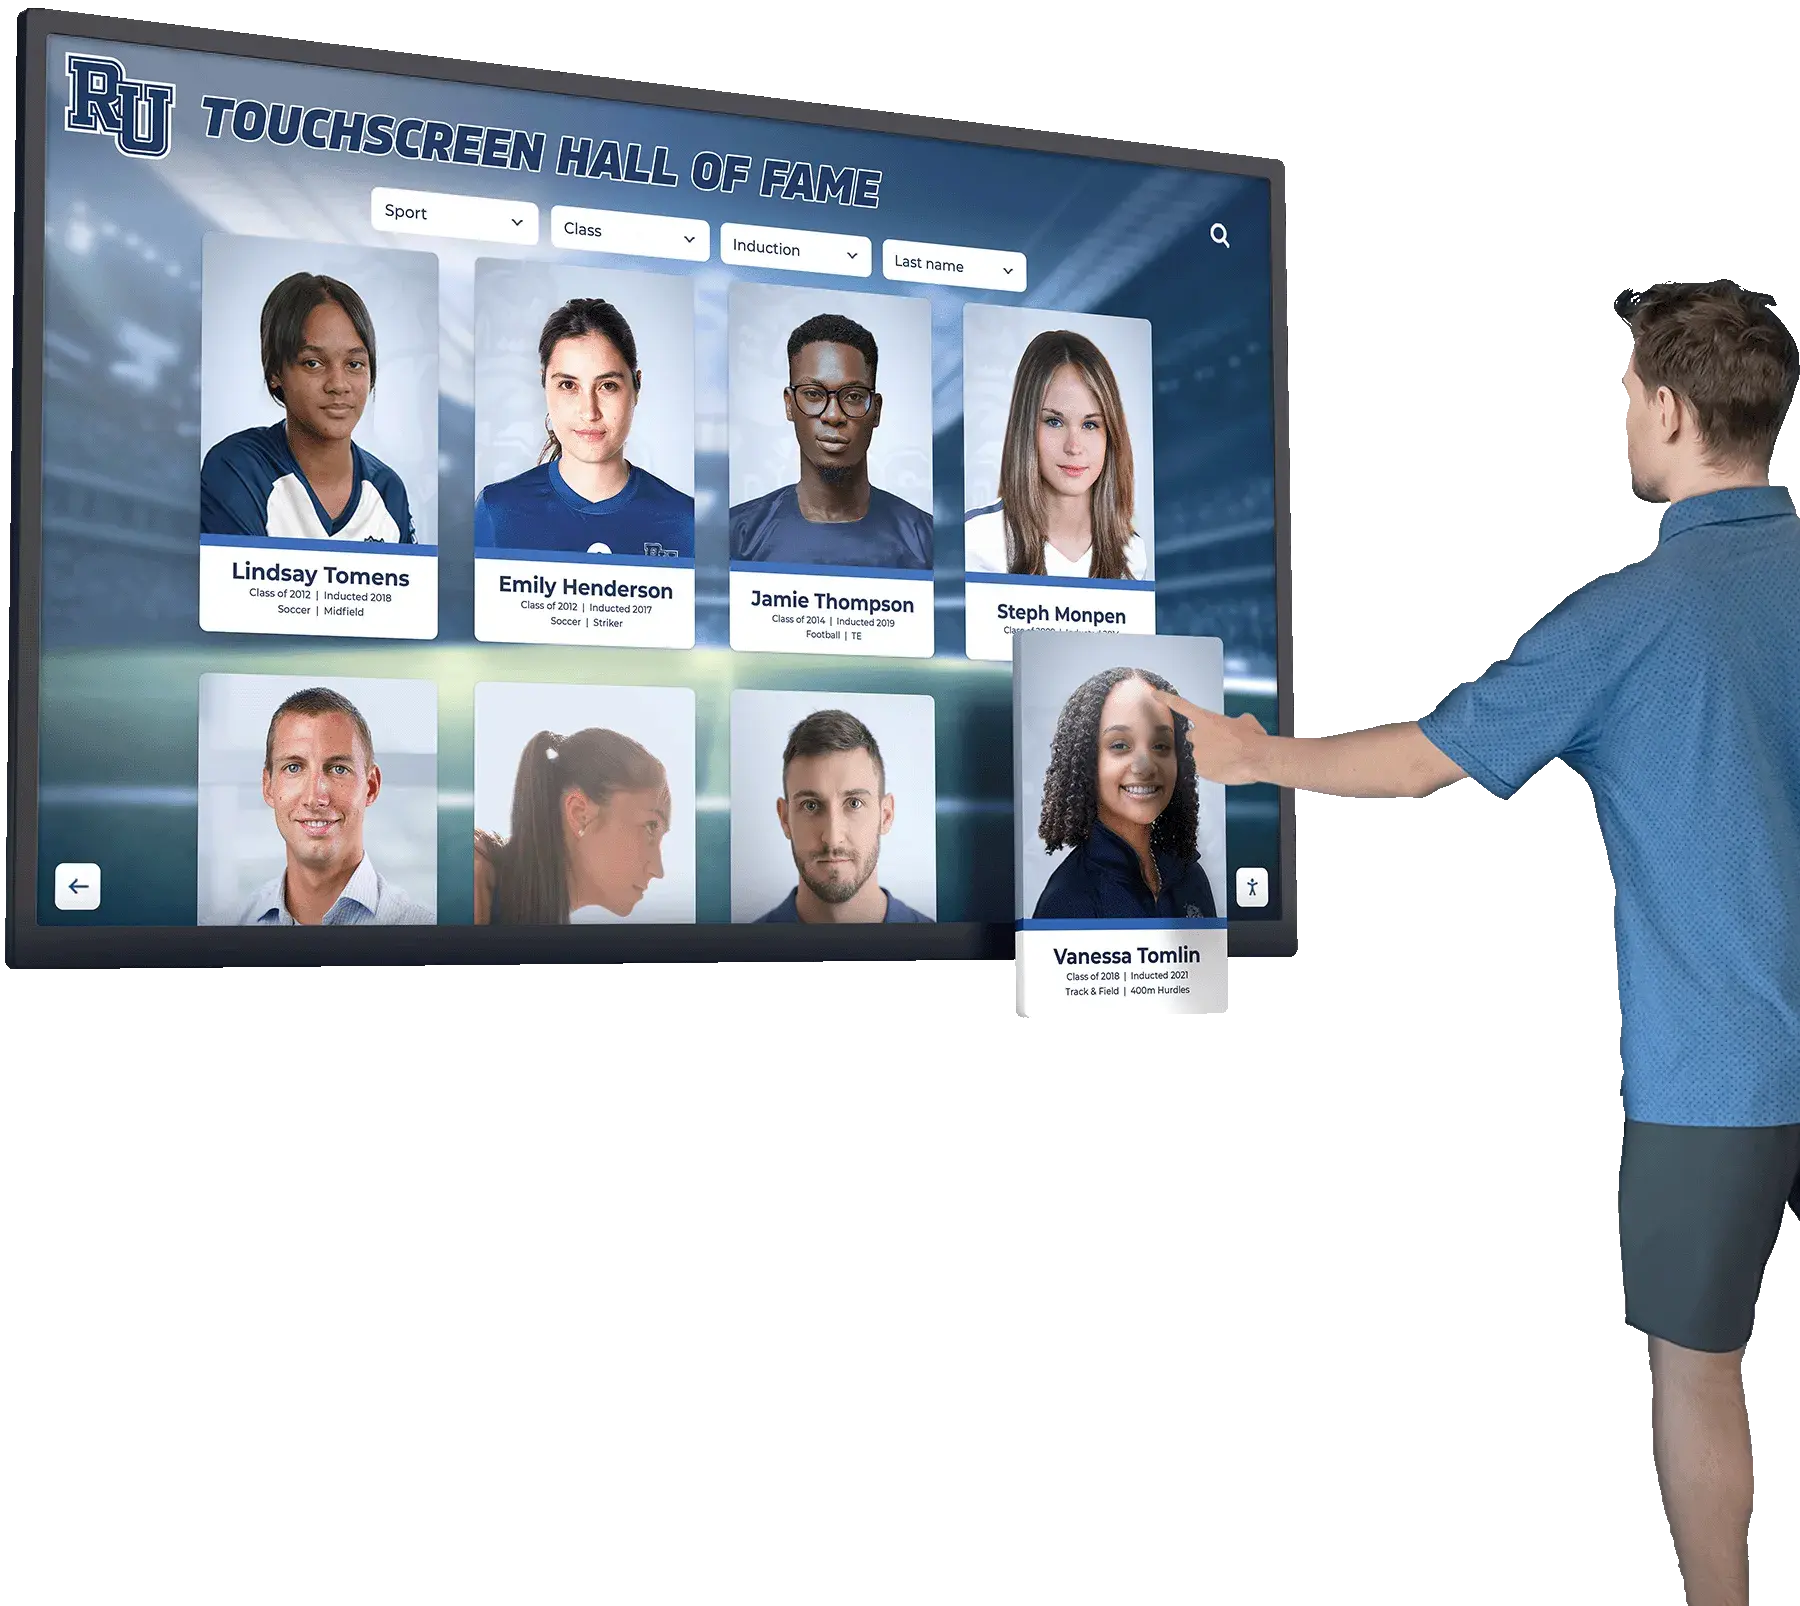
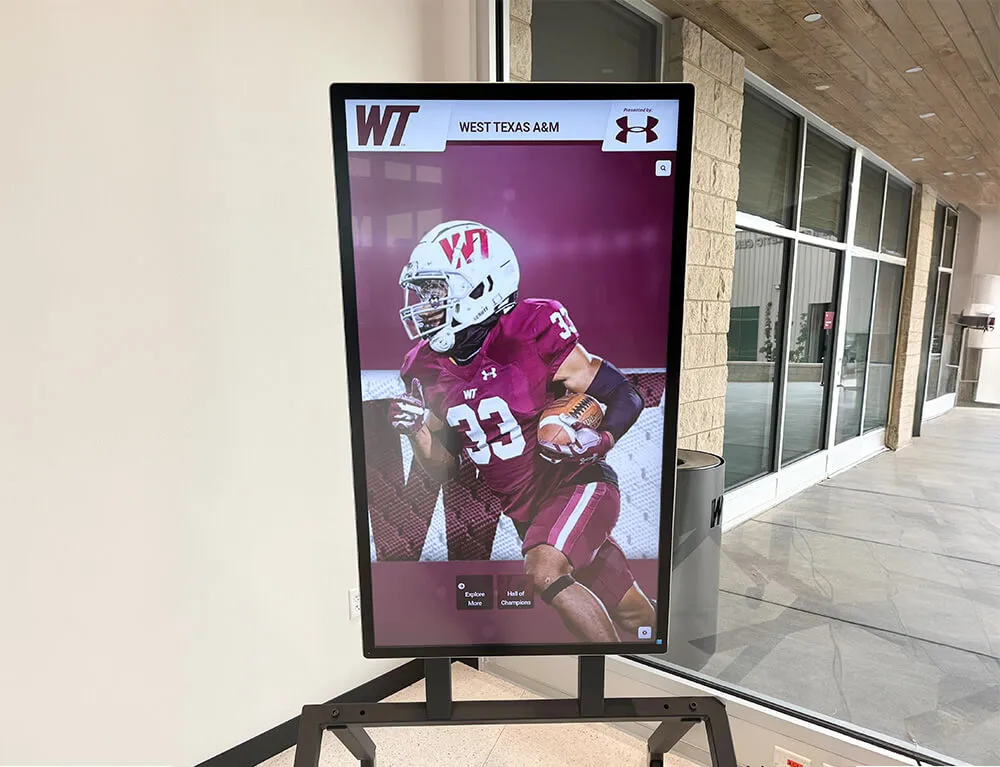
A digital touchscreen system replaces physical space constraints with unlimited capacity — athletes can explore complete program history rather than whatever fits on a wall panel
A Note on Hybrid Approaches
Schools don’t have to choose exclusively between static and digital. Many programs run both: a traditional vinyl or engraved board covering all-time records in a high-traffic corridor, paired with a digital display in the lobby that carries full athlete profiles, championship history, and searchable records going back decades.
This hybrid model respects the permanence and tradition that a physical board communicates while solving the capacity and maintenance problems that eventually catch up with every static system. It also preserves access to recognition for athletes in the event of a technology outage—a concern that administrators in smaller districts commonly raise.
Recognition programs that span both athletics and academics benefit from this layered approach as well. Understanding how schools handle academic honors like Latin graduation distinctions alongside athletic achievements can inform how your school structures the overall recognition hierarchy across physical and digital displays.
For programs that include banquets as part of their annual recognition cycle, reviewing what makes a sports banquet effective and how coaching gifts reinforce program culture adds useful context for connecting the record board to the broader recognition experience athletes and families receive throughout the year.
Building the Record Board Is Step One
The physical or digital board itself is not the recognition program—it’s the visible output of a well-run documentation and verification process. Schools that maintain accurate, current, comprehensive record boards do so because someone owns the process: a specific person, a specific deadline, and a specific chain of custody for source documents.
Build the board with that workflow in mind. Define who submits records, who verifies them, who updates the display, and when each step happens. Put that workflow in writing before the first panel goes up. The schools with record boards that look good ten years from now built them the same way they built the ones that look good today.
Ready to Explore a Digital Record Board for Your School?
Rocket Alumni Solutions builds interactive touchscreen record boards, walls of fame, and digital trophy cases used by K-12 schools, colleges, and universities. If your program is evaluating a move from a static board to a digital display—or adding recognition capacity for the first time—see how a live demo looks in an actual school facility.