



An athletic archive tape head clog detection workflow is a structured stop-and-inspect protocol that school staff follow when a VHS, Betamax, Hi8, or S-VHS deck suddenly produces video snow, horizontal picture bands, audio dropout, or complete picture loss during the digitization of historic game recordings—distinguishing a correctable deck problem from damaged tape content before irreplaceable footage is lost. Tape-head clogging is one of the most common and most misread problems in school athletic archive digitization projects. When video quality deteriorates mid-transfer, the instinct is to assume the tape is damaged and fast-forward past the problem—but in many cases, the tape is fine and the deck’s rotating playback heads have accumulated a deposit of magnetic oxide particles from aging tape binder. Continuing to play a clogged deck risks damaging both the heads and the tape. Stopping, inspecting, and following a structured escalation process is the correct response.
This guide walks athletic directors, archives staff, IT and facilities teams, and recognition-program coordinators through a complete tape-head clog detection workflow for historic athletic game recordings. It covers the common symptoms of clogged heads, how to distinguish a head clog from tape damage, a safe stop-and-inspect protocol, a cleaning escalation ladder that avoids encouraging untrained repair work, and a documentation process that builds an inspection record for every tape entering the digitization pipeline.
Tape-head clogging and tape damage can look identical to an observer watching a monitor during digitization. Both produce visual noise, both can cause audio dropout, and both can appear suddenly in the middle of a transfer. The critical difference is causation: a clogged head is a deck problem that affects every tape played through that deck, while a damaged tape is a content problem that affects only that specific recording. The detection workflow exists to determine which problem you are facing before you take action—because the action for each is different, and taking the wrong action risks compounding the loss.

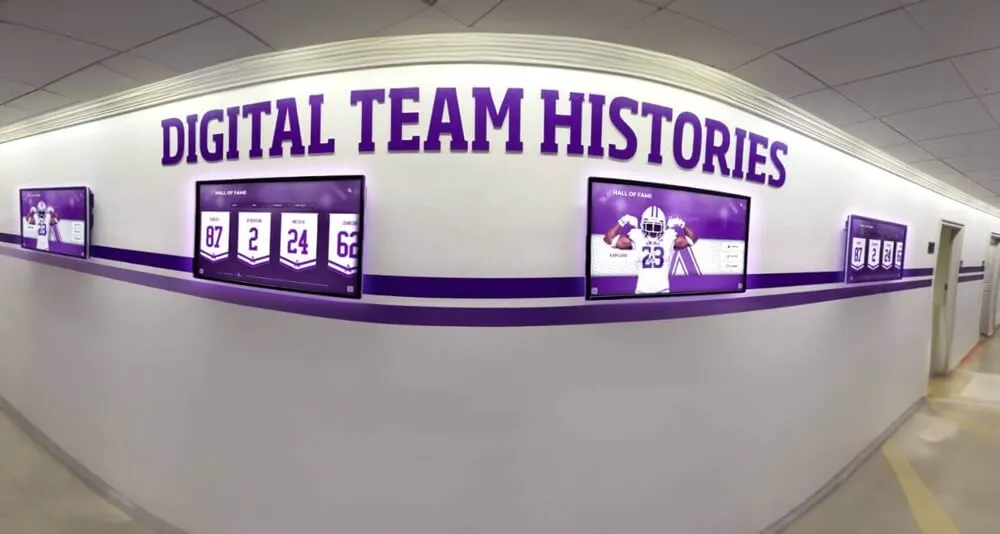
Digitizing historic athletic recordings for recognition displays requires equipment in sound working condition—tape-head clog detection is the checkpoint that confirms the deck is ready before an irreplaceable tape enters the transport path
What Tape-Head Clogging Looks Like: Common Symptoms During Playback
The most important skill in a tape-head clog detection workflow is recognizing the symptom pattern quickly and stopping playback before damage occurs. Clogged head symptoms fall into four categories: video noise patterns, audio problems, onset characteristics, and behavior after ejection.
Video Noise Patterns
A clogged rotating head drum produces characteristic video artifacts that differ in important ways from tape damage artifacts:
- Full-frame snow or noise bursts: The entire picture is replaced by random noise for one to several frames. This is the most common clog symptom and the most alarming—it looks catastrophic but is frequently a deck problem rather than a content problem.
- Horizontal banding: One or more thick horizontal bands of noise appear across the picture while the rest of the frame remains visible. Banding typically occurs when one head in the drum is clogged and the other is clean—the alternating heads produce alternating clean and noisy fields.
- Tracking-like instability: The picture appears to tear or roll horizontally, similar to a tracking error, but adjustment of the tracking control has no effect. This can indicate a clog that is preventing proper head-to-tape contact rather than a true tracking calibration problem.
- Venetian-blind effect: Diagonal or horizontal stripes of noise alternate with clean picture in a regular pattern. This pattern is diagnostic of partial clogging where the head picks up signal inconsistently.
Audio Problems Associated with Head Clogs
On Hi-Fi VHS recordings, audio is recorded by the same rotating heads that record video—meaning a clogged head causes audio dropout at the same time as video noise. On linear-track VHS audio (the mono safety track), audio is recorded by a stationary head and may survive a rotating head clog partially intact.
Symptoms to listen for:
- Simultaneous audio and video dropout: If sound and picture disappear together, the rotating head assembly is the primary suspect. A stationary head problem would produce audio loss without video impact.
- Audio that sounds muffled or degraded while video appears normal: This can indicate clogging developing on the Hi-Fi heads before it becomes severe enough to affect the video signal.
- Intermittent dropout rather than continuous loss: A clog that is building during playback rather than fully established often produces intermittent symptoms—clean for several seconds, noisy for one or two frames, then clean again—before the accumulation reaches a threshold that causes persistent dropout.
Onset Characteristics That Indicate a Head Clog
The moment at which symptoms appear and how they develop over time are as diagnostic as the visual pattern:
- Sudden onset after a period of clean playback: A head clog typically develops as oxide shed from the tape accumulates. Clean playback followed by sudden noise onset—especially after the deck has been running continuously for ten to twenty minutes—points to a clog building during the transfer rather than a problem present from the start.
- Symptoms that worsen as playback continues: A developing clog accumulates more oxide with each passing second of playback. If noise becomes more frequent or more severe as the tape plays, stop immediately rather than hoping the symptoms will resolve.
- Symptoms that appear consistently at the same point on the same tape on retry: This pattern suggests a tape problem at that location rather than a head clog. A head clog produces noise at roughly consistent intervals tied to the drum rotation speed, not at a specific tape location.
What Happens After Ejection
After ejecting the tape, note whether the deck makes any unusual mechanical sounds during the eject sequence. A tape that has shed significant oxide may leave a visible deposit trail on the tape path visible through the cassette door after ejection. The ejected tape itself should be inspected for visible shedding, deformation, or sticky residue on the tape edges—but without touching the oxide surface.
Distinguishing a Head Clog from Tape Damage
A head clog and tape damage can produce similar symptoms. This table summarizes the distinguishing characteristics:
| Symptom Pattern | Head Clog | Tape Damage |
|---|---|---|
| Affects other tapes played immediately after | Yes—all tapes will show noise until deck is cleaned | No—other tapes play cleanly |
| Symptoms tied to specific tape location | No—noise appears throughout, not at one point | Yes—damage at a specific section causes symptoms only there |
| Symptoms worsen as playback continues | Often—accumulation builds during transfer | Varies—depends on damage type |
| Video noise with simultaneous Hi-Fi audio dropout | Yes—rotating head affects both | Only if damage covers Hi-Fi track area |
| Visual inspection of tape shows physical damage | No—tape appears undamaged | May show crinkle, creases, oxide flaking, or edge damage |
| Known-good reference tape plays without noise | No—reference tape also shows noise | Yes—reference tape plays cleanly |
The reference tape test is the most reliable diagnostic step available to non-technical staff. If a known-good test tape—one that played cleanly on this deck previously—produces the same noise symptoms, the deck has a head clog. If the reference tape plays cleanly, the problem is in the original tape being transferred.
Schools building digital hall of fame archives from historic rivalry game recordings understand that the integrity of those archives depends on identifying equipment problems before they damage irreplaceable footage—the reference tape test is the most important safeguard in the detection workflow.
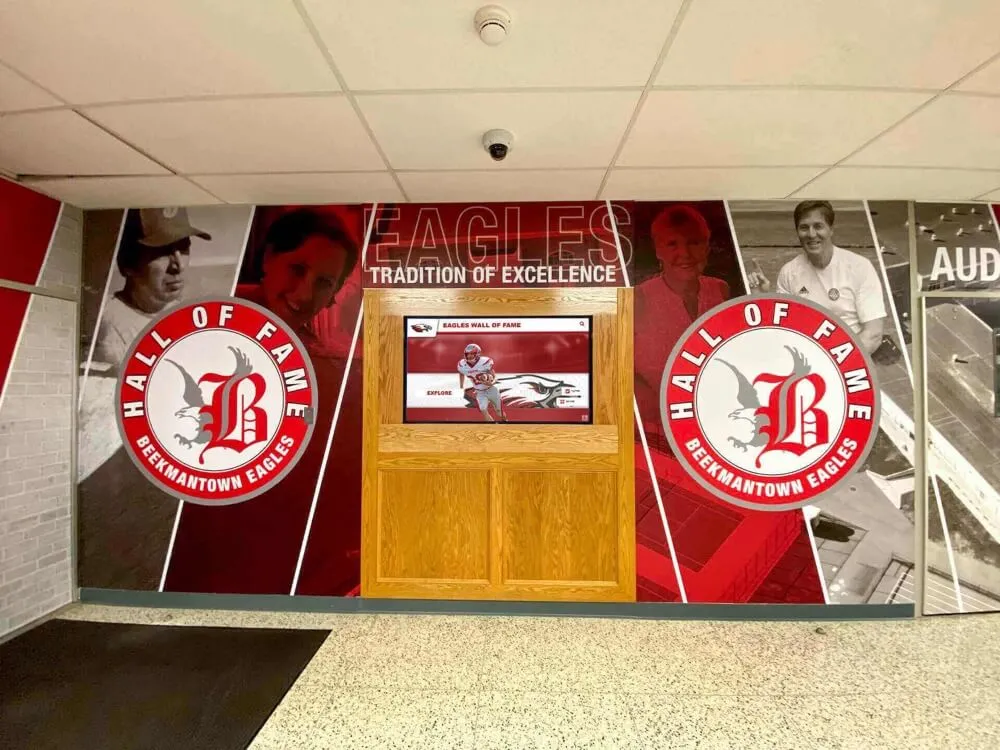
Historic game recordings displayed on lobby screens carry the same quality expectations as new content—tape-head clog detection before digitization ensures that footage reaching the display was transferred cleanly from a properly functioning deck
The Stop-and-Inspect Protocol: Eight Steps in Order
When symptoms consistent with a tape-head clog appear during digitization, the correct response is to stop playback immediately and follow this inspection sequence—not to continue playing and hope the problem resolves. Continuing playback through a clogged head risks abrading the head drum and damaging the tape’s oxide layer at the point of contact.
Step 1 — Stop Playback Immediately
Press Stop on the deck. Do not press Fast Forward or Rewind. Do not allow the tape to continue running. Note the tape counter or timecode position displayed at the moment symptoms appeared and record it in the transfer log before proceeding.
Stopping quickly matters because continued playback with a clogged head drags partially-adhered oxide particles along the tape surface with each head pass. The abrasion can remove oxide from areas of the tape that were previously undamaged.
Step 2 — Eject Using the Deck’s Eject Function
Press Eject and allow the deck’s motor-driven eject sequence to complete normally. Do not manually pull the tape out of the deck. The eject sequence retracts the tape from the threading path before the cassette rises—manual extraction risks leaving tape wrapped around the capstan or head drum.
Wait until the eject sequence is fully complete and the cassette is at rest in the ejected position before removing it from the deck.
Step 3 — Inspect the Ejected Tape Cassette
With the cassette removed, hold it with the tape window facing you under good lighting. Inspect for:
- Visible tape shedding inside the cassette shell: A fine brown or reddish-brown powder inside the cassette indicates binder breakdown and oxide shedding. This is the material that clogs the head drum.
- Tape deformation visible through the window: Look for tape that appears wavy, wrinkled, or kinked near the exposed tape window rather than lying flat in smooth, parallel loops.
- Sticky or tacky appearance: Tapes suffering from binder hydrolysis (sometimes called “sticky-shed syndrome”) may show visible surface tackiness in strong light.
- Edge damage: Look at the top and bottom edges of the tape as it passes across the guide path visible through the window. Frayed or crinkled edges indicate physical damage that poses risk to the head drum.
Do not open the cassette shell, do not touch the oxide surface of the tape, and do not attempt to rewind or fast-forward the tape manually using the cassette reels. Inspecting only what is visible through the window and the cassette’s shell exterior is the extent of appropriate tape inspection without specialist involvement.
Step 4 — Test with a Known-Good Reference Tape
Before cleaning the deck, run a brief test with a known-good reference tape—a commercially pre-recorded tape or a test recording made on this deck with a tape known to be in good condition. Play the reference tape for sixty to ninety seconds and observe whether the same symptoms appear.
- Reference tape shows the same symptoms: The deck has a head clog. Proceed to cleaning escalation (see next section).
- Reference tape plays cleanly: The problem is in the tape being transferred, not the deck. Remove the reference tape, return to the original tape, and proceed with damage assessment for that specific recording.
Step 5 — Document the Inspection Findings
Record in the transfer log:
- Tape identifier (file name, catalog number, game date, or other identifying information)
- Tape format (VHS, Betamax, S-VHS, Hi8, or other)
- Counter or timecode position where symptoms first appeared
- Description of symptoms (video pattern, audio impact, onset characteristics)
- Tape inspection findings (shedding visible, physical damage, normal appearance)
- Reference tape test result (deck problem confirmed / tape problem confirmed / inconclusive)
This documentation becomes the starting point for cleaning escalation decisions and for the archive record if the tape is later found to have damage that requires specialist attention.
Step 6 — Decide Whether to Proceed with Cleaning or Escalate
Based on the reference tape test result:
- Deck problem confirmed: Proceed to the cleaning escalation ladder (next section) before returning the original tape to the deck.
- Tape problem confirmed: Do not return the tape to the deck for further digitization attempts. Document the tape’s condition and proceed to the damaged tape handling protocol (see section below).
- Inconclusive: If the reference tape test produced ambiguous results, run it a second time with a different known-good tape. If ambiguity persists, escalate to technical staff rather than continuing digitization.
Step 7 — Return to Digitization Only After Cleaning Verification
After completing whichever cleaning step is appropriate (see next section), do not return the original tape to the deck immediately. Run the reference tape again for sixty to ninety seconds to confirm that symptoms are fully resolved before resuming the transfer.
A cleaned deck that still produces noise on the reference tape has either a persistent clog that requires a more aggressive cleaning approach or a head wear problem that requires professional service.
Step 8 — Resume Digitization with Monitoring
When the reference tape confirms the deck is clean, return the original tape to the deck and begin the transfer from the point before the symptoms appeared—not from where they stopped. Clogging may have already affected some content leading up to the point where you stopped playback. Resume five to ten minutes before the first symptom onset and monitor the output continuously during the remainder of the transfer.
Schools building athletic recognition display programs that depend on clean historic footage know that transfers completed without systematic monitoring produce inconsistent quality in the final archive—active monitoring during resume is not optional.
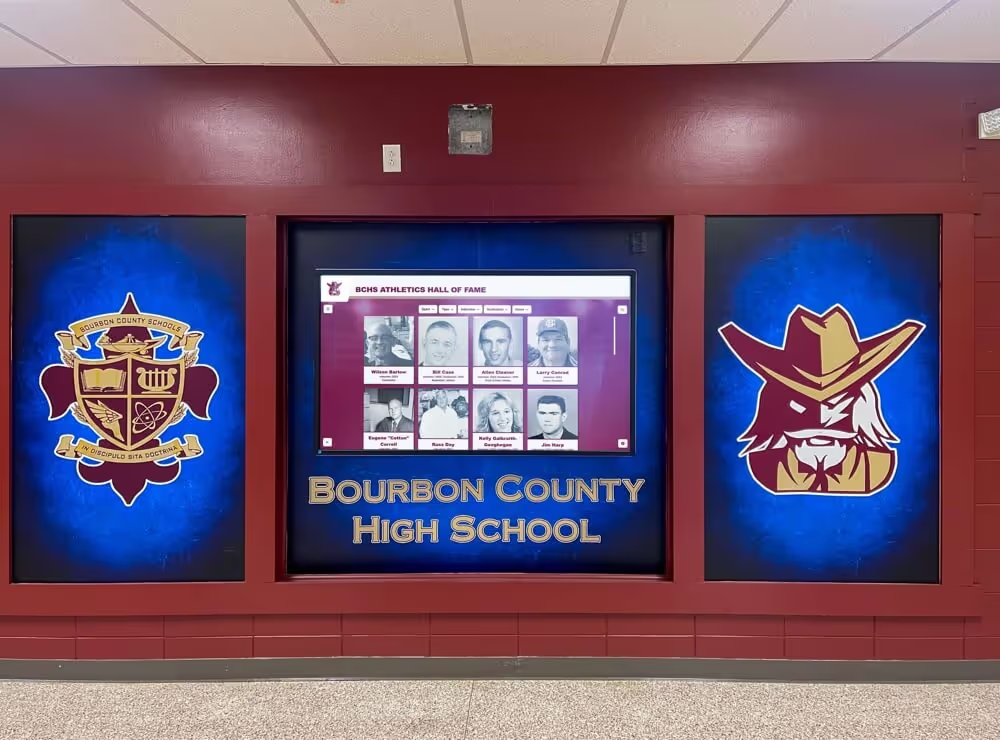
Recognition kiosks embedded in trophy cases provide visitors access to historic game recordings—the stop-and-inspect protocol applied during digitization is what ensures those recordings are complete and undamaged when they reach the display
Is your school preparing historic athletic footage for a recognition display?
Cleaning Escalation Ladder: From Safest to Most Involved
Not all cleaning approaches are appropriate for all staff. The escalation ladder below organizes cleaning steps from lowest risk and least technical involvement to highest risk and most technical requirement. School staff without specialized training in tape deck maintenance should not advance beyond Level 2. Levels 3 and 4 require either specialized training or professional service involvement.
Level 1 — Dry Cleaning Tape (Low Risk, Recommended as First Step)
A dry cleaning tape is a cassette containing a non-oxide cleaning ribbon that physically contacts the head drum as it plays. Dry cleaning tapes are appropriate as a first cleaning response when symptoms are mild to moderate and the reference tape test confirmed a head clog.
Procedure:
- Insert the dry cleaning tape into the deck
- Press Play and allow the cleaning tape to run for no more than fifteen to twenty seconds
- Stop and eject the cleaning tape
- Run the reference tape test again
Dry cleaning tapes are designed for brief use. Running a dry cleaning tape for more than twenty to thirty seconds per cleaning session risks abrasion of the head drum. If symptoms persist after a dry cleaning pass, do not repeat the dry cleaning tape—advance to Level 2.
A dry cleaning tape that resolves head clog symptoms quickly indicates that the clog was a surface deposit rather than a baked-on accumulation. Note in the log which cleaning method resolved the issue for future reference when planning cleaning intervals.
Level 2 — Wet Cleaning Tape with Approved Solvent (Moderate, Trained Staff Only)
Wet cleaning tapes are similar in form to dry cleaning tapes but are moistened with an isopropyl alcohol or head-cleaning solvent formulation before insertion. They are more effective than dry tapes for removing stubborn oxide deposits and accumulated residue, but require correct application of the solvent and brief, controlled use.
Procedure:
- Apply the solvent to the cleaning ribbon according to the manufacturer’s instructions—typically two to four drops, not saturating
- Insert the wet cleaning tape and press Play for ten to fifteen seconds maximum
- Stop and eject immediately—do not allow the wet cleaning tape to run until the ribbon dries in the deck
- Allow the deck’s tape path to air-dry for two to three minutes before running a reference tape test
- Confirm symptoms are resolved before resuming digitization
Wet cleaning tapes should not be used repeatedly on the same cleaning session without allowing the deck to dry between passes. If two wet cleaning passes do not resolve the symptoms, the clog is not responding to cleaning tape methods and the deck should be escalated to Level 4 (professional service) rather than attempting Level 3 without training.
Level 3 — Manual Head Cleaning with Isopropyl Alcohol and Lint-Free Swabs (High Risk, Trained Staff Only)
Manual head cleaning involves directly contacting the rotating head drum with a lint-free swab moistened with 91% or higher isopropyl alcohol. This approach is more effective than cleaning tapes for severe clogs but carries significant risk of head damage if performed incorrectly: the head drum contains extremely fragile ferrite or metal-in-gap head elements that can be permanently damaged by lateral swab pressure, abrasive materials, or incorrect technique.
This level of cleaning is not recommended for staff who have not received hands-on instruction from a tape deck maintenance technician. If your digitization program does not have staff with documented training in manual head cleaning, skip Level 3 and proceed directly to Level 4.
For trained staff only:
- Use only lint-free chamois or foam swabs specifically rated for head cleaning—never cotton swabs, tissue, or cloth
- Moisten the swab with 91%+ isopropyl alcohol—not rubbing alcohol, which contains additives
- Apply pressure only in the vertical direction of head drum rotation—never laterally across the head gap
- Wipe once per swab pass and use a fresh swab for each subsequent pass rather than reusing a swab that has collected oxide
Document every manual cleaning in the equipment maintenance log, not just the transfer log, so that head wear patterns can be tracked over time.
Level 4 — Professional Service Technician (For Persistent Clogs and Mechanical Problems)
If Levels 1 through 3 do not resolve clog symptoms, or if mechanical problems (unusual sounds during transport, tape eating, hesitation during the threading sequence, or failure to maintain proper tape tension) accompany the clog, the deck requires professional service before further digitization.
Signs that professional service is needed immediately:
- The deck makes grinding, clicking, or squeaking sounds during playback or transport
- Tape has been eaten—pulled from the cassette and wrapped around the capstan or head drum
- The eject sequence fails or does not complete normally
- Clog symptoms persist on the reference tape after Level 2 cleaning
- The deck has not been serviced within the last three to five years and is experiencing frequent clogging
Document the service date, technician or service organization, and any parts replaced in the equipment maintenance record. Decks returned from service should be tested with multiple reference tapes before irreplaceable historic tapes are transferred through them.
Schools that manage recognition display programs with structured quality standards apply the same principle to equipment: a deck returned from service should be verified before it processes irreplaceable content.
Handling Tapes Where the Problem Was Confirmed as Tape Damage, Not a Head Clog
When the reference tape test confirms that the deck is functioning correctly and the problem is in the tape being transferred, the response differs entirely from the cleaning escalation path. Damaged tapes require preservation-first handling decisions, not deck maintenance decisions.
Tapes with Visible Oxide Shedding or Sticky-Shed Symptoms
Oxide shedding and sticky-shed syndrome (binder hydrolysis) are the most common tape damage conditions that produce head-clogging symptoms during digitization. A tape with significant shedding deposits oxide onto the head drum with every second of playback—eventually clogging a clean deck.
The standard intervention for sticky-shed tapes is baking: a controlled, low-temperature drying process that temporarily reverses the binder hydrolysis and allows the tape to be played. Tape baking requires controlled equipment and documented procedures and should not be attempted without specialist guidance. A tape suspected of sticky-shed syndrome should be placed in a sealed container to limit further exposure to moisture and humidity, labeled with the diagnosis, and referred to a media preservation specialist for treatment.
Do not attempt to digitize a sticky-shed tape without prior treatment. Playing an untreated sticky-shed tape risks damaging the head drum, depositing residue throughout the tape path, and causing the tape to adhere to the head during playback—a failure mode that can destroy both the tape and the deck in a single incident.
Tapes with Physical Damage (Creases, Tears, Splice Points)
Tapes with visible physical damage—creasing, folding, torn edges, or splice points that have failed—should not be played on a standard VHS deck without specialist review. Physical damage that contacts the head drum can score the drum surface and cause irreversible head wear.
A media preservation specialist can assess whether physical repair is possible before digitization and whether specialized equipment (a tape deck with a modified or sacrificial transport path) is appropriate for transferring damaged tapes.
Document the location, type, and extent of physical damage in the archive record and label the tape container clearly so that the tape is not inadvertently placed in a standard deck by another staff member.
Every recording displayed in an athletic hallway was once on a tape that passed through a deck—the tape-head clog detection workflow is what ensured that the deck was clean and the tape undamaged before that transfer happened
Documentation: What to Record for Every Clog Inspection Event
A clog detection workflow that produces no documentation record provides no institutional value beyond the immediate transfer session. The following documentation captures the information that future staff, archivists, and IT teams need to understand the condition history of both the equipment and the tapes in the archive.
Transfer Log Entry for Each Inspection Event
Record the following for every inspection event, whether the clog was confirmed or ruled out:
| Field | Description |
|---|---|
| Tape identifier | File name, catalog number, game date, or other unique identifier |
| Tape format | VHS, S-VHS, Betamax, Hi8, 8mm, VHS-C, or other |
| Transfer date | Date the inspection occurred |
| Counter/timecode at symptom onset | Exact position where symptoms first appeared |
| Symptom description | Video noise type, audio impact, onset pattern |
| Tape inspection findings | Visible shedding, physical damage, or normal appearance |
| Reference tape test result | Deck problem confirmed / tape problem confirmed / inconclusive |
| Cleaning level applied | Level 1, 2, 3, or escalated to professional service |
| Post-cleaning reference tape result | Clean / still exhibiting symptoms |
| Outcome | Digitization resumed / tape held for specialist assessment / tape documented as damaged |
| Staff reviewer | Name or initials of staff member performing the inspection |
Equipment Maintenance Log
Separate from the transfer log, maintain an equipment log for each deck in the digitization setup. The equipment log tracks:
- Date and level of each cleaning performed
- Whether cleaning resolved symptoms or required escalation
- Any professional service events (service date, technician, work performed)
- Patterns in clogging frequency (a deck that requires cleaning after every two tapes is exhibiting different behavior than one that requires cleaning monthly)
Clogging frequency patterns are diagnostically useful: a deck that clogs frequently even on tapes with no visible shedding may have worn head drum components that are no longer maintaining proper contact pressure, requiring service rather than repeated cleaning. A deck that clogs only on certain tapes—particularly tapes from a specific era or manufacturer—points to a characteristic of those tapes rather than the deck.
Schools developing comprehensive recognition programs with digital hall of fame displays maintain equipment documentation with the same rigor they apply to the archive itself—the quality of the archive depends on the condition of the equipment that created it.
Tape Condition Record
For every tape in the archive, maintain a condition record that captures:
- Format and physical cassette condition at initial receipt
- Any symptoms observed during digitization (regardless of cause)
- Diagnosis (head clog / tape damage / none observed)
- Treatment applied (cleaning / tape baking referral / specialist assessment)
- Digitization status (complete, incomplete, held for specialist, documented as damaged)
- Storage recommendation (standard storage / controlled environment / archival cold storage)
A tape condition record that begins at first contact with the tape and follows it through digitization gives any future staff member or archivist a complete picture of what the tape has been through without requiring them to reconstruct the history from general notes.
Programs that track school athletic history and rivalry records digitally apply structured record-keeping to their archival content as a matter of institutional practice—the tape condition record is the archival equivalent of provenance documentation for a physical artifact.
Clog Prevention: Reducing Frequency Through Transfer Practices
Detection and cleaning are responses to a problem that has already occurred. Some practices reduce the frequency of clog events during a digitization project.
Inspect tapes visually before loading. A brief visual inspection through the cassette window before loading a tape into the deck—looking for visible shedding powder, tape deformation, or physical damage to the cassette shell—takes thirty seconds and can identify a high-risk tape before it enters the deck.
Clean the deck proactively at regular intervals. Rather than waiting for clog symptoms to appear, establish a cleaning schedule: a dry cleaning tape pass after every three to five tapes, or after every two hours of continuous transfer, whichever comes first. Proactive cleaning catches accumulated oxide before it reaches the threshold for symptom onset.
Transfer tapes in order of condition, starting with the best-condition tapes. Tapes in better condition shed less oxide and are less likely to clog the deck during transfer. Transferring them first—and saving deteriorated tapes for after cleaning and calibration checks are well-established—reduces the risk that a high-shedding tape clogs the deck during a batch when staff may be less attentive to monitoring.
Store tapes shell-down or in a controlled environment before transfer. Tapes stored in high-humidity environments experience accelerated binder hydrolysis, the chemical process that produces sticky-shed. Tapes with sticky-shed symptoms should be separated from the main transfer queue and referred for specialist assessment before digitization.
Allow the deck to warm up before critical transfers. Operating a cold deck for the first few minutes of a session while it comes to thermal equilibrium can reduce the likelihood of tracking-related issues that resemble clog symptoms. Run a reference tape for five to ten minutes before beginning a session with irreplaceable original content.
Schools that also rely on event recognition displays for fundraising and community events know that preparation before the event prevents problems during it—the same logic applies to digitization sessions: preparation time invested in equipment check and tape inspection reduces crisis response time during the transfer.
When a Tape Cannot Be Transferred by School Staff
Some tapes in a school athletic archive will require specialist involvement regardless of how well the detection workflow is executed. The following conditions exceed what school staff should attempt to address without professional support:
- Visible mold on the tape surface: Mold requires controlled-environment handling and personal protective equipment; infected tapes should be sealed in a plastic bag, isolated from the rest of the archive, and referred to a media preservation lab
- Sticky-shed syndrome confirmed by repeated clogging on a clean deck: Requires tape baking equipment and controlled procedures before digitization is possible
- Mechanical tape failure (tape eating, catastrophic tangling, tape separation from the reel hub): Physical repair requires tools and expertise specific to tape format mechanics
- Film-based athletic footage (16mm or Super 8 game films from the 1950s through 1970s): Film requires film-specific transfer equipment and cannot be played on video deck hardware
Acknowledging the limits of school-level digitization capacity is part of a responsible archive workflow—not every tape in the archive needs to be transferred by school staff with school equipment. Some of the most valuable recordings in a school’s athletic history may be on formats or in conditions that justify investment in professional transfer services. The documentation generated by the detection workflow—symptom descriptions, reference tape test results, tape condition observations—gives a professional transfer service the context they need to assess the tape without requiring additional testing.
Programs preparing athletic content for school recognition displays that will serve the school community for decades benefit from making the right referral when a tape needs more than school-level equipment can safely provide.
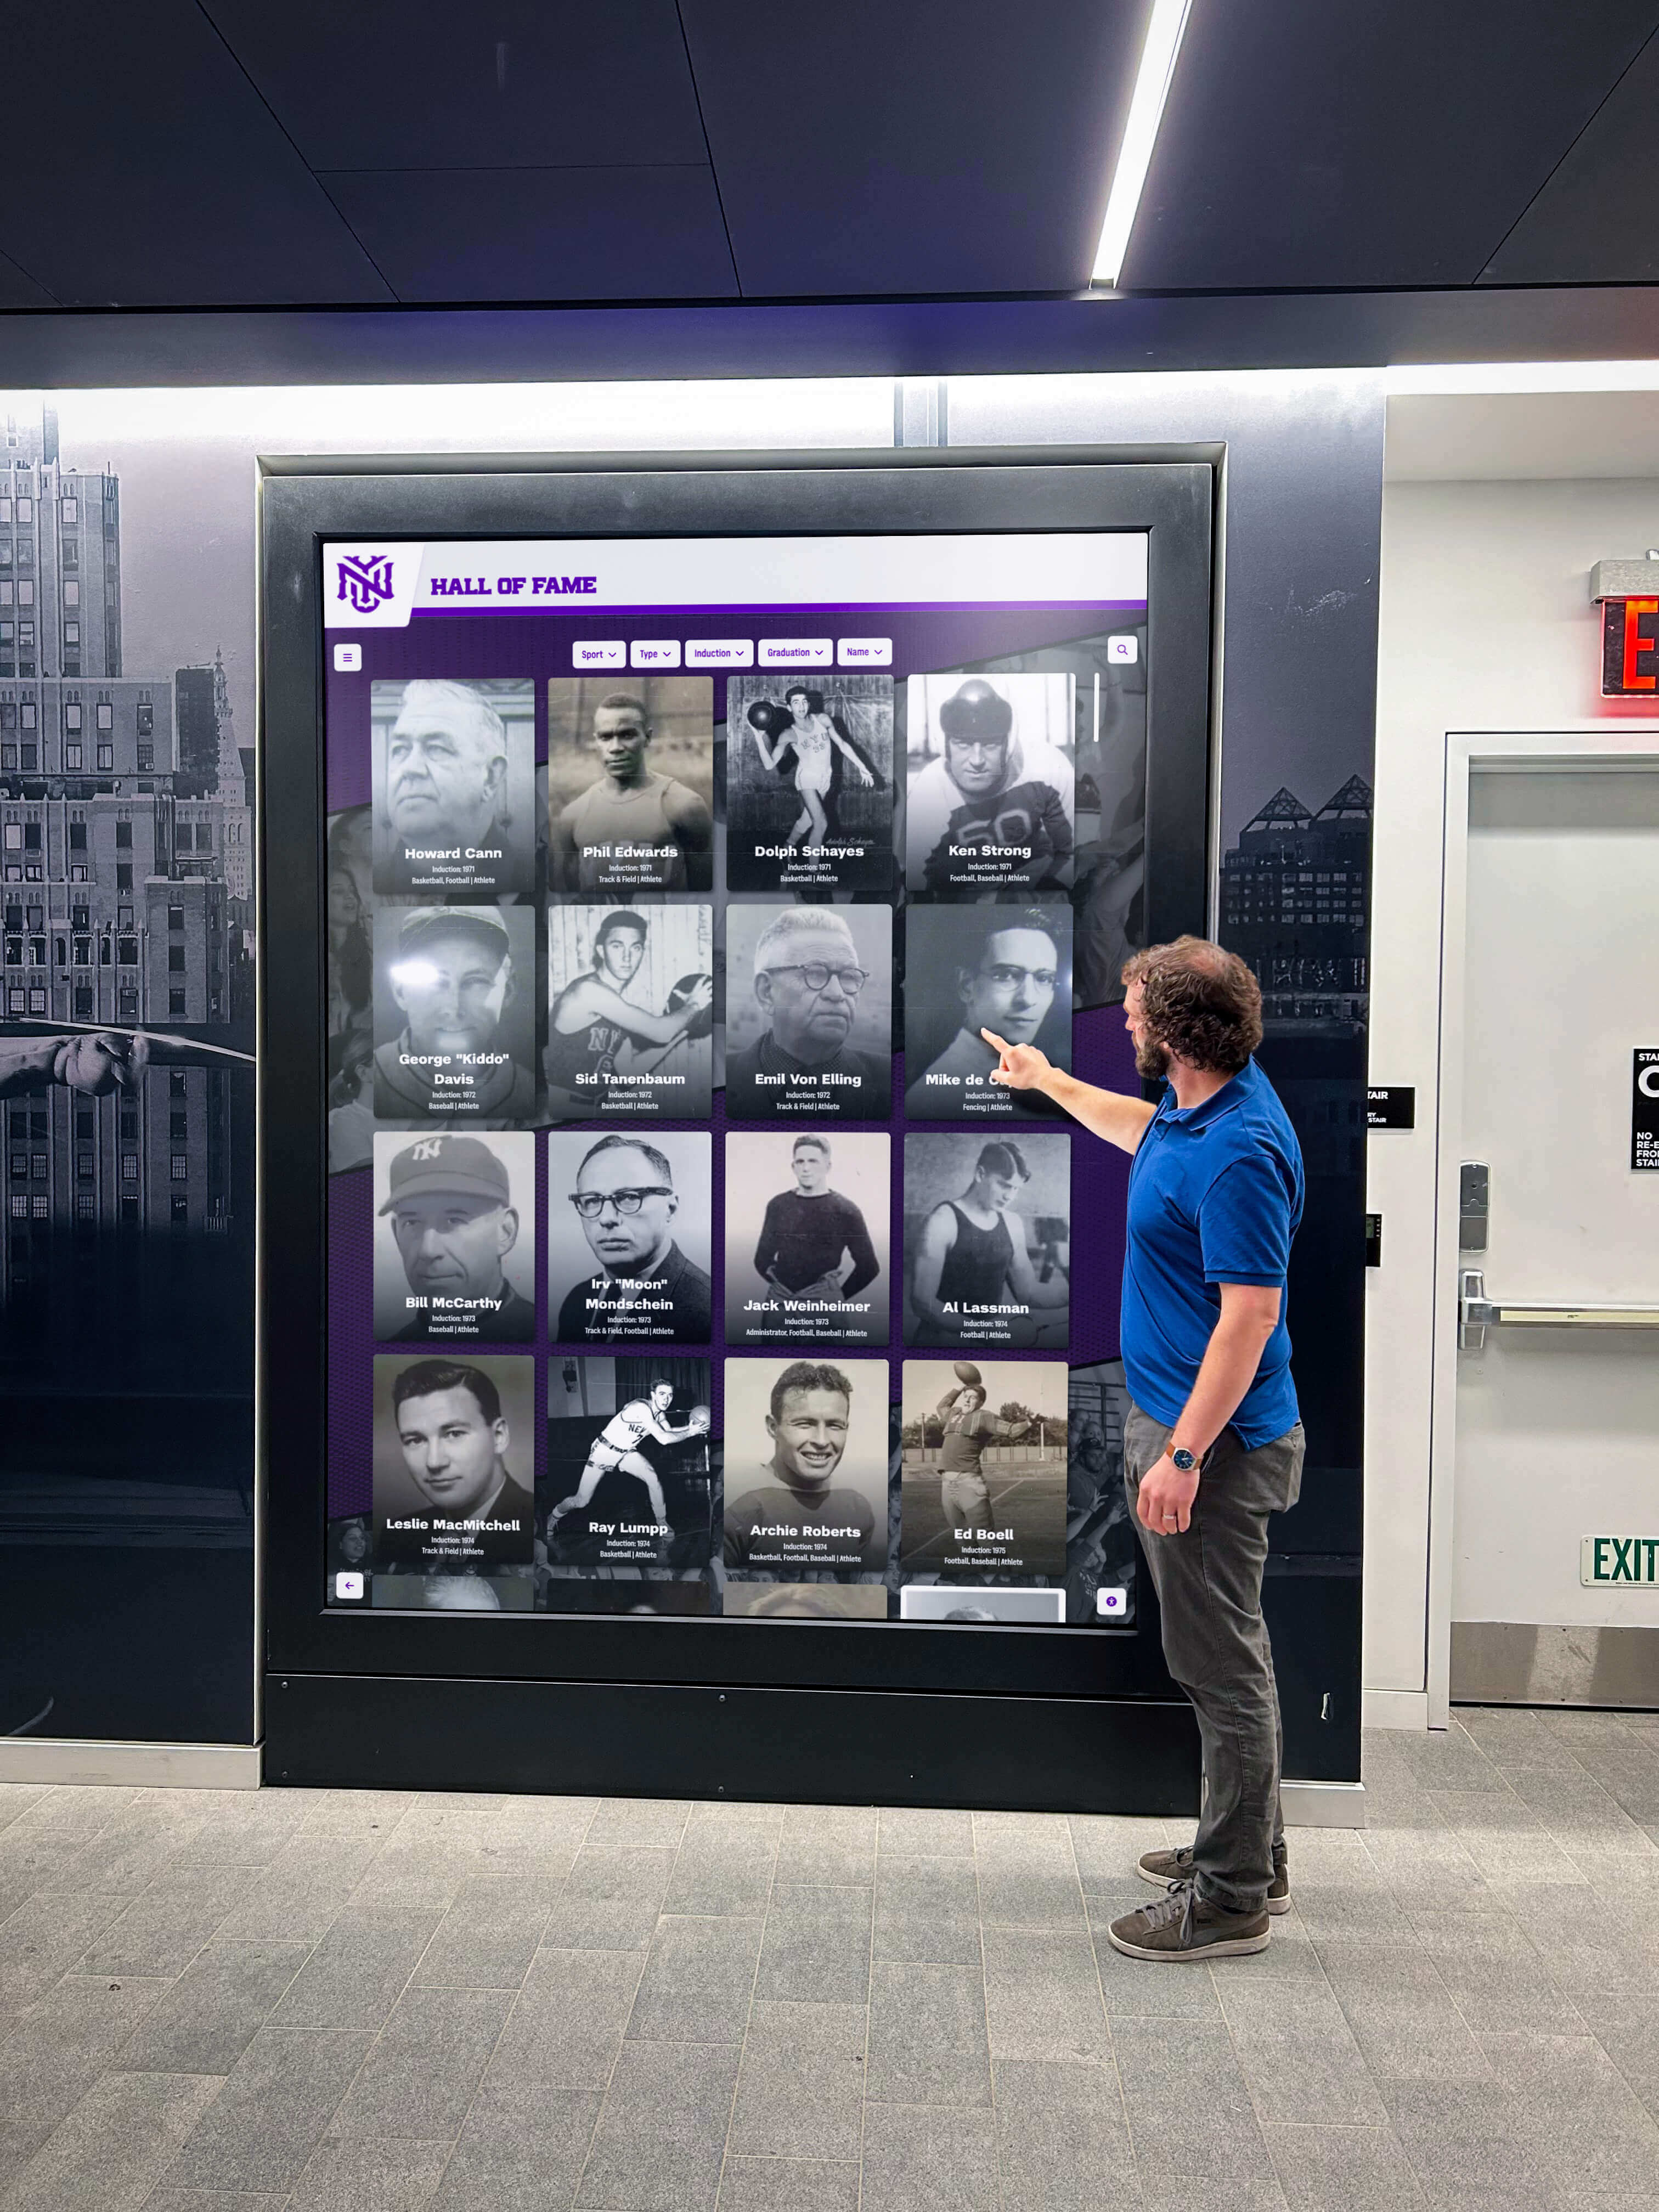
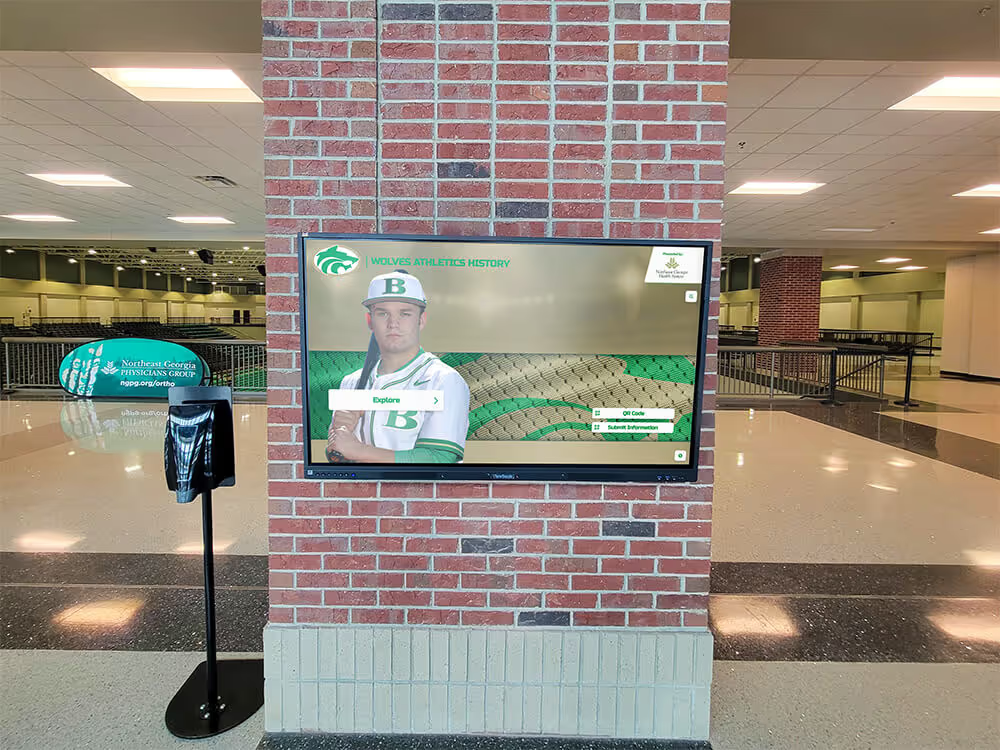
Every recording accessible at an interactive hall of fame display represents a successful transfer—the tape-head clog detection workflow is the quality checkpoint that protected that content during digitization
Frequently Asked Questions About Tape-Head Clog Detection
What is the fastest way to tell whether a clog or a bad tape is causing the noise during a transfer?
Run a known-good reference tape through the same deck for sixty to ninety seconds. If the reference tape plays cleanly, the original tape has a problem at or near the location where symptoms appeared. If the reference tape shows the same noise pattern, the deck has a head clog. The reference tape test takes less than two minutes and provides a definitive diagnosis in most cases.
Can I continue digitizing if the clog symptoms are only occasional—a few frames of noise every few minutes?
No. Intermittent symptoms indicate a clog that is developing—getting worse with each pass of the head drum—rather than a stable condition. Continuing playback through a developing clog risks converting intermittent noise into continuous dropout and risks depositing enough oxide on the head drum to abrade the head elements against the tape. Stop at first symptoms, inspect, and clean before resuming.
How often should a VHS deck used for archive digitization be cleaned proactively?
For active digitization projects—decks running continuously through multiple tapes per day—a dry cleaning tape pass every three to five tapes is a reasonable baseline. Adjust based on the condition of the tapes in the transfer queue: tapes from the 1980s and early 1990s shed more oxide than tapes from the late 1990s onward, and a queue of early-era tapes may require cleaning more frequently. Record cleaning events in the equipment log and review frequency patterns monthly to identify whether the schedule is appropriate.
A tape clogged the deck and now the deck is eating every tape I load. What happened?
Tape eating—where the tape is pulled out of the cassette and wrapped around the capstan or head drum—is typically a transport problem rather than a head clog problem. A tape that clogged a deck and left a significant oxide deposit in the tape path may have fouled the capstan or pinch roller rather than the head drum. Do not attempt to remove a tape that has been eaten—stop all deck operation and refer to professional service. Attempting to manually extract an eaten tape risks tearing the tape and damaging the deck mechanism.
We have a 1987 state championship VHS tape that shows visible sticky residue inside the cassette shell. Can we play it?
Not without specialist treatment. The sticky residue indicates binder hydrolysis (sticky-shed syndrome). Playing this tape on a standard deck will deposit adhesive residue throughout the tape path and onto the head drum, potentially damaging both the tape and the deck. Place the tape in a sealed container, label it with the diagnosis and the date, and contact a media preservation lab or professional tape transfer service for assessment. Sticky-shed treatment (low-temperature baking) is a standard preservation procedure that can make the tape playable for a transfer—but it must be performed correctly before the transfer, not skipped.
Does a wet cleaning tape leave residue in the deck that could damage the next tape transferred?
A properly applied wet cleaning tape—moistened with the correct amount of solvent, run for the specified duration, and followed by an appropriate drying period—should not leave residue that damages subsequent tapes. Allow at least two to three minutes of drying time after a wet cleaning pass before inserting any tape. If the reference tape test after cleaning shows any change in playback quality compared to a pre-cleaning baseline, allow additional drying time or run a second dry cleaning pass to absorb any remaining solvent.
How should we store tapes that have been identified as having sticky-shed symptoms while waiting for specialist assessment?
Store sticky-shed tapes in a sealed plastic bag inside their cassette case at a stable temperature—ideally between 65°F and 70°F—away from humidity. Do not store them with unaffected tapes, as binder deterioration products can affect nearby materials over time. Label each sealed bag with the tape identifier, diagnosis, date of identification, and the staff member who identified the condition. The documentation ensures that the tape is not inadvertently loaded into a deck by another staff member before specialist assessment is completed.
Building the Tape-Head Clog Detection Workflow Into Every Transfer Session
A tape-head clog detection workflow that exists only in documentation and is applied only when symptoms appear is less effective than a workflow that is built into the standard transfer session from the first tape to the last. The most valuable practices are those executed before symptoms appear—reference tape checks at the start of each session, proactive cleaning at regular intervals, visual tape inspection before loading, and continuous monitoring of the deck output throughout each transfer.
For schools managing large backlogs of historic athletic recordings—game footage, banquet recordings, induction ceremonies, championship highlights—consistency in the detection and inspection routine is what separates an archive that grows with confidence from one that discovers problems after the fact, when re-digitization from the original tape may no longer be possible.
The athletic history preserved on tapes in a school’s collection represents decades of competition, ceremony, and achievement that cannot be recreated. The coaches whose voices are recorded at halftime speeches, the crowds celebrating a first championship, the induction ceremonies for athletes who have since passed away—these recordings are not replaceable. A detection workflow that takes an extra five minutes per session is insurance against the loss of content that has no price.
Schools preparing historic recordings for recognition display programs that will serve alumni, students, and the broader community for years to come apply the same care to the digitization process that they apply to the displays themselves—because the quality of what appears on the display begins with the quality of the transfer workflow that produced it.
Rocket Alumni Solutions builds interactive touchscreen halls of fame, digital athletic archives, and lobby recognition displays that give historic game recordings a permanent, searchable home in your school. If your program is digitizing athletic content and wants to see how the platform presents video, athlete profiles, and archive media to students and alumni, request a live demo and see it working with your school’s recognition goals in mind.