



Athletic archive silver mirroring inspection is the process of examining historic team photographs—specifically gelatin silver prints—for the blue-metallic or iridescent sheen that signals silver ions have migrated to the surface of the emulsion. That sheen is not a lighting artifact and it will not disappear on its own. It is a visible indicator that the photograph has begun a form of deterioration that, left unchecked in poor storage conditions, can eventually obscure the underlying image. For schools preparing a digitization project—scanning old championship portraits, team composites, or individual athlete headshots to publish in a digital athletic archive or hall-of-fame display—identifying silver mirroring before scanning determines which photographs need urgent attention, which can be scanned as-is, and which require professional conservation review.
This guide is written for athletic directors, school administrators, IT and AV teams, alumni leaders, and booster-club coordinators. It covers what silver mirroring is and why it matters for historic team photographs, how to inspect prints correctly using raking light, how to classify severity, what to do with photographs at each severity level, and how inspection results connect to the scanning and display workflow. No statistics have been invented. No restoration treatments beyond school-level capabilities are recommended without professional guidance.
This guide describes practical school-level inspection workflows. Questions about professional conservation treatment, institutional records obligations, or formal preservation standards should be directed to a qualified photographic conservator or your district’s records officer.
Historic team photographs are the visual core of most school athletic archives: the 1974 state championship basketball squad, the 1989 swim team composite, the individual portrait cards from a decade of football seasons. These images are typically gelatin silver prints—the dominant black-and-white photographic format from the 1880s through the 1990s—and gelatin silver prints are among the most archivally stable photographic materials ever produced. They are also susceptible to a specific form of surface deterioration called silver mirroring, and many school archives contain photographs in various stages of it without anyone having formally identified the problem.

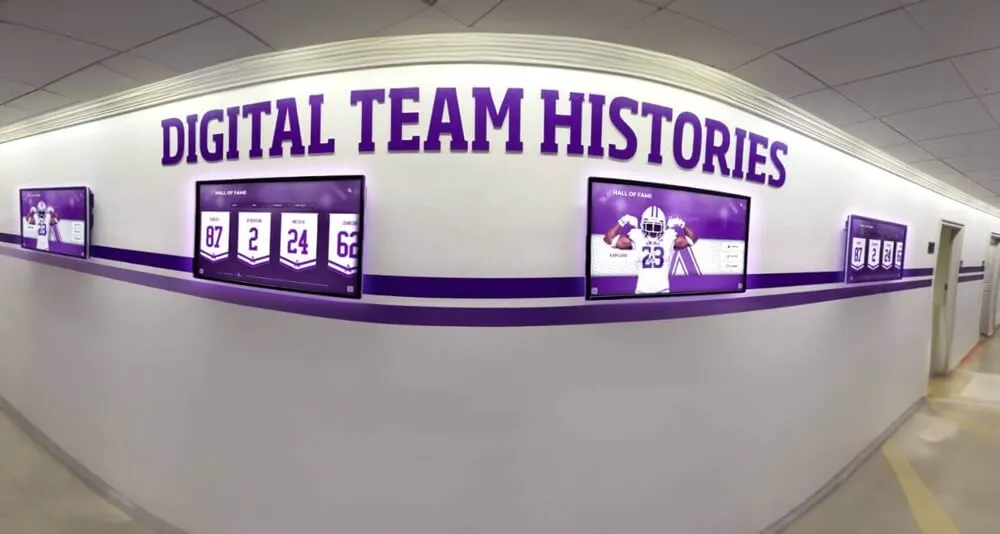
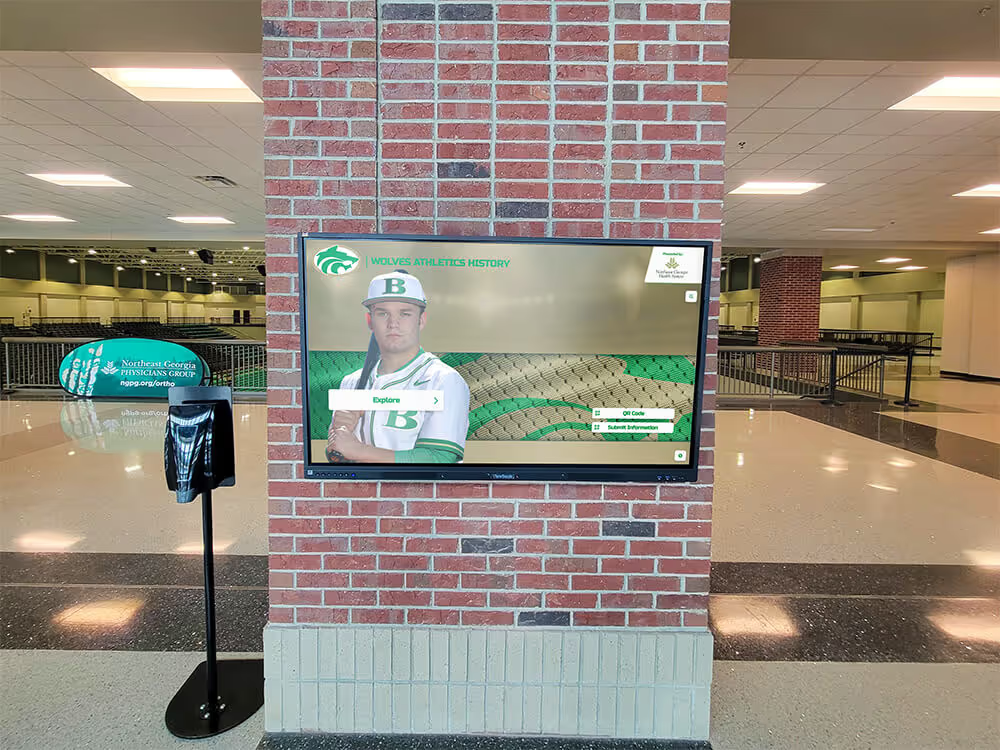
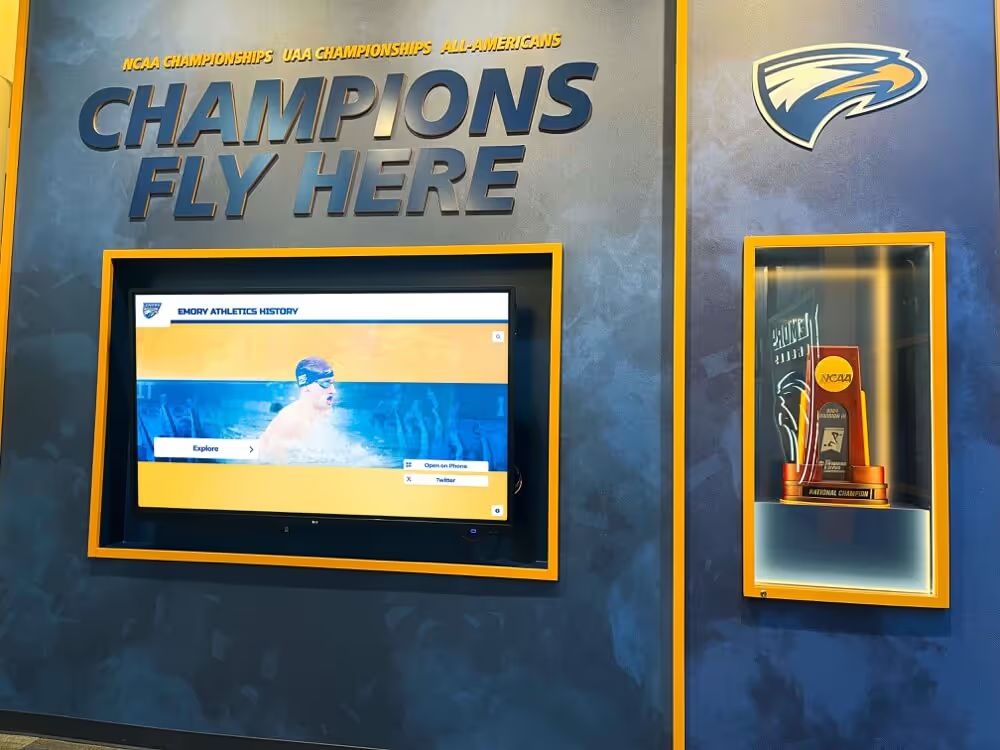
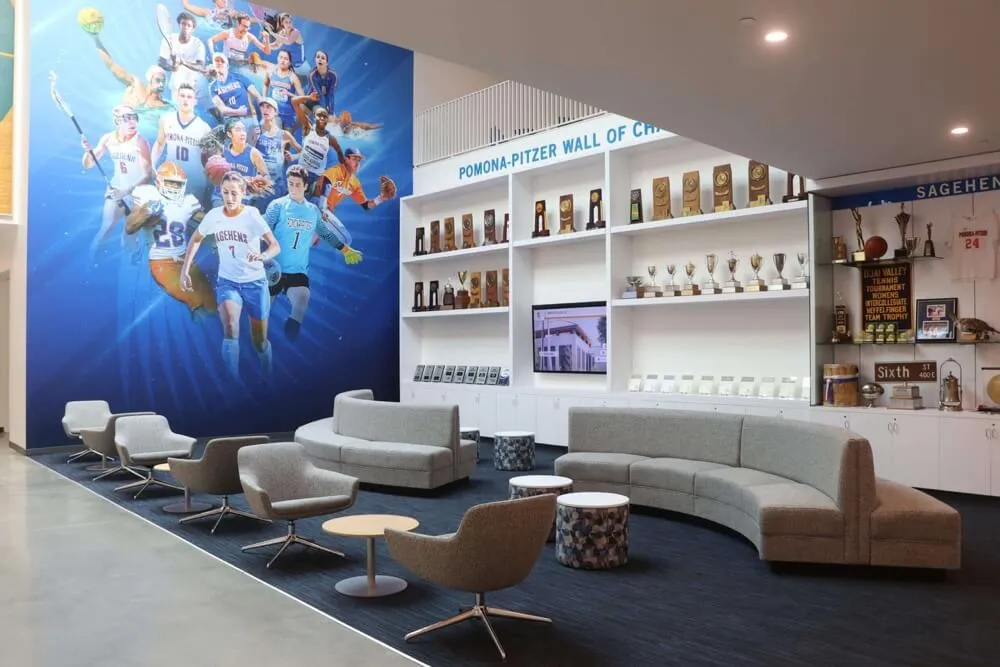
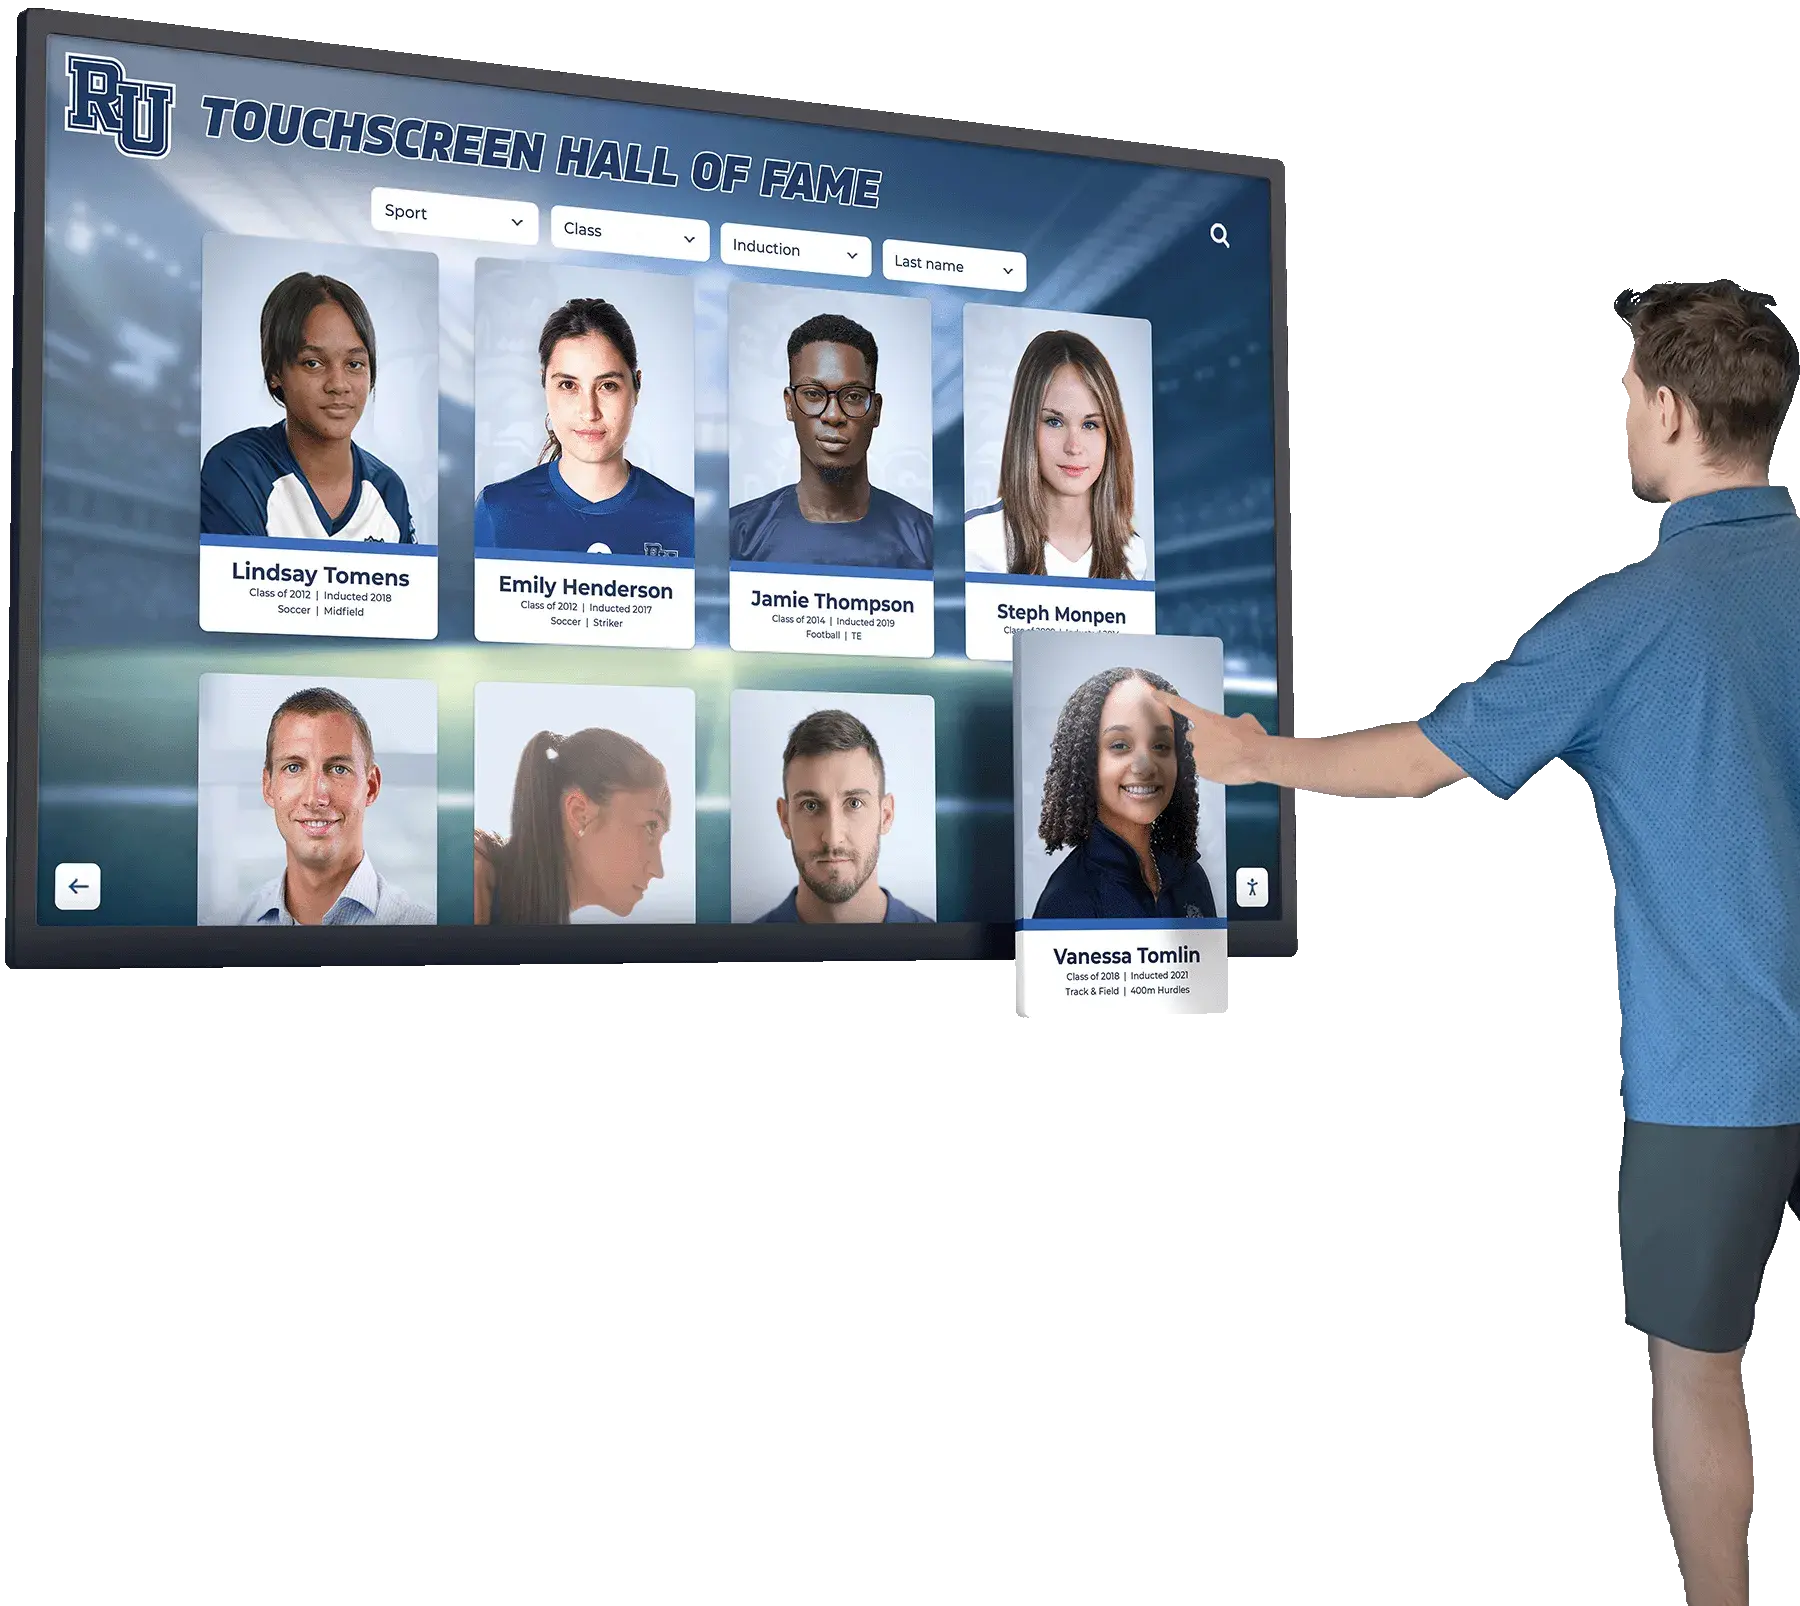
Historic athlete portrait cards like these are typically gelatin silver prints—the format most susceptible to silver mirroring—and a formal inspection pass before scanning ensures deterioration is documented before digitization proceeds
What Silver Mirroring Is and Why It Appears
A gelatin silver print holds its image in a layer of gelatin that contains suspended silver particles. Over time, in the presence of oxidizing gases—sulfur dioxide from air pollution, hydrogen sulfide from off-gassing cardboard storage boxes, ozone—or in elevated humidity conditions, silver ions can migrate from within the emulsion toward the surface. At the surface, those ions are reduced back to metallic silver in an extremely fine, dispersed form.
That surface layer of colloidal metallic silver does not look like the silver inside the emulsion. Because the particles are so small and dispersed, they reflect light differently than the underlying image silver does. The result is the characteristic blue-silver or iridescent metallic sheen that appears in the shadow areas and dark margins of affected photographs. In reflected light at a straight-on viewing angle, the print may look normal. Under oblique or raking light, the mirrored surface becomes immediately apparent.
Silver mirroring is sometimes called “silvering out,” “silvering,” or “mirror effect.” All describe the same phenomenon. The name comes from the way severely affected areas look like tiny patches of tarnished metal laid over the photographic image—distinct from the image detail beneath and visually inconsistent with the print surface around it.
Three factors drive silver mirroring in athletic archives:
| Factor | How It Causes Mirroring | Common Source in School Archives |
|---|---|---|
| Oxidizing gases | React with silver in the emulsion, mobilizing ions toward the surface | Acidic storage boxes, wooden shelving, off-gassing adhesives, cardboard folders |
| Elevated humidity | Provides the electrochemical pathway that allows silver ion migration | Uncontrolled storage rooms, equipment closets, basements |
| Pollutant exposure | Sulfur compounds and ozone accelerate the migration process | Proximity to science labs, custodial storage, HVAC systems drawing outdoor air |
The most common scenario in school athletic archives is photographs stored in acidic cardboard boxes or paper folders in an uncontrolled environment—a coaching office closet, a trophy room with no climate regulation, a booster club storage area. These conditions do not damage photographs immediately, but over decades they accelerate silver mirroring and other deterioration processes.
Why Inspection Must Happen Before Scanning
Silver mirroring changes how a photograph interacts with a scanner’s light source. In mild cases, the underlying image is fully scannable and the mirroring has little effect on digital capture quality. In moderate cases, the metallic surface layer can create uneven reflectance under the scanner’s lamp—some shadow areas may scan lighter than they should, with a slight blue cast in shadow regions that may or may not be correctable in post-processing. In severe cases, the mirrored surface can create reflective hot spots that significantly distort the scanned image.
Identifying silver mirroring before scanning accomplishes four things:
- Priority triage: Photographs with moderate or severe mirroring should be scanned sooner rather than later, before deterioration advances further. An uninspected collection processed in arbitrary order may leave the most at-risk items waiting while stable photographs are processed first.
- Scanner setup adjustment: Knowing that a photograph has surface mirroring allows the scanner operator to adjust lighting angle and reflection control rather than discovering the problem after a failed capture.
- Documentation: The inspection creates a condition record for every photograph before digitization—a baseline that documents how each print looked at the time of scanning, which protects the school if questions later arise about image condition.
- Conservation referral: Photographs with severe mirroring that significantly obscures the image may warrant professional conservation consultation before scanning rather than after.
Schools that skip the inspection phase often discover the problem mid-project: they scan a run of photographs, review the output, and find that a subset has unexpected tonal anomalies or bluish shadow casts that require re-scanning. A brief pre-scan inspection pass prevents that rework. For programs building a digital archive that will serve as the foundation for a digital hall of fame or recognition display, arriving at the scanning step with a fully inspected and triaged collection produces a more predictable and better-documented digitization project.
Equipment Needed for a Silver Mirroring Inspection
The inspection technique for silver mirroring requires a directional light source and a dark or dimmed room. You do not need specialized photographic equipment.
Required:
- A portable LED work light or adjustable desk lamp with a defined directional beam (not a diffuse overhead fixture)
- A clean, flat surface—a table or lightbox stand—where individual photographs can be laid flat
- Clean cotton or nitrile gloves (to avoid transferring oils and salts from hands to print surfaces)
- A condition log—a spreadsheet or paper form for recording findings by photograph
Optional but helpful:
- A magnifying loupe (4x–10x) for examining small areas more closely
- A macro-capable camera or phone for documenting examples of each severity level
- A small flashlight as a secondary oblique light source for examining bound or mounted photographs that cannot be fully laid flat
What you do not need:
- UV or infrared equipment (useful for some other forms of photographic deterioration but not necessary for silver mirroring identification, which is a visible-light phenomenon)
- Chemical test kits (inspection is visual; chemical identification is a laboratory procedure outside school-level workflows)
Step-by-Step Inspection Procedure
Step 1 — Prepare the Inspection Environment
Set up in a room where overhead lighting can be reduced or turned off. A dimmed room allows the oblique light source to reveal surface phenomena that are invisible under ambient light. Position your directional light source at the edge of your work table so the beam can be aimed at a low angle across the surface of photographs laid flat.
Put on your cotton or nitrile gloves before handling any photograph.
Step 2 — Position the Photograph Under Raking Light
Lay the photograph face-up on the flat surface. Position your light source so the beam strikes the photograph at an oblique angle—roughly 10 to 30 degrees from the plane of the print surface, not overhead. This angle is called raking light or oblique illumination. It reveals surface texture, unevenness, and reflectance differences that flat overhead lighting conceals.
Hold the light steady and examine the entire print surface, moving your viewing angle as needed to see all areas clearly.
Step 3 — Identify the Characteristic Appearance
Look for these specific indicators:
- A blue-silver, blue-gray, or iridescent metallic sheen in the dark or shadow areas of the image—the areas that appear darkest in normal reflected light
- The sheen is typically most pronounced at the edges and corners of the print before it extends toward the center
- The mirrored surface has a distinct reflective quality different from the matte or semi-matte appearance of unaffected areas
- In some cases, the mirrored area has a slightly different texture—slightly smoother or more reflective than surrounding emulsion
What silver mirroring does not look like:
- Scratches or abrasion (which are linear and disrupt the image surface rather than coating it)
- Water staining (which leaves tide marks or irregular discoloration without the metallic sheen)
- Fading (which reduces image density without adding a surface sheen)
- Fingerprints (which appear as a different kind of sheen with a greasy texture rather than metallic)
Step 4 — Examine High-Risk Zones First
Silver mirroring typically appears first in predictable locations. Examine these zones before assessing the full print surface:
- Image edges and corners: Mirroring almost always begins at or near the margins before spreading toward image center
- Shadow areas: The deepest, darkest tones—the black areas of a gymnasium floor, a dark uniform, a dark background—are where mirroring is most visible because there is more silver in those areas to migrate
- Any area that has been in contact with acidic materials: Marginal areas that rested against an acidic folder edge often show more advanced mirroring than the center of the print
Step 5 — Record the Finding
For each photograph, record a severity rating (see the classification table below), the location and extent of the mirroring, and whether any areas of the image appear significantly obscured. Enter this information in your condition log before moving to the next photograph.
If a photograph is in a frame, mat, or album page that prevents full examination under raking light, note this limitation in the record. These items should be flagged for more thorough assessment before scanning.

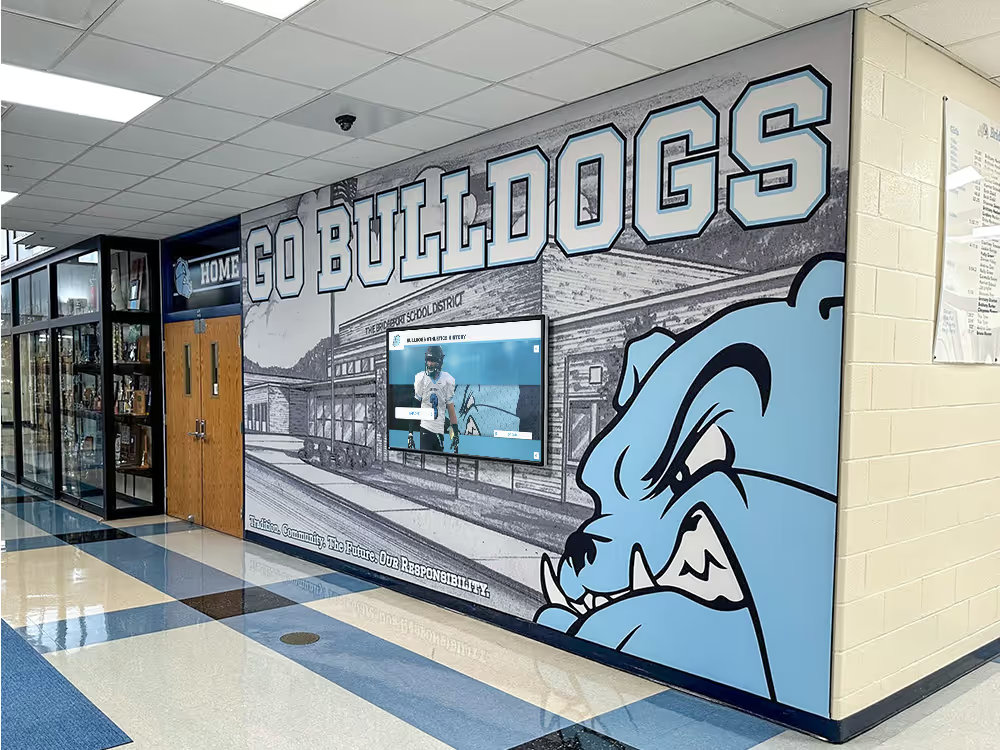
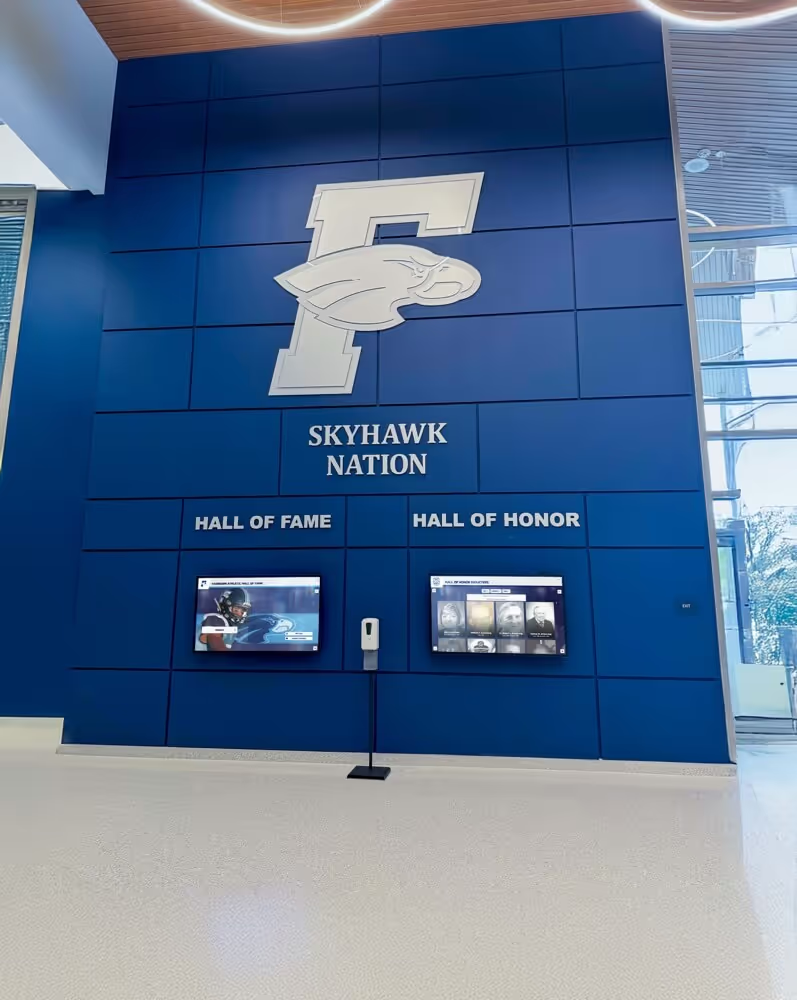
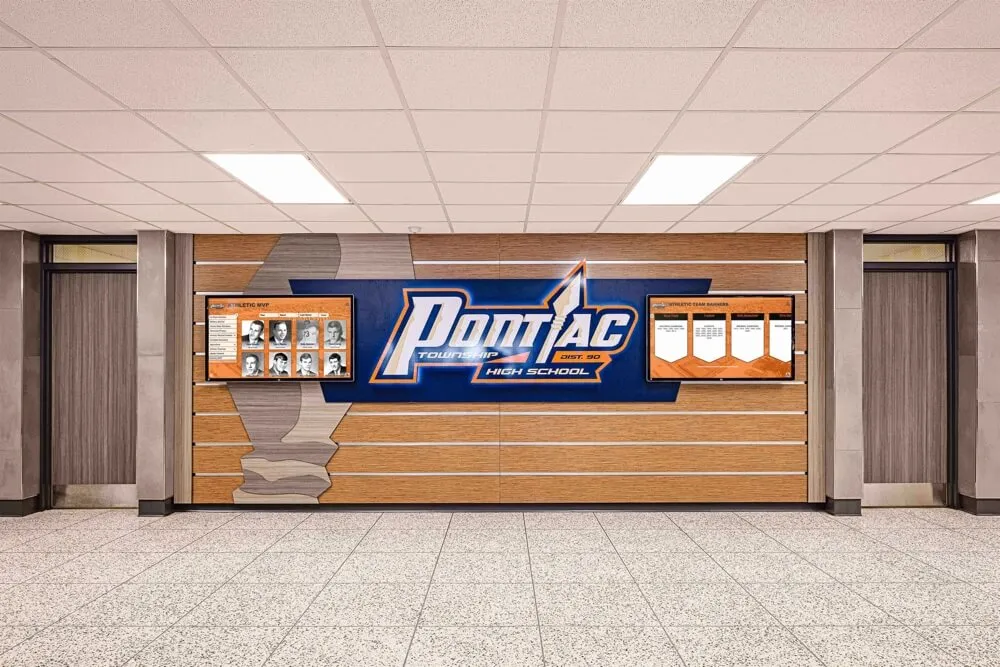
Historic athlete portraits inspected for silver mirroring before scanning produce cleaner digital files for recognition displays—inspection is the step that connects physical archive condition to display output quality
Silver Mirroring Severity Classification
Classify each inspected photograph using the four-level scale below. Record the severity in your condition log. This classification drives the triage and next-action decisions in the section that follows.
| Severity Level | Appearance Under Raking Light | Typical Location | Image Readability |
|---|---|---|---|
| None | No metallic sheen visible at any angle or in any zone | — | Full image detail visible and scannable |
| Mild | Faint blue-silver sheen visible only in the deepest shadow areas or at extreme margins; disappears when light angle changes slightly | Edges and darkest tones only | Full image detail visible; sheen unlikely to affect scan quality |
| Moderate | Clear metallic sheen across shadow areas; may extend slightly into midtones; visible without extreme raking angle | Edges, shadow areas, beginning to enter midtones | Image fully readable; sheen may cause minor reflectance inconsistency in scans |
| Severe | Pronounced metallic sheen covering shadow areas and significant portions of midtones; may be partially visible in normal reflected light | Shadow areas, midtones, and margins broadly | Image partially obscured; scanning may be affected; professional consultation appropriate |
For most school athletic archives, the majority of photographs will fall into the “None” or “Mild” categories if photographs were stored in reasonable conditions. “Moderate” is common in collections stored for decades in acidic enclosures or uncontrolled humidity. “Severe” mirroring in a photograph that has been stored for less than twenty years usually indicates an unusually problematic storage environment.
Triage: What to Do at Each Severity Level
None — Standard Scanning Queue
Photographs with no silver mirroring can move directly into your standard scanning queue. No special handling or scanner adjustment is required. Document the finding as “No mirroring observed” and proceed with normal digitization workflow.
Mild — Standard Scanning with Condition Note
Photographs with mild mirroring are typically fully scannable without special adjustment. Scan using your normal settings. Document the finding in the archive record so future users of the digital file understand the original print’s condition at the time of scanning.
Storage improvement: After scanning, re-house mild-mirroring photographs in acid-free enclosures if they are not already stored that way. This slows or halts further migration.
Moderate — Priority Scanning with Scanner Adjustment
Move photographs with moderate mirroring to the front of the scanning queue. The metallic surface layer can interact with a scanner’s built-in light source in ways that create tonal inconsistencies in the captured image. Two adjustments improve results:
- Disable hardware dust-reduction features (Digital ICE and similar infrared-based systems) for silver prints. Hardware dust reduction does not work on silver-based materials and can actually misread the silver emulsion as damage. This is the same caution noted in standard photo cleanup workflows.
- Make a test scan and review shadow areas for unexpected brightness, blue cast, or reflective hot spots before committing to the full photograph. Adjust lamp brightness or scan angle if your scanner permits it.
Document both the photograph’s condition and any scanner adjustments made.
Storage improvement: Immediately re-house in acid-free enclosures and, if possible, improve storage environment before returning original prints to storage.
Severe — Conservation Consultation Before Scanning
Photographs with severe mirroring that obscures significant image area present a judgment call. Scanning may capture usable image data in less-affected areas, but if the mirroring has significantly disrupted the emulsion surface, scanning without preparation may not produce a useful result—and improper handling of fragile, severely deteriorated prints risks additional damage.
For photographs with severe mirroring and significant recognition value—a founding-year championship team portrait, an individual photograph of a hall-of-fame inductee for whom no other image survives—professional consultation before scanning is the appropriate step. A photographic conservator can assess whether conservation treatment is feasible, advise on safe handling and scanning procedure, and provide a condition report that becomes part of the archive record.
If a severe-mirroring photograph must be scanned without professional guidance (because delay is not possible), handle it with extreme care, make at least two test scans at different settings before finalizing, and document the condition and limitations of the resulting digital file.
Building a Silver Mirroring Inspection Log
The inspection produces a condition record for every photograph in the collection. A simple spreadsheet structure works well:
| Column | Content |
|---|---|
| Photo ID | Your numbering or naming convention for the physical print |
| Subject | Sport, year, team or individual name |
| Physical format | Team composite, individual portrait, candid, press clipping |
| Storage location | Where the print is currently stored |
| Mirroring severity | None / Mild / Moderate / Severe |
| Location of mirroring | Edges, shadow areas, midtones, or describe extent |
| Inspector | Staff member who conducted the inspection |
| Inspection date | Date of assessment |
| Recommended action | Standard queue / Priority scan / Conservation referral |
| Post-inspection storage change | Yes / No; describe if yes |
This log serves multiple purposes beyond the immediate scanning project. It is a condition baseline that documents the state of the collection at the time of digitization, useful if questions later arise about whether damage was pre-existing or occurred during handling. It also identifies which photographs are most at risk and provides evidence for storage improvement decisions. Programs managing large historical collections benefit from connecting this record to a broader digital archive inventory system where physical condition notes and digital file records are maintained together.

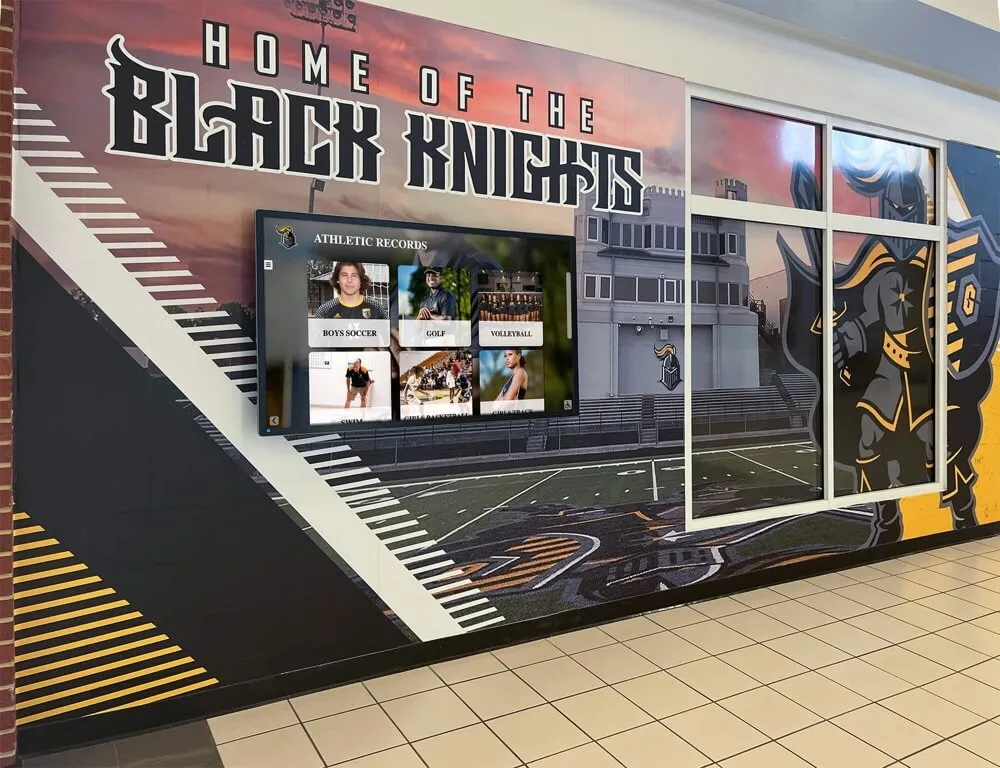
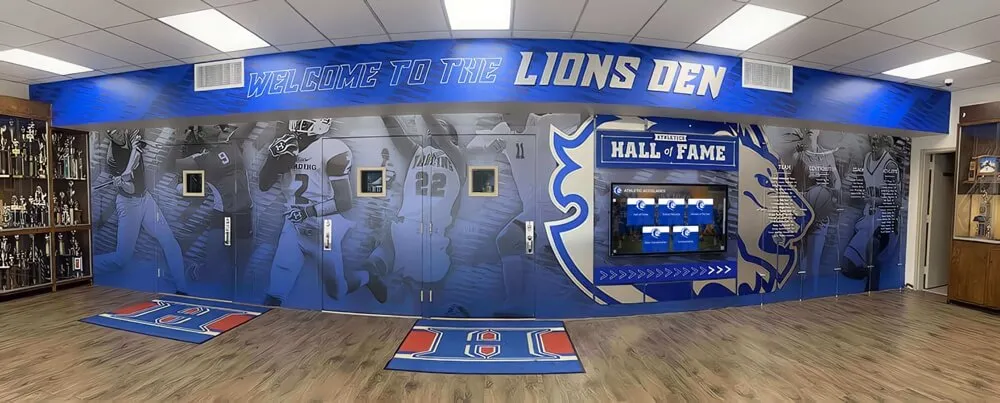
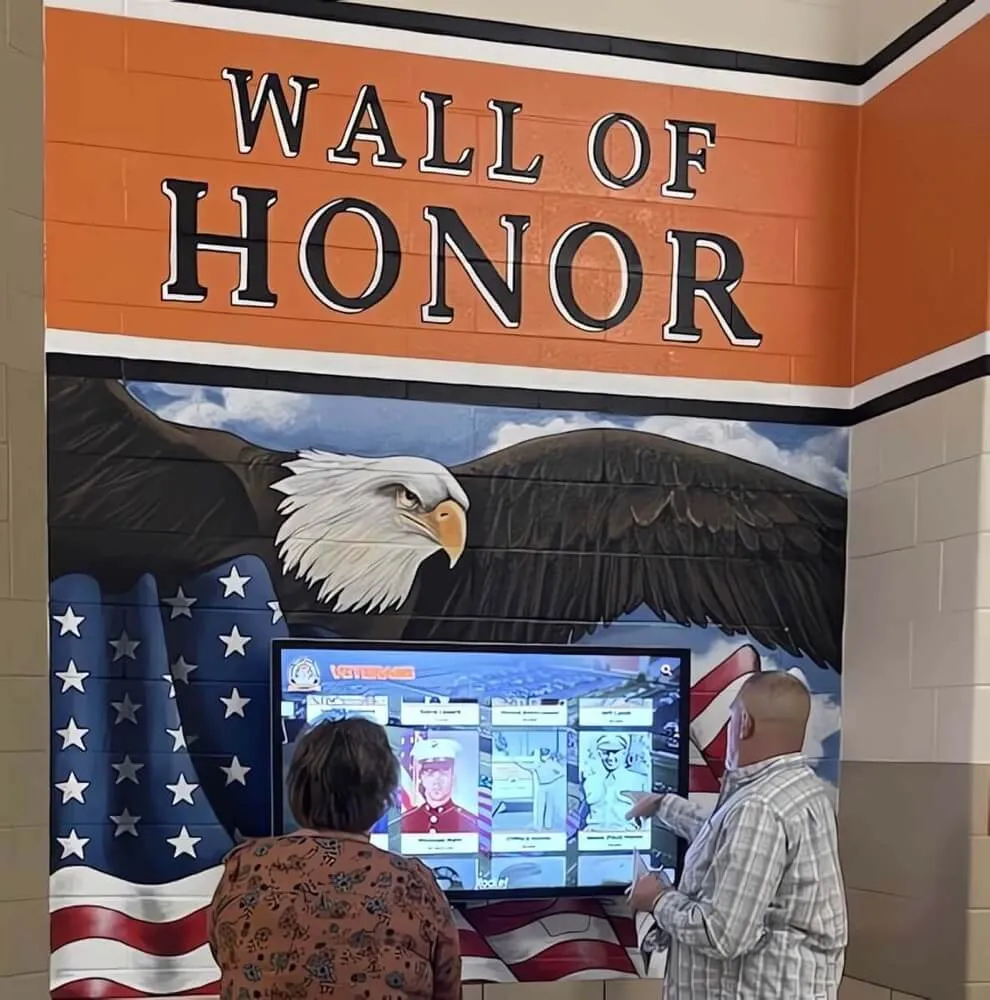
The visual quality of historic photographs on a recognition display reflects decisions made well upstream—an inspection log created before scanning ensures every image has a documented condition baseline that future archivists can reference
Improving Storage to Slow or Prevent Silver Mirroring
Silver mirroring is not reversible at the school level, but its progression can be significantly slowed by improving the storage environment. Any photographs identified as Mild or Moderate during inspection should be moved to better storage conditions as part of the same project.
Enclosure improvements (highest priority):
- Replace acidic cardboard boxes, paper envelopes, and kraft paper folders with acid-free, buffered enclosures. Archival-quality materials are available from photographic supply vendors.
- Each print should be housed individually in an acid-free polyester, polypropylene, or paper sleeve rather than stacked loosely.
- Do not use PVC sleeves, rubber bands, or paper clips with historic prints. All of these materials off-gas or corrode in ways that accelerate silver deterioration.
Environmental controls:
- Target temperature: 65–70°F (18–21°C). Lower is better for long-term stability if the space allows it.
- Target relative humidity: 30–50%. Stability matters as much as level—fluctuations in humidity are more damaging than a consistently moderate level.
- Avoid storage locations subject to seasonal temperature swings, proximity to exterior walls, or HVAC vents.
Pollutant reduction:
- Keep photographs away from wood products that have not been tested for acid off-gassing (many wood-composite shelving units emit acetic acid).
- Avoid storage near cleaning supplies, paints, adhesives, or other chemical sources.
- If photographs must be stored near an HVAC return, use the cleanest available interior location.
Schools building or renovating a recognition program often relocate their archive as part of a broader upgrade that includes new recognition display infrastructure. A space designed for recognition wall installations for school renovations typically includes better environmental controls than a coaching-office closet, making renovation projects a natural opportunity to relocate historic photographs to a more suitable storage environment.
How Silver Mirroring Inspection Connects to the Full Scanning Workflow
Silver mirroring inspection is one phase in a complete pre-scan assessment. It does not replace assessment for other types of damage but works alongside those assessments as part of a thorough triage before any photograph enters the scanning queue.
Pre-scan assessment phases for athletic archive photographs:
- Physical triage — Identify physical damage (tears, broken corners, water damage, mold) that affects handling or scan setup
- Silver mirroring inspection (this guide) — Identify and classify surface deterioration under raking light
- Emulsion condition check — Look for emulsion cracking, flaking, or lifting at image edges that requires special handling during scanning
- Identification and captioning — Confirm subject identification (athlete name, sport, year) before scanning so caption data is ready to enter at upload
- Enclosure assessment — Note whether the current storage enclosure is contributing to deterioration; replace as part of the pre-scan phase when possible
Running these assessments as a single pass through the collection—examining each photograph for all pre-scan factors before moving to the next—is more efficient than running separate passes for each concern.
The silver mirroring inspection also connects directly to scanner settings. The table below summarizes scanner adjustments relevant to mirroring severity:
| Mirroring Severity | Hardware Dust Reduction | Test Scan Required | Special Notes |
|---|---|---|---|
| None | May be used if color print; disable for silver prints | Not required | Proceed with standard settings |
| Mild | Disable — silver print | Not required | Standard settings expected to perform normally |
| Moderate | Disable — silver print | Recommended | Review shadow areas for tonal inconsistency before final scan |
| Severe | Disable — silver print | Required | Review for reflective hot spots; consider multiple exposure settings |
Connecting Inspected Photographs to a Recognition Display
The purpose of a silver mirroring inspection is not documentation for its own sake—it is the step that ensures historic team photographs reach a digital recognition display in the best possible digital form. An inspected, appropriately handled, and well-scanned photograph of the 1981 state champion cross country team honors those athletes in a way that a hurried scan of a deteriorated, uninspected print does not.
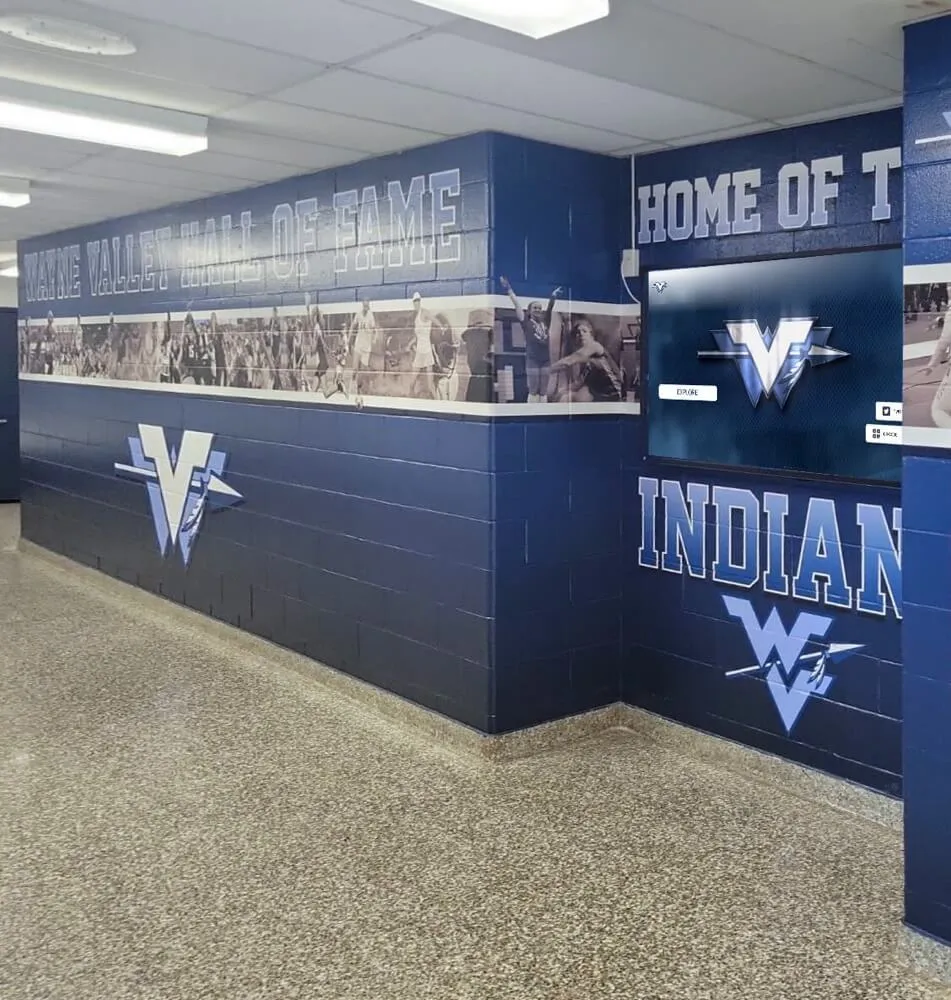
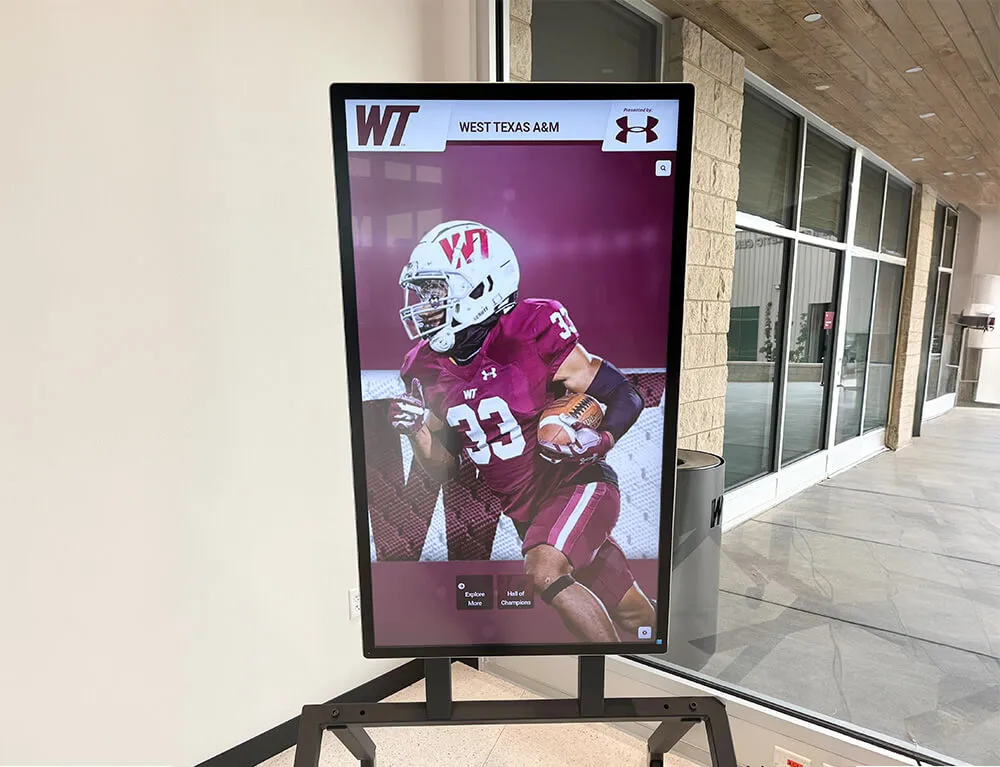
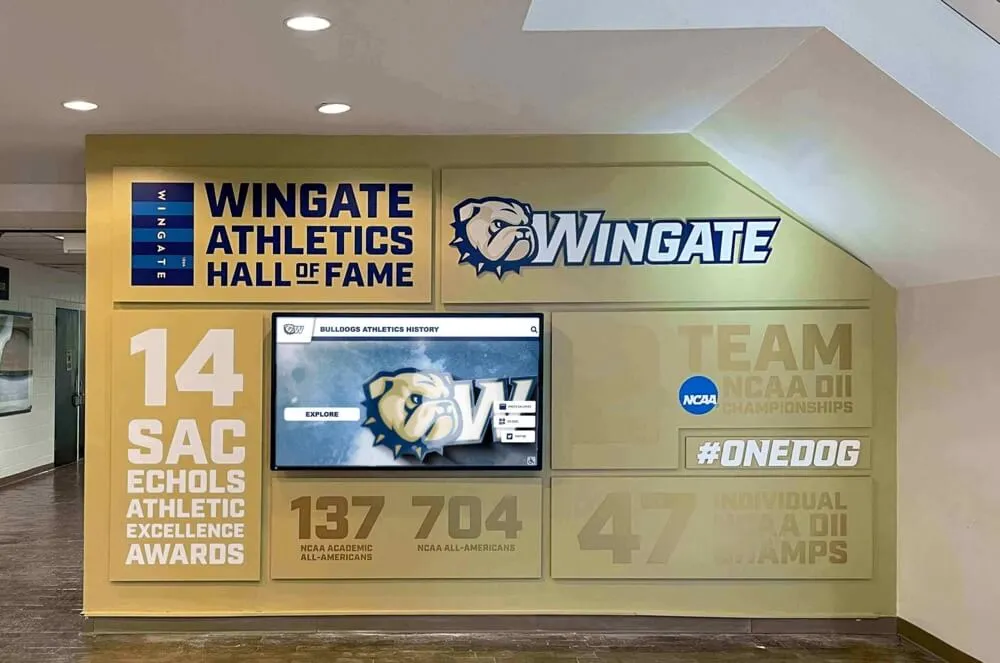
Schools with large collections of historic athletic photographs increasingly route those images to dedicated athletic recognition platforms—interactive touchscreen walls of fame, digital trophy cases, and lobby recognition systems where alumni, current athletes, and families can browse the school’s complete athletic history. For these platforms to work well, the underlying digital files need to be clean, accurately captioned, and representative of the original photographs at their best. A pre-scan inspection workflow is what makes that possible.
When schools build recognition programs that connect historic photographs to current awards and achievement recognition—pairing a 1985 volleyball championship team photo with the team’s records, coach, and season story, displayed alongside the recognition framework that honors today’s athletes—the value of athletic history becomes tangible and accessible rather than locked in a storage box. Resources like the digital hall of fame displays guide for school recognition programs provide context for how recognition programs that honor athletic tradition create meaningful experiences for current students and alumni alike.

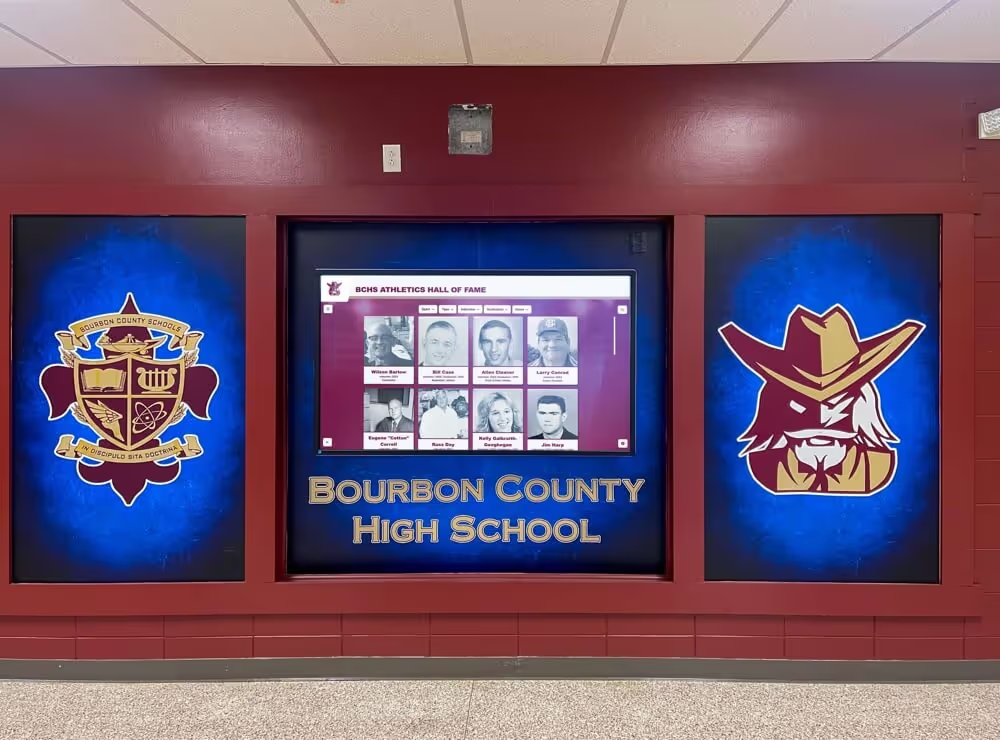
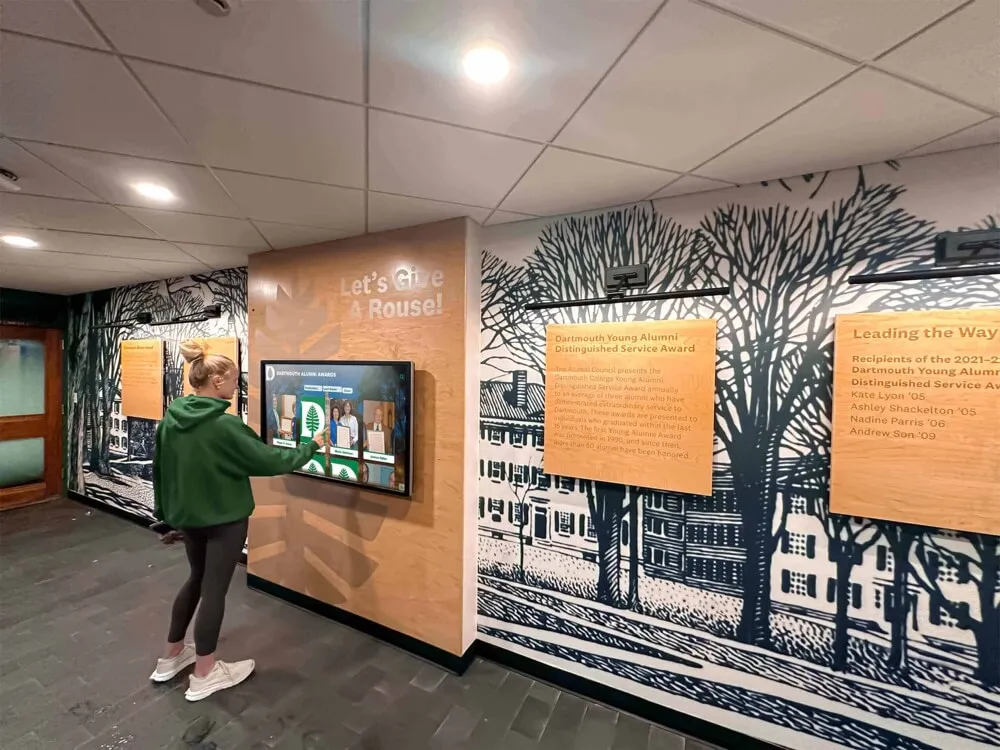
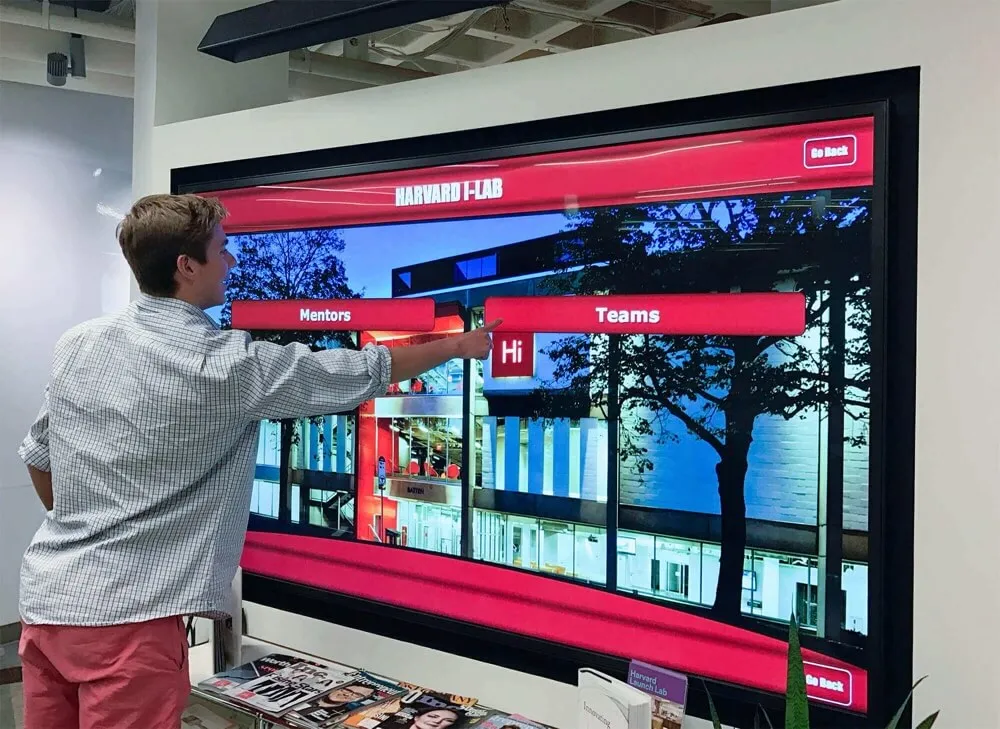
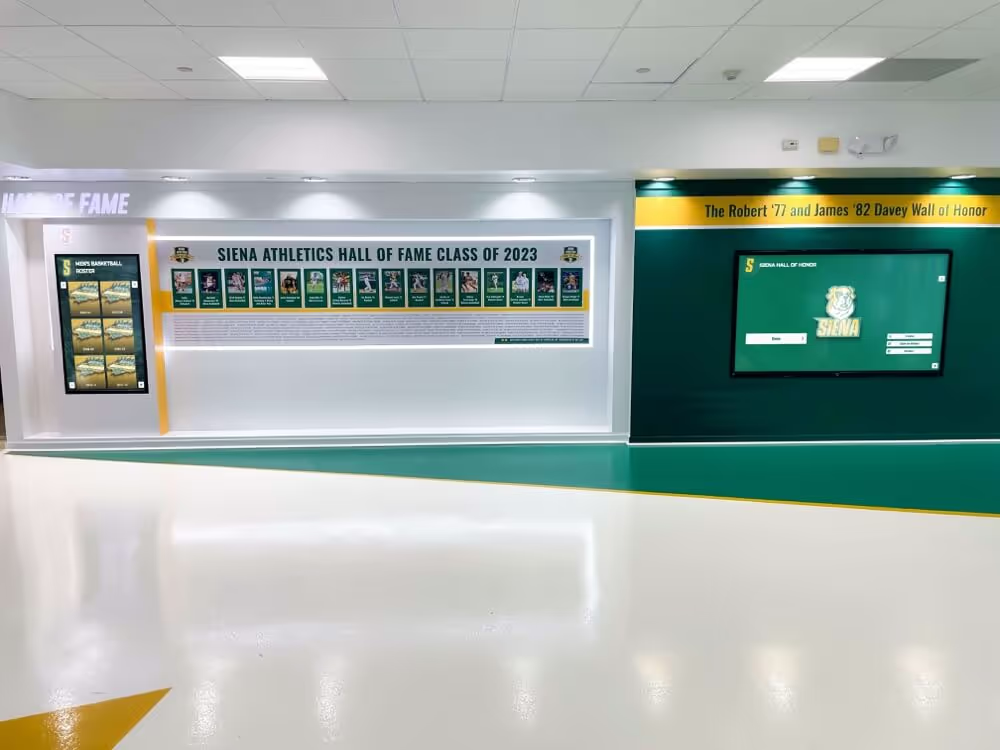
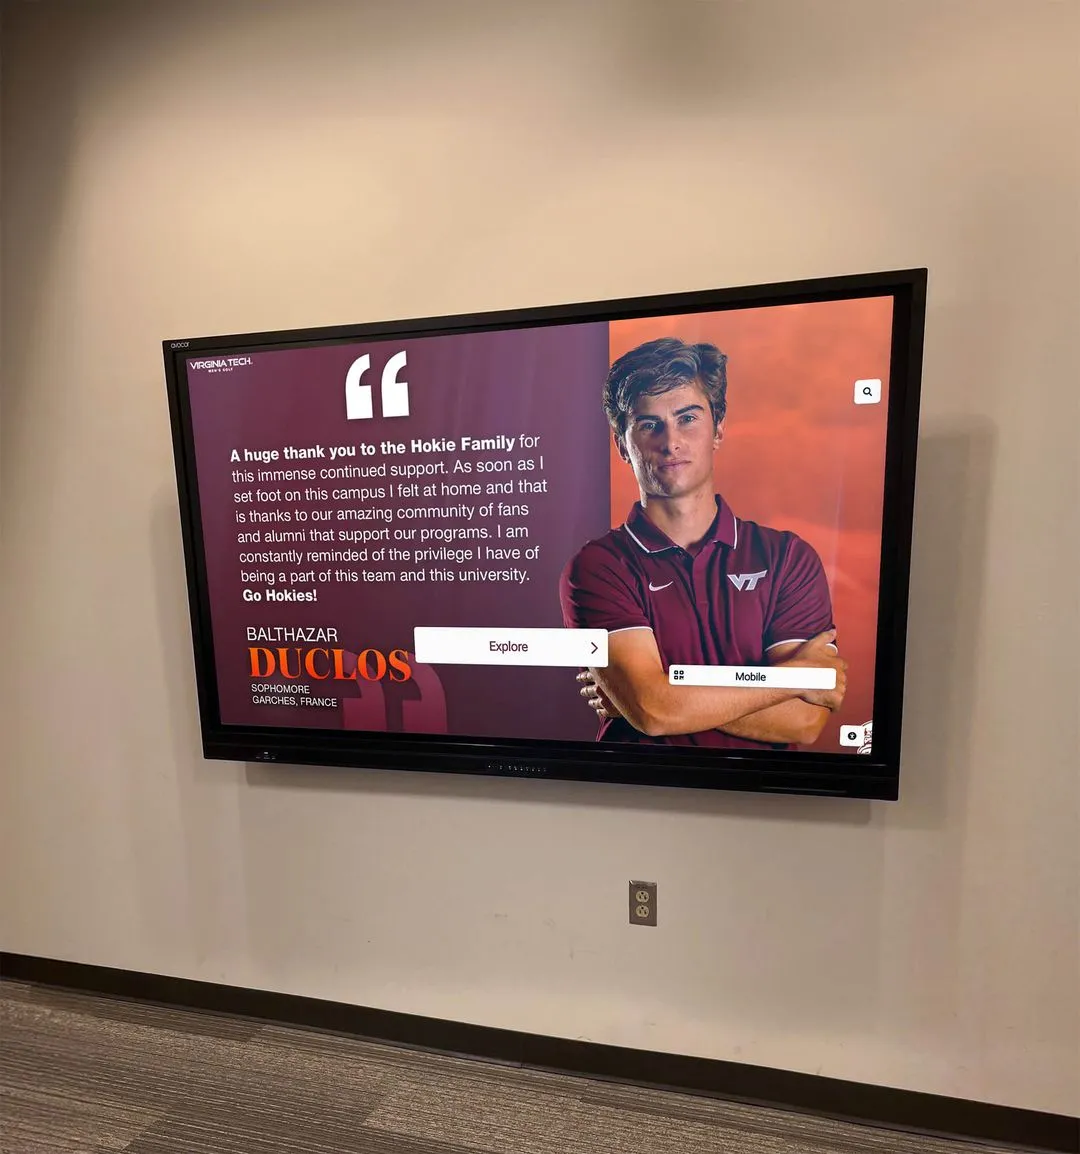
Recognition displays that surface historic team photographs alongside searchable athlete profiles deliver their full value only when the underlying images were carefully inspected, scanned correctly, and captioned accurately before upload
Silver Mirroring Inspection and Broader Athletic Recognition Programs
Athletic archives rarely contain photographs in isolation. A school’s collection typically includes championship team portraits, individual player headshots from program rosters, action photographs from local newspaper coverage, senior recognition images, and portrait composites from award banquets. All of these may be gelatin silver prints susceptible to mirroring. An inspection program that covers the full range of an archive’s photograph types produces a complete condition picture rather than a partial one.
The connection to athletic recognition programs is direct. Schools that have invested in digitizing and displaying their athletic history—whether as part of a football awards and recognition program or a broader multi-sport hall of fame—benefit from knowing that every photograph displayed in those programs has been formally assessed. An inspection log provides that assurance: a staff member or administrator can confirm that specific photographs were reviewed, their condition was documented, and any concerns were addressed before the image entered public display.
For programs that manage recognition across multiple sports—swimming, track, basketball, volleyball, wrestling, and others—treating the photograph archive as a unified collection with consistent inspection standards ensures that athletes from every program receive equal representation in the digital record, regardless of which coach stored their photographs most carefully or which decade of school history had the best storage infrastructure.
Frequently Asked Questions
Q: We have color photographs from the 1970s and 1980s as well as black-and-white photographs. Are color photographs also susceptible to silver mirroring?
Silver mirroring is specific to silver-based photographic materials—primarily gelatin silver prints, which are black-and-white. Most color photographic prints from the 1970s onward use chromogenic dye processes rather than silver as the primary image material. While some older color processes do incorporate silver, and while some color materials can develop surface phenomena that superficially resemble mirroring, the specific mechanism described in this guide applies primarily to black-and-white gelatin silver prints. Inspect your color photographs for fading and color shift rather than silver mirroring. If you are uncertain about the process of a specific photograph, a photographic conservator can identify the material type.
Q: We found a photograph with what looks like silver mirroring, but when we moved it under direct overhead light it looks normal. Does that mean the mirroring is gone?
No. Silver mirroring is visible primarily under raking/oblique light because it is a surface phenomenon that depends on the angle between the light source, the print surface, and the viewer’s eye. Under flat overhead illumination, the mirrored surface may appear normal or only slightly different from unaffected areas. The mirroring is still present; the overhead lighting simply does not reveal it. Always inspect under raking light for a reliable assessment.
Q: Can we fix silver mirroring ourselves before scanning?
No. Silver mirroring reflects a chemical change in the photographic emulsion. There is no school-level treatment that safely reverses or removes it. Attempting to treat it—by wiping, applying chemicals, or any other method—risks permanently damaging the print. The correct approach at the school level is to improve storage conditions (which slows further deterioration), scan as soon as possible with appropriate technique, and consult a professional conservator for valuable prints where the mirroring is severe. Document the condition; do not treat it.
Q: Is silver mirroring visible in a scanned image, or does it only affect the physical print?
It depends on severity. Mild mirroring typically does not appear in a correctly captured scan—the scanner captures the underlying image silver, and the surface colloidal layer at that scale is not resolved. Moderate mirroring can create subtle tonal anomalies in scanned shadow areas, particularly a slight blue-gray cast or uneven density in deep shadows. Severe mirroring can create reflective hot spots or significant tonal distortion in scanned output. This is why a test scan is recommended for moderate-severity prints before committing to final settings.
Q: How often should we inspect our photograph collection for silver mirroring?
An initial inspection pass should happen before any digitization project. After that, condition assessments every three to five years are reasonable for a collection stored in stable, acid-free conditions. A collection stored in uncontrolled conditions (a basement, an equipment room with seasonal temperature swings) should be reassessed annually and relocated as soon as possible. Any time a collection is moved, handled, or newly transferred to the school—including photographs donated by alumni families—an inspection pass should happen before the materials enter storage.
Q: We have photographs that were already scanned years ago before any inspection was done. Is there any point in inspecting them now?
Yes. The inspection now creates a condition record that was missing from the original digitization. It tells you whether the photographs have deteriorated further since scanning (which affects whether re-scanning should be prioritized), identifies which items need improved storage immediately, and documents the current state of the physical archive for future reference. If you find significant mirroring in photographs that were scanned years ago, compare the current prints against the existing scans to determine whether the scans captured adequate image data or whether re-scanning before further deterioration is warranted.
Q: Our athletic director wants to prioritize certain sports or eras in the digitization project. How does silver mirroring inspection help with that prioritization?
Inspection adds a condition-based layer to whatever subject-based prioritization the athletic director has established. If the program has decided to prioritize 1970s basketball photographs, the inspection tells you which of those photographs are in stable condition (can wait in the queue) and which have moderate or severe mirroring (should move to the front of the queue regardless of other scheduling). Combining recognition-significance prioritization with condition-based urgency produces the most defensible scanning sequence: the photographs most likely to deteriorate further are addressed soonest, and the photographs with the highest recognition value are also addressed with appropriate priority.
See Historic Team Photographs on a Live Recognition Display
Rocket Alumni Solutions builds interactive hall-of-fame touchscreens, digital trophy cases, and lobby recognition displays that give schools a permanent, searchable home for scanned historic team photographs, athlete profiles, championship records, and induction archives. If your school is working through a photograph digitization project and wants to see how inspected, correctly scanned images integrate with a recognition platform—alongside athlete profiles, year-by-year records boards, and browsable team histories—schedule a demo and walk through the complete workflow from archive to display.
Book a Live Demo