



Converting camera RAW files into TIFF preservation masters is the step that separates a durable athletic archive from a fragile collection of files that will degrade every time someone re-exports them. When your school’s athletic department digitizes old game photos, portrait sessions, or championship shoots—whether using a DSLR today or working from earlier digital captures—the RAW file is the closest thing to a digital negative. Saving it directly as a JPEG and calling it done is the archival equivalent of developing film in a kitchen sink: you get something usable, but you permanently discard information you will never recover.
An athletic archive raw to tiff workflow solves this by converting each camera original into a lossless TIFF preservation master before any display derivatives are produced. The TIFF becomes the permanent record. Every JPEG, display-resolution crop, or platform upload is a derivative of that master—something you can always remake if display requirements change, if the school switches recognition platforms, or if a better restoration tool becomes available five years from now.
This guide is written for athletic directors, school administrators, facilities and IT teams, alumni leaders, and booster-club coordinators who are managing or planning to manage a school photo archive. It covers when TIFF is the right choice, the software settings that govern conversion quality, a phase-by-phase workflow, and a QA checklist designed for teams without a professional photography background.
This guide describes practical school-level workflows. Questions about institutional records obligations or professional archival standards should be directed to a preservation professional or your district records officer.
RAW files produced by modern digital cameras—and by older digital cameras going back to the late 1990s—contain far more tonal and color data than any JPEG can represent. A JPEG captures roughly 16.7 million colors; a 14-bit RAW file captures more than 4 billion tonal values across its channels. That extra data is what allows a skilled editor to recover a face blown out to white in a gym with poor lighting, or to pull shadow detail from an underexposed sideline action shot. Once you export that RAW as a JPEG and discard the original, those recovery options are gone.

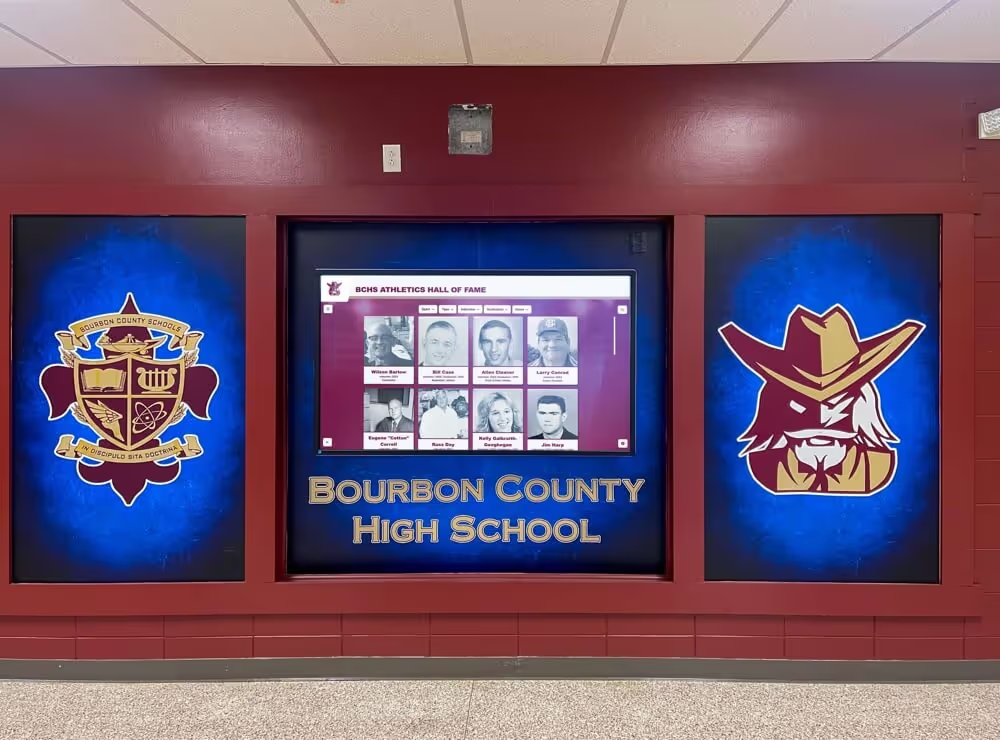
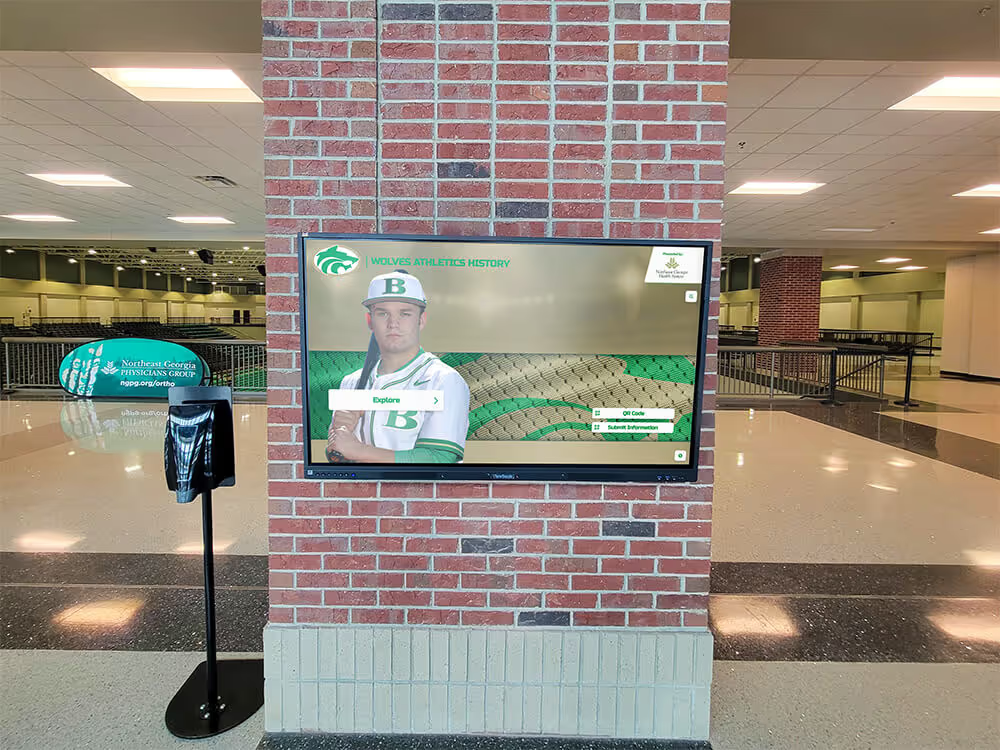
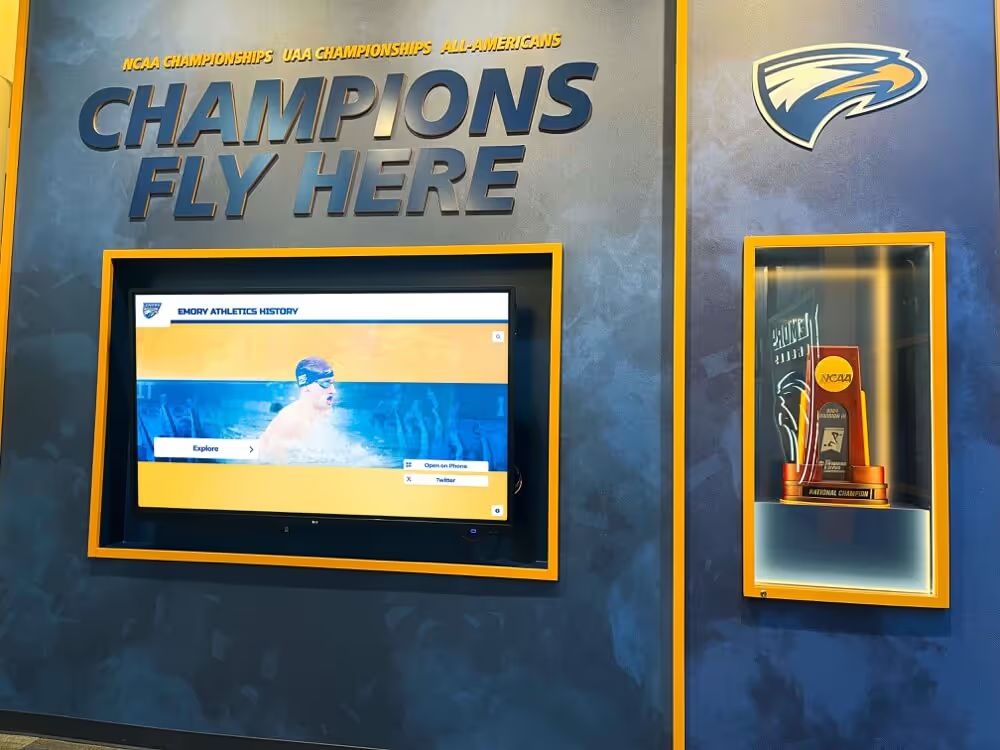
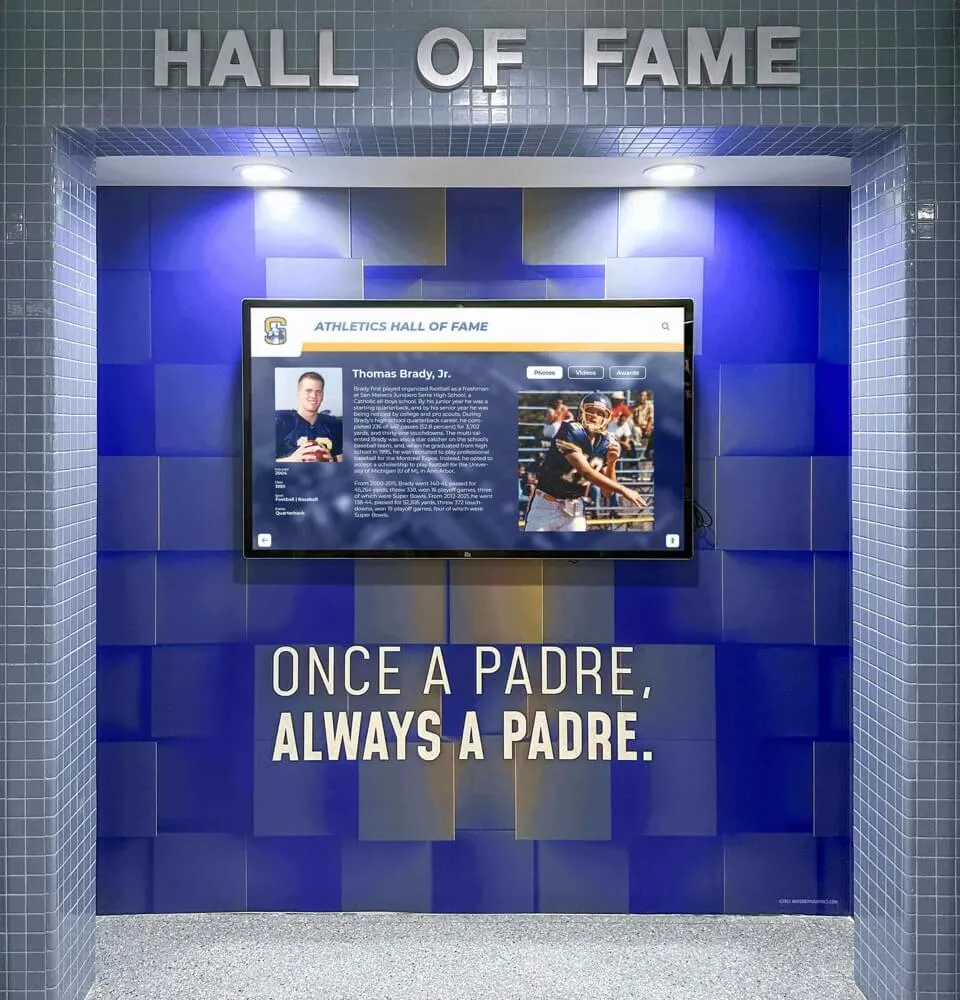
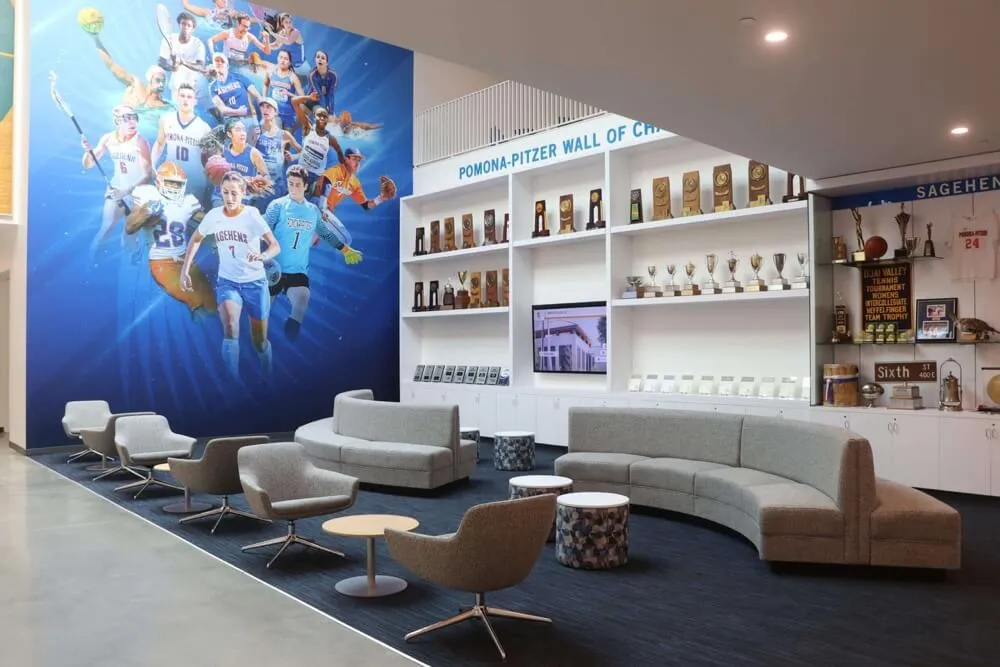
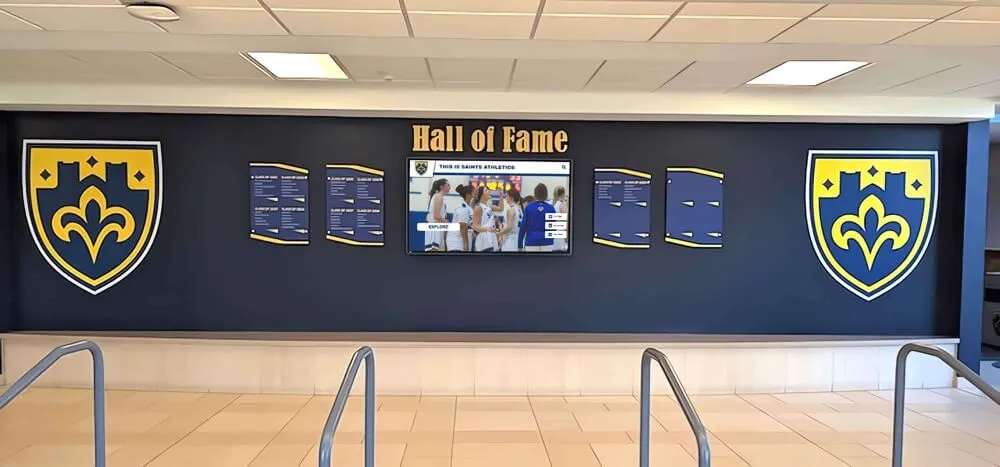
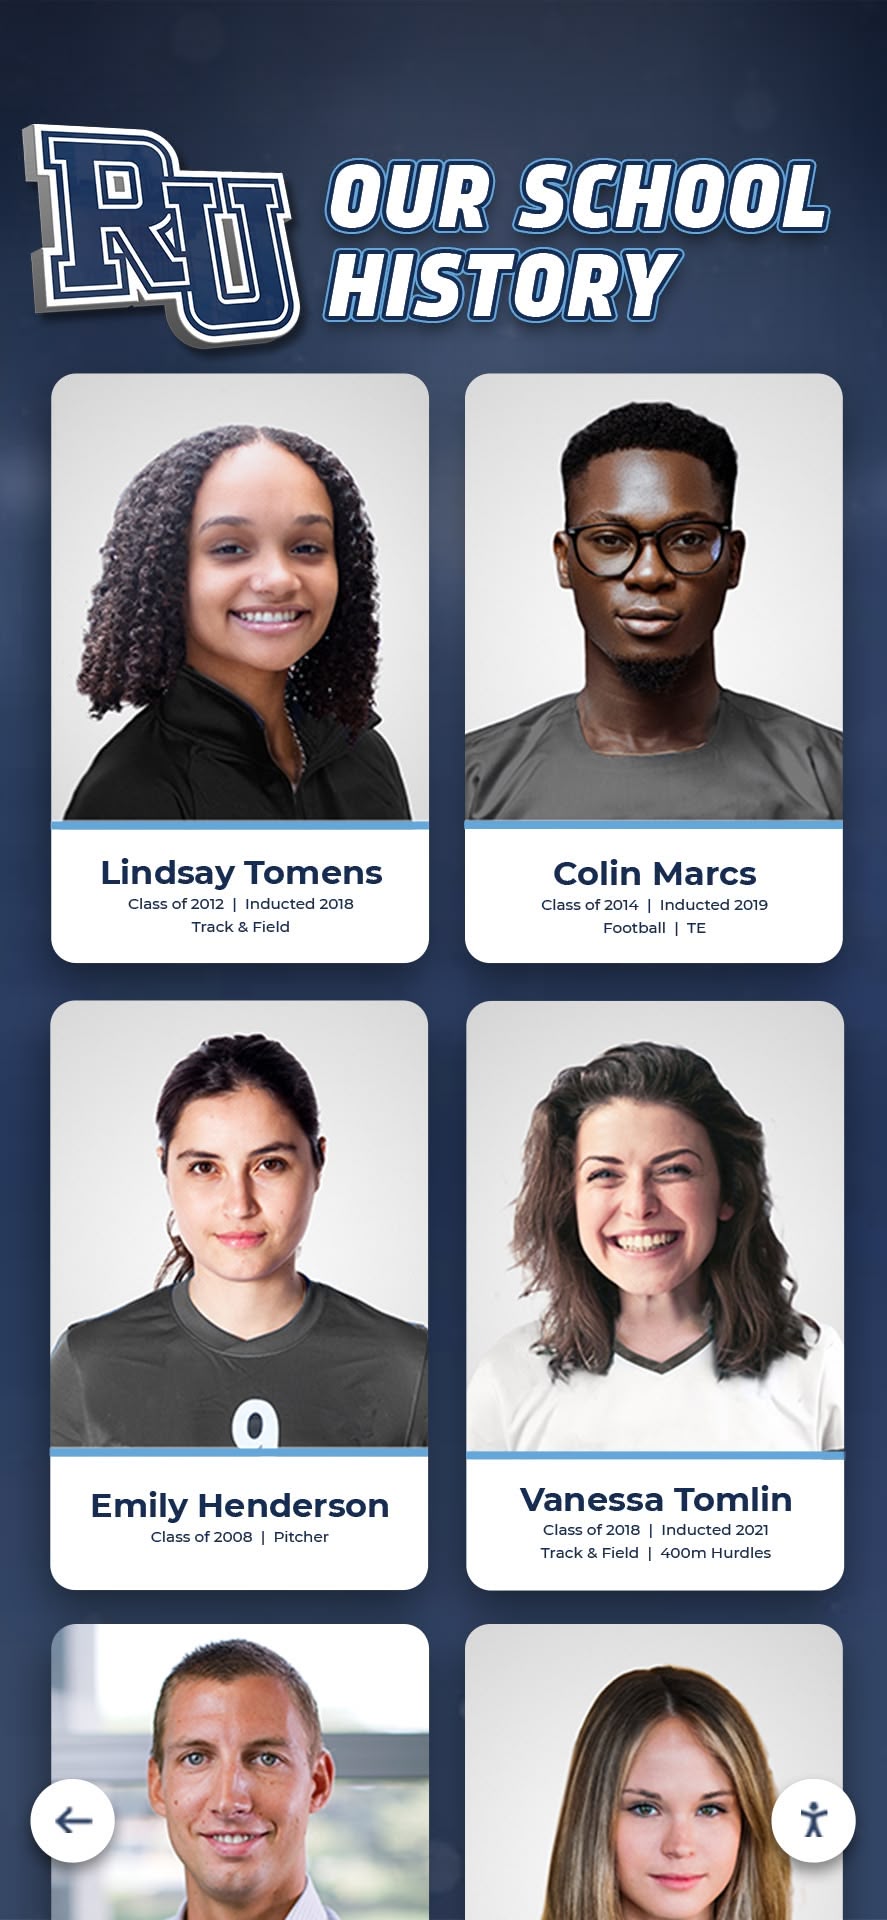
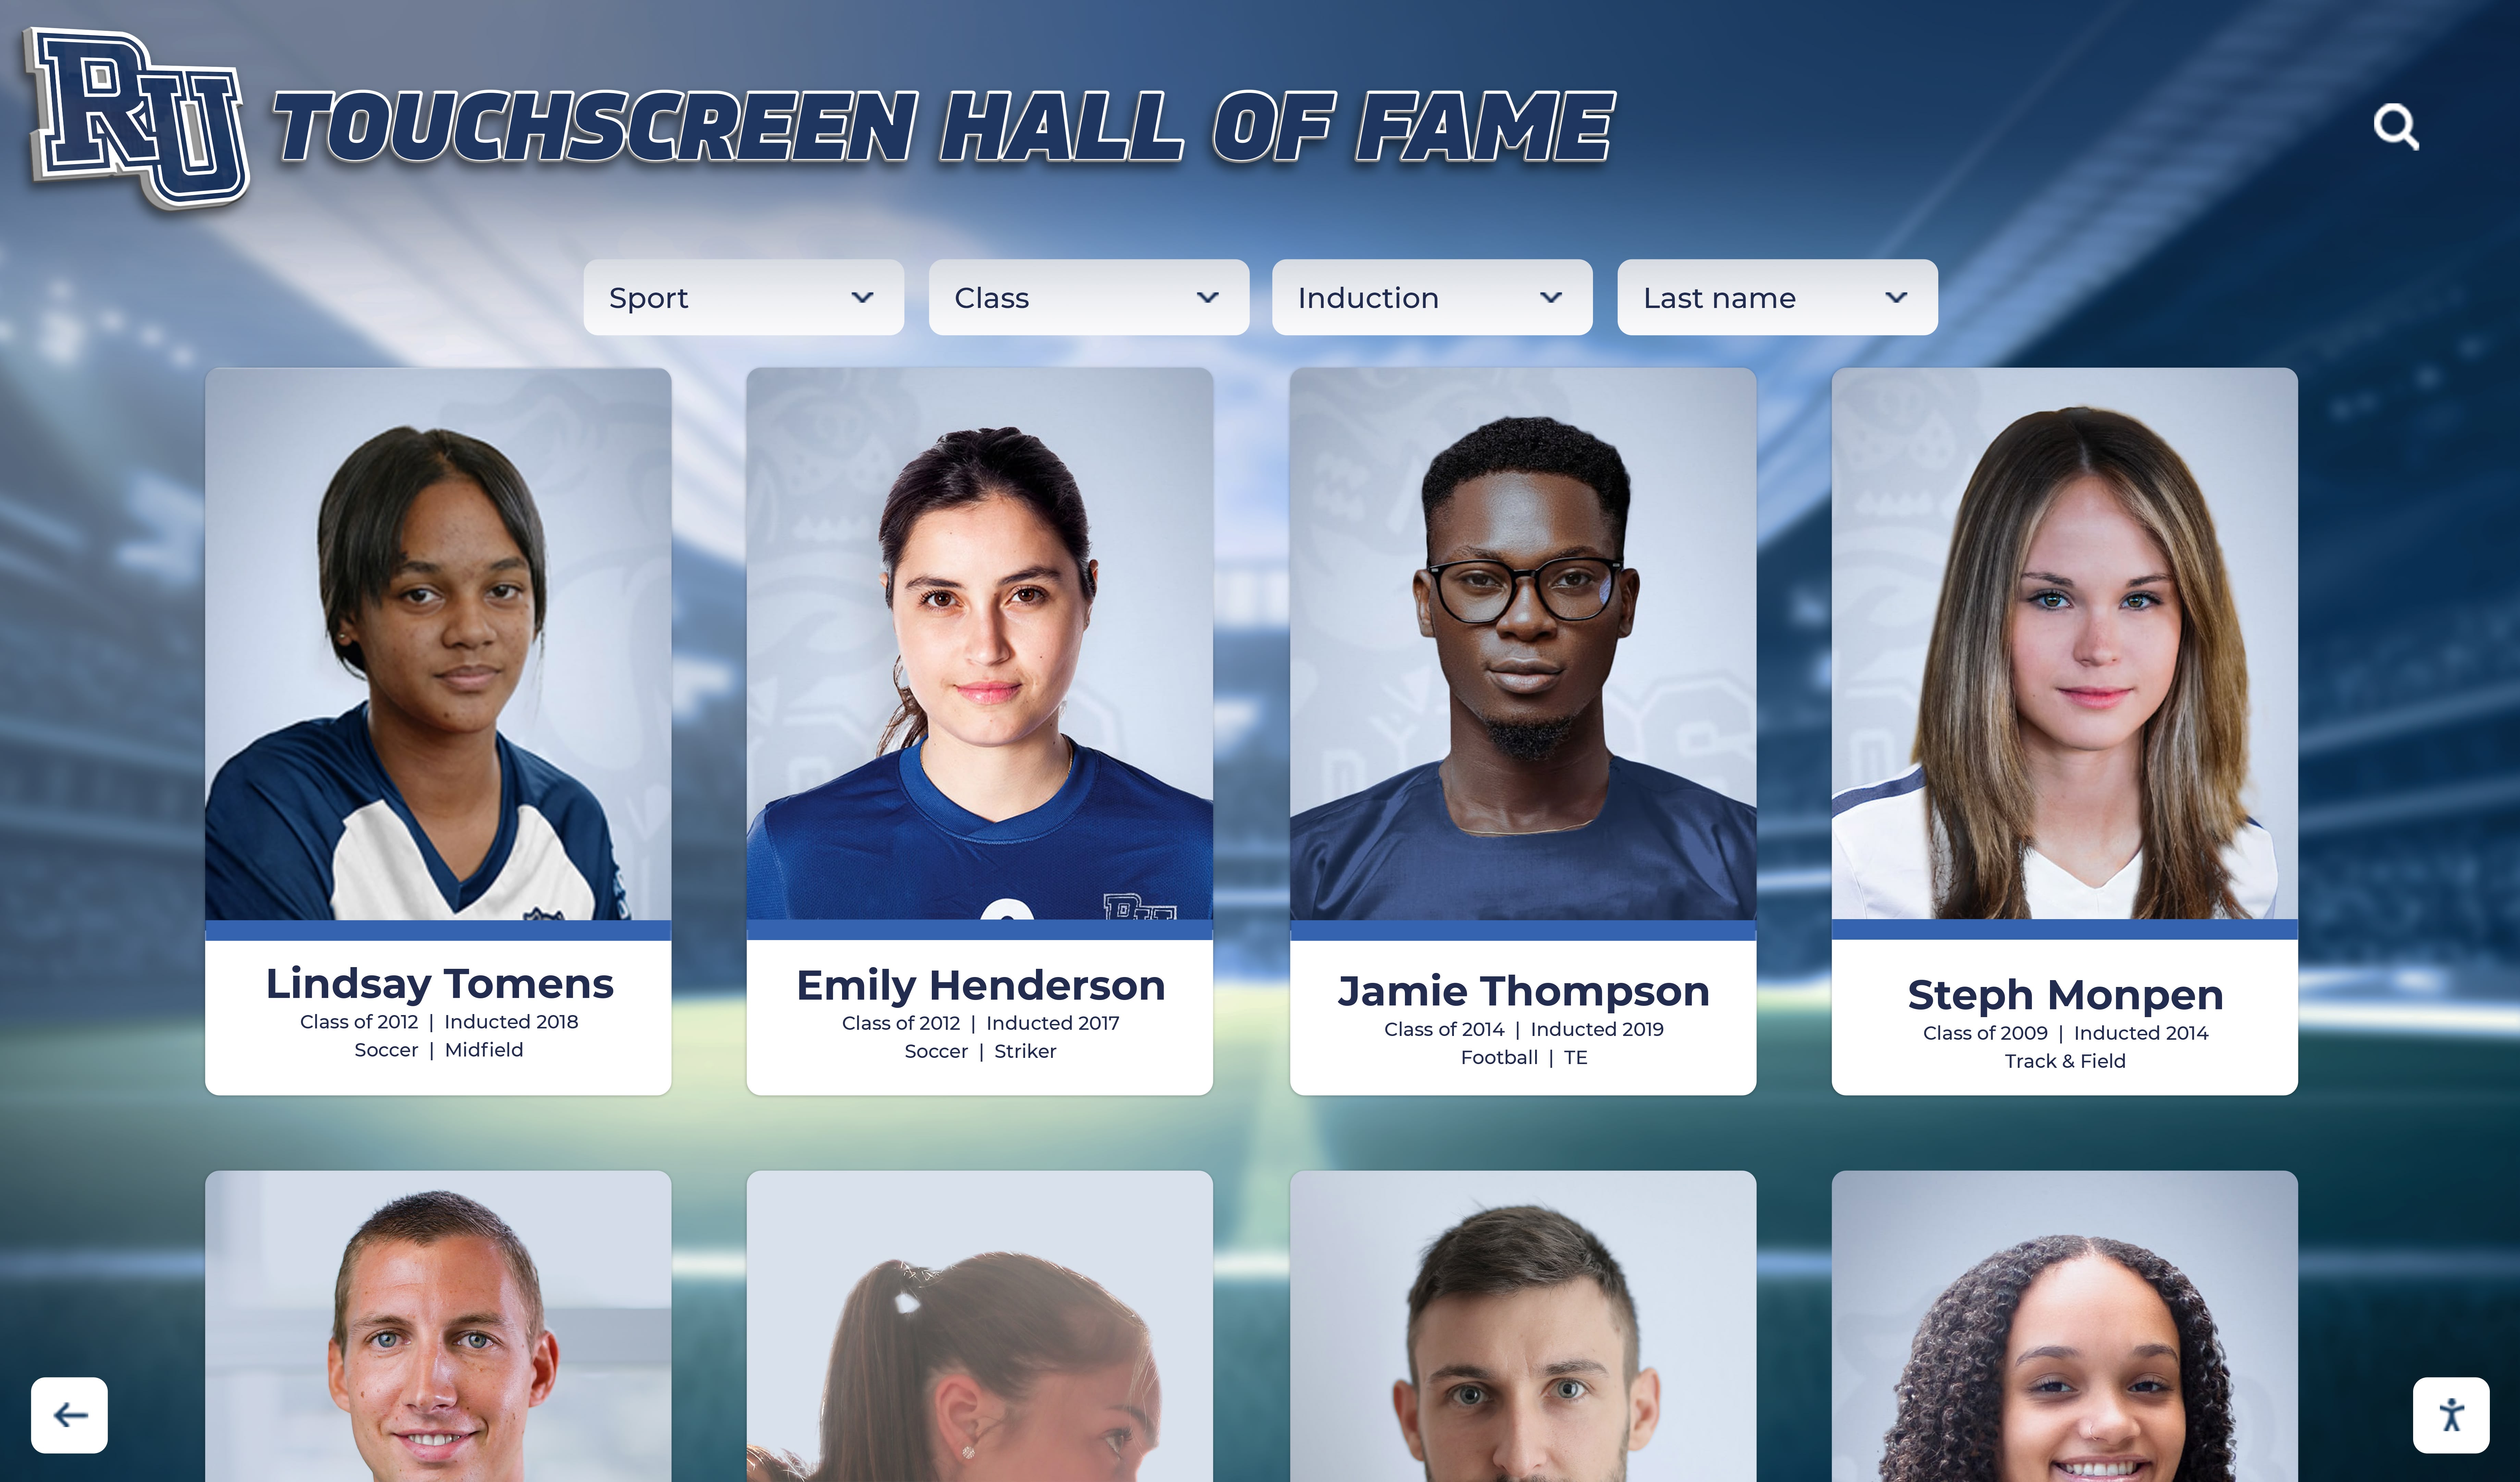
Historic and current athletic portrait cards gain long-term flexibility when every camera original is converted to a TIFF preservation master before display versions are produced
When Is TIFF the Right Format for Athletic Archive Masters?
TIFF is the right choice for preservation masters in these specific situations:
- You are working from camera RAW files (CR2, CR3, NEF, ARW, RW2, RAF, or any other proprietary RAW format) and want a lossless, application-independent preservation file
- You need to store a master that any future software can open without depending on the vendor’s proprietary RAW decoder remaining available
- You are building a long-term recognition archive where photos will be displayed on hall of fame touchscreens, lobby recognition walls, or other platforms that may change over the next 10–20 years
- You plan to create multiple derivatives from the same source—portrait crops, full-team versions, print-resolution exports, social media thumbnails—and need a master that can be re-exported without quality loss
TIFF is not always necessary in these situations:
- Finished, already-published JPEG files from a professional photography service where no RAW was retained: re-saving as TIFF does not recover lost compression data; keep the highest-resolution JPEG as the master
- Scanned prints where TIFF is already the preferred scan output format (see the related athletic archive dust and scratch removal workflow for scanned photos for scan-specific guidance)
- Social media or event photos where the files are strictly for display and no long-term archival use is intended
The core principle: TIFF is appropriate when you are creating a preservation master from a richer source file. It is a container, not a quality upgrade—converting a low-quality JPEG to TIFF produces a larger low-quality file, not a better one.
RAW-to-TIFF Conversion Settings Reference
The table below covers the decisions you will make in any RAW converter—Adobe Lightroom, Adobe Camera Raw, Capture One, DxO PhotoLab, or open-source alternatives like RawTherapee and darktable. Match settings to the column that describes your archive’s purpose.
| Setting | Preservation Master | Display Derivative |
|---|---|---|
| Bit depth | 16-bit | 8-bit |
| Color space | ProPhoto RGB or Adobe RGB | sRGB |
| Compression | None (uncompressed) or LZW lossless | JPEG quality 80–90 |
| Resolution (PPI) | 300 PPI (for print-safe masters) | 72–96 PPI |
| Pixel dimensions | Full native sensor resolution | Target display resolution |
| Sharpening | None applied at export | Output sharpening for screen |
| Noise reduction | None or minimal | Moderate as needed |
| Color profile embedded | Yes | Yes (sRGB) |
| Metadata retained | All EXIF/IPTC/XMP | Caption, copyright, credit |
| File naming | Descriptive master convention | Derivative suffix appended |
Why 16-bit matters for masters: Each doubling of bit depth roughly squares the number of tonal steps in the file. A 16-bit TIFF contains 65,536 steps per channel; an 8-bit file contains 256. Editing a 16-bit master—adjusting exposure for a display crop, for example—produces smooth gradients. Editing an 8-bit file risks visible banding in skies, gymnasium walls, and skin tones.
Why ProPhoto RGB or Adobe RGB for masters: These wide-gamut color spaces preserve the full color range captured by the sensor. Converting to sRGB at the master stage discards colors outside the sRGB gamut permanently. Display derivatives are converted to sRGB at export. The master should hold the full range in reserve.
Phase 1: Triage and Folder Setup
Before opening any RAW file in a converter, establish the folder structure and naming convention that will govern the entire project. Changing these mid-project is far more disruptive than taking thirty minutes to design them upfront.
Folder Structure
Athletic_Photo_Archive/
├── 00_RAW_Originals/         ← Camera files, never edited
│   ├── Football/
│   ├── Basketball/
│   └── ...
├── 01_TIFF_Masters/          ← Converted preservation TIFFs
│   ├── Football/
│   ├── Basketball/
│   └── ...
├── 02_Display_Derivatives/   ← JPEGs and sized exports for platforms
└── 03_Edit_Log.xlsx          ← Conversion documentation
The 00_RAW_Originals folder should be set to read-only immediately after you copy files into it. No editing application should ever save a modified file back into this folder. This single rule—read-only RAW folder—prevents the most common and most permanent mistake in school archive projects.
Naming Convention
A consistent filename structure lets any staff member identify the content, status, and version of any file without opening it.
YEAR_SPORT_TEAM-OR-SUBJECT_SEQUENCE_VERSION.ext
Examples:
| Filename | Meaning |
|---|---|
2019_basketball_varsity_001_RAW.cr2 | 2019 varsity basketball, image 1, original RAW |
2019_basketball_varsity_001_MASTER.tif | TIFF preservation master converted from that RAW |
2019_basketball_varsity_001_v1-crop.jpg | Display derivative, first version, cropped |
2019_basketball_varsity_001_DISPLAY-1920px.jpg | Final display export at target resolution |
The MASTER suffix should appear only on TIFF preservation masters. No derivative file—regardless of how many edits it has undergone—ever receives the MASTER suffix.
Phase 2: RAW Conversion to TIFF Master
Step 1: Import and Inspect
Import the RAW file into your converter of choice. Before making any adjustments, inspect the file at 100% zoom for:
- Focus accuracy: Is the intended subject in focus, or is a background element sharp instead?
- Exposure: Is the file recoverable (detail in highlights and shadows), or is it so over- or under-exposed that key information is lost?
- Composition: Is this the correct frame from a burst, or is there a better exposure in the sequence?
A preservation master of a badly focused, unrecoverable frame has no more archival value than the same frame discarded. Triage ruthlessly at this stage.
Step 2: Apply Only Archival-Grade Adjustments
For preservation masters, restrict your adjustments to corrections that produce a technically accurate record of the subject—not a stylized or display-optimized version.
Acceptable master adjustments:
- White balance correction to a neutral gray card or known white target if one is visible in the frame
- Exposure correction to bring the image to a visually neutral baseline
- Lens profile correction if the camera/lens combination is known and the profile is verified
- Chromatic aberration removal
Adjustments to defer to derivatives:
- Sharpening
- Noise reduction beyond technical correction
- Creative contrast or color grading
- Cropping
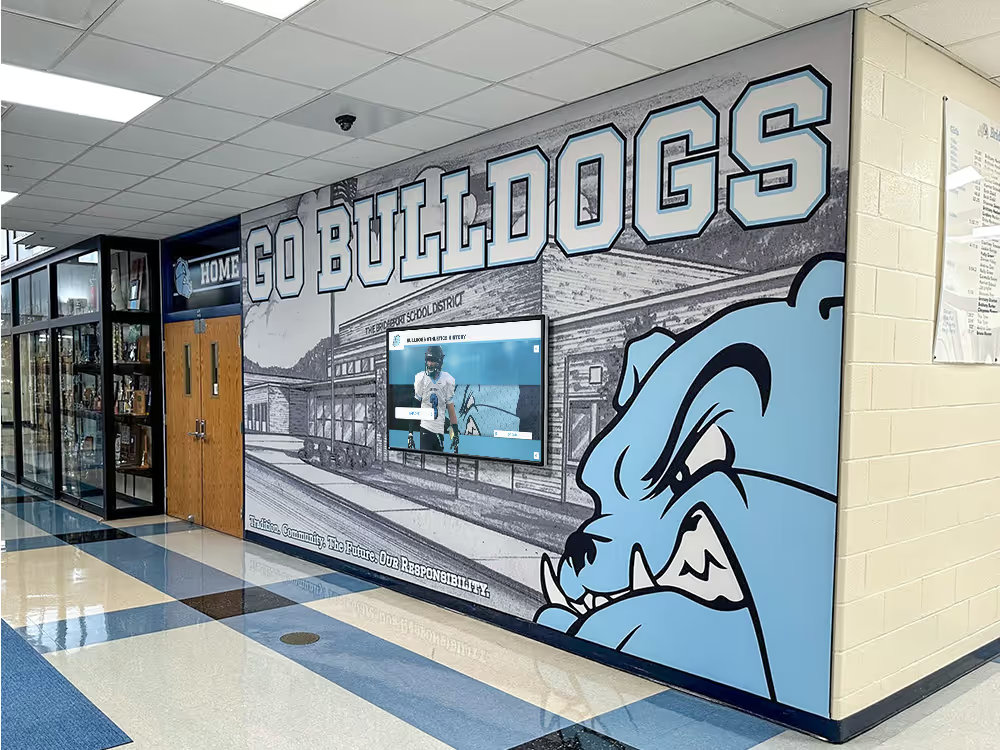
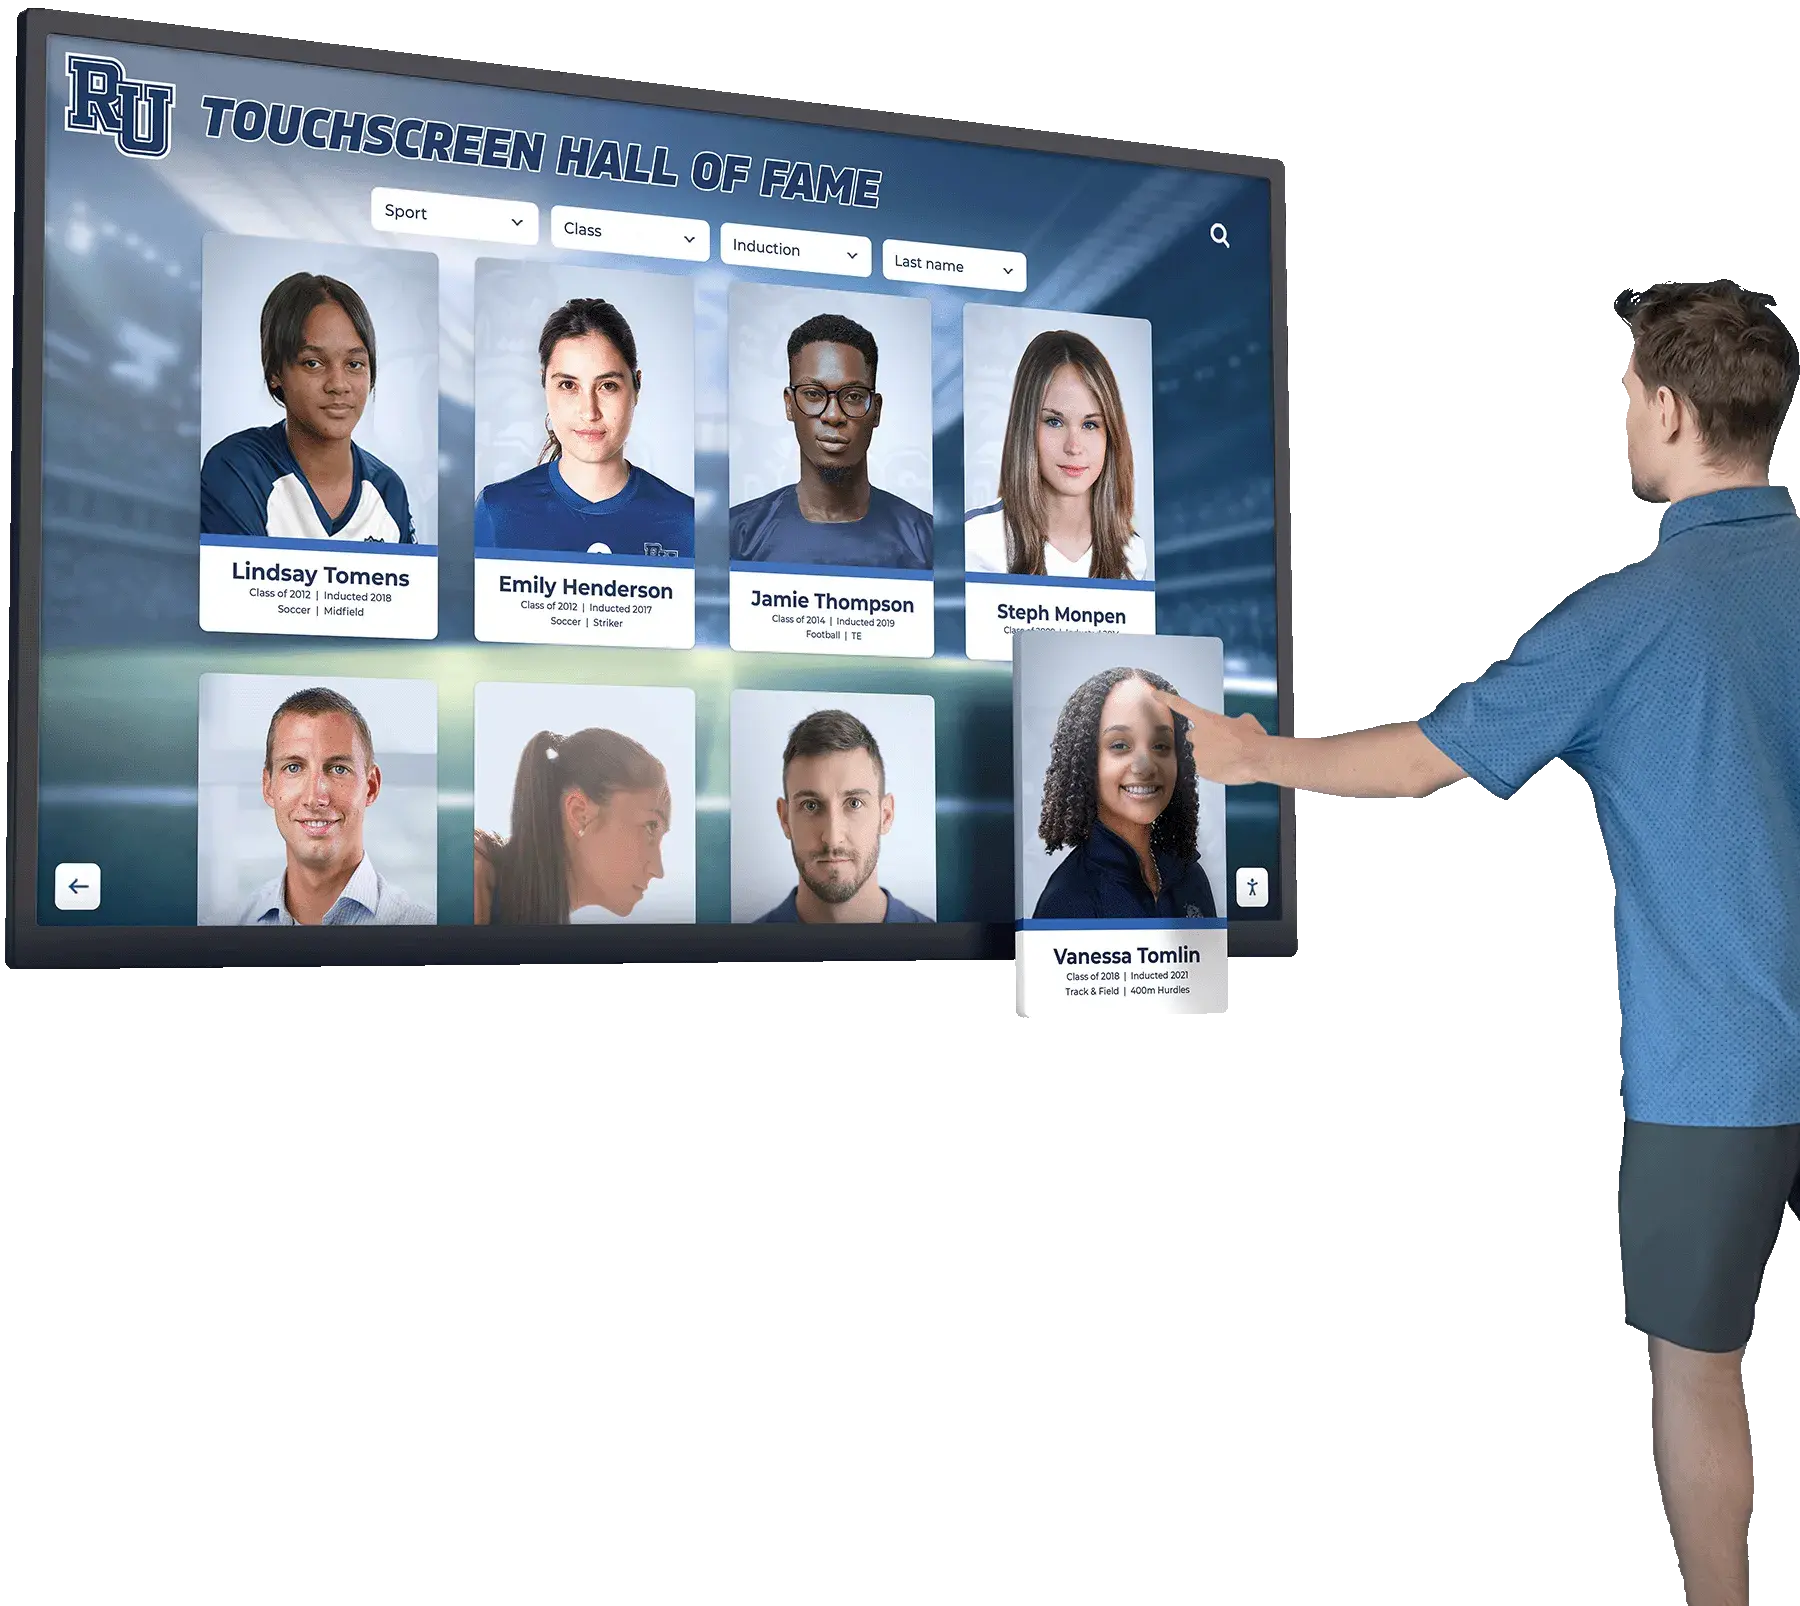
Every portrait card that reaches a recognition display should trace back to a TIFF preservation master that retains full color depth and tonal range for future derivative production
Step 3: Export the TIFF Master
Export the converted file using these settings in your converter’s export dialog:
In Adobe Lightroom Classic:
- File > Export (or Ctrl/Cmd+Shift+E)
- Export Location:
01_TIFF_Masters/[Sport]/ - File Naming: custom template using the master naming convention
- File Settings: Format = TIFF, Bit Depth = 16 bits/component, Compression = None
- Color Space: Adobe RGB (1998) or ProPhoto RGB
- Image Sizing: uncheck “Resize to Fit” — export at full native resolution
- Output Sharpening: Off
- Metadata: All metadata
In Adobe Camera Raw (Photoshop):
- Click “Save Image” (not “Open Image”)
- Destination:
01_TIFF_Masters/[Sport]/ - Format: TIFF
- Color Space: Adobe RGB, 16 bits
- Save
In Capture One:
- File > Export > Images
- Format: TIFF, 16-bit
- ICC Profile: Adobe RGB
- Resolution: 300 PPI
- No sharpening, no scaling
In RawTherapee (free/open source):
- Queue the file in the File Browser
- Output Format: TIFF, 16-bit
- Compression: None
- Color space: Adobe RGB or ProPhoto RGB
- Save to queue and process
Step 4: Verify the Exported Master
Immediately after export, open the TIFF master in a viewer and confirm:
- File size is consistent with a 16-bit TIFF at the sensor’s native resolution (a 24-megapixel sensor should produce a TIFF roughly 130–145 MB uncompressed)
- The embedded color profile matches what you set at export
- The image opens without error in at least one application other than the converter used to create it
- The filename matches the master naming convention
Log the conversion in your edit log spreadsheet before proceeding to any derivative work.
Phase 3: Producing Display Derivatives
With TIFF masters stored and verified, display derivatives are created by opening the TIFF (not the RAW) and exporting to the format and dimensions your recognition platform requires.
This distinction matters: derivatives are always produced from the TIFF master, not re-converted from the RAW file each time. This ensures consistency—every derivative of a given image starts from the same baseline, regardless of which staff member produces it or what software they use.
Standard Derivative Export Settings
| Derivative Type | Format | Dimensions | Color Space | Sharpening |
|---|---|---|---|---|
| Hall of fame portrait card | JPEG, 85 quality | 800×1000 px | sRGB | Screen, Low |
| Full-team display image | JPEG, 85 quality | 1920×1080 px | sRGB | Screen, Standard |
| Print-resolution banner crop | TIFF or JPEG 95 | 300 DPI at print size | sRGB or Adobe RGB | Print, High |
| Thumbnail for online archive | JPEG, 80 quality | 400 px long edge | sRGB | Screen, Low |
| Social media export | JPEG, 90 quality | Platform-specific | sRGB | Screen, Standard |
Important: Convert to sRGB at derivative export time, not before. The TIFF master retains the wide-gamut color space; the derivative conversion at export is the correct moment to map to sRGB. Doing it earlier in the master discards gamut data that may be needed for print derivatives.
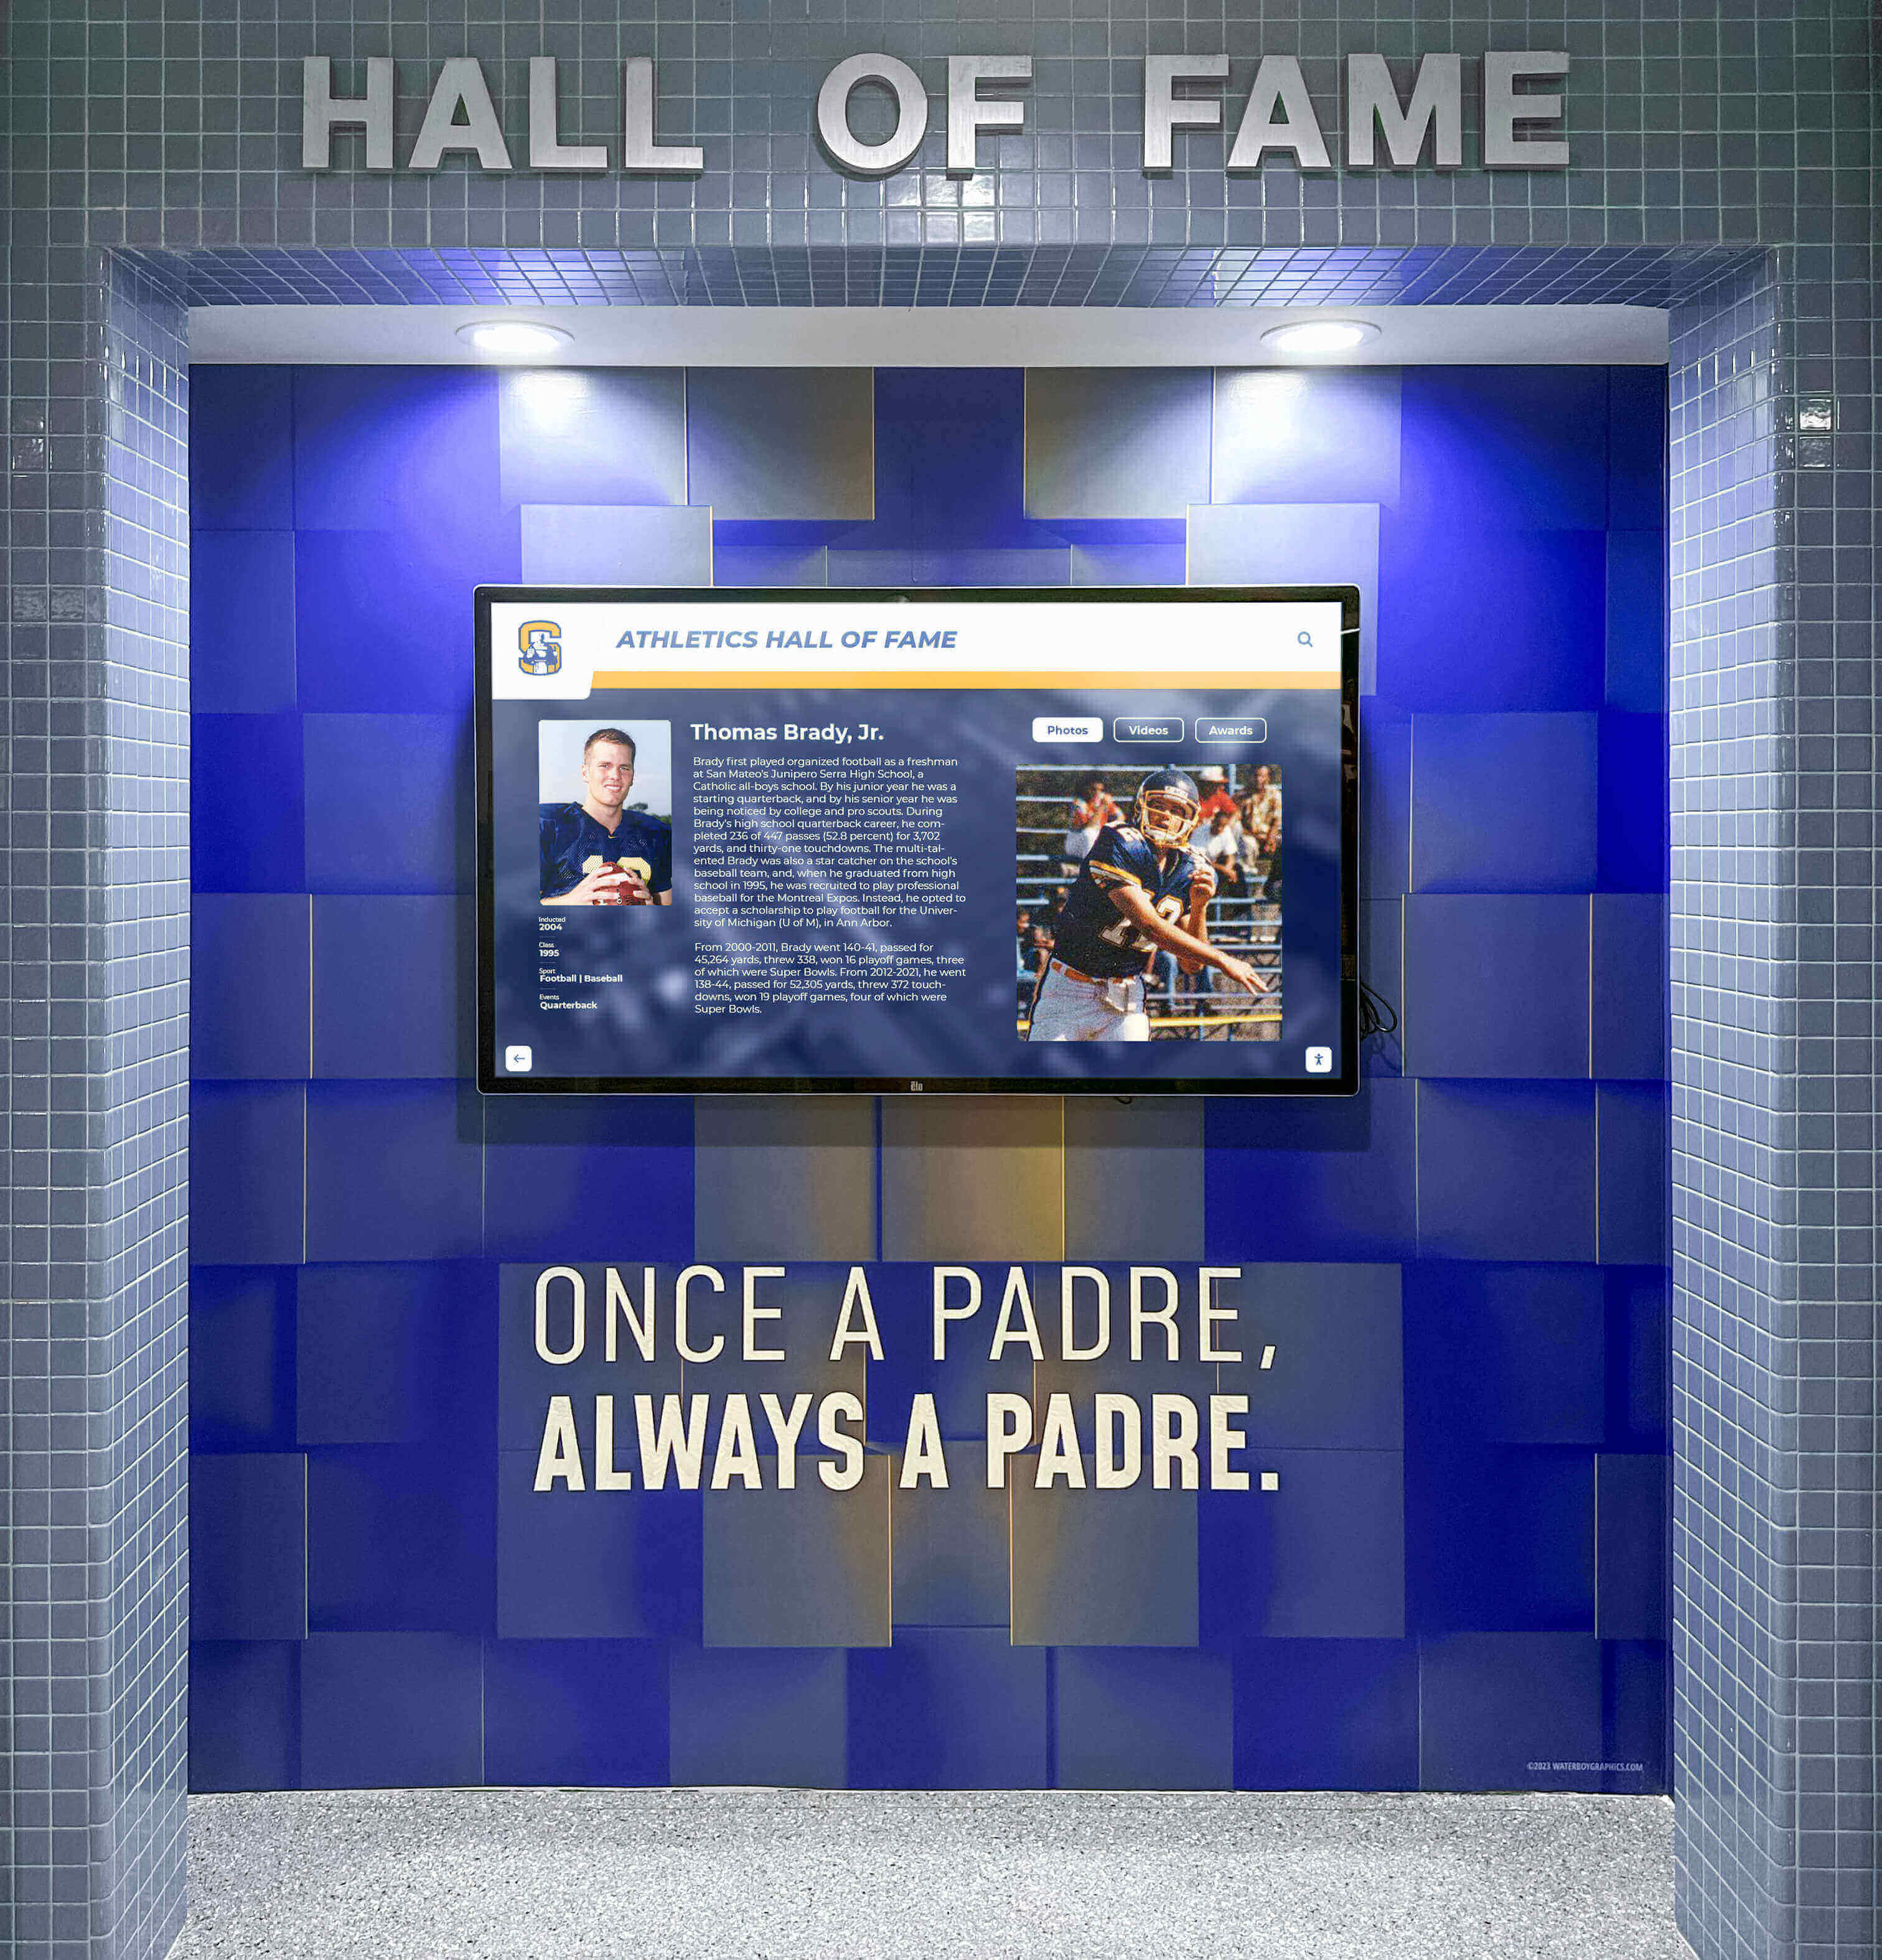
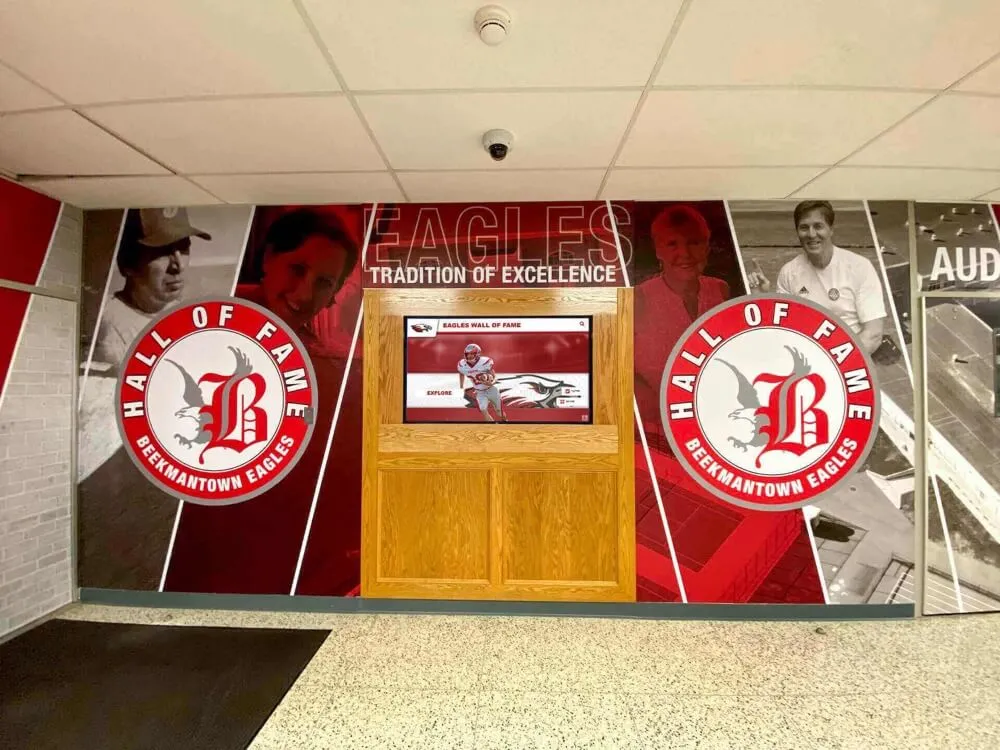
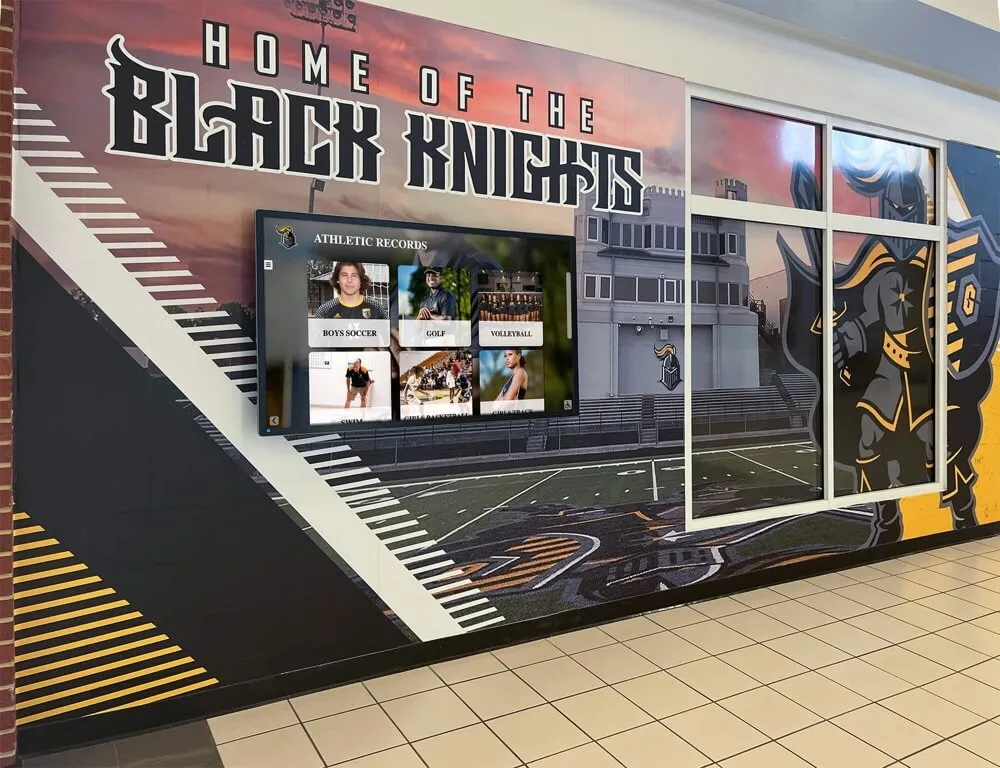
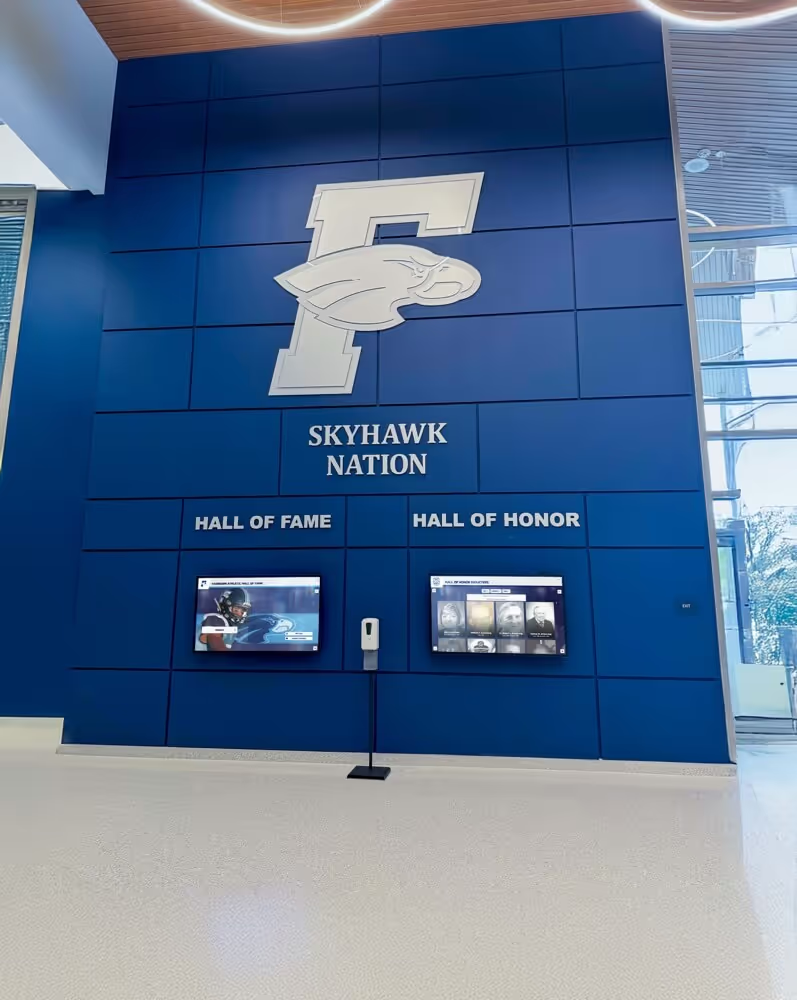
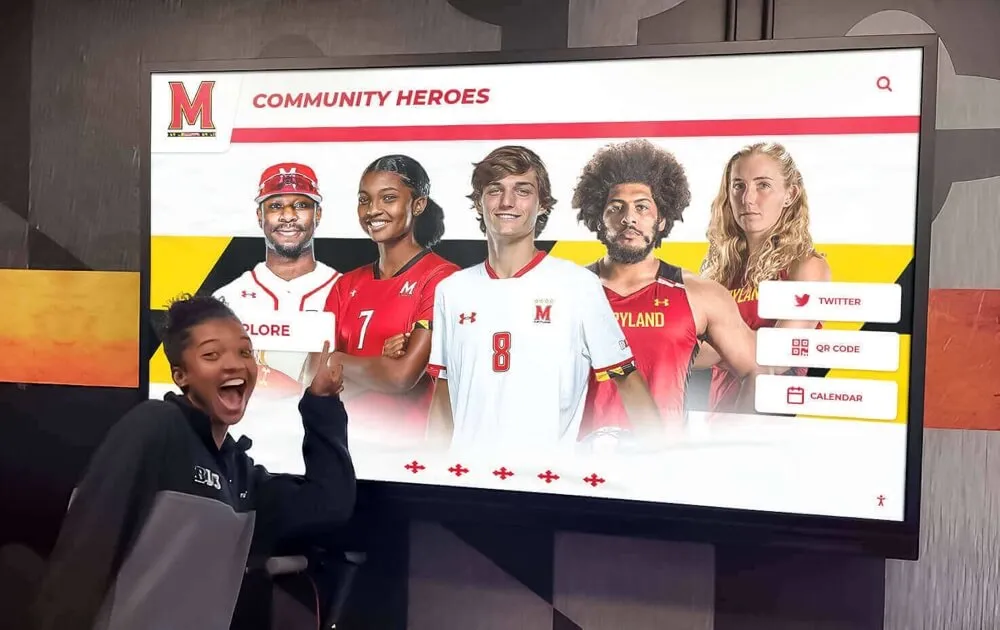
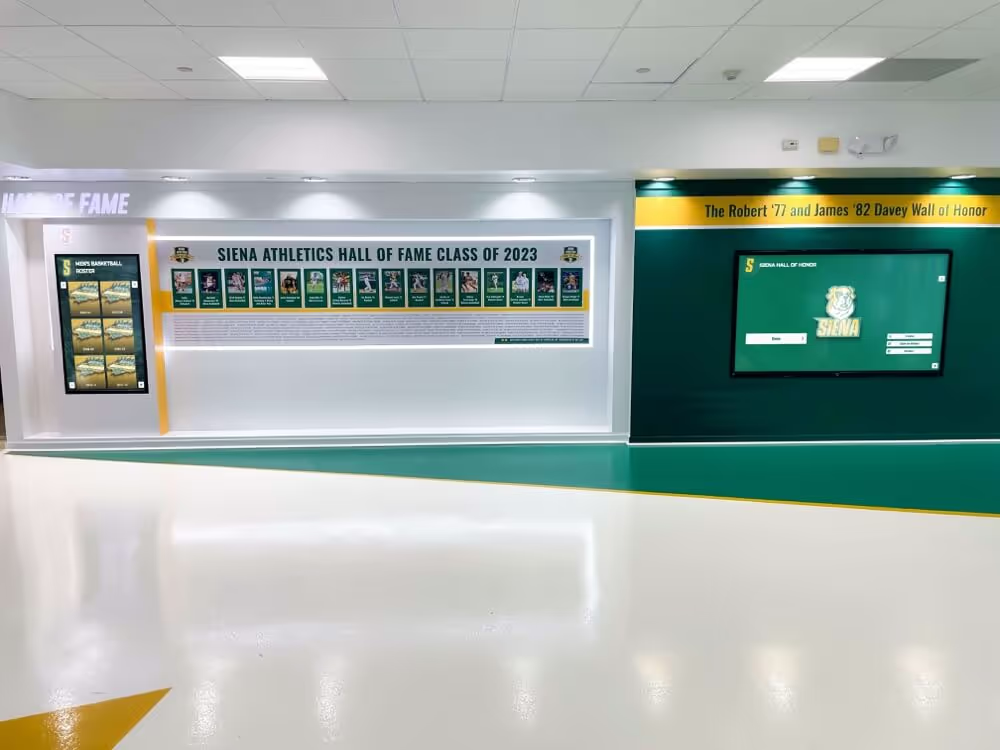
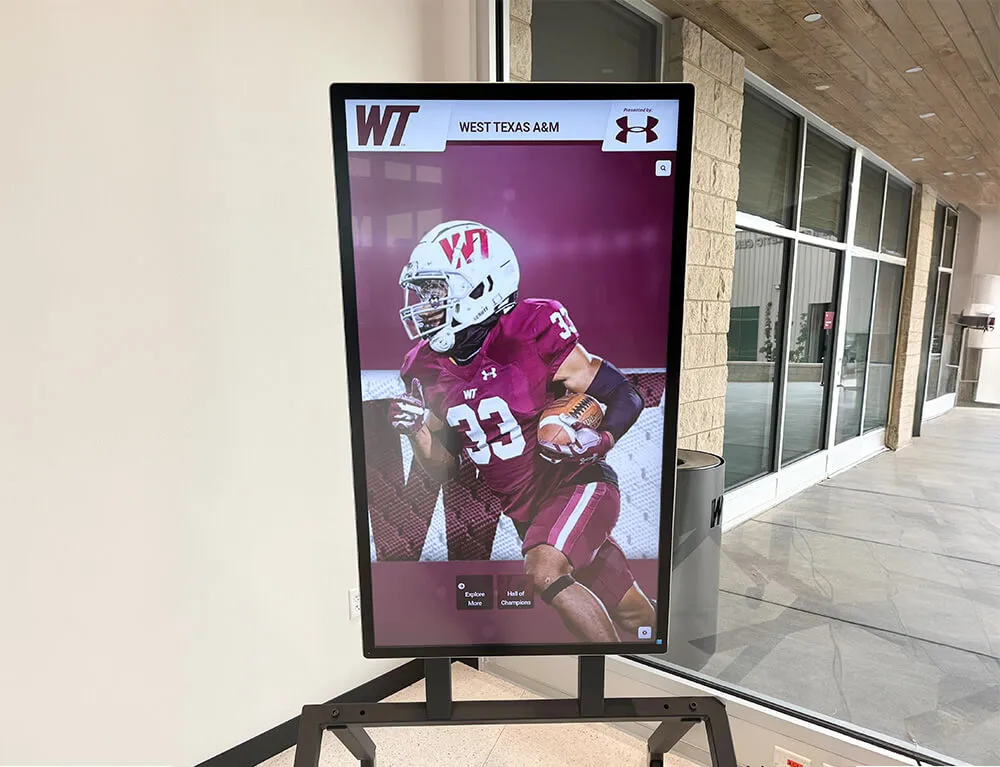
Recognition display platforms receive optimized derivatives; the TIFF preservation master stays in the archive ready to produce any future derivative at any required quality level
Quality Control Checklist
Run this checklist before logging any image as complete and before uploading any derivative to a recognition platform.
Master Verification
- TIFF master stored in
01_TIFF_Mastersfolder, not in the RAW originals folder - File size is consistent with a full-resolution 16-bit TIFF from this sensor (verify against a known-good export from the same camera)
- Color profile embedded and matches export settings (Adobe RGB or ProPhoto RGB)
- File opens without error in a second application
- Filename includes
MASTERsuffix and matches naming convention - RAW original is still present, unmodified, in
00_RAW_Originals - Edit log entry complete: date, editor, software version, adjustments applied, white balance source
Image Content Verification
- Subject is in focus at 100% zoom
- Exposure is neutral—no clipped highlights or crushed shadows on principal subjects
- White balance produces neutral grays on reference surfaces visible in the image (gym floor, white uniforms, scoreboards)
- No lens profile correction artifacts at image edges (vignetting rings, color fringes)
- No healing, cloning, or retouching has been applied to the master
- No creative adjustments (contrast curves, color grading) present in the master export
Derivative Verification
- Derivative produced from TIFF master, not re-converted from RAW
- Converted to sRGB at derivative export
- Dimensions match the target display or platform requirement
- Output sharpening applied at export (not applied to master)
- JPEG quality setting matches derivative type (see table above)
- File size is reasonable for format and dimensions (a 1920×1080 JPEG at quality 85 should be 400–700 KB)
- Caption, sport, year, and athlete name entered in the platform’s metadata fields
Backup and Long-Term Storage
A TIFF master that exists in only one location is not a preservation master—it is a single point of failure. Apply the 3-2-1 backup rule to your athletic archive:
3 copies of every master file
2 different storage media (local drive + cloud, or local drive + external drive)
1 copy off-site (cloud storage or a drive stored in a location separate from the school building)
For the RAW originals, apply the same standard. Both the RAW and its TIFF master are part of the preservation record.
Practical school-level backup options:
- Cloud storage (Google Drive, Microsoft OneDrive, or Dropbox with sufficient storage): syncs automatically, survives local hardware failure, accessible from any machine on the project
- External hard drive stored off-site: provides a physical copy not dependent on cloud connectivity; rotate the drive periodically so the off-site copy stays current
- NAS (Network Attached Storage): a shared drive accessible to multiple authorized staff, often with built-in redundancy (RAID) that survives a single drive failure
Do not use the display platform as a backup. Platforms that host your display derivatives may not support full-resolution TIFF uploads, and their storage contracts may not meet preservation standards. The archive lives in school-controlled storage; the platform receives display-ready derivatives only.
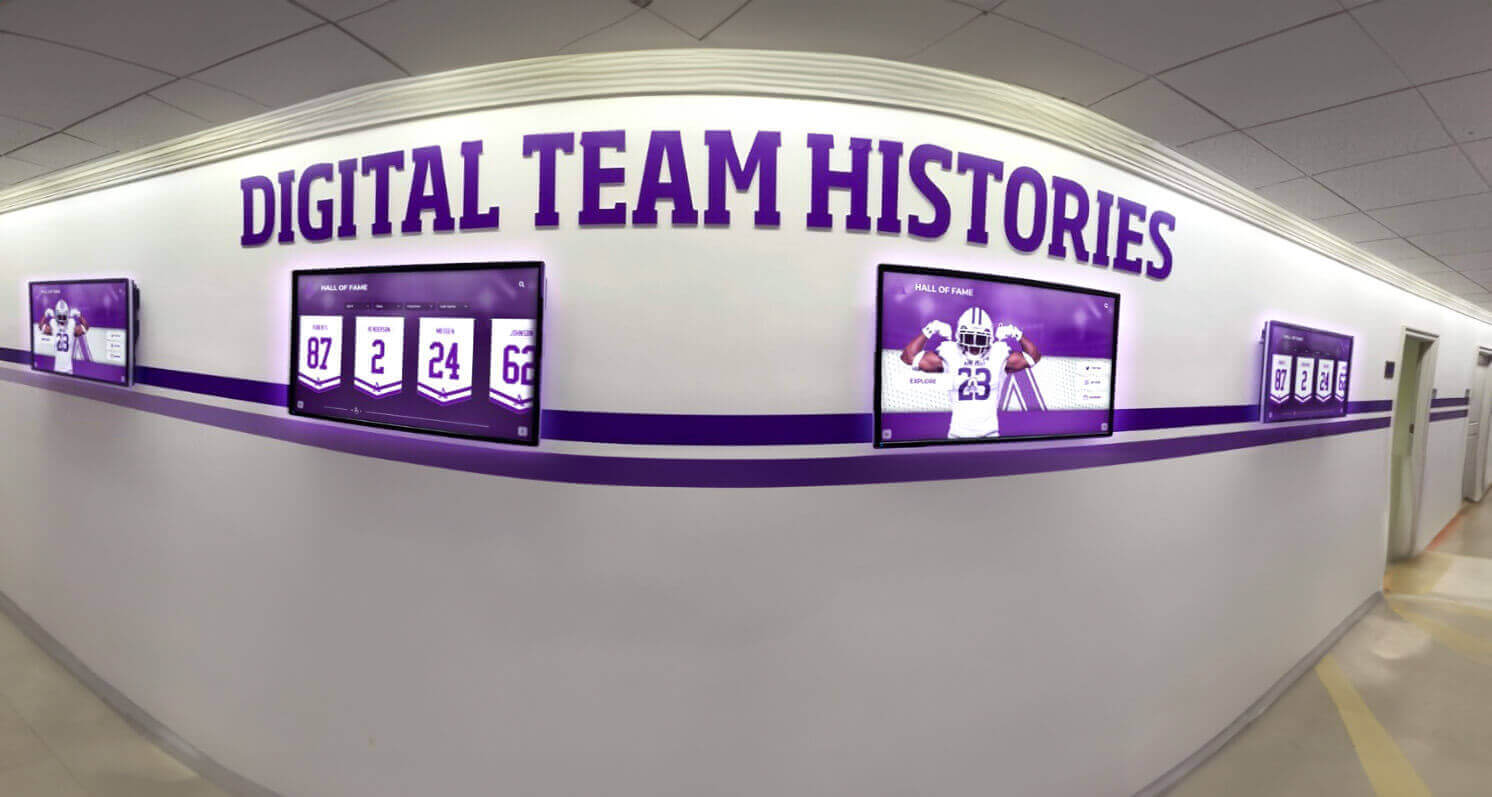
Display screens receive optimized derivatives; the archival master folder holds the preservation TIFFs that enable future high-resolution print, exhibit, or recognition uses
Connecting TIFF Masters to Recognition Displays
A high-quality preservation master archive creates value only when those masters produce compelling display content. Schools that treat the RAW-to-TIFF conversion as an isolated technical task often find that their archive exists in parallel with their recognition program rather than feeding it. Connecting the two is a workflow decision, not a technical one.
The practical connection looks like this:
- Event photos from current seasons are shot in RAW, converted to TIFF masters at the end of each season, and added to the archive with the rest of the year’s records
- Hall of fame portrait sessions are documented in RAW, converted to TIFF, and the display derivatives are uploaded to the recognition platform before the induction ceremony
- Championship team photos produce a TIFF master that is available for the lobby recognition screen today, a high-resolution banner print next spring, and a historical archive display five years from now—all from the same file
Schools building this kind of integrated archive benefit from understanding how image preservation decisions connect to the broader recognition program design. The school athletic archive preservation guide at touchscreenwebsite.com covers the full continuum from physical archive care through digital display, which helps administrators plan preservation investment in relation to recognition goals rather than treating them as separate budgets.
For schools that have already built a digital history archive or are evaluating platform options, the overview at best-touchscreen.com walks through platform categories suited to different scales of athletic archive, from basic photo display to fully searchable interactive archives.

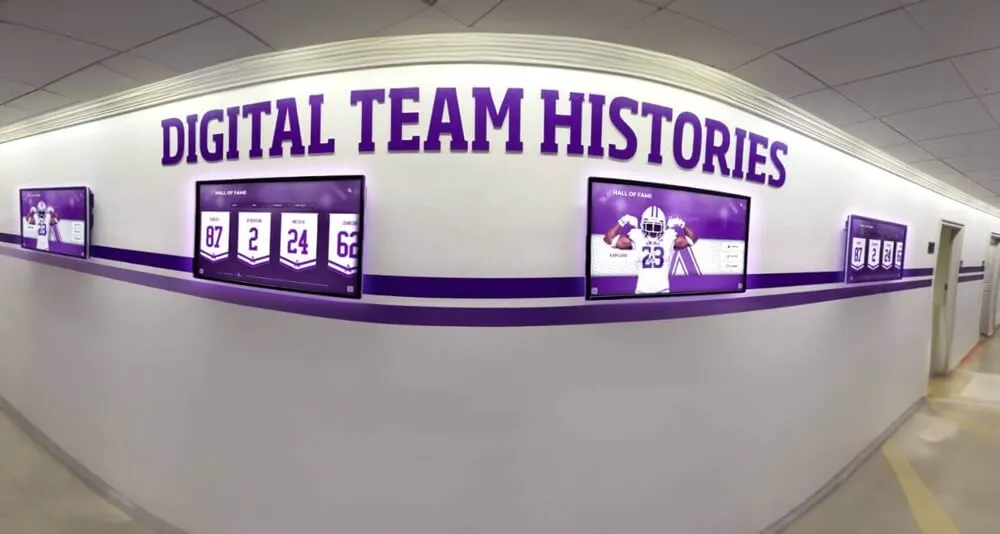
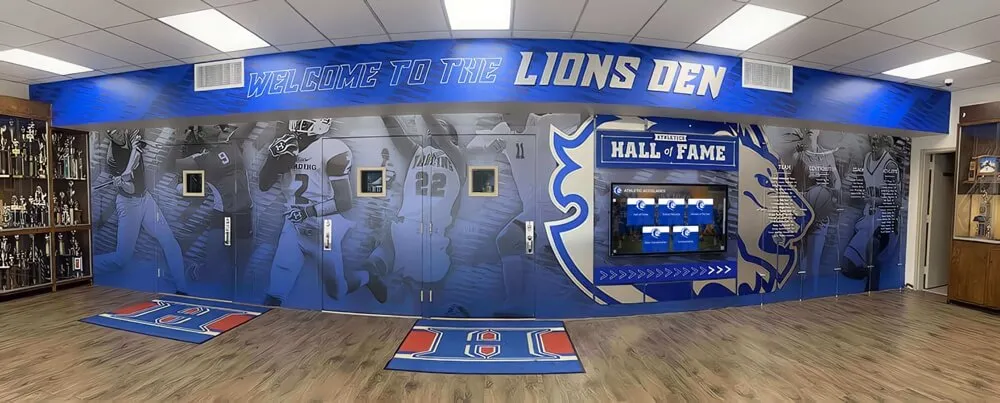
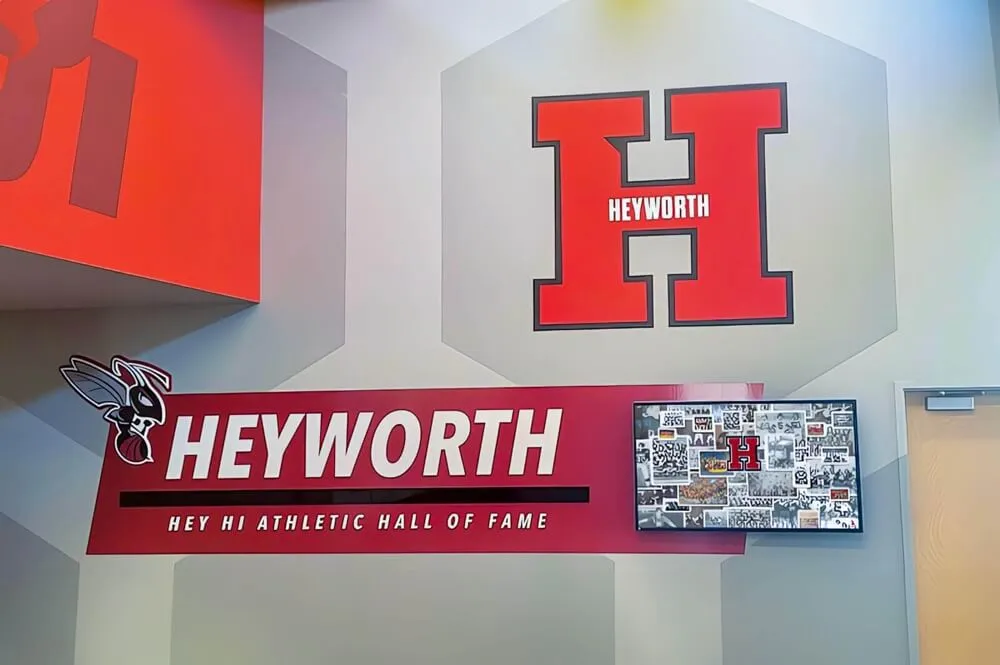
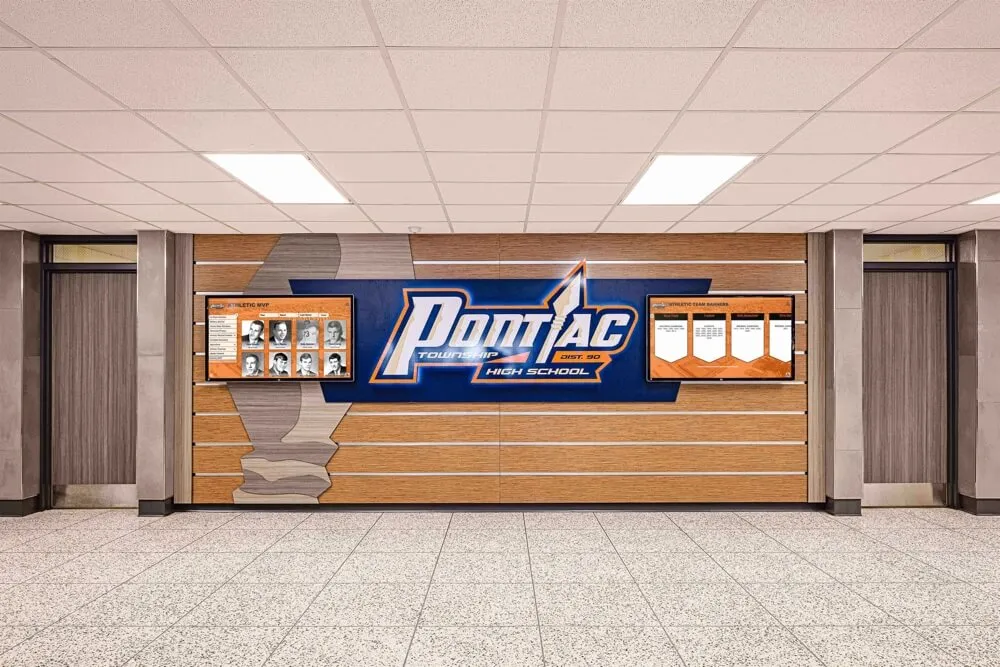
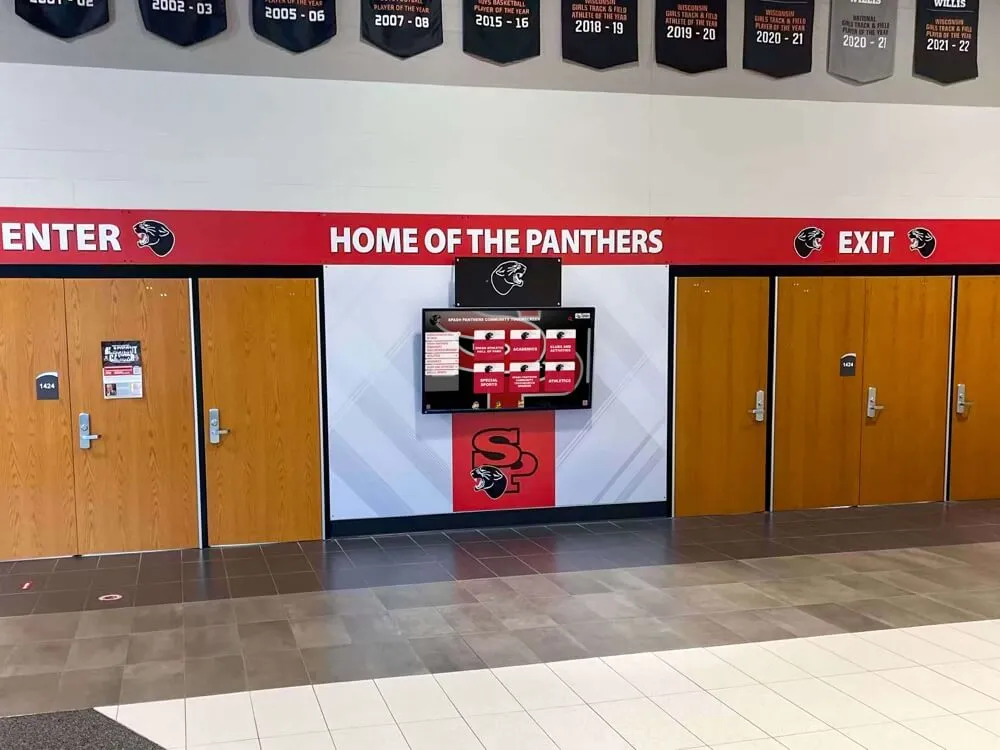
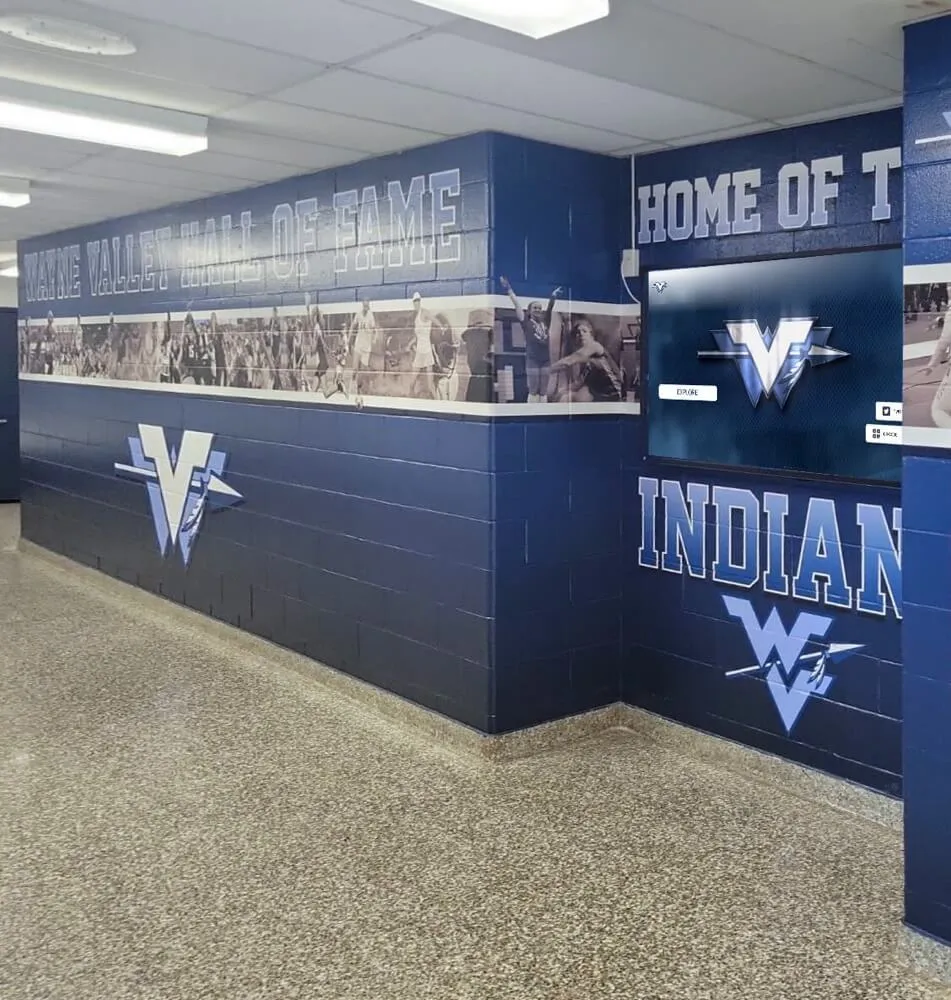

Hallway recognition displays like this represent the public face of the archive—the TIFF preservation master strategy ensures the same images can serve print, digital, and interactive recognition needs for decades
Frequently Asked Questions
Q: Do we need to keep the RAW files if we have the TIFF masters?
Yes, if storage allows. The TIFF master represents your best conversion of the RAW at the time of processing. Software improves—noise reduction algorithms, lens correction profiles, and color science all advance over time. Retaining the RAW file means a future operator using better tools can produce a superior master from the original data. If storage is genuinely constrained, prioritize keeping RAW files from championship events, hall of fame portraits, and events with recognized athletes; RAW files from lower-priority events can be evaluated for deletion after TIFF masters are verified and backed up.
Q: Our photographer delivered JPEGs, not RAW files. Can we still create TIFF masters?
You can save those JPEGs as TIFFs, but you will not recover the data lost in JPEG compression. The TIFF will be lossless going forward—any subsequent derivative of the TIFF will not incur further JPEG degradation—but it will not be a higher-quality file than the JPEG source. In this case, keep the highest-quality JPEG as your “master” and request RAW delivery in your photography contract going forward. For advice on building this kind of metadata and delivery standard into future shoots, the athletic archive controlled vocabulary guide at halloffame-online.com covers how to structure contracts, delivery specs, and metadata fields for school athletic photography programs.
Q: How large will our TIFF archive be?
A 16-bit uncompressed TIFF from a 24-megapixel camera is approximately 130–145 MB per file. A season of varsity basketball with 300 keeper images produces roughly 40–44 GB of TIFF masters. A complete multi-sport school archive covering ten years of digital photography—assuming an average of 1,000 keeper images per year—can reach 1.3–1.5 TB of TIFF masters. LZW lossless compression, which is available in TIFF format, reduces this by roughly 30–50% without any quality loss. Most photo editing applications read LZW-compressed TIFFs natively.
Q: Which RAW converter should we use?
Any of the major options—Adobe Lightroom, Capture One, DxO PhotoLab, RawTherapee, or darktable—can produce accurate TIFF masters when configured with the settings described in this guide. The most important criterion is consistency: whichever tool your team uses should be the same tool used across the project, so all masters are produced under the same processing conditions. Mixing converters mid-project introduces variation in default processing behavior—different default sharpening, noise reduction, or lens correction profiles—that is difficult to audit later. For schools beginning a new archive project, free options like RawTherapee and darktable produce results comparable to commercial tools and have no licensing cost. For a broader look at how RAW conversion fits into complete digital history archive strategies, digitalwarming.net’s digital history archive guide covers archive planning considerations beyond the photo conversion step.
Q: How does this workflow connect to an athletic hall of fame display?
The workflow produces display-ready derivatives—correctly sized, sRGB-converted JPEGs—that upload directly to the content management system of a hall of fame recognition platform. The platform then handles rendering on the touchscreen, portrait card layout, and search functionality. The key advantage of the TIFF-master approach is flexibility: when your school replaces a display screen with a higher-resolution model, or adds a printed recognition wall alongside a digital display, the TIFF masters can produce new derivatives at the new required dimensions without returning to the original camera card—which may no longer exist or be accessible. Exploring what modern athletic recognition platforms expect in terms of photo quality and format helps calibrate the derivative production step; the complete digital history archive guide at touchhalloffame.us covers display platform requirements alongside archive management strategy.
Maintaining the Archive Year Over Year
An athletic photo archive that covers only the past two seasons has limited recognition value. Archives that span decades—connecting current athletes to the program’s history through continuous visual documentation—become genuine institutional assets that alumni, boosters, and community members engage with during events, reunions, and recognition ceremonies.
Sustaining that depth requires treating the RAW-to-TIFF workflow as an annual process rather than a one-time digitization project:
End-of-season checklist:
- All season RAW files transferred from camera cards to
00_RAW_Originalsfolder - TIFF masters converted and stored in
01_TIFF_Masters - Display derivatives produced for all hall of fame portrait subjects and championship team photos
- Derivatives uploaded to recognition platform with complete metadata (name, sport, year, season result)
- Archive backed up to cloud and off-site physical location
- Edit log updated with season’s entries
- Camera cards formatted only after backup and master conversion are verified
Annual archive review:
- Confirm cloud backup subscription is active and storage capacity is sufficient
- Test a restore from the off-site backup (copy one file from the off-site location to a new folder and verify it opens)
- Review naming conventions for consistency—new staff members often drift from established conventions without realizing it
- Update the designated archive custodian if staff changes occurred
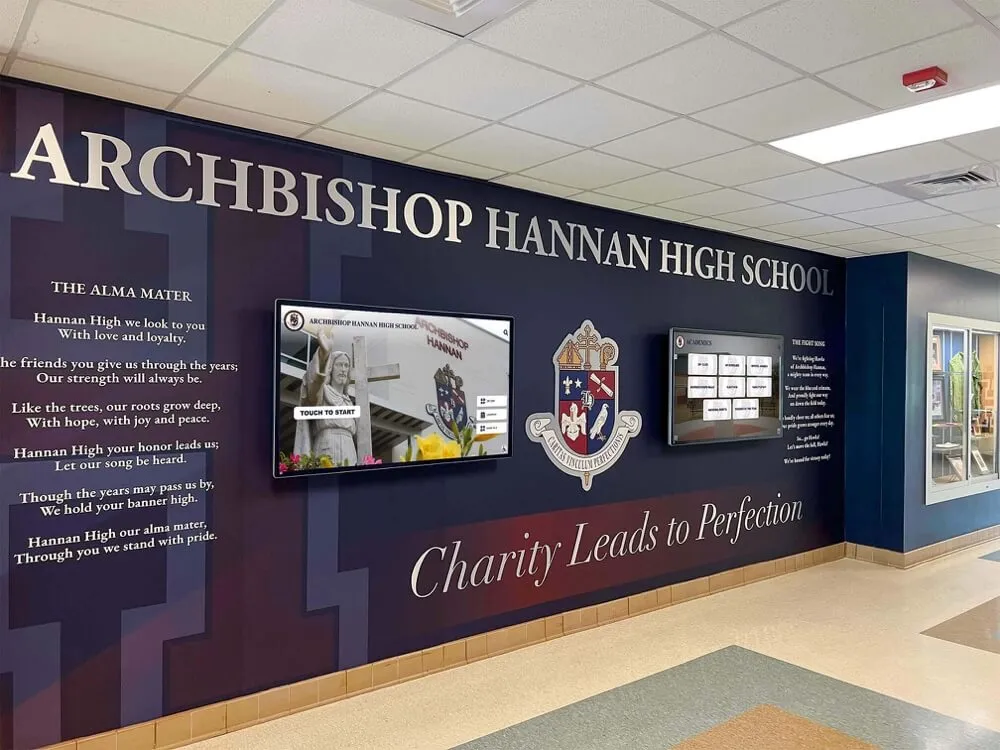
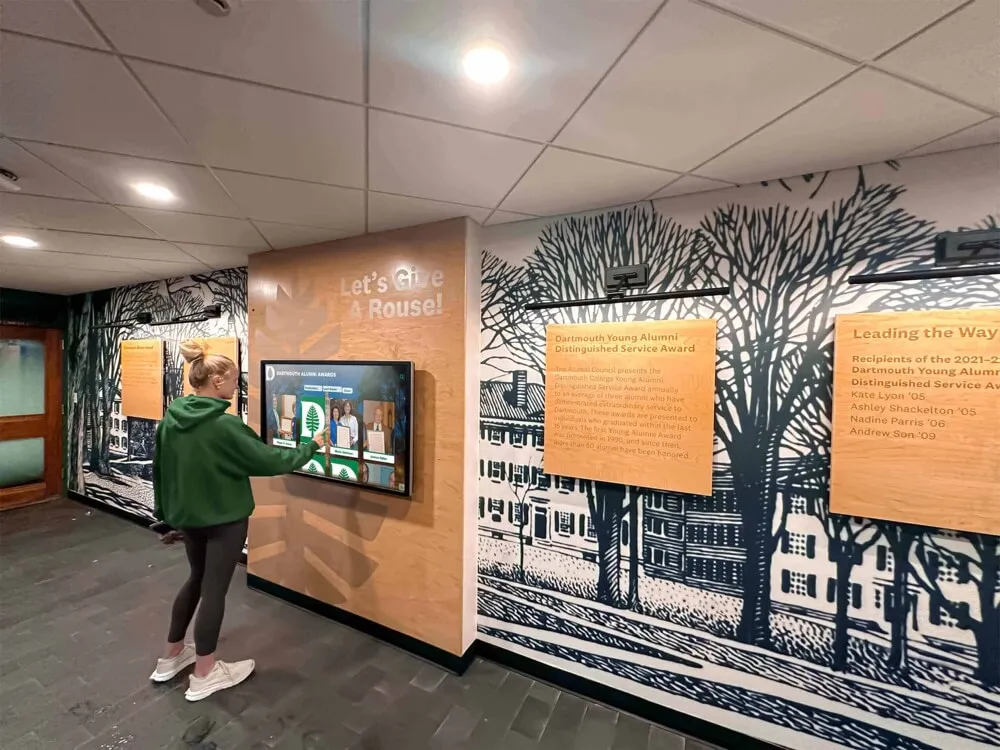
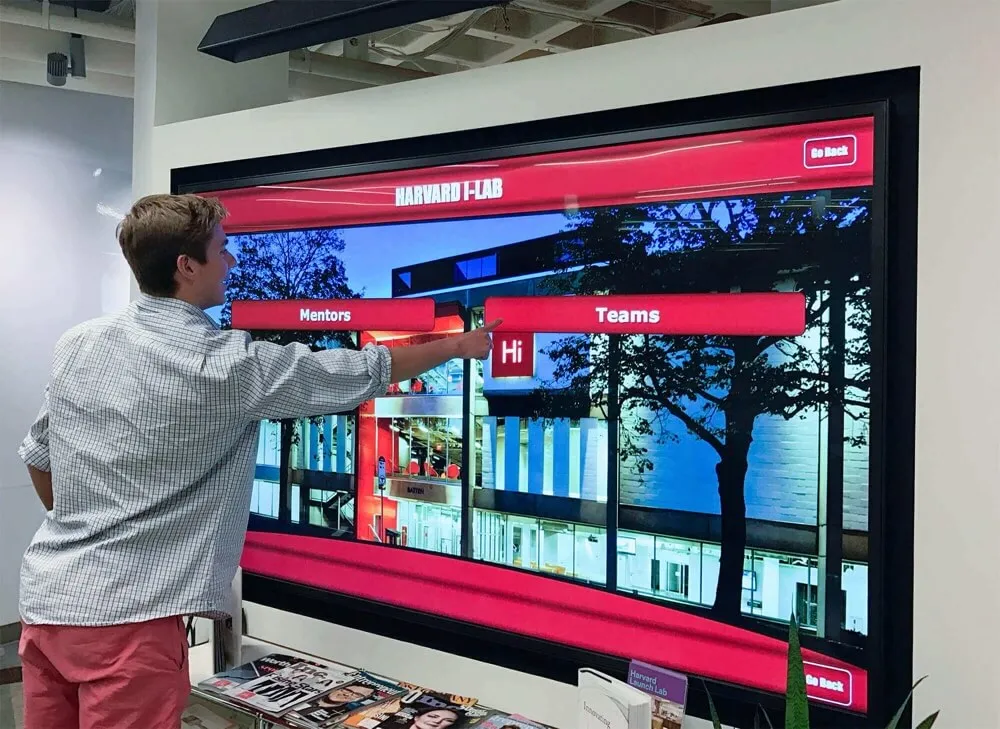
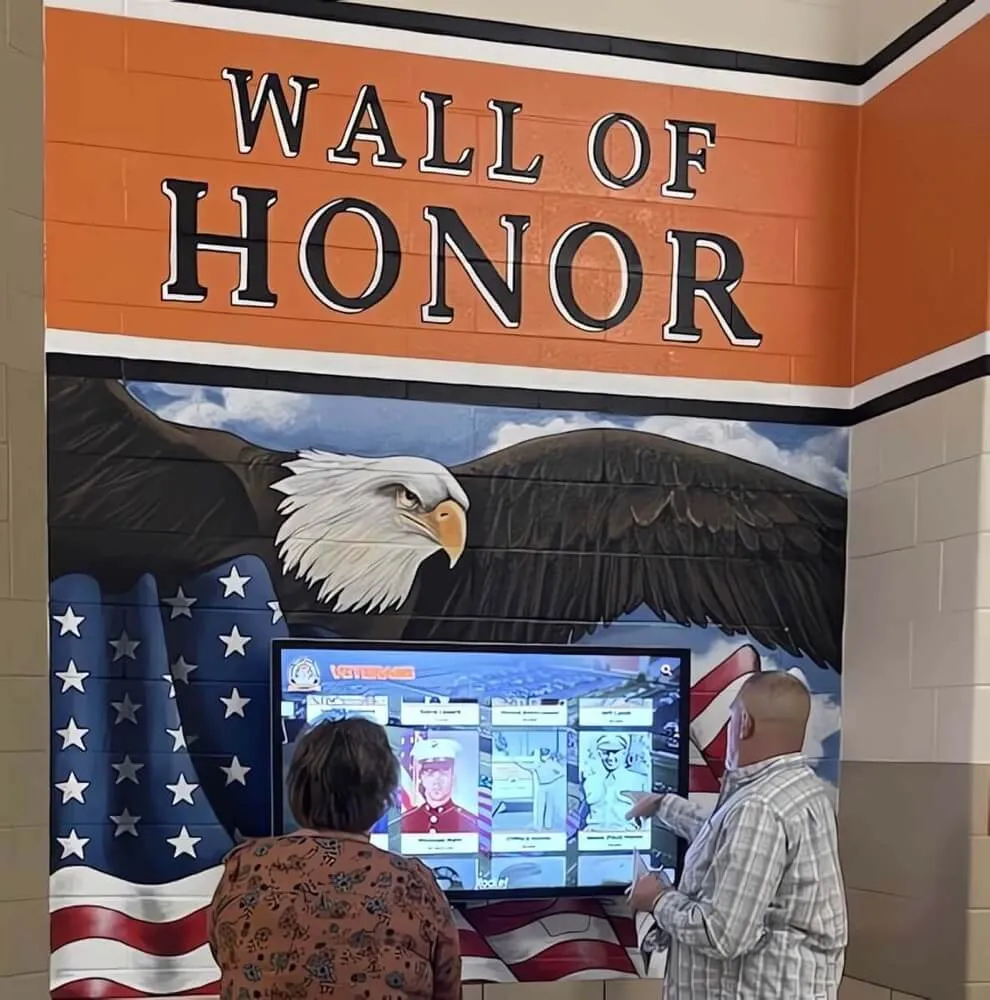
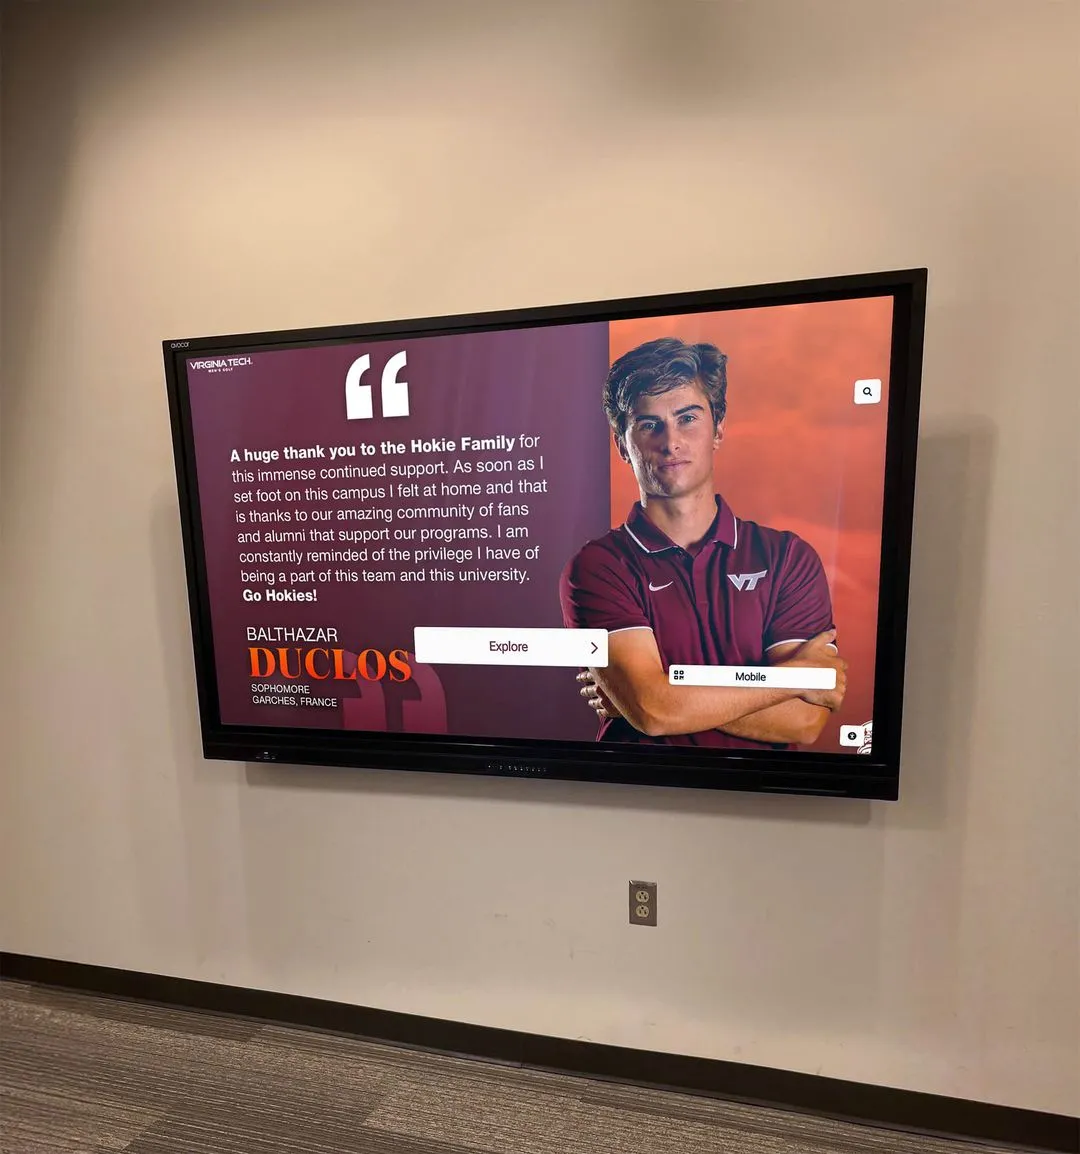
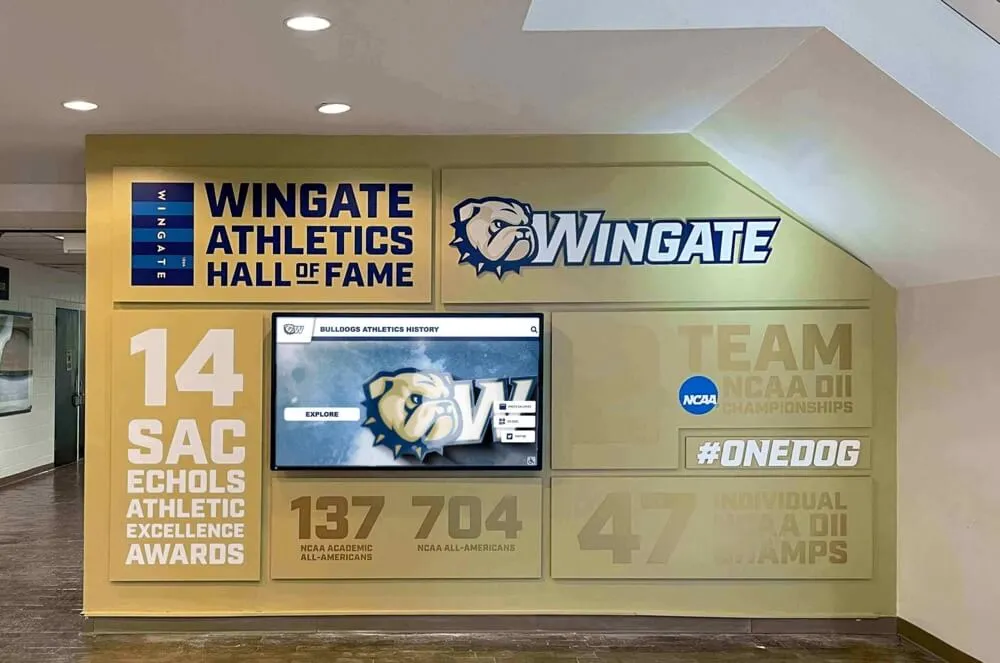
Interactive recognition displays surface decades of athletic history—the TIFF preservation master strategy ensures that history remains accessible and re-exportable regardless of how display technology evolves
From Archive to Recognition: Closing the Loop
A RAW-to-TIFF workflow is a means to an end, not the end itself. The athletes in those files deserve to be seen—not stored indefinitely in a network folder that nobody looks at. The conversion, quality control, and backup steps in this guide exist to ensure that when a photo reaches a recognition display, it represents the athlete accurately, can be re-exported for any future purpose, and is protected against accidental loss.
Schools that complete both sides of this work—the preservation side and the display side—end up with recognition programs that honor athletes across generations: the 2019 state championship team displayed alongside the 1989 team, both at appropriate image quality for a modern touchscreen, both tracing back to archival masters that have been protected since the moment of conversion.
That continuity is what turns a photo archive into an institutional asset. The RAW-to-TIFF workflow is where that continuity starts.
See How Archived Photos Perform on a Recognition Display
Rocket Alumni Solutions helps schools bring decades of athletic archives to life on interactive hall of fame displays, touchscreen trophy cases, and lobby recognition walls. If your school is working through a RAW-to-TIFF conversion project and wants to see how preservation masters translate into a live recognition platform, schedule a demo to walk through the full workflow from archive to display.
Book a Live Demo