



Athletic archive lens distortion correction is the process of removing the bowing, pinching, or wavy warping that vintage lenses introduced into historic team photos—so that straight gymnasium walls, court lines, and bleacher rows appear straight on screen without altering the identity or authenticity of the people in the image. Schools that skip this step often find that decades-old team photos look noticeably warped on a 65-inch touchscreen display or a hall of fame recognition wall, undermining the dignity of the athletes being honored and creating a visual inconsistency that careful donors and athletic directors notice immediately.
This guide walks athletic directors, archives staff, school IT teams, and facilities coordinators through a complete athletic archive lens distortion correction workflow: identifying the distortion type in a given photo, preserving the archival master before any edit is made, selecting the right correction tool for photos with and without EXIF data, documenting derivative files so future staff can trace every change, and preparing corrected images for digital recognition displays. No statistics have been invented. Every check described here can be performed with tools that are free or already common in school technology environments.
Lens distortion is not a defect introduced during scanning or digitization—it was present in the original photograph from the moment the shutter closed. Wide-angle lenses used to fit an entire basketball squad into a gymnasium frame caused barrel distortion; telephoto lenses used to compress large outdoor track and field groups caused pincushion distortion. When those prints sat in a trophy case or a filing cabinet for thirty years, the distortion was invisible because the human eye adapts naturally to slight warping in a framed print. On a flat-panel display viewed at close range—especially a large-format touchscreen where users can zoom into individual athlete portrait cards—that warping becomes conspicuous.

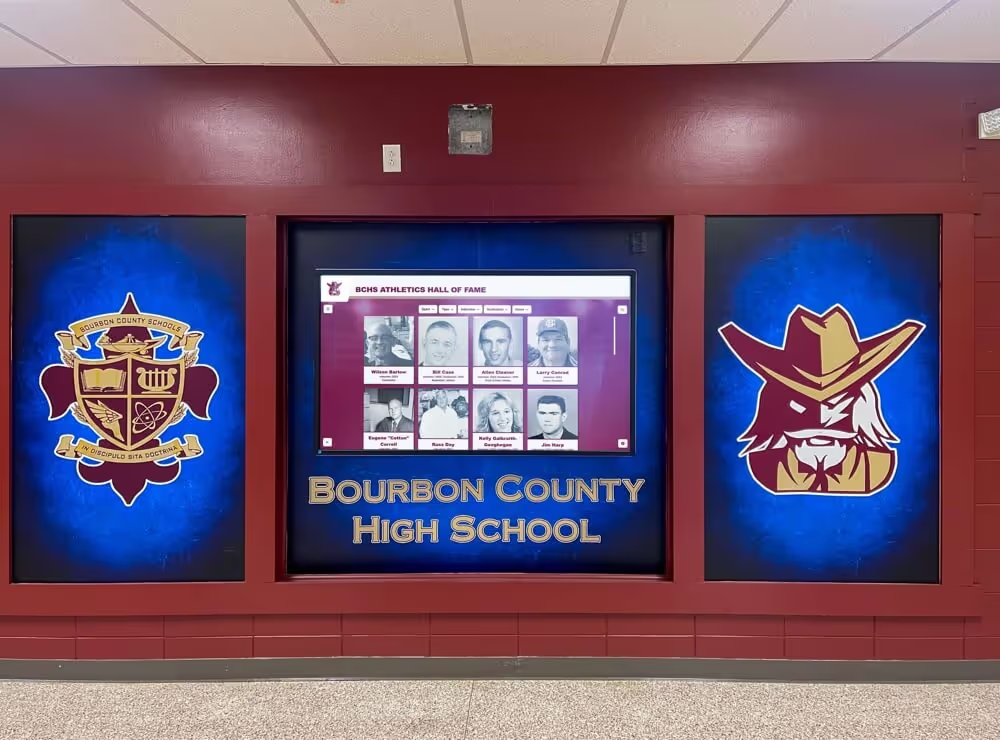
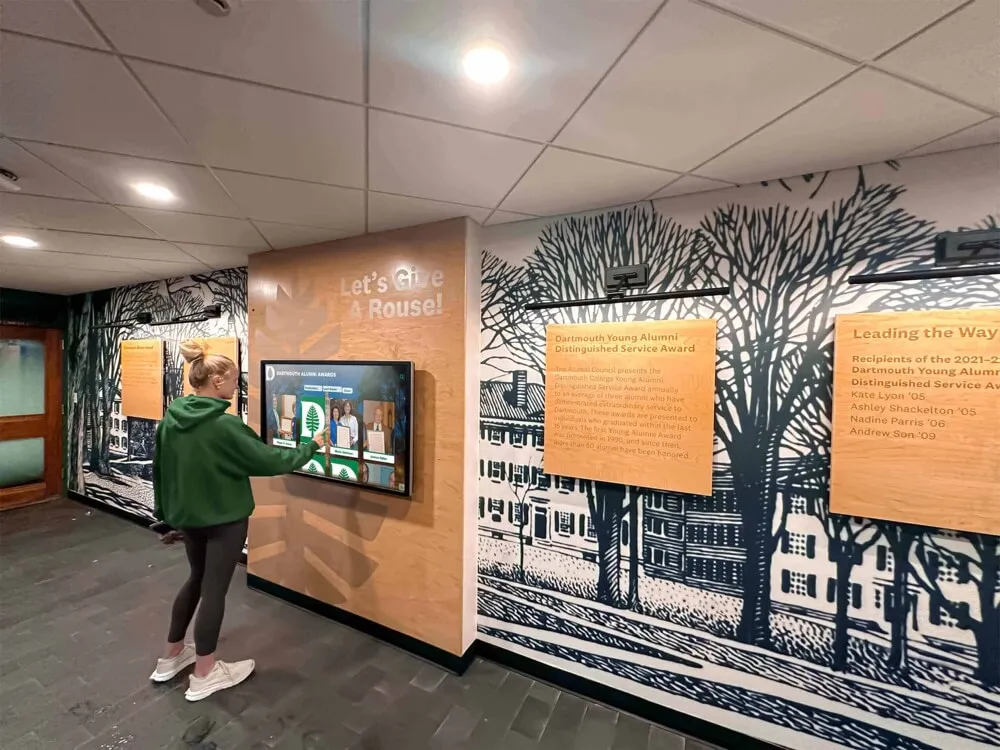
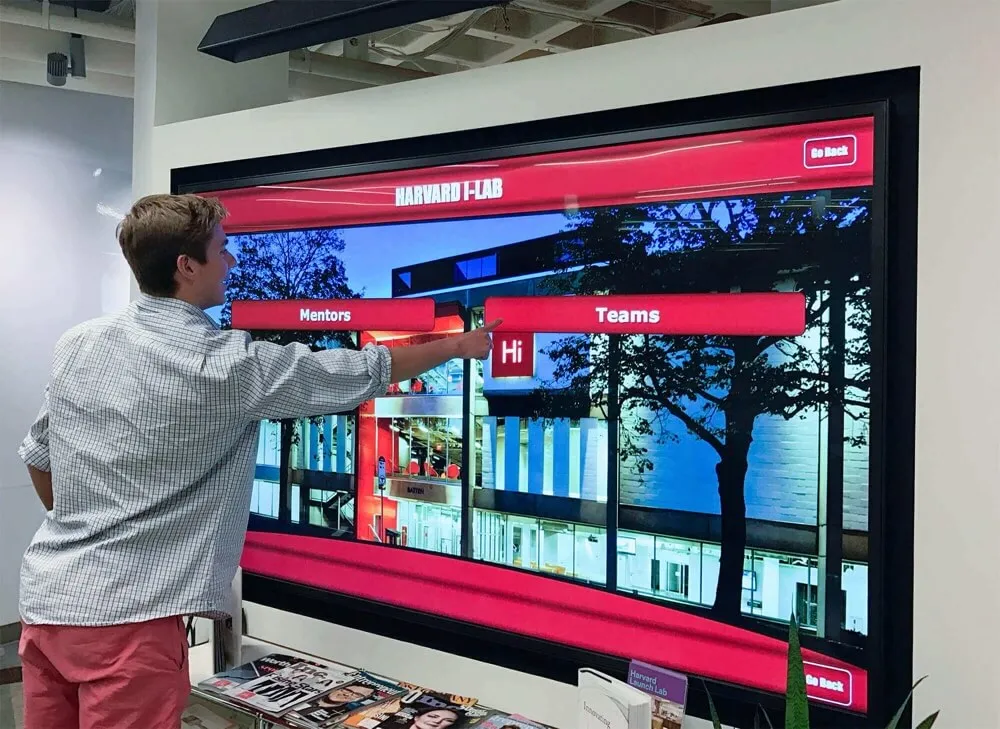
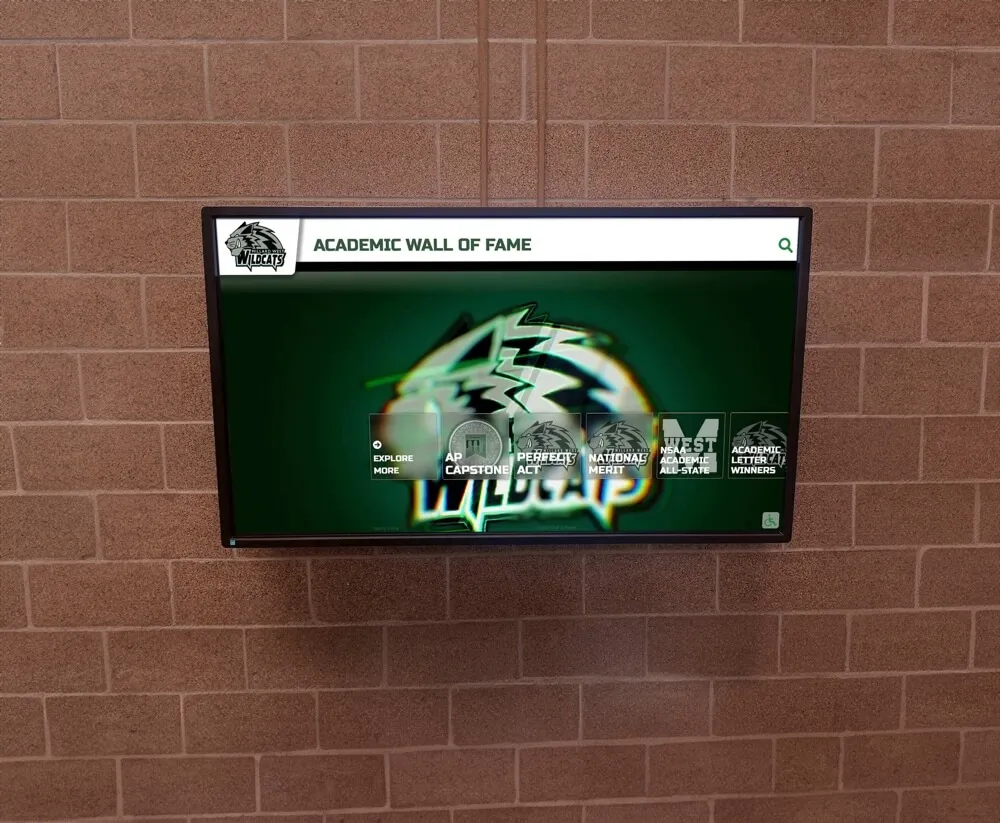
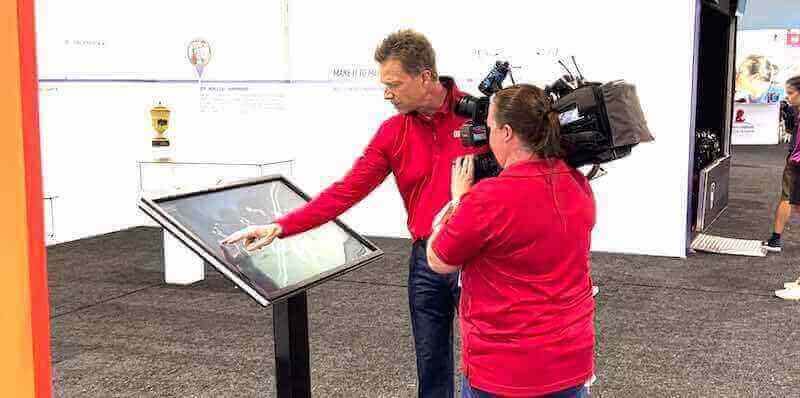
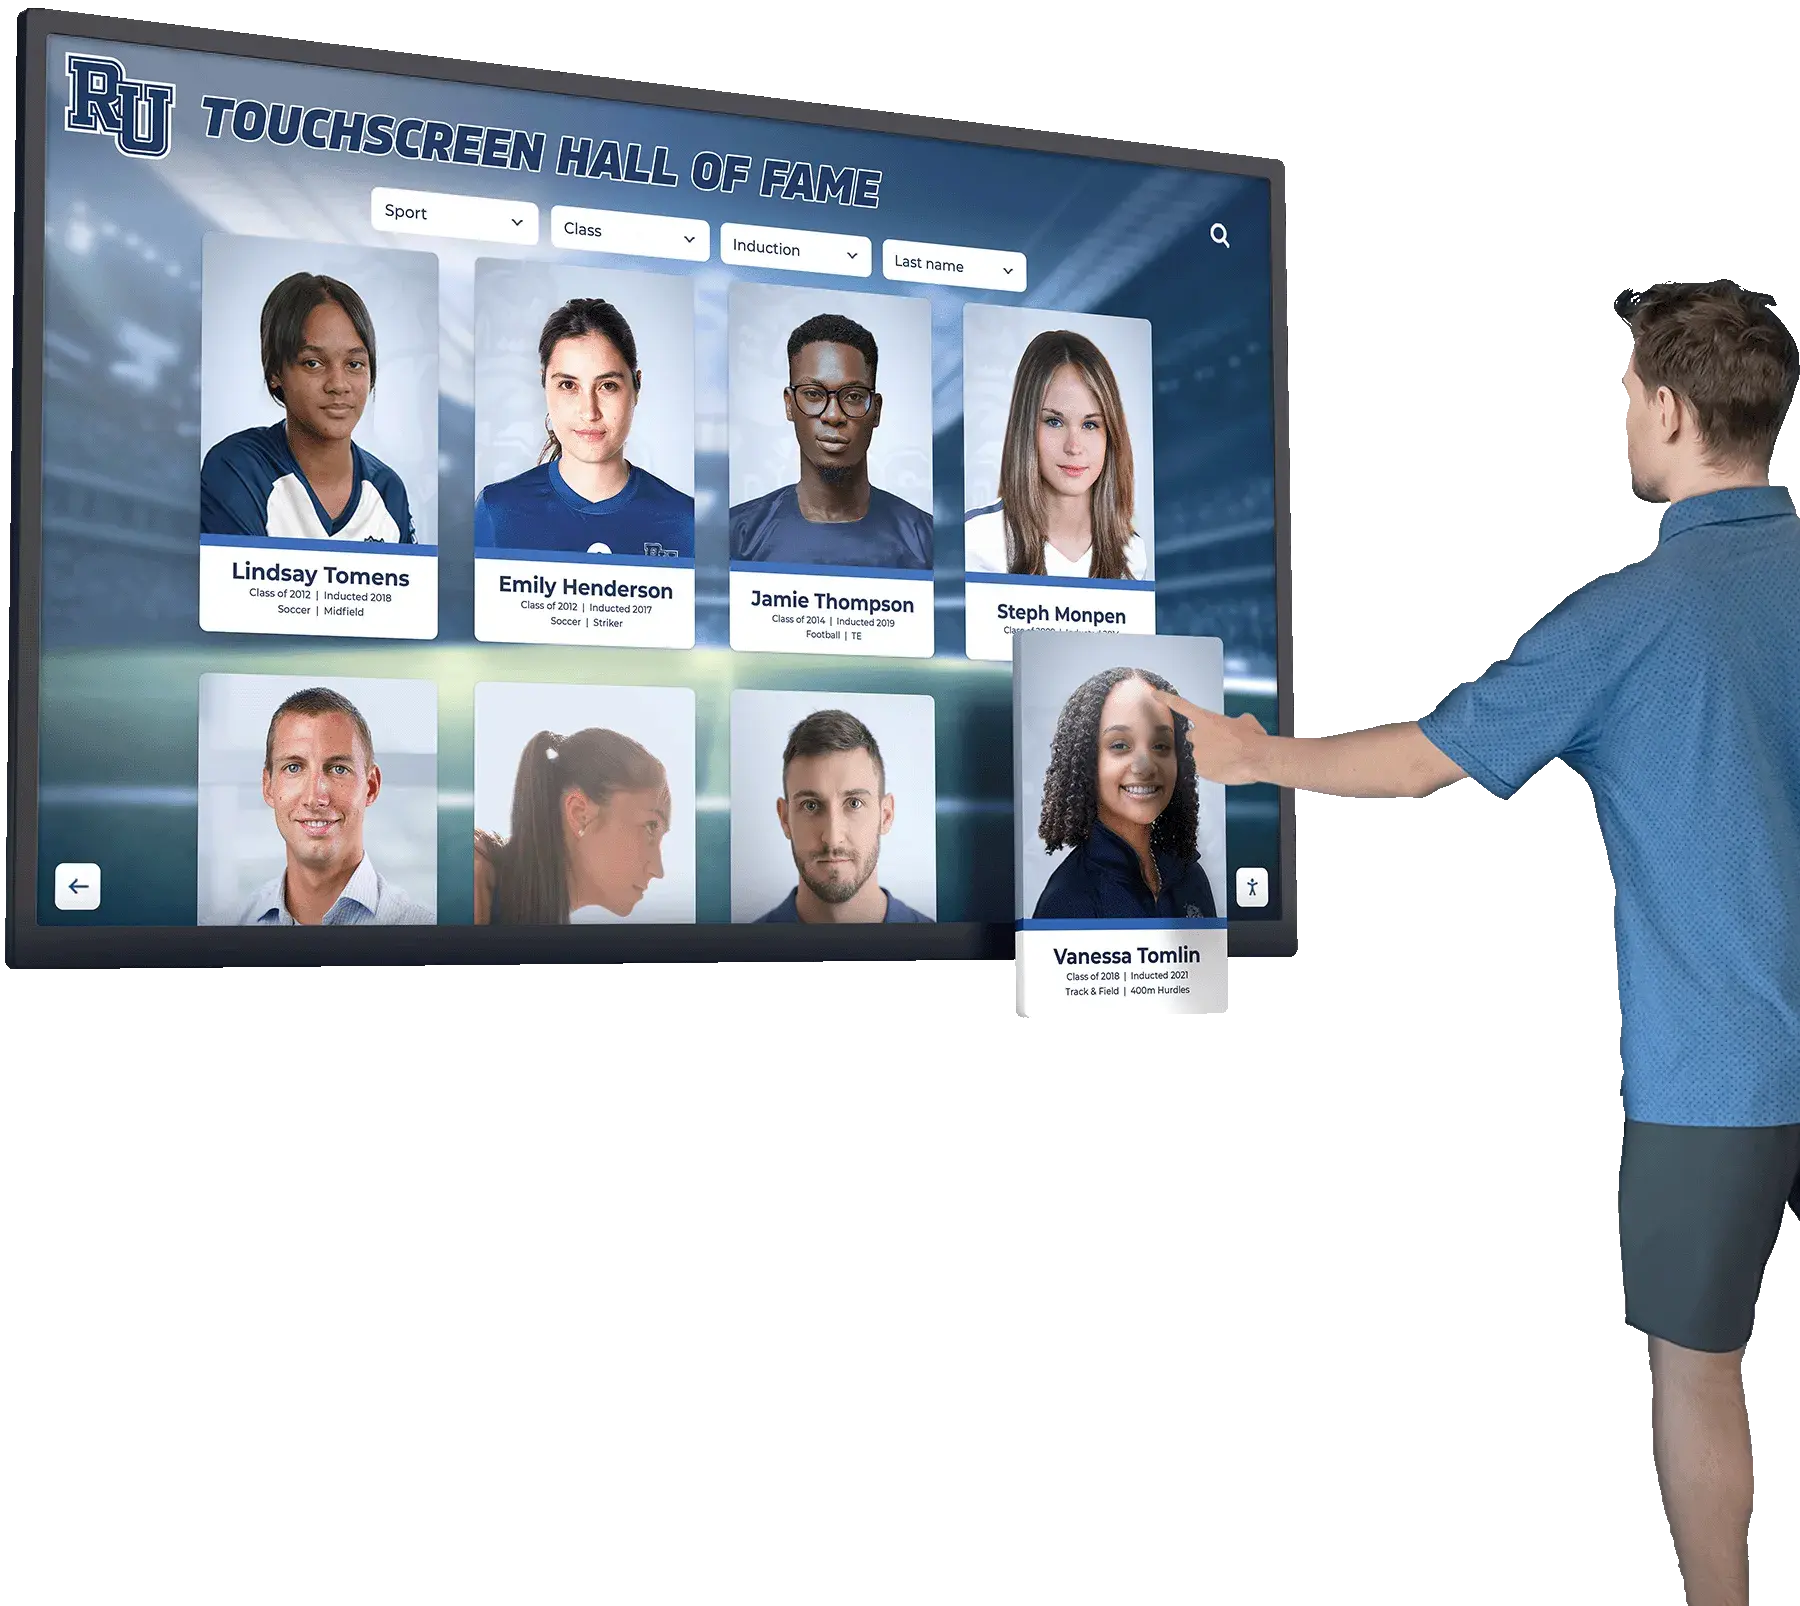
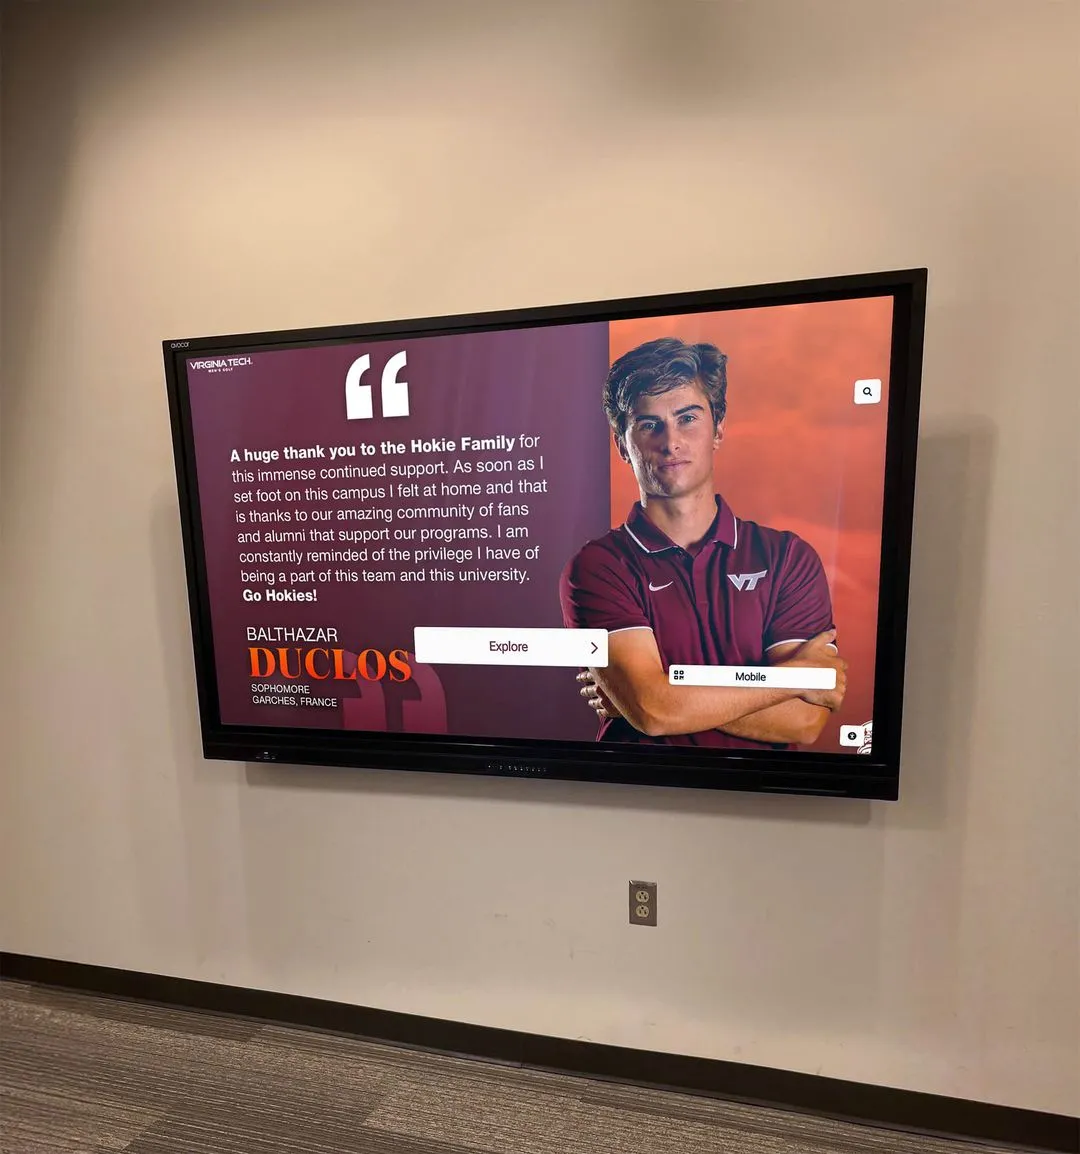
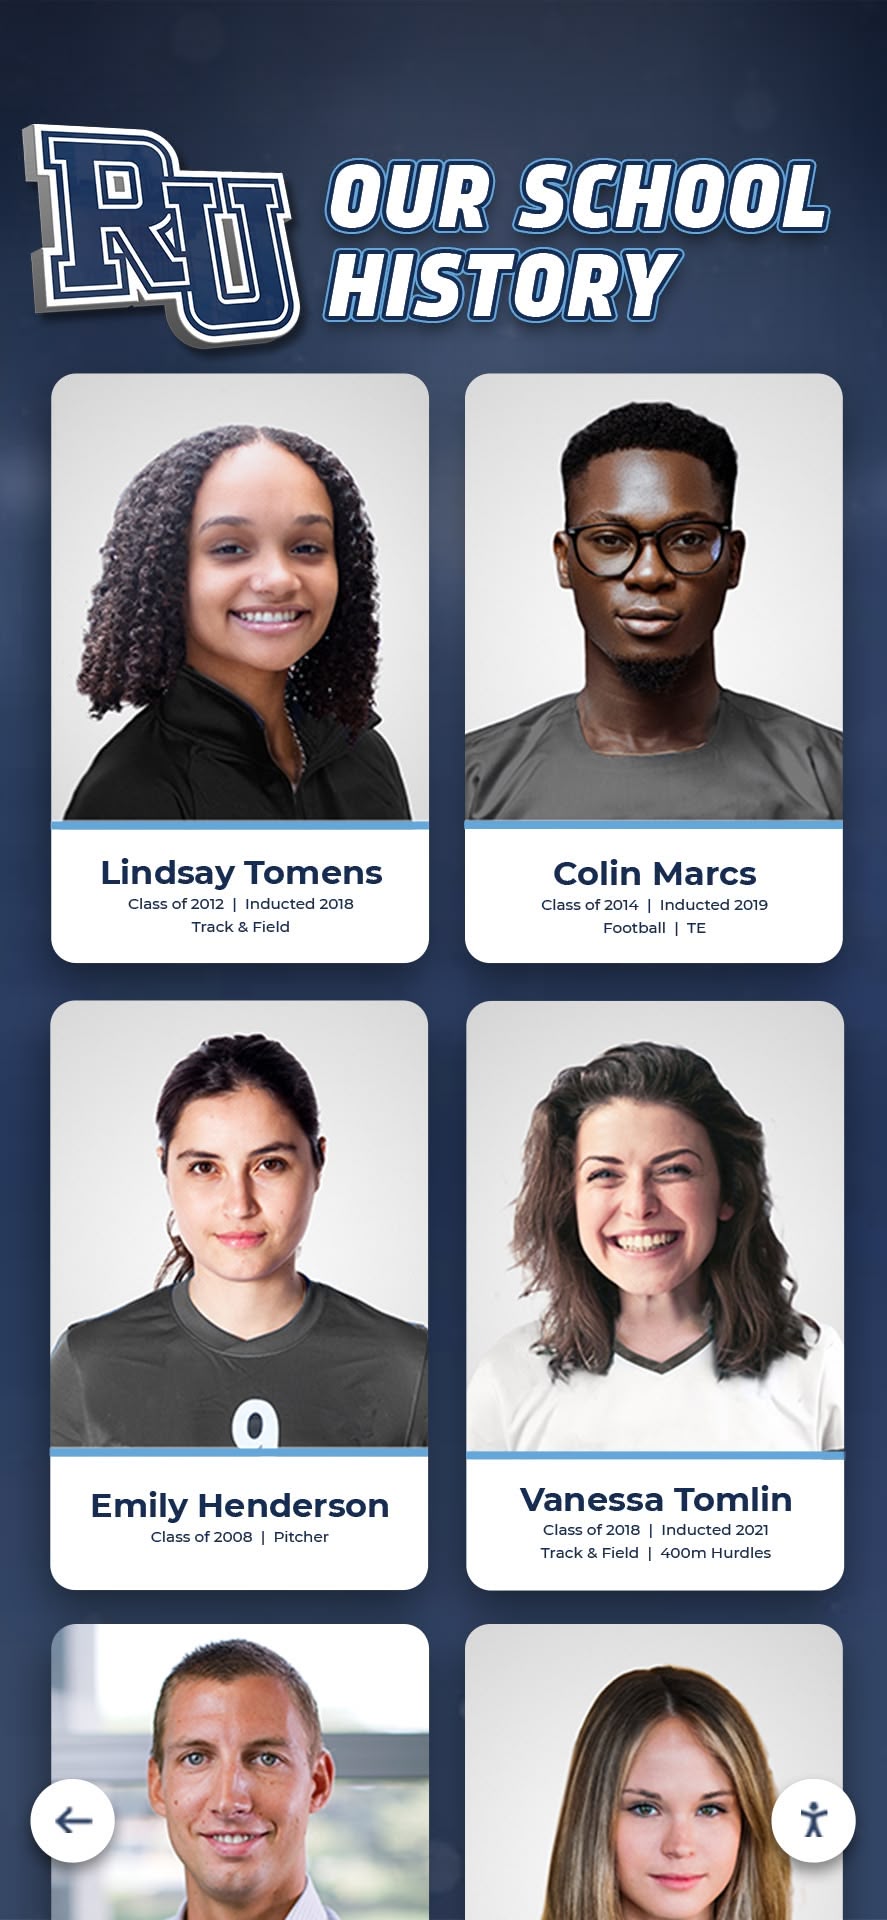
Historic athletic portrait cards displayed digitally require distortion correction so team rows appear level and faces look natural at the larger sizes a touchscreen enables
Understanding the Three Types of Lens Distortion in Historic Athletic Photography
Before correcting anything, staff need to identify which type of distortion is present. The three categories behave differently, require different correction approaches, and are not always obvious without a reference grid.
Barrel Distortion
Barrel distortion causes the image to bow outward from the center, making the edges of the frame curve away from the viewer. The name comes from the shape: straight lines near the corners appear to curve toward the image edge like the sides of a barrel.
In historic team photos, barrel distortion typically appears when the photographer used a wide-angle or normal lens at a close distance to fit a large group into the frame. Symptoms include:
- Gymnasium walls or court boundary lines that curve outward at the left and right edges of the image
- The front row of athletes appearing to bow downward at both ends of the row
- Bleacher rows above the team that curve upward at the sides
- Corner athletes who appear slightly stretched outward compared to center athletes
Barrel distortion is the most common type in pre-1990 indoor team photography because photographers frequently worked with whatever space was available in a gymnasium and compensated by using a wider lens rather than moving further back.
Pincushion Distortion
Pincushion distortion causes the image to pinch inward at the edges—the opposite of barrel distortion. Straight lines appear to curve toward the center of the image, like the sides of a pincushion.
Pincushion distortion was more common in outdoor athletic photography where longer telephoto lenses were used to frame a group from a greater distance. Symptoms include:
- Sideline markers or field boundaries that appear to curve inward as they approach the image corners
- Rows of athletes whose ends appear higher than their centers
- The impression that the group is being viewed through a subtle concave surface
Mustache (Complex) Distortion
Mustache distortion combines barrel distortion near the image center with pincushion distortion near the edges. Straight lines undulate rather than curve consistently in one direction. This pattern was more common in certain consumer zoom lenses of the 1980s and early 1990s, where a photo taken at mid-zoom might show this complex warp.
Mustache distortion is harder to correct because a single radial correction value cannot fix both the center and edge behavior simultaneously. More on that in the software tools section below.
Identifying Distortion Before You Make Any Correction
Accurate identification determines which correction method to apply. Applying barrel correction to a pincushion image, or over-correcting a mild distortion, introduces new errors. The following checks can be performed without specialized software.
The Straight-Line Reference Check
Open the digitized photo in any image viewer that can overlay a grid or allow you to draw a straight reference line. Identify architectural or field elements in the image that should be perfectly straight:
- The top edge of a gymnasium backboard support
- The painted boundary line at the end of a basketball court
- The top rail of bleachers
- A horizontal row of lockers in the background
- The edge of a painted sideline on an outdoor field
Place a straight edge or a ruler tool along what should be a horizontal line. If the line curves, you have distortion. The direction of the curve tells you the type: curving away from the image center is barrel; curving toward the center is pincushion.
If the image contains no architectural references—an outdoor photo taken on an open field with no visible structures—use the horizon line. If athletes in the back row appear at different heights despite standing on level ground, use their shoulder line as your reference.
The EXIF Camera Data Check
If the digitized file retains EXIF metadata from the original scan or from a digital photo taken after the fact, check the recorded focal length. Many lens profile databases use focal length and aperture as inputs for automated corrections.
In Lightroom, Photoshop, or DxO, check the image metadata panel:
- Open the file and navigate to the metadata or file info panel
- Note the camera make, model, and lens model if present
- Note the focal length (in mm) and aperture (f-stop)
- In Lightroom, switch to the Develop module and open the Lens Corrections panel—if a lens profile exists for the recorded lens, the software will display a match
Historic prints that were subsequently photographed with a digital camera rather than flatbed-scanned will carry the metadata of the digital camera used, not the original film camera. That metadata is not useful for lens profile matching. Use the straight-line reference check instead.
When to Treat Distortion as Minimal
Not every historic team photo needs correction. Apply these practical thresholds before investing correction time:
- If the image will be displayed at thumbnail or portrait-card size (under approximately 400 pixels wide), mild barrel or pincushion distortion will not be visible and correction is unnecessary
- If the image contains no straight-line architectural references and athletes are the only content, distortion may be effectively invisible in the final display
- If the distortion measurement—comparing the bow height of a reference line to the image height—is less than about one percent, correction is unlikely to produce a visible improvement on a display
Reserve correction effort for images that will be displayed at full-screen or large portrait sizes on recognition displays, hall of fame touchscreens, or trophy case screens where the warp will be perceptible.
The Archival Master Rule: Never Edit the Original File
The most important rule in athletic archive lens distortion correction is also the simplest: the original digitized file—whether a TIFF scan from a flatbed scanner or a high-resolution JPEG from a professional digitization service—must never be modified. All corrections happen in a derivative copy. The original is preserved exactly as received.
Why this matters for athletic archives specifically:
Future software tools may correct distortion more accurately than today’s tools. A future staff member may need to verify that the corrected image is geometrically faithful to the original. The original scan may need to be re-processed for a different purpose—a printed exhibit catalog, a video production, or a grant-funded digitization project—where a different level of correction is appropriate. If the original has been overwritten, all of those options disappear.
Practical master preservation steps:
- Immediately after scanning or receiving digitized files, copy them to a designated archival master folder
- Set the folder permissions to read-only so that no editing tool can save changes to the master files accidentally
- Maintain at least two copies of the master folder in separate physical or cloud locations
- Do not rename master files—use whatever filename the scanner or digitization service assigned, since that name may correspond to a physical log or accession record
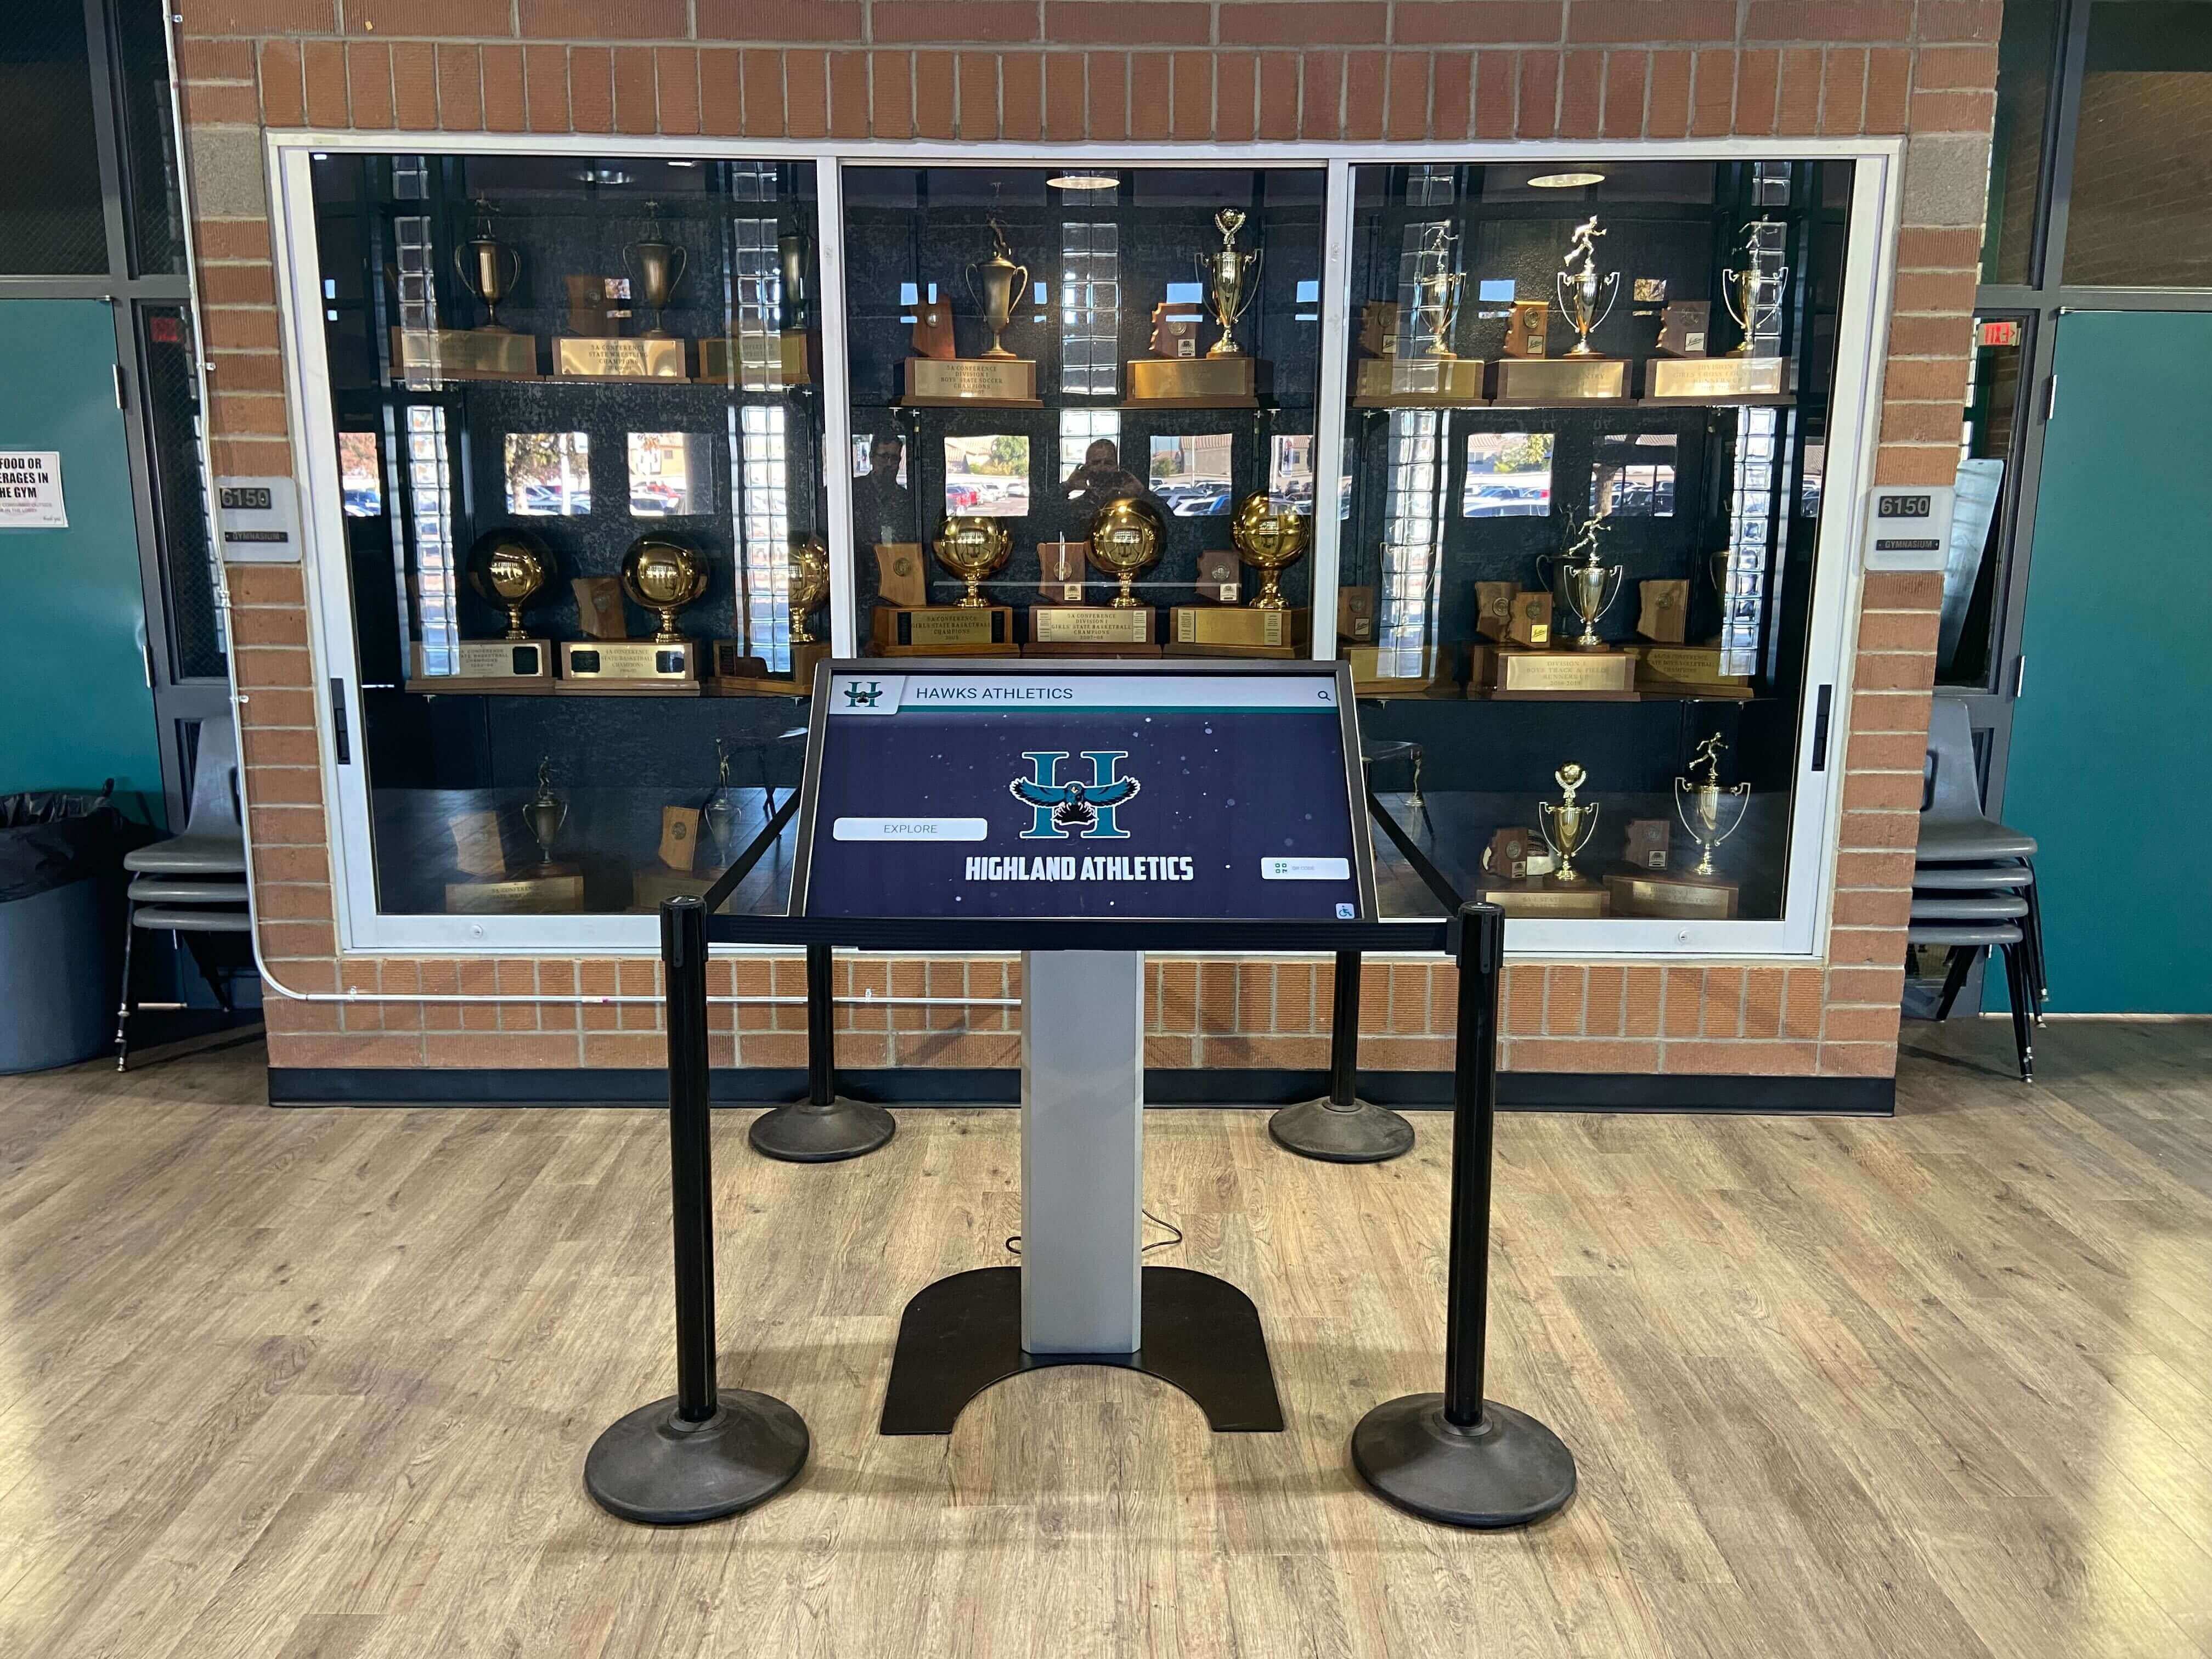
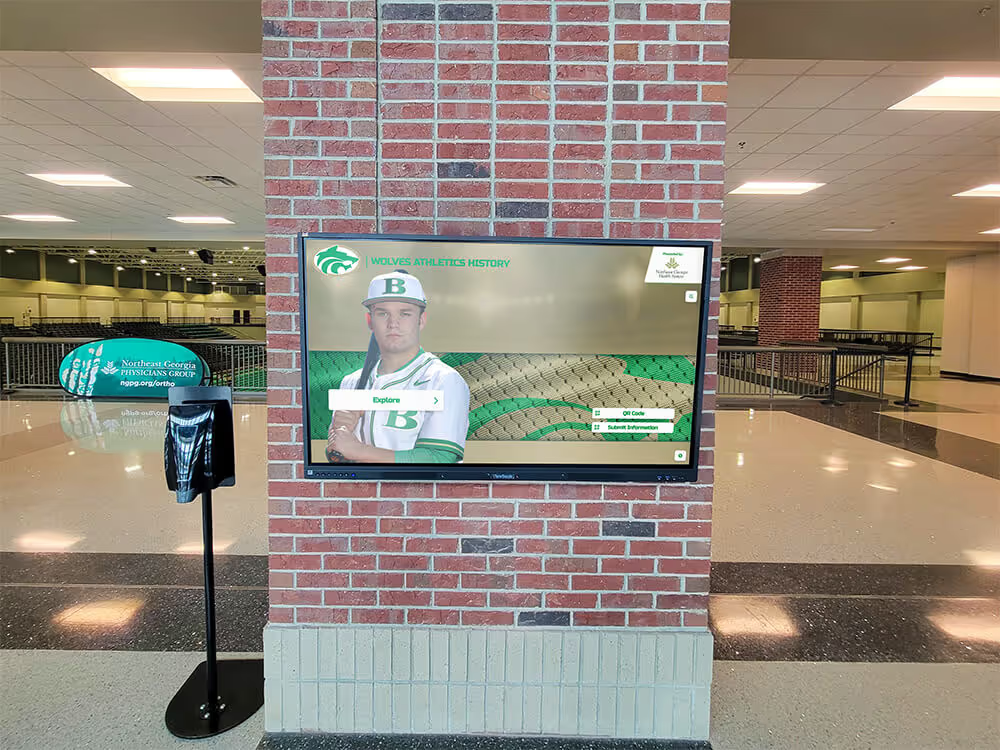
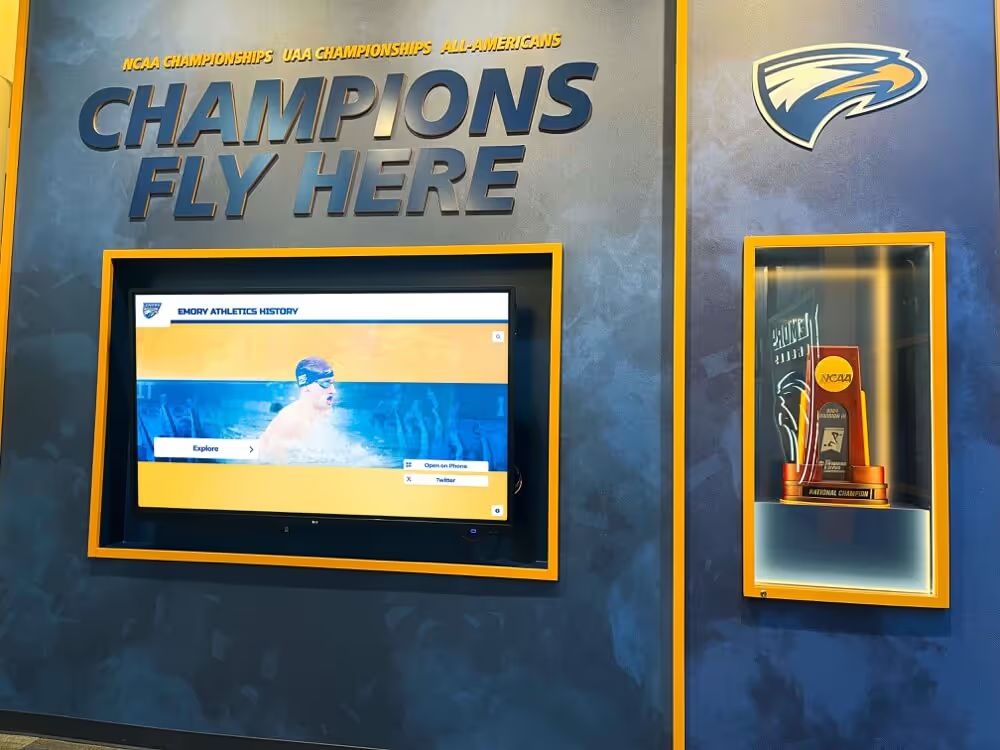
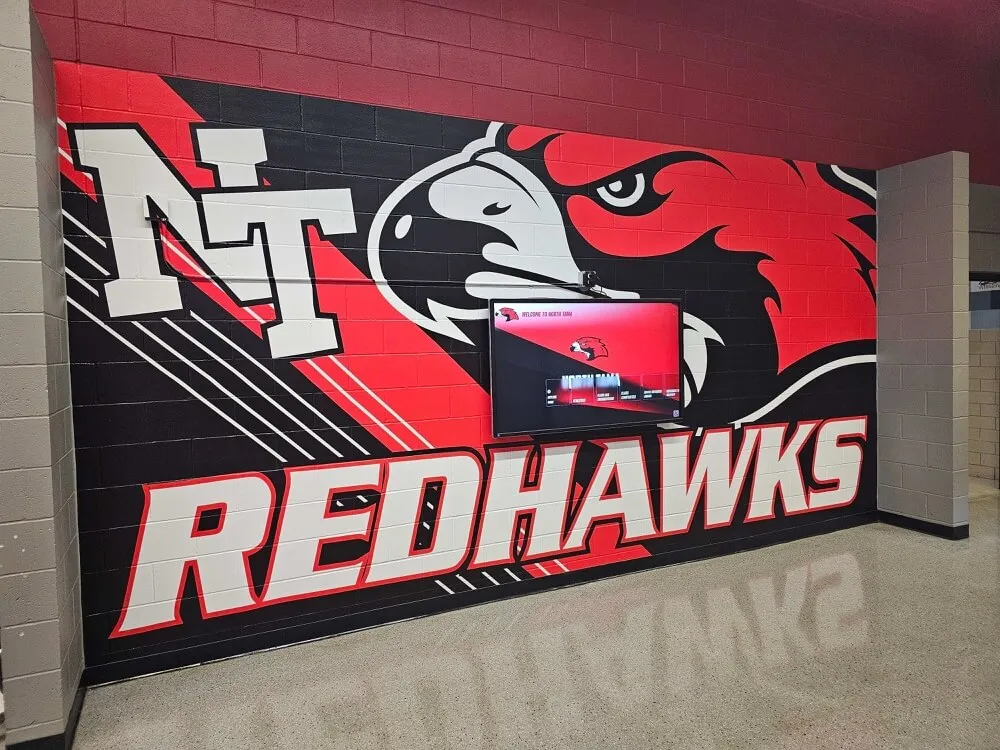
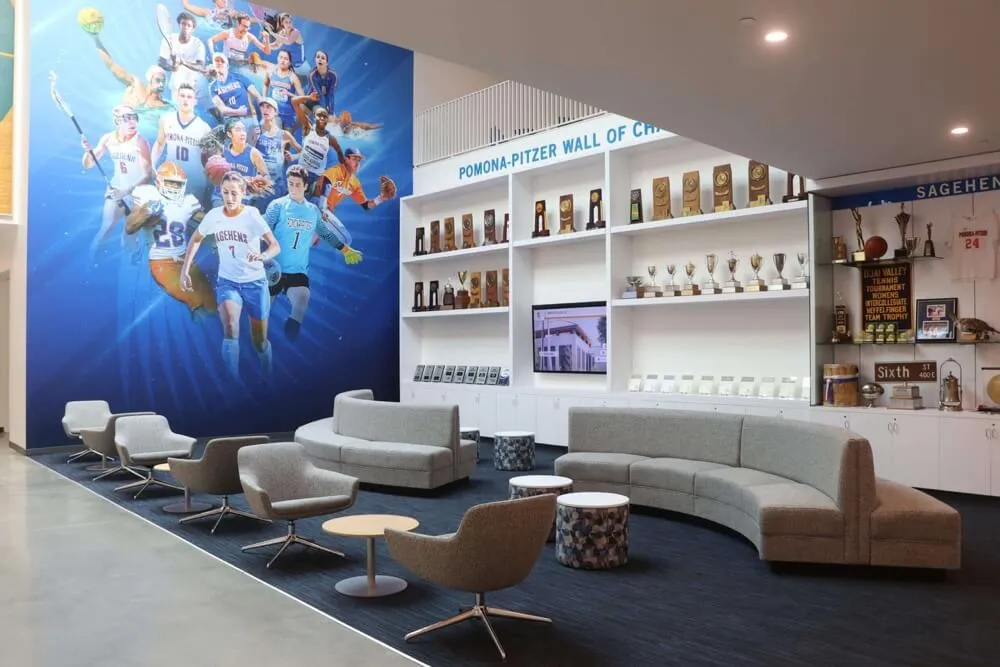
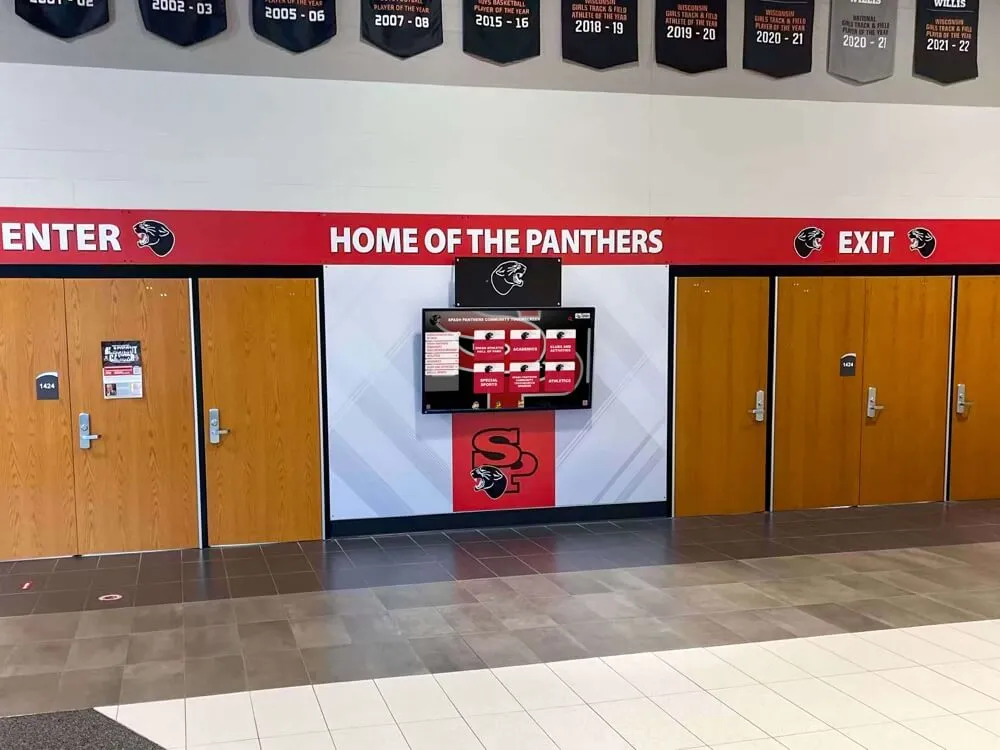
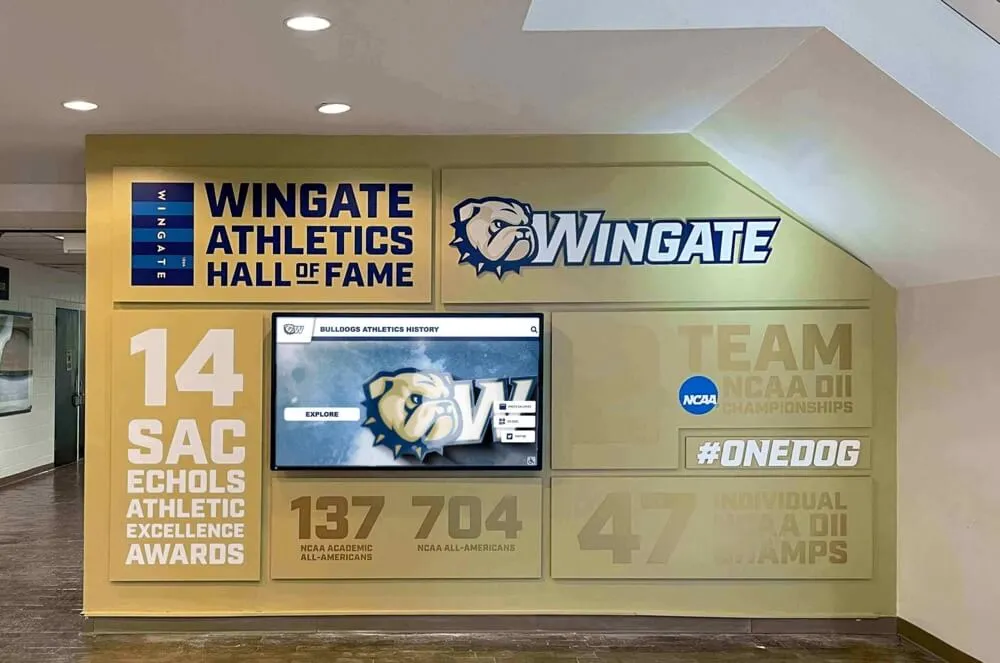
Trophy case touchscreen displays are viewed at arm's length, making lens distortion more visible than it would be in a framed print—corrected derivatives ensure athletic photos display properly
File Naming and Folder Organization for Corrected Derivatives
A clear naming convention lets any staff member—not just the person who performed the correction—understand the history of any image file at a glance. The following convention works for most school athletic archives:
YEAR_SPORT_TEAM-OR-SUBJECT_SEQUENCE_VERSION.ext
Examples:
| File name | Meaning |
|---|---|
1978_football_varsity_001_MASTER.tif | 1978 varsity football, first image, archival master |
1978_football_varsity_001_v1-barrelcorr.jpg | Derivative: barrel distortion corrected |
1978_football_varsity_001_v2-barrelcorr-crop.jpg | Derivative: barrel corrected, then cropped for display |
1978_football_varsity_001_DISPLAY-800px.jpg | Final export at display resolution |
The MASTER suffix flags the original and should never appear on any edited file. The v1, v2 sequence indicates the order of derivative edits. The DISPLAY suffix marks files that have been exported for upload to a recognition platform.
Keep a plain-text or spreadsheet log alongside each folder recording:
- Original filename
- Distortion type identified (barrel, pincushion, mustache, none)
- Software used for correction
- Correction values applied (if software reports them)
- Crop applied after correction (in pixels or percent)
- Staff member who performed the correction and the date
- Destination platform or display where the derivative was uploaded
This documentation makes the correction auditable and reproducible regardless of staff turnover.
Software Tools for Athletic Archive Lens Distortion Correction
Different tools suit different situations. The choice depends on whether EXIF metadata is available, whether a lens profile exists, the volume of images being processed, and what software the school already has licensed.
Adobe Lightroom Classic (and Lightroom CC)
Lightroom’s Lens Corrections panel is the fastest starting point for images where lens metadata is present or the original camera-lens combination can be identified.
When a lens profile is available:
- Select the image in the Develop module
- Open the Lens Corrections panel
- Enable Profile Corrections
- Lightroom will attempt to auto-detect the lens from EXIF data; if correct, apply the profile
- Adjust the Distortion slider if the profile over- or under-corrects (positive values add barrel correction; negative values add pincushion correction)
- Use the Constrain Crop toggle to automatically trim the white border areas that correction introduces
- Export as a new JPEG or TIFF—never export over the imported master
When no lens profile is available (common for pre-1990 film photos subsequently scanned):
- In the Lens Corrections panel, switch to the Manual tab
- Use the Distortion slider: drag right (positive) to correct barrel distortion; drag left (negative) to correct pincushion distortion
- Use the straight-line reference check as your visual guide—stop when the reference line appears straight
- Export the corrected derivative
Adobe Photoshop: Lens Correction Filter and Camera Raw
Photoshop’s Lens Correction filter (Filter > Lens Correction) provides both automatic and manual correction with a grid overlay that makes visual alignment straightforward.
Grid-assisted manual correction:
- Open the image in Lens Correction
- Enable the grid (View > Show Grid, or the checkbox in the Lens Correction dialog)
- Set grid density so grid lines align with the architectural references in the photo
- Use the Remove Distortion slider or the Geometric Distortion slider to align the reference lines with the grid
- Use the Edge handling option to manage the transparent border areas introduced by correction—for most athletic archive work, “Edge Extension” or subsequent cropping is cleaner than filling with a background color
- Apply as a Smart Filter if working non-destructively in a layered document, then flatten and export the derivative
Photoshop’s Warp and Transform tools (Edit > Transform > Warp) can also address mustache distortion by allowing point-by-point adjustment of the image, though this is more time-consuming and requires careful documentation of the transformation applied.
DxO PhotoLab
DxO PhotoLab uses its own proprietary lens profile database, which includes many film-era lenses not covered by Adobe’s profiles. If the original camera model can be identified from institutional records—team photo contract sheets, photography department invoices, or photographer notes sometimes document the equipment—DxO may have a profile that matches.
DxO’s PRIME and DeepPRIME noise reduction also helps restore detail in underexposed or grain-heavy film photos that have been scanned, making it useful for a combined noise reduction and distortion correction workflow.
GIMP (Free, Open Source)
For schools that do not have Adobe or DxO licenses, GIMP provides distortion correction through the Distorts menu (Filters > Distorts > Lens Distortion). The sliders control barrel/pincushion distortion (the Barrel Distortion parameter), pincushion distortion, and edge compensation.
GIMP’s correction is less accurate than profile-based corrections but sufficient for mild to moderate distortion in images that will be viewed on displays rather than reproduced in print. The Script-Fu console in GIMP can batch-process a folder of images with the same correction values, which is useful when an entire decade’s worth of photos from the same photographer and lens shows consistent distortion.
Capture One
Capture One’s Lens Correction tools operate similarly to Lightroom’s, with profile-based and manual correction modes. Capture One’s color science is often preferred for photos where accurate skin tones in athlete portraits matter—the tool can be worth licensing if the archive includes high volumes of high-quality scans where color accuracy is a priority alongside distortion correction.
Correcting Mustache Distortion: The Multi-Pass Approach
Mustache distortion cannot be fully corrected with a single Distortion slider value because the center of the image needs barrel correction while the edges need pincushion correction. A practical multi-pass approach:
Pass 1: Correct the center
Apply a small positive (barrel) correction value that straightens the center reference lines—the gymnasium wall behind the team, for example. Accept that the edges will now show slight overcorrection.
Pass 2: Address the edges with selective warp
In Photoshop, use Edit > Transform > Warp to nudge the corner areas back toward their correct position. Alternatively, use the Adaptive Wide Angle filter (Filter > Adaptive Wide Angle) which allows drawing constraint lines directly on architectural elements in the image and having the software compute the correction needed to make those specific lines straight.
Document both passes in the correction log: record Pass 1 correction value, then describe the Pass 2 warp or constraint lines applied. Future staff cannot reproduce the correction from the derivative file alone.

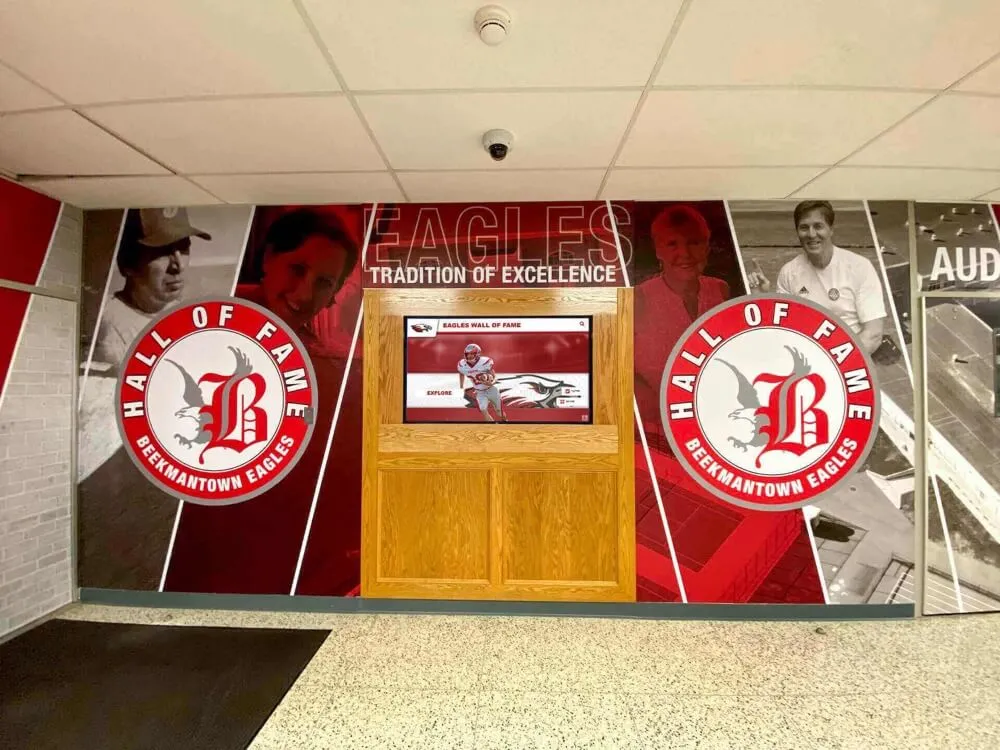
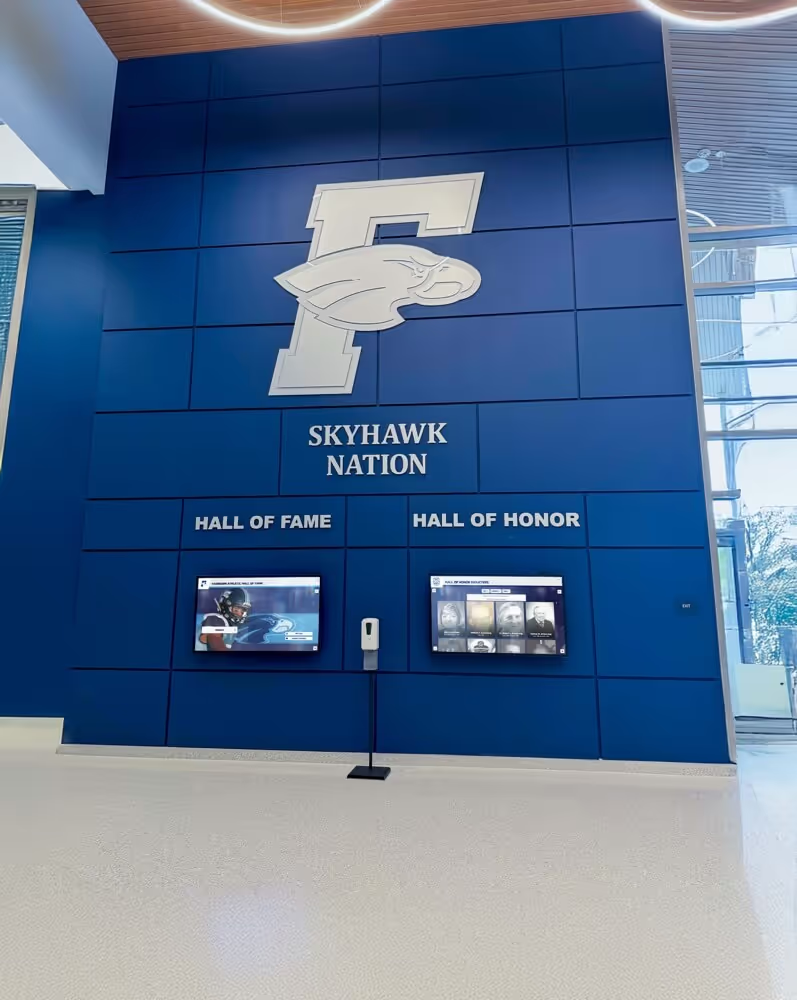
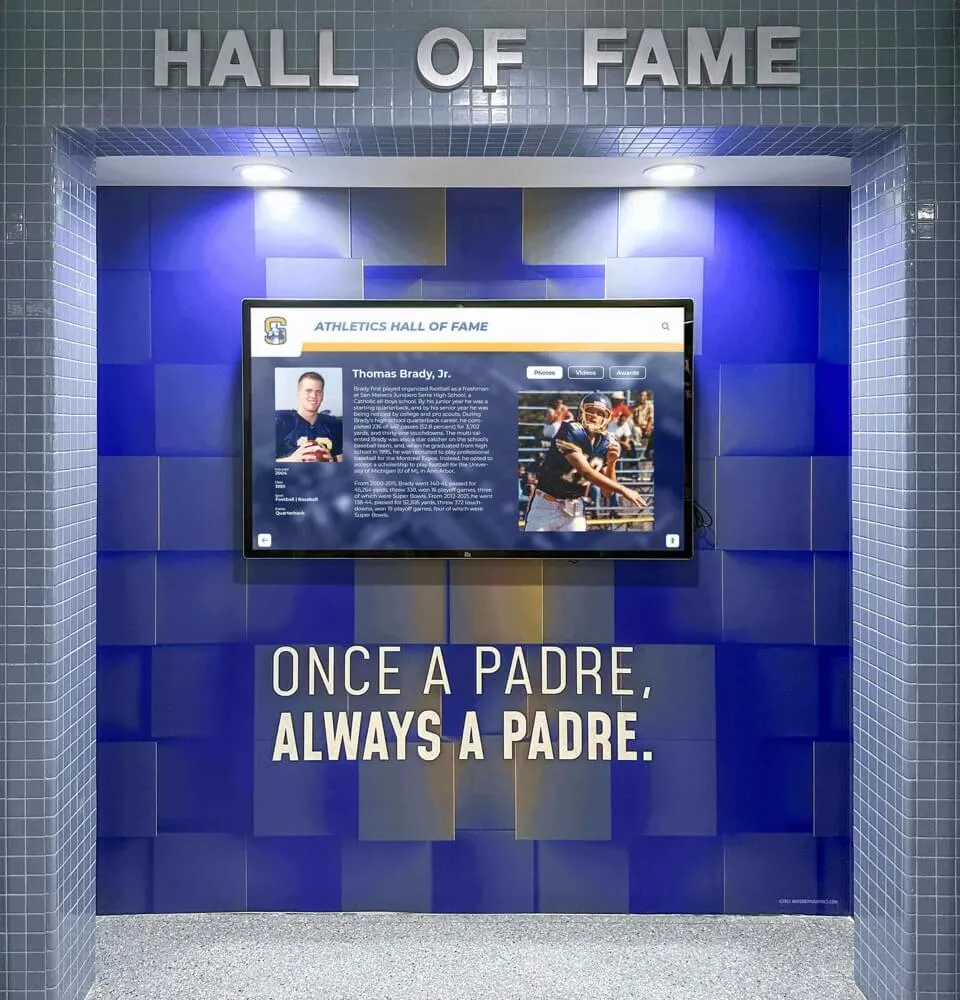
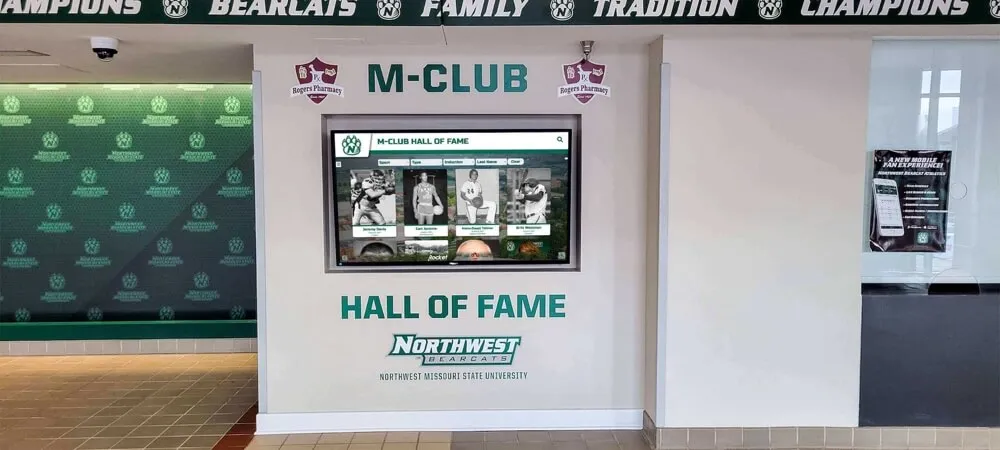
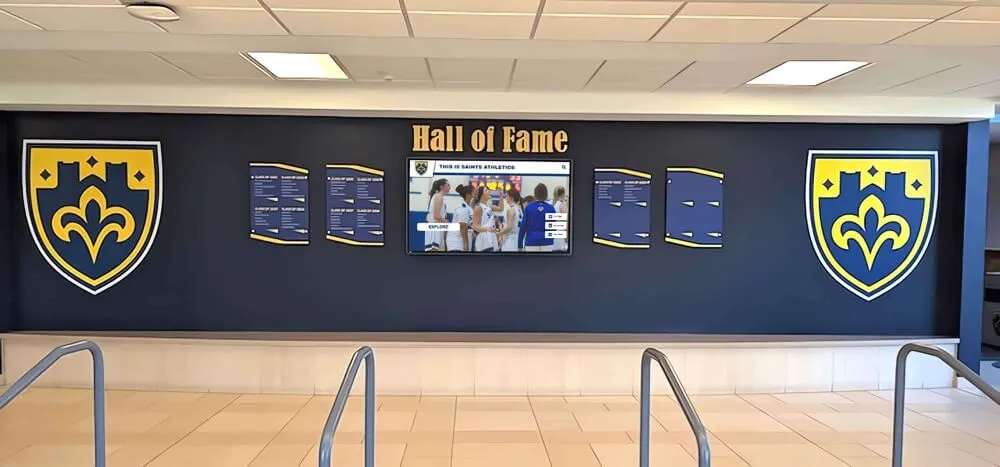
Touchscreen hall of fame displays allow visitors to zoom into individual athlete portraits, making lens distortion visible even in photos where it would be imperceptible in a framed print
Quality Checks Before Marking a Derivative as Complete
After correction, run these checks before logging the derivative as ready for display:
Straight-line reference check (repeat from identification step)
Place the ruler tool along the same architectural reference line you used to identify the distortion. If the line is now straight, the correction succeeded. If residual bow remains, apply an incremental additional correction value.
Face shape check
Athletes in the corners of a team photo are most affected by uncorrected distortion—barrel distortion widens faces at the corners; pincushion narrows them. Compare a corner athlete’s face shape to a center athlete’s face shape after correction. They should appear similar. If corner faces look noticeably different, the correction value may be insufficient or slightly over-applied.
Row level check
In a seated-front-row, standing-back-row team photo, confirm that the seated row forms a visually level line from left to right, and that the standing row also forms a visually level line. These rows should be parallel to each other and roughly horizontal.
Crop adequacy check
Lens correction introduces transparent or stretched pixels at the image borders. Confirm that the crop applied after correction removes all artifact borders without cutting into any athlete in the image. If any athlete is cropped, either reduce the correction slightly or document the cropping decision in the log.
Color fringing inspection
Lens distortion correction can sometimes interact with pre-existing chromatic aberration (color fringing around high-contrast edges, common in older lenses). After correction, zoom to 100% on a high-contrast edge in the image—the boundary between a white uniform and a dark background, for example. If color fringes appear that were not present in the master, apply chromatic aberration correction before re-exporting. When color quality matters for recognition displays, reviewing guidance on recognition display color fringing can help calibrate your quality expectations at the display level.
Preparing Corrected Images for Digital Recognition Displays
Distortion correction is only one step in preparing historic team photos for display. These additional preparation steps ensure corrected images look their best on hall of fame screens, lobby touchscreens, and digital trophy cases.
Resolution and File Size
Recognition display platforms vary in their optimal upload resolution. As a practical guideline for most school athletic archive contexts:
- Full-screen display images (large-format touchscreens, lobby displays): export at the native resolution of the display or at 1920×1080 minimum, whichever is larger
- Portrait card images (individual athlete thumbnail cards on interactive systems): 400–800 pixels on the long edge is typically sufficient; uploading at very high resolution where the platform will immediately downsample is unnecessary and slows uploads
- Gallery or slideshow images: match the display’s native aspect ratio and resolution to avoid letterboxing or stretching at the platform level
Color Profile
Export corrected derivatives in the sRGB color space. Most recognition display platforms, lobby screens, and touchscreen systems assume sRGB input. Photos edited in a wide-gamut working space like Adobe RGB or ProPhoto RGB can appear desaturated or have shifted colors if exported in the wide-gamut profile without converting.
Convert to sRGB at export time, not by changing the working color space of the editing software mid-workflow. In Lightroom, the sRGB option appears in the export dialog under Color Space. In Photoshop, use Edit > Convert to Profile before exporting.
Sharpening for Display
Scanned film photos often benefit from modest output sharpening calibrated for screen viewing. In Lightroom’s export dialog, set output sharpening to Screen and choose a Low or Standard amount—the appropriate choice depends on the scan resolution and the amount of film grain in the original. Avoid heavy sharpening, which accentuates grain and can make athletes’ faces appear unintentionally harsh.
For photos that will be displayed as large-format prints alongside digital displays—printed murals, trophy case backdrops, or recognition plaques mounted near a touchscreen display—export a separate print derivative at 300 DPI at the intended print size, with print-appropriate sharpening settings.
Aspect Ratio and Cropping
Historic team photos were composed for the aspect ratio of the film format used—often 6:7 (medium format), 4:5 (large format), or 3:2 (35mm). Recognition display platforms typically expect 16:9, 4:3, or 1:1 aspect ratios. Do not distort (stretch) the image to fill the display frame. Instead:
- Add a tasteful letterbox treatment with a color matched to the school’s brand palette
- Crop to the display aspect ratio, centering the team and documenting the crop in the correction log
- Upload in the original aspect ratio and configure the display platform to scale with letterbox padding
Stretching a corrected image to fill an incompatible aspect ratio reintroduces a different type of distortion—and defeats the correction work already performed.
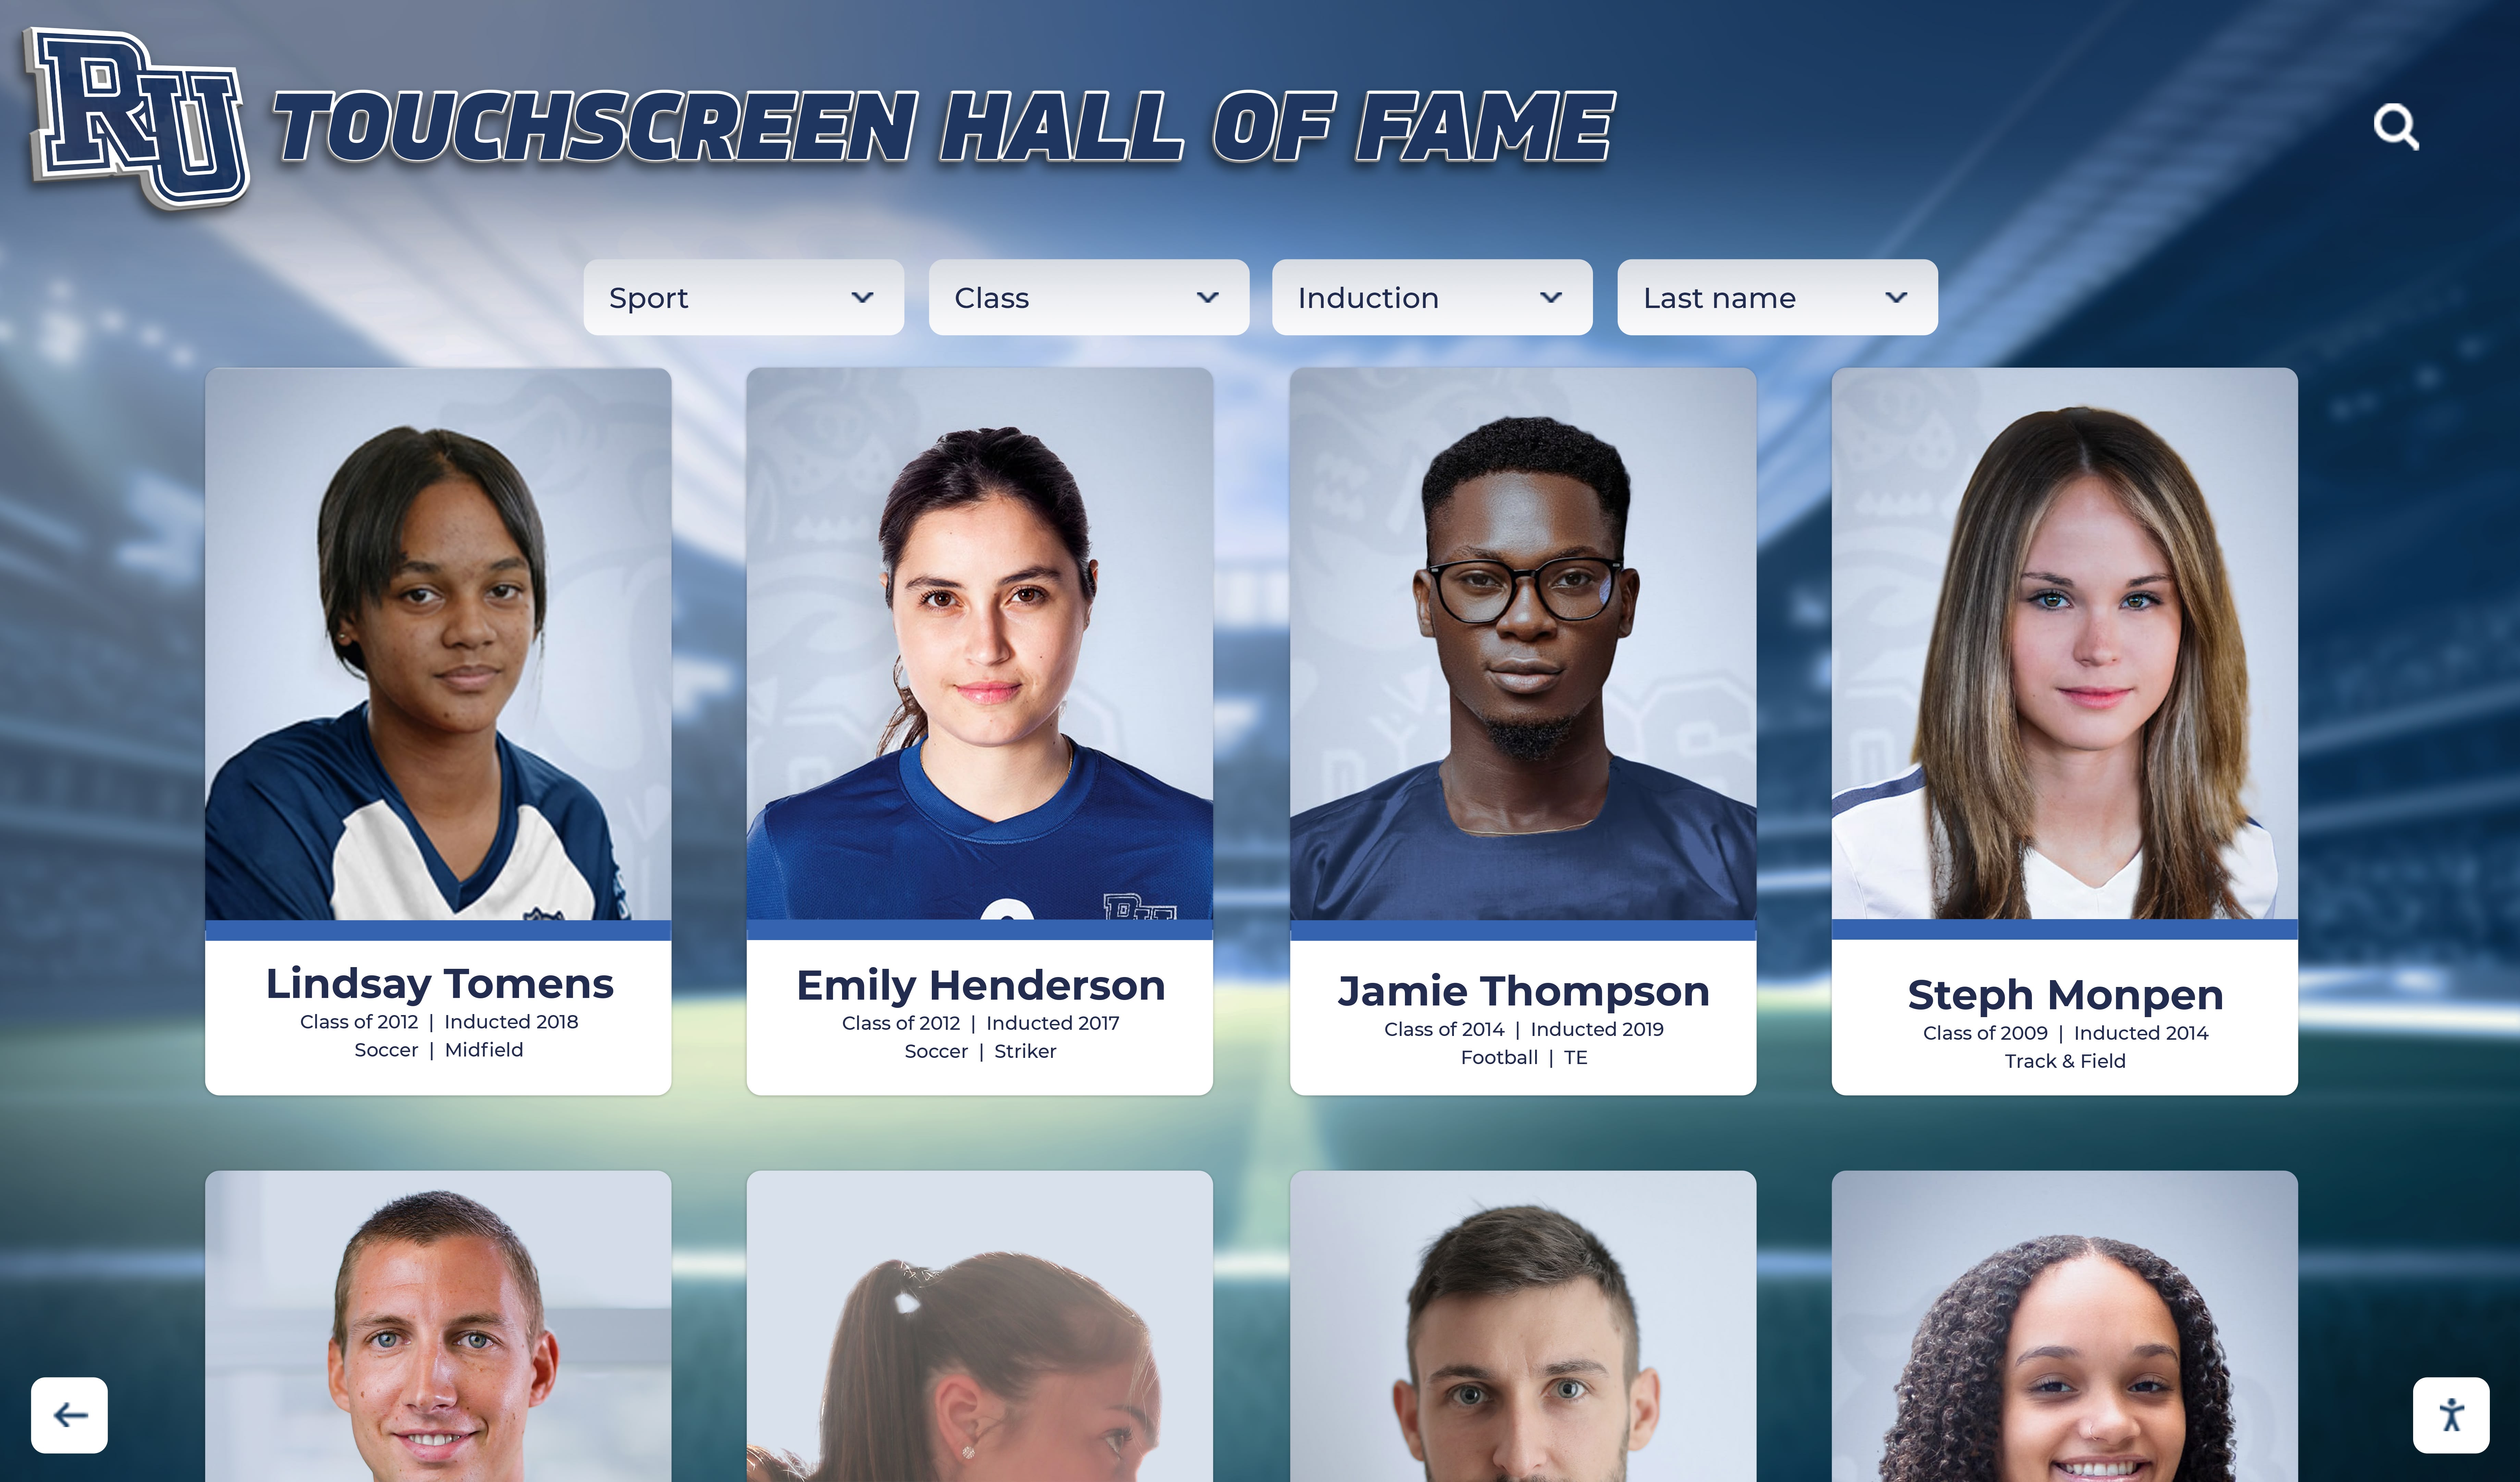
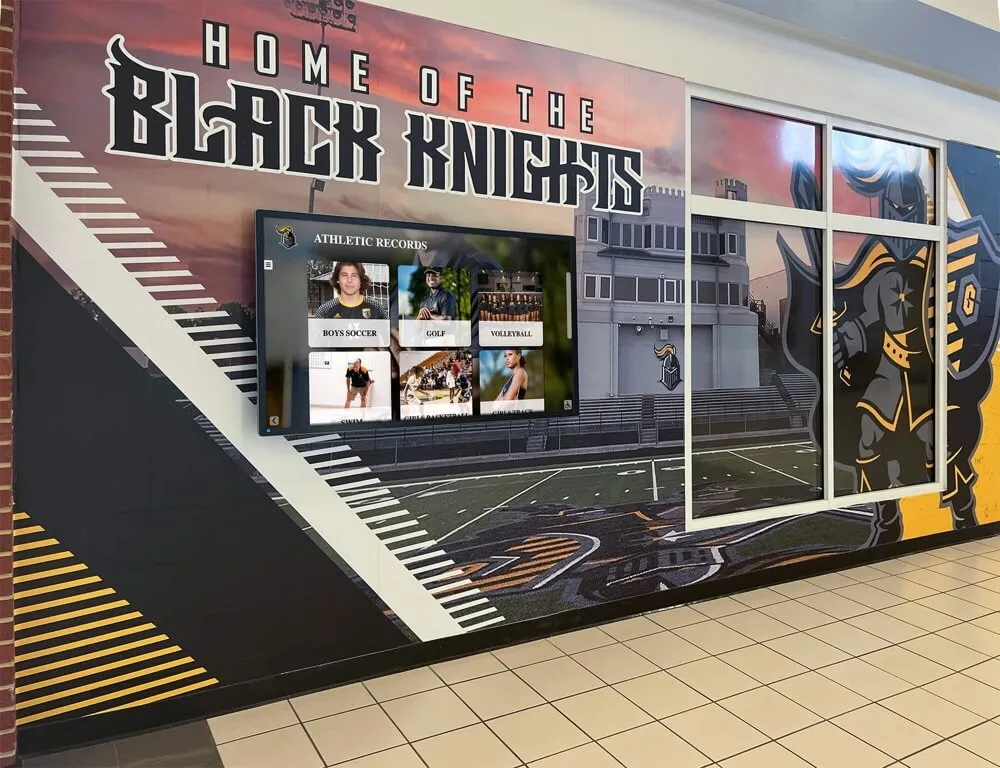
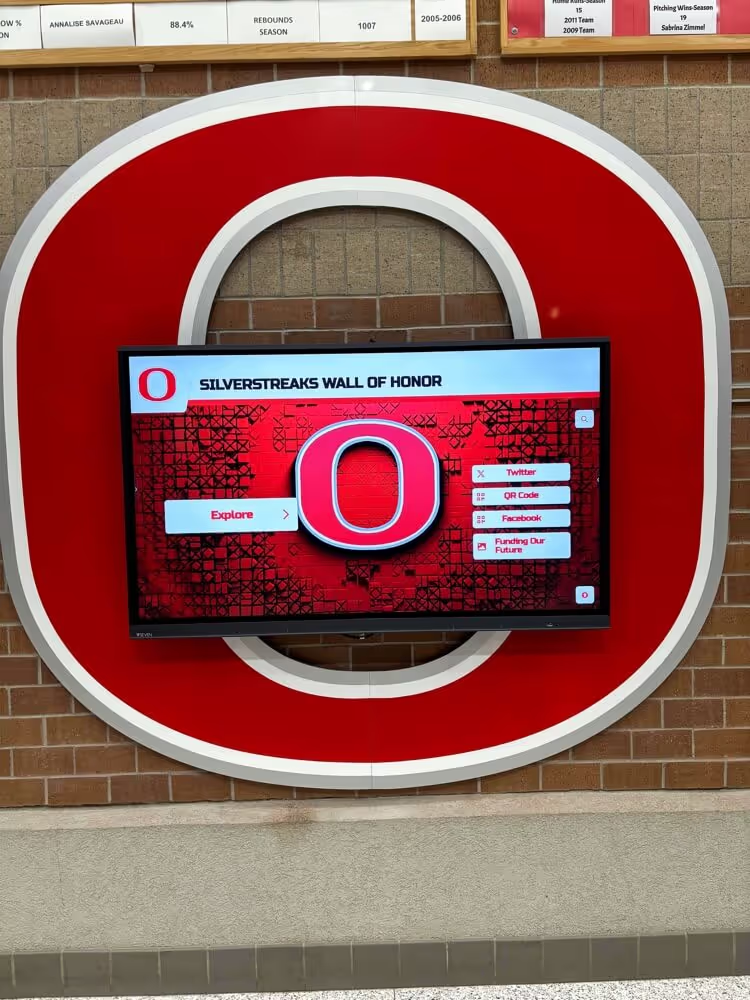
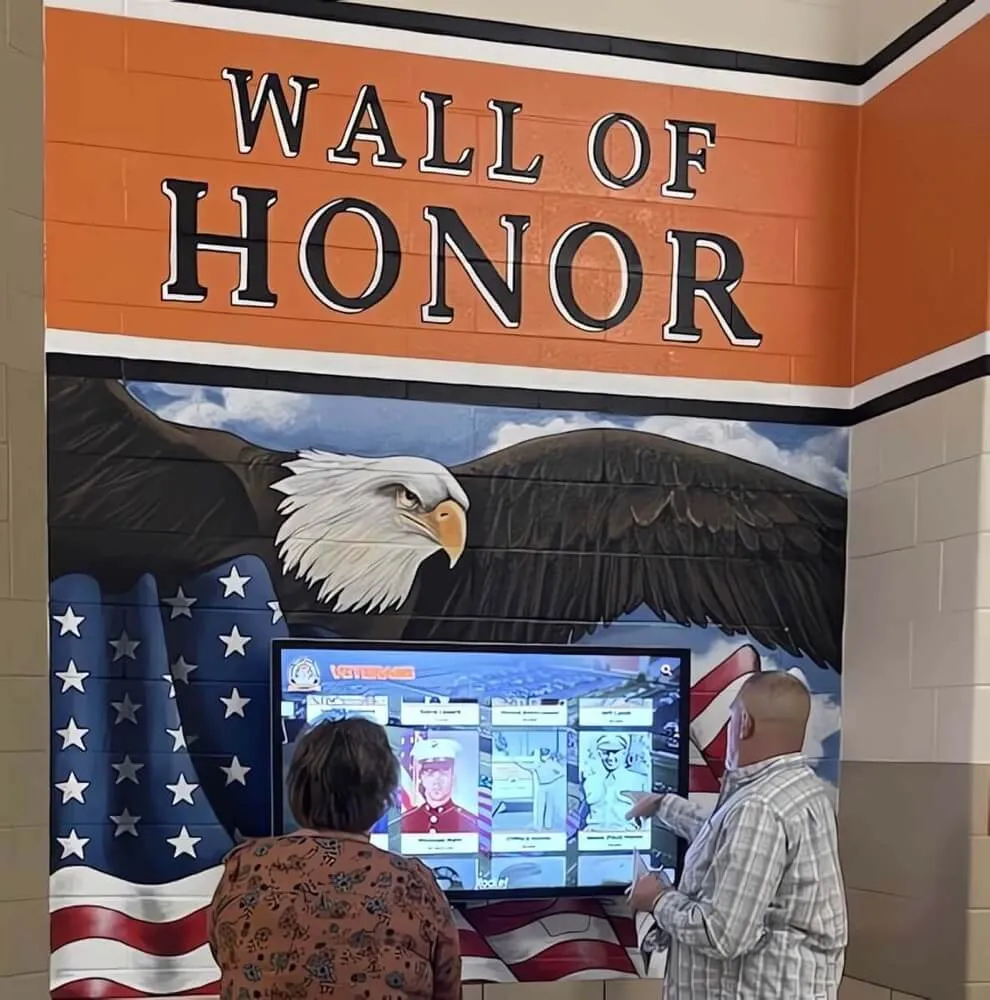
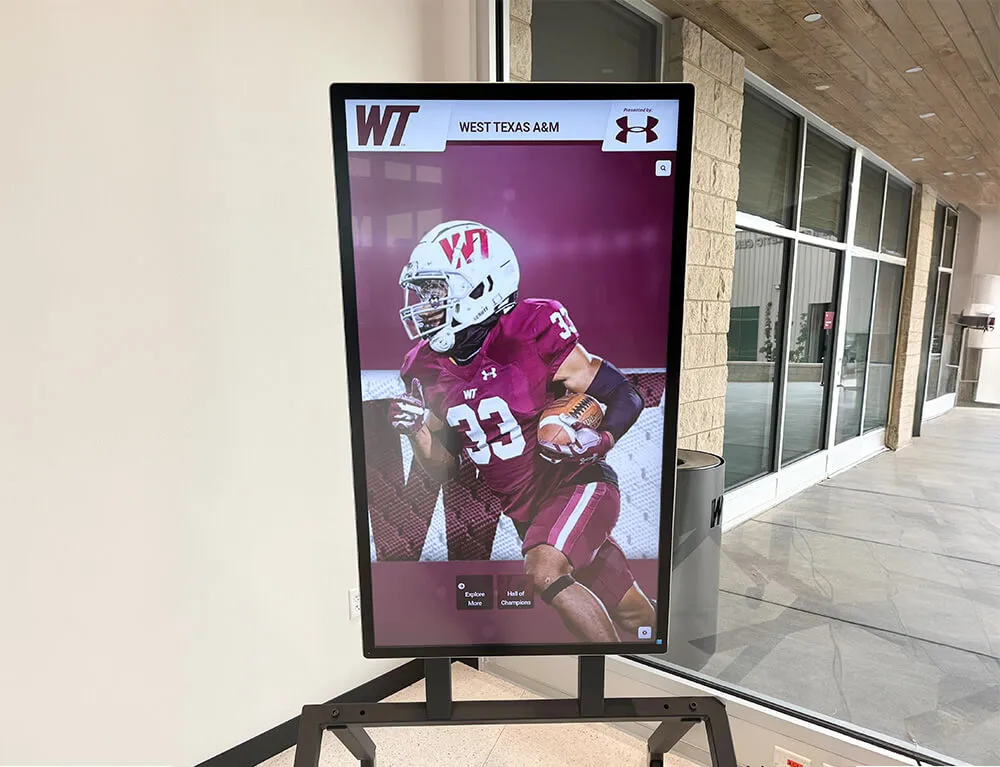
Interactive athletic archives on touchscreen recognition systems let visitors explore decades of team photos—corrected images ensure every athlete is represented accurately regardless of the lens used when the original photo was taken
Integrating Corrected Photos into Athletic Archive Displays
Corrected and exported derivatives are ready for upload to the recognition platform. These practices help ensure the corrected files are used consistently across all display contexts.
Version Control in the Platform CMS
Many digital hall of fame and athletic archive platforms support replacing or updating an existing image without changing the record it belongs to. When uploading a corrected derivative to replace a previously uploaded uncorrected version:
- Note the record ID or athlete/team entry where the old image is stored
- Upload the corrected derivative using the platform’s replace or update image function rather than creating a duplicate record
- Confirm the new image is live on the display before closing the record
- Log the replacement in the correction documentation—include the date, platform record ID, and derivative filename uploaded
This prevents situations where both an uncorrected and a corrected version of the same image exist on the platform, potentially appearing in different views or search results.
Organizing by Decade or Sport for Batch Projects
Schools digitizing a complete athletic archive for the first time often process multiple decades simultaneously. Organizing the correction workflow by decade and sport rather than by individual photo allows for more efficient batch processing:
- Photos from the same era and photographer frequently share the same lens and the same distortion signature—a correction value calibrated on one image from a batch often applies to the entire batch
- Batch-applying a correction in Lightroom or GIMP Script-Fu processes an entire folder of images with identical settings in minutes rather than hours
- Reviewing a corrected batch together makes it easier to spot outliers—photos that were taken with a different lens or at a different focal length—that need individual correction
When planning how corrected team photos will integrate into a broader hall of fame design, reviewing creative approaches to digital trophy case displays can help athletic directors think through how photo archives connect to the full recognition wall design, not just the image correction step in isolation.
Search Metadata for Corrected Archives
Corrected team photos are most useful when they can be found. Add searchable metadata to the derivative files before upload:
- Year
- Sport
- Team level (varsity, junior varsity, freshman)
- Coach name (if documented)
- Season result (championship, runner-up, conference title)
- Photographer or photography studio name if known
Some recognition platforms support custom metadata fields beyond the basic athlete name and sport. Where available, a field noting “distortion corrected, derivative of [master filename]” creates a direct traceability link. Searchable metadata also improves the user experience on interactive displays where visitors browse by keyword—a feature described in practical terms when exploring hall of fame search and synonym tools that help communities discover archival content they might not know to search for directly.
Building a Sustainable Correction Program
Athletic archive lens distortion correction does not need to be completed in a single project sprint. A sustainable ongoing program is more realistic for most schools.
Triage by display priority
Not every photo needs to be corrected before it can be displayed. A practical triage:
Priority 1 — Hall of fame induction photos: Images of inducted athletes that will appear on permanent hall of fame recognition displays should be corrected before the induction event. These are the most prominently displayed photos in the archive.
Priority 2 — Championship team photos: Group photos from state championships, conference titles, or milestone seasons appear most frequently in tribute content, basketball senior night displays, and celebratory events. Correct these early.
Priority 3 — Decade gallery rotations: If the recognition platform rotates through decade-by-decade team photo galleries, correct each decade’s batch before its scheduled rotation, not all at once.
Priority 4 — Historical completeness: Photos that will be archived but rarely displayed at full size can be corrected opportunistically as time allows.
Training staff and volunteers
Lens distortion correction does not require professional photography training, but it does require a short orientation session covering the straight-line reference check, the archival master rule, the file naming convention, and the correction documentation log. A school athletic director or IT staff member who understands these four elements can train a reliable volunteer with the software access to carry out the bulk of the work.
For archives that also involve student athletes in the recognition and display process, guidance on senior superlative categories and recognition formats can help frame how historic team photos fit into a broader student recognition program that bridges past and present.

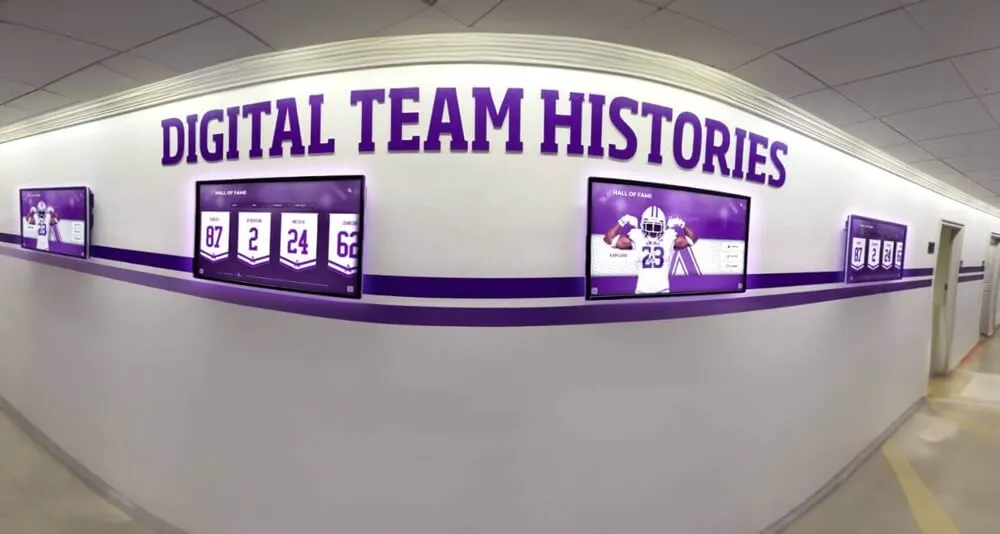
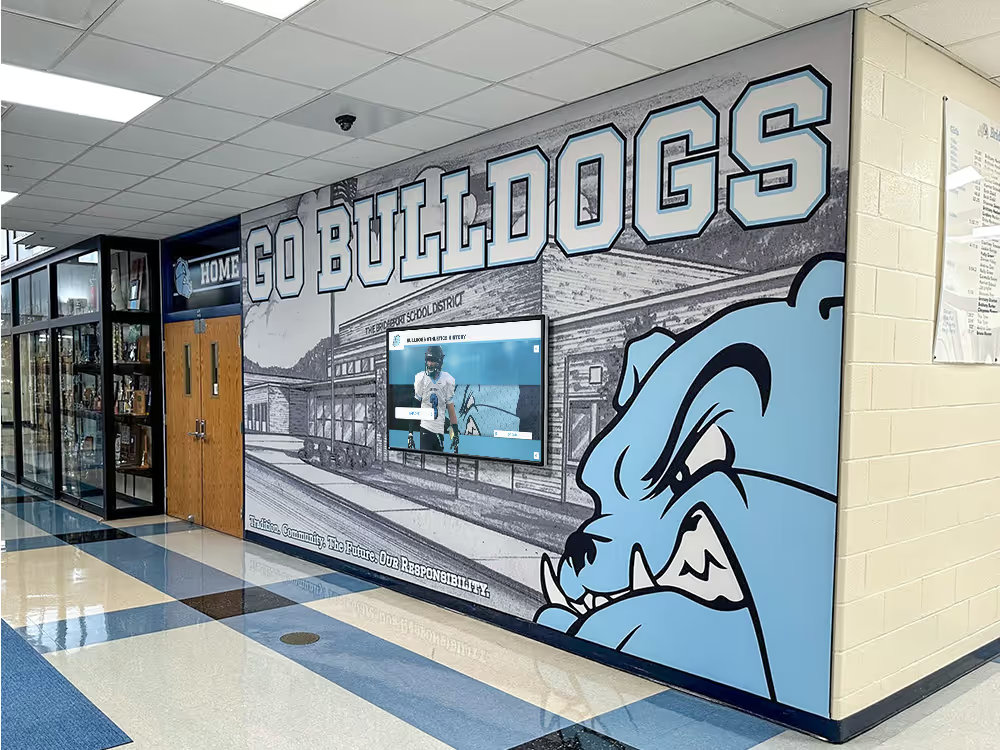
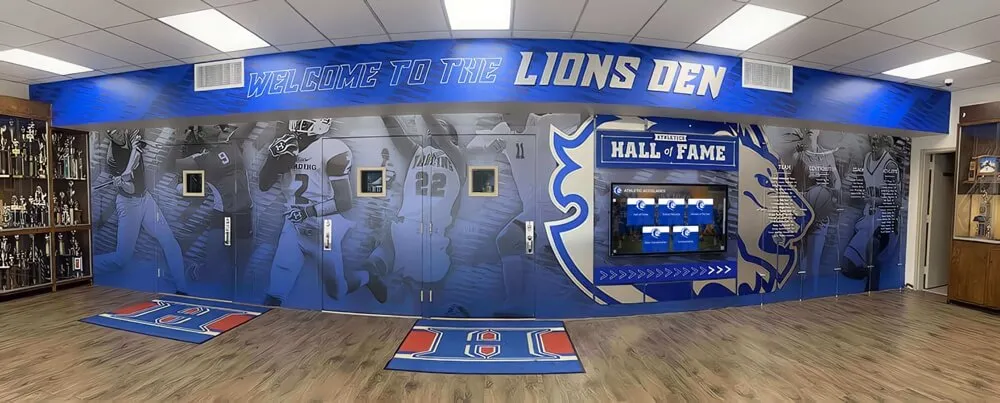
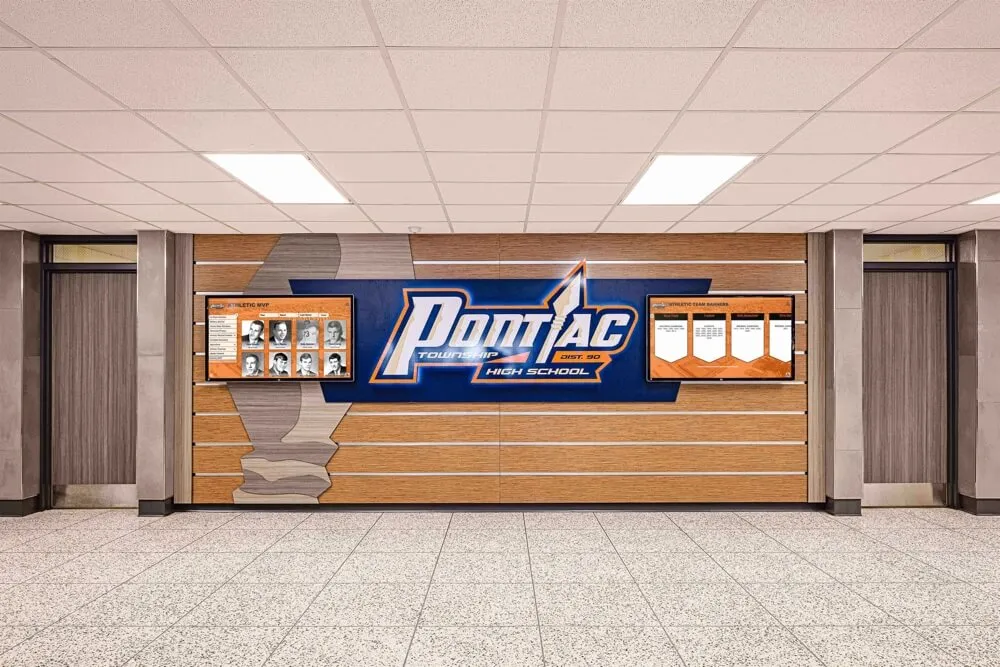
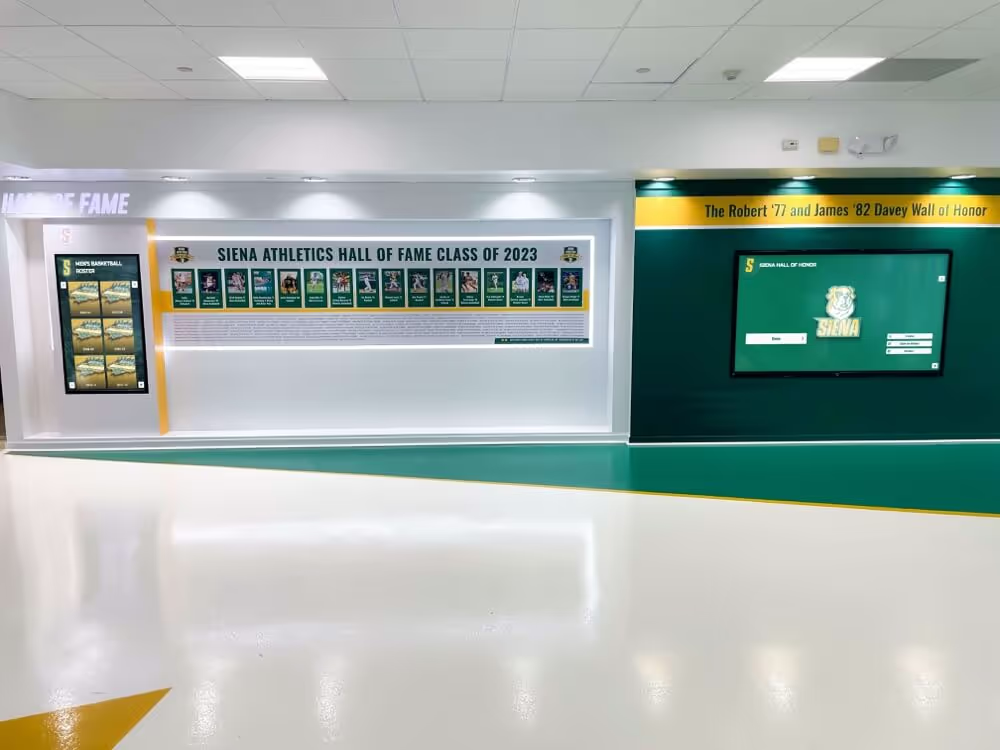
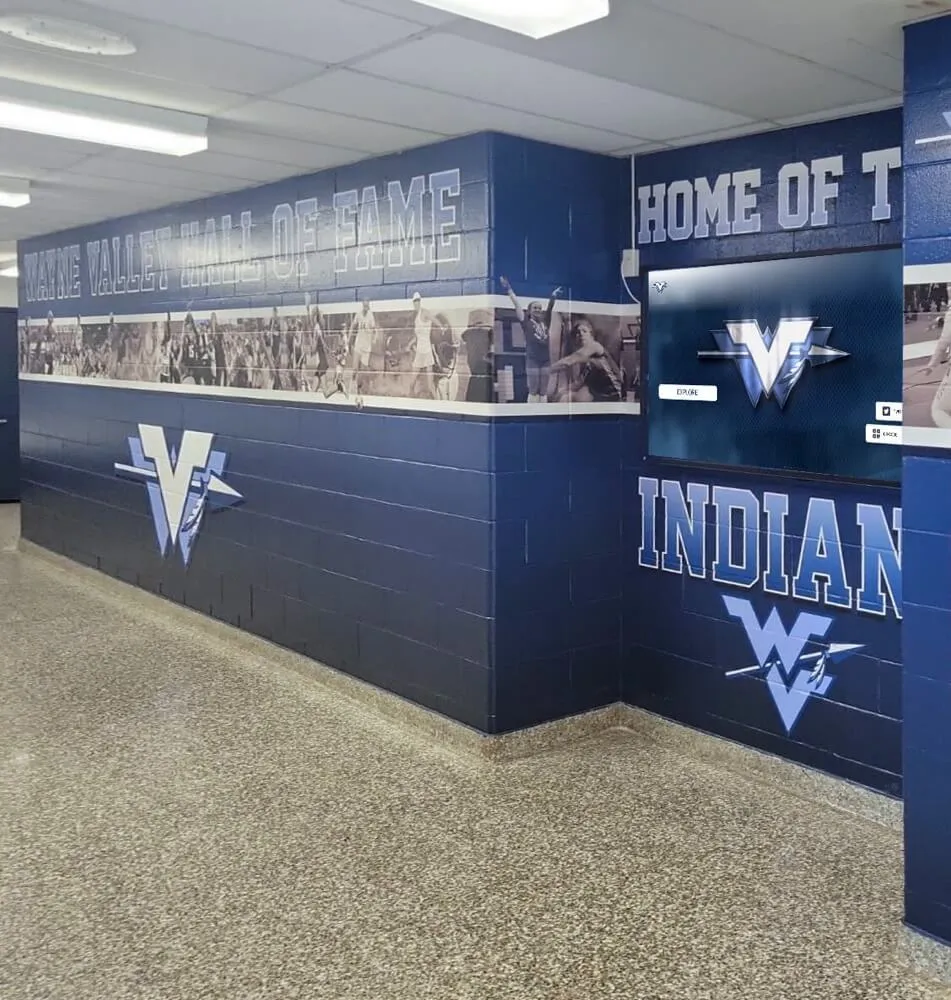
Permanent athletic recognition hallways set a quality standard for every photo displayed—historic team photos that have been corrected for lens distortion integrate seamlessly alongside modern recognition graphics
Connecting Corrected Archives to the Broader Recognition Program
Lens distortion correction is a technical step, but its purpose is entirely relational: the athletes in those historic photos deserve to be seen clearly and accurately, and the community members who remember those teams deserve to recognize the faces on screen.
Schools that have invested in correcting their historic team photo archives report that the improved image quality makes recognition displays feel more intentional and permanent—more like a hall of fame and less like a photo dump. When a 1971 wrestling championship photo displays with the same visual fidelity as a 2024 portrait card, the display communicates something about institutional values that no caption can convey.
That same principle applies to the supporting materials around the photos. Game-day graphic templates designed for modern athletic programs can be adapted to frame historic team photos in a consistent visual language—putting a 1968 team photo inside the same branded border as a current season photo creates visual continuity across the archive. The corrected image is the foundation; the graphic design around it reinforces the institutional identity.
When the archive reaches a recognition touchscreen, the display hardware itself becomes part of the quality equation. A corrected photo that looks excellent in Lightroom can look different on a display that has not been calibrated for accurate color or contrast. Running a recognition display touch sensitivity and visual quality test before uploading an archive batch confirms that the display hardware is performing at a level that justifies the correction work already completed.
Final Pre-Upload Checklist
Before uploading a corrected derivative to a recognition platform or digital archive system, confirm:
- Master file is in a read-only archival folder, unchanged
- Derivative filename includes version suffix and correction type (e.g.,
_v1-barrelcorr) - Correction log entry is complete: date, staff, software, correction values, crop dimensions
- Straight-line reference check passes (reference lines appear straight)
- Face shape check passes (corner athletes appear proportional to center athletes)
- Row level check passes (team rows appear horizontal)
- Transparent border artifacts have been cropped or filled
- Color profile converted to sRGB at export
- Output sharpening applied for screen display
- File exported at appropriate resolution for the target display context
- Metadata (year, sport, team, season result) added to the exported file
- Aspect ratio handled without stretching
Running this checklist for each image adds two to four minutes per photo. For a batch of twenty championship team photos representing a single decade, that is under an hour of QA time to ensure a permanent, publicly displayed archive accurately represents the athletes it honors.
See How Corrected Historic Photos Perform on a Recognition Display
Rocket Alumni Solutions helps schools bring decades of athletic archives to life on interactive hall of fame displays, touchscreen trophy cases, and lobby recognition walls. If your school is working through a historic team photo project and wants to see how corrected images integrate into a live recognition platform, schedule a demo to walk through the full workflow from archive to display.
Book a Live Demo