



Athletic archive gate-weave stabilization is the process of removing the subtle frame-to-frame image shifting—horizontal drift, vertical bounce, and rotational wobble—that originates in the film gate of a projector or scanner when historic game film is played back or digitized. Schools that skip this step upload footage where the entire image trembles or drifts laterally throughout the clip, a motion that looks like camera shake but is actually a mechanical artifact of the film transport system. On an old projector or a consumer television, this movement was barely noticeable. On a 65-inch lobby touchscreen or a hall-of-fame interactive display, the same instability makes championship footage look damaged rather than historic.
Gate weave is distinct from camera shake, optical distortion, and telecine artifacts. It occurs at the point where each film frame was physically seated in the film gate—if the frame did not land in precisely the same position every time, the image shifts. This guide walks athletic directors, archives staff, IT and AV teams, school administrators, and recognition-program owners through the complete gate-weave stabilization workflow: what causes it, how to identify it in digitized footage, which tools correct it, and how to deliver stable video to a digital recognition display. No statistics have been invented. Every step described here can be executed with tools that are free or already common in school technology environments.
This guide describes practical school-level video archive workflows. Questions about professional film preservation standards or institutional records obligations should be directed to a qualified audiovisual archivist or your district’s records officer.
Gate weave is one of the most common quality problems in digitized school athletic film, and one of the hardest to describe to someone who has not seen it. Unlike dropout, color fade, or audio hiss—problems that are immediately legible as damage—gate weave looks to a non-technical viewer like the camera operator was unsteady. Athletic directors sometimes assume the footage is simply a low-quality recording. Archivists who understand the actual cause know that the footage may be in excellent condition—the problem is mechanical, and it is correctable.

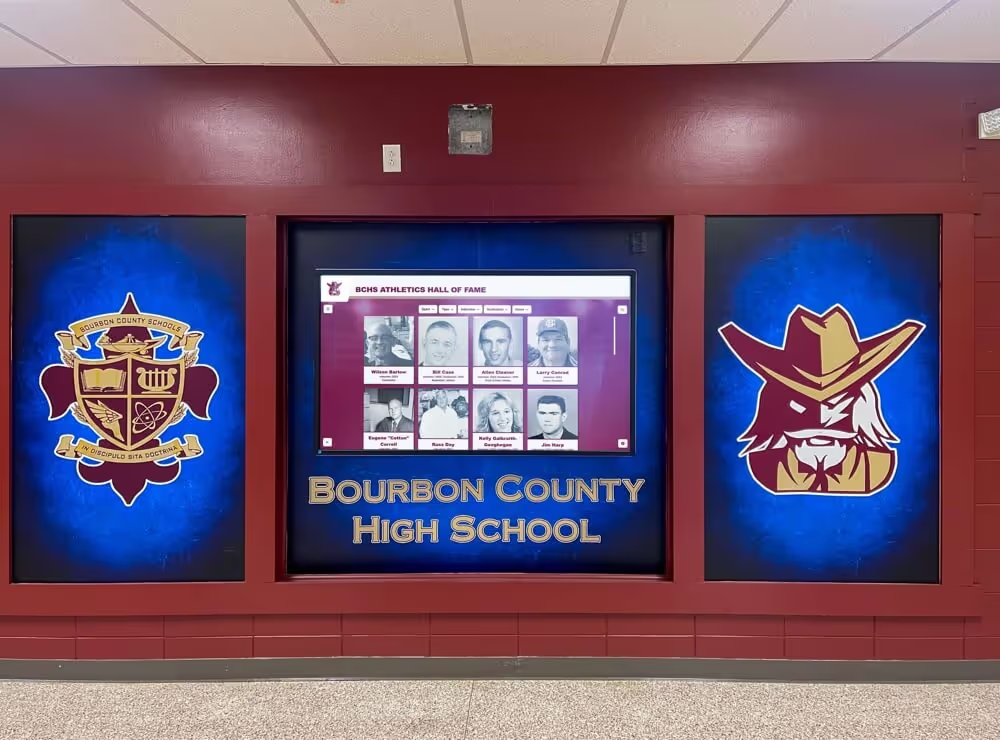
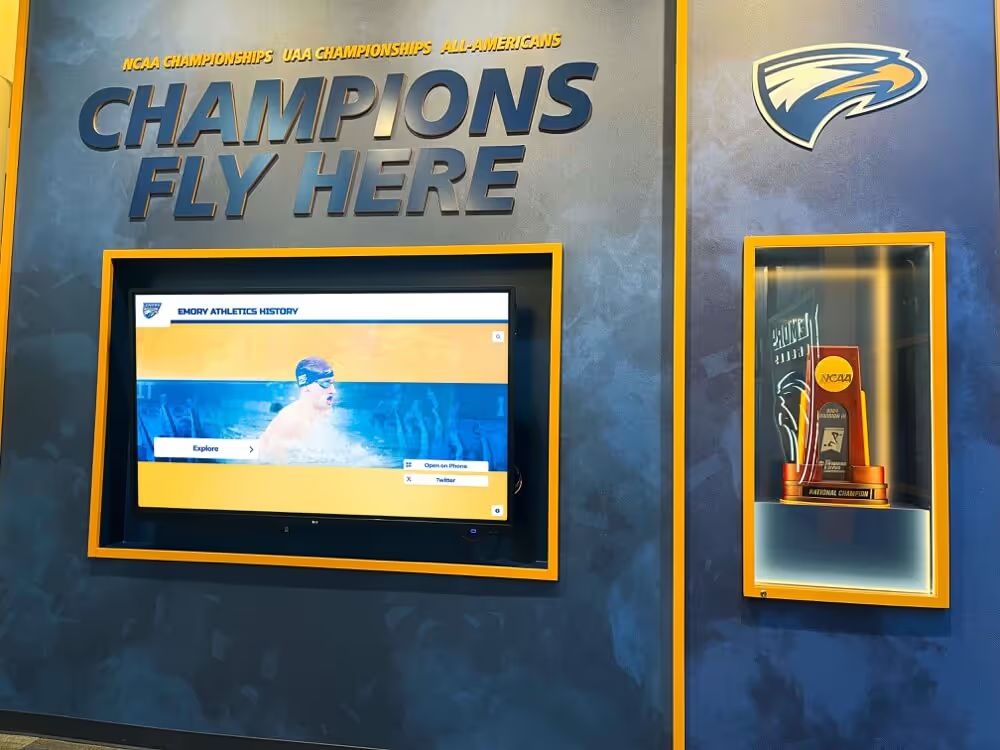
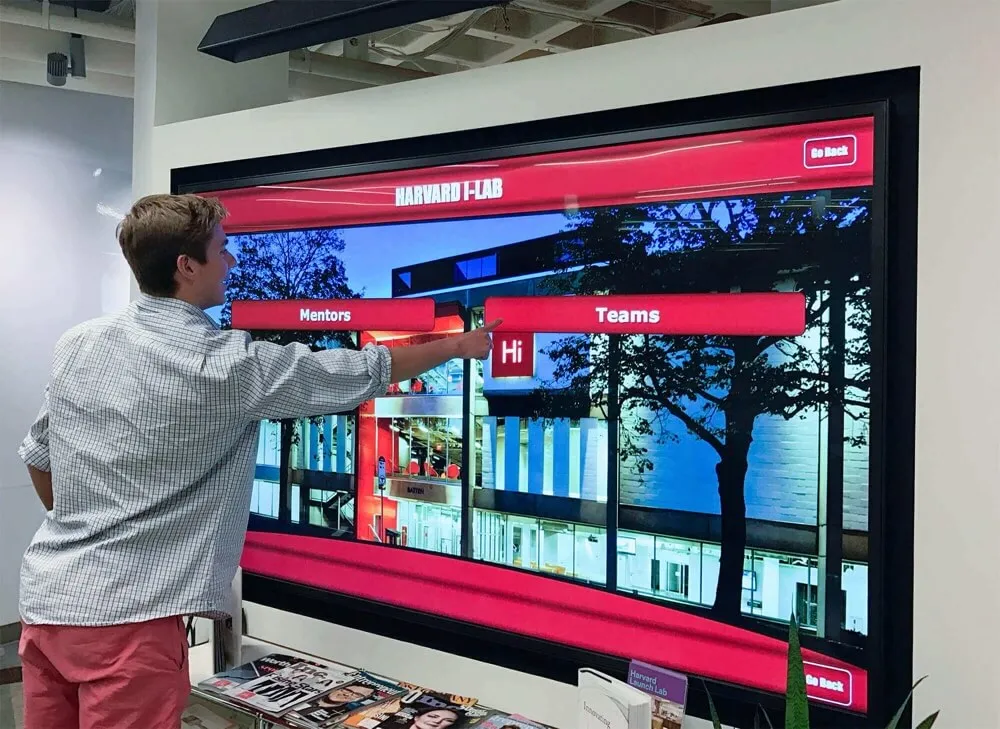
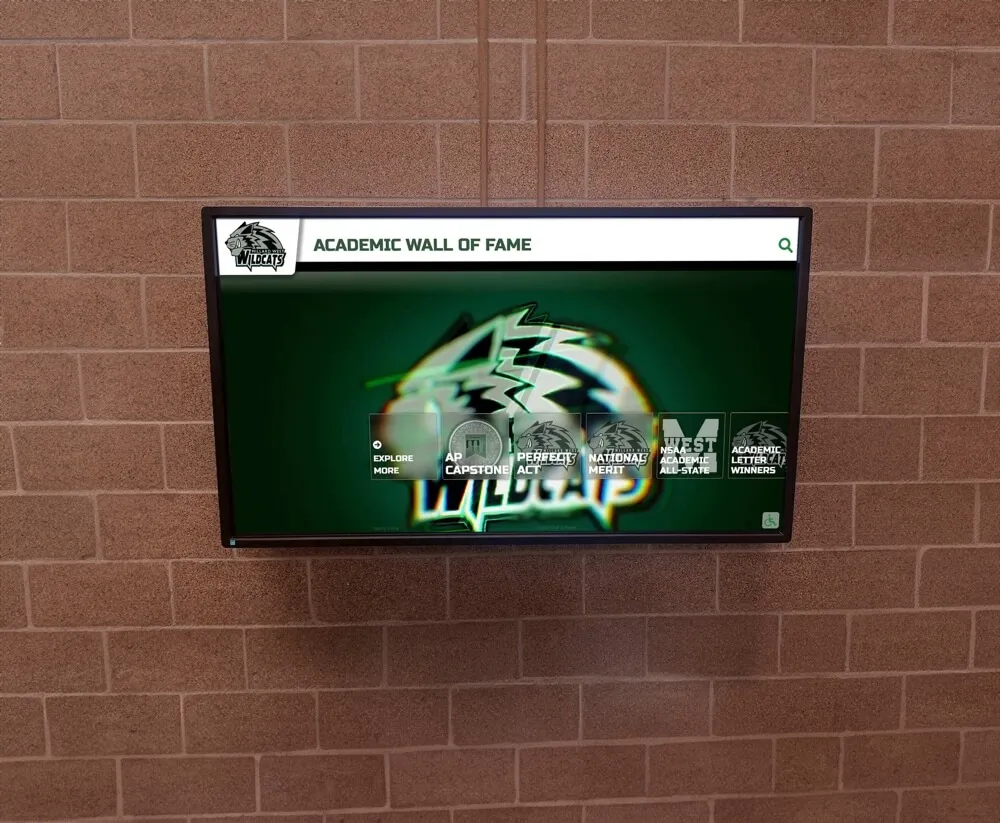
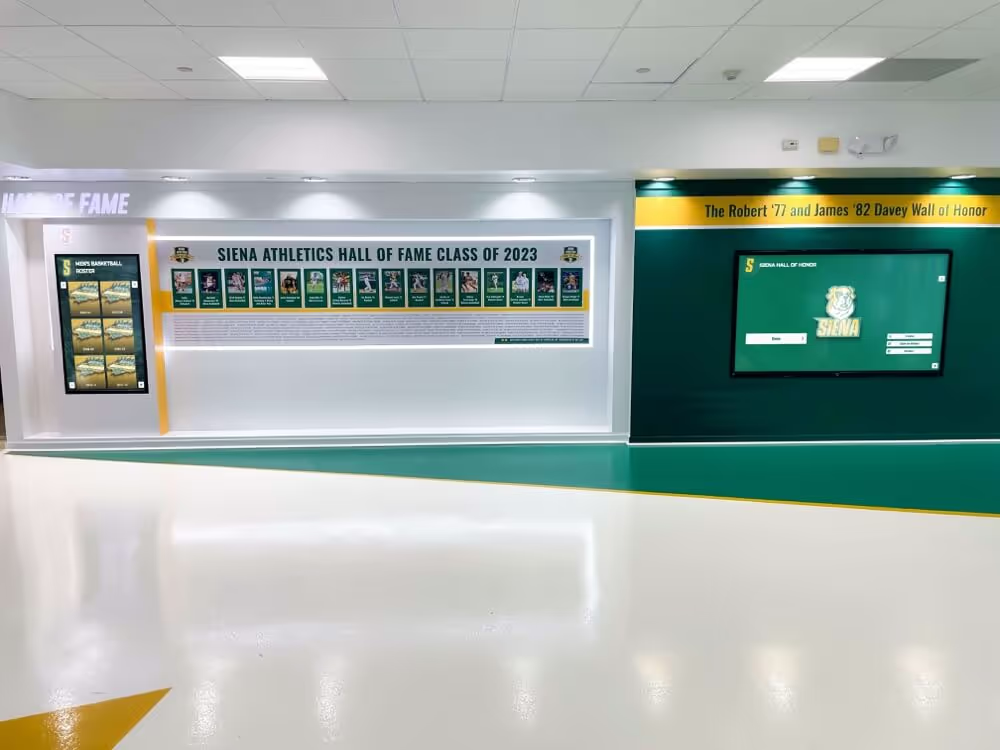
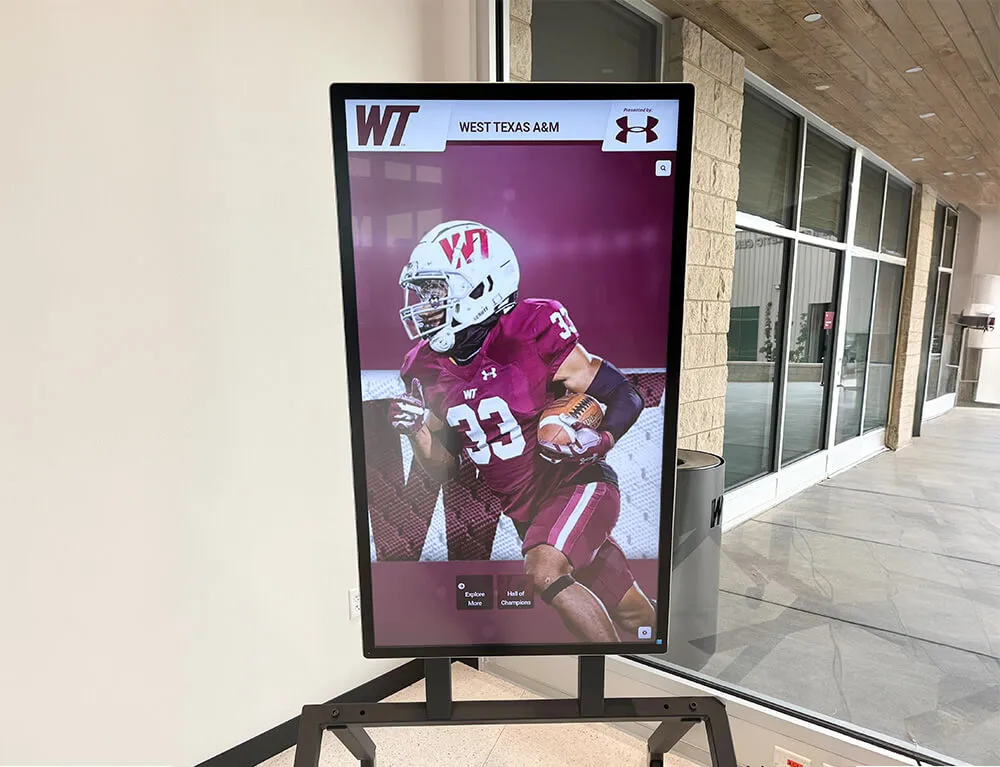
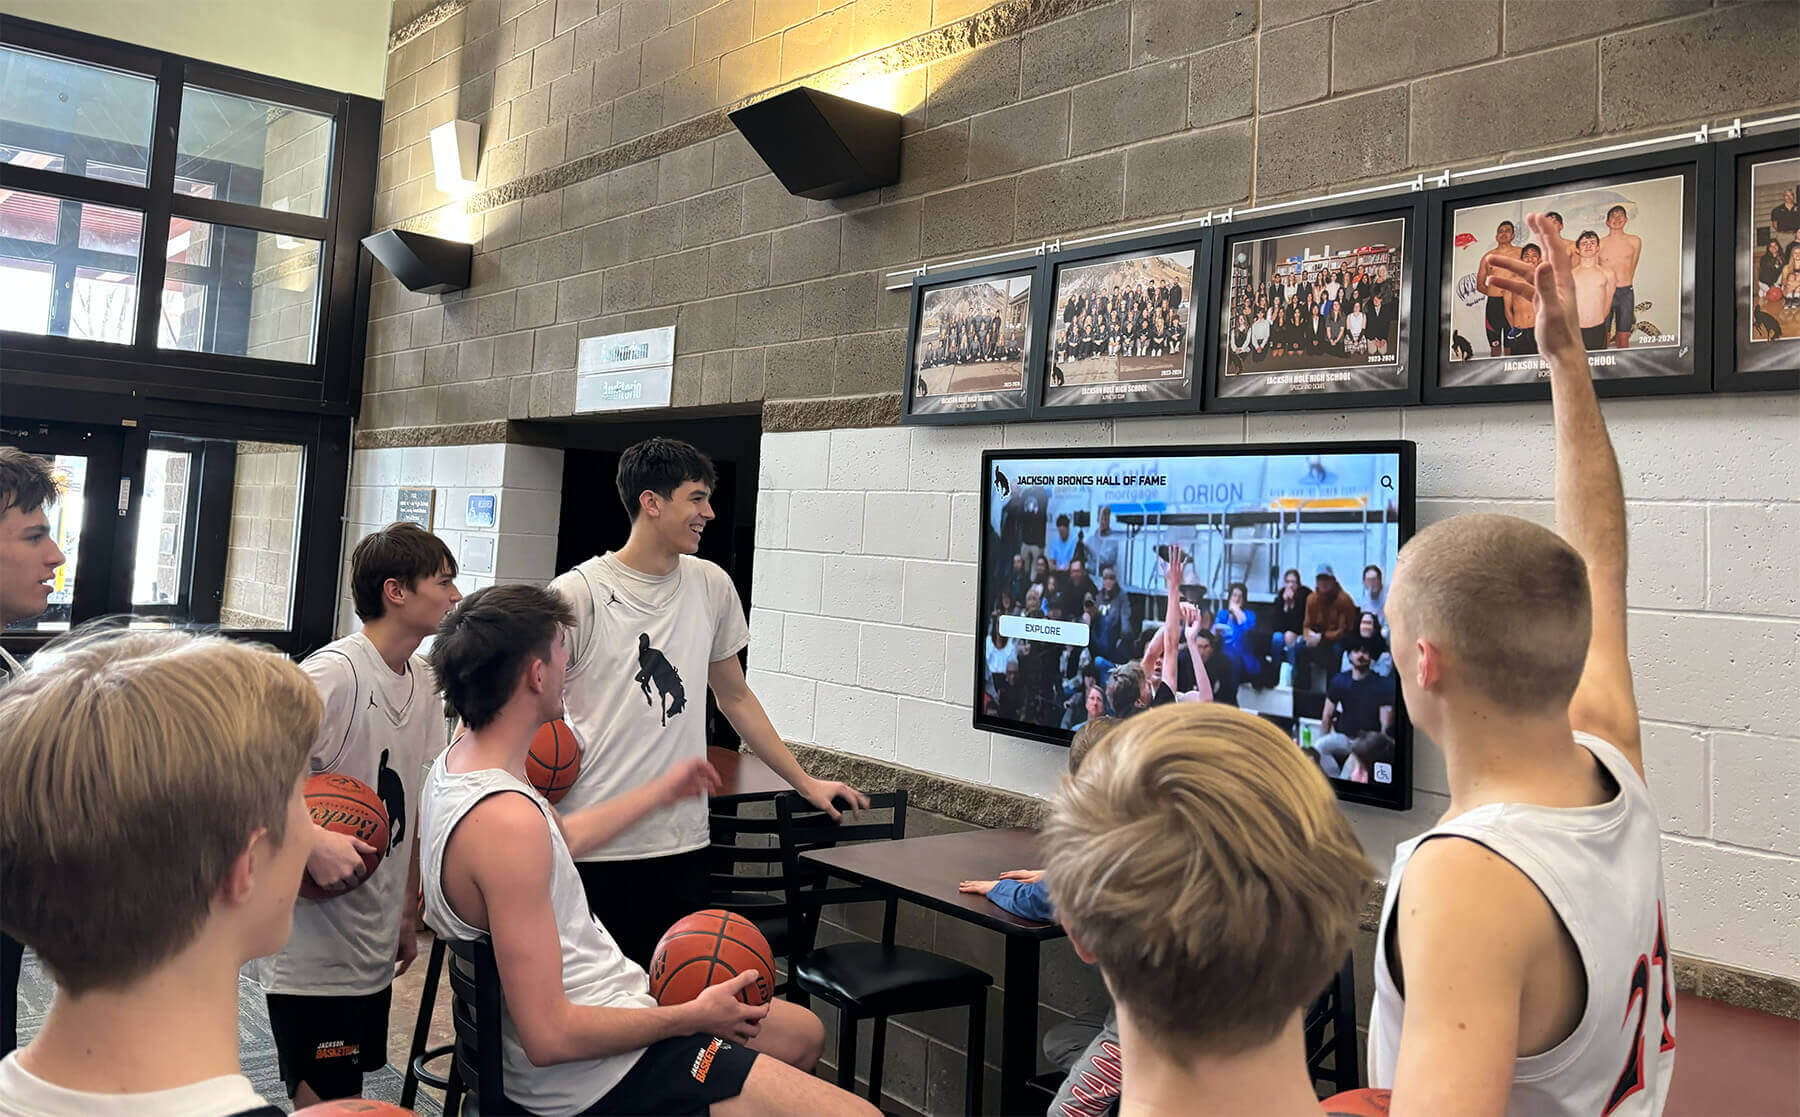
Historic game footage that plays on a lobby or hall-of-fame touchscreen should hold steady on screen — gate-weave stabilization removes the frame-to-frame positional drift that makes film-era content look unsteady even when the original photography was solid
What Is Gate Weave? A Concise Definition
The film gate is the rectangular aperture in a projector, telecine machine, or film scanner that holds each frame of film in position while light passes through it to expose the image. For each new frame, the film transport mechanism advances the strip and seats the next frame in the gate.
Gate weave occurs when that positioning is not perfectly consistent across every frame. Mechanical tolerances in older equipment, worn sprocket holes in aged film, stretched or shrunken film base, and imprecise gate registration all allow each frame to seat at a slightly different horizontal and vertical position than the last. When the resulting images are assembled into a video sequence, the entire picture appears to shift or oscillate from frame to frame—a movement that is unrelated to what the camera was recording and that has no counterpart in the original action on the field or court.
Three distinct movement patterns constitute gate weave:
| Movement Type | What It Looks Like | Common Cause |
|---|---|---|
| Horizontal weave | The image drifts left and right in a repeating pattern | Worn or imprecise lateral guide rails in the film gate |
| Vertical bounce | The image shifts up and down, sometimes in sync with the sprocket holes | Stretched or damaged sprocket perforations; worn sprocket teeth |
| Rotational skew | The image tilts slightly clockwise and counterclockwise between frames | Uneven tension across the width of the film strip |
In practice, most digitized school athletic film with gate weave shows a combination of horizontal weave and vertical bounce. Pure rotational skew is less common in 16mm and 8mm formats but appears in some 16mm news-style footage where the camera original was transferred to a different-gauge intermediate before digitization.
Gate Weave Versus Camera Shake: How to Tell the Difference
Misidentifying gate weave as camera shake leads to applying the wrong correction tool—and sometimes making the footage worse. The following diagnostic observations reliably distinguish the two:
Gate weave characteristics:
- The entire image—including the image border, any frame edge visible in the scan, and static titles or scoreboards—moves together as a unit
- The movement is small in amplitude (typically one to several pixels), periodic, and follows a consistent oscillating pattern rather than a random one
- The movement is unrelated to what is happening in the frame—it occurs at the same rate during still wide shots and during fast-action sequences
- If a frame edge or film-emulsion border is visible in the scan, it moves with the image rather than remaining stationary
Camera shake characteristics:
- Movement is driven by events visible in the image—a camera operator adjusting position, a pan that stops abruptly, wind affecting a lightweight camera
- Movement amplitude may be larger and more erratic than gate weave
- Still sections of the image (a stationary scoreboard) remain relatively stable while other parts of the image move if the camera motion was rotational
The definitive test: find a section of the recording where the camera was locked off on a stationary wide shot—an overhead view between plays, a scoreboard graphic, or an empty gymnasium. Export a few dozen frames from that section and stack them as an image sequence. If the static shot still shows frame-to-frame positional differences, gate weave is the cause. If the static shot is perfectly locked, the movement in active footage is camera motion, not gate weave.
Assessing the Severity of Gate Weave Before Processing
Stabilization tools require computation time proportional to the length of the clip and the complexity of the correction. Assessing severity before opening the timeline saves time and prevents over-processing content that does not need it.
Step 1 — Create a Short Test Export
Export the first two to three minutes of the digitized footage as a separate file. This short clip will be used for all assessment and test processing before committing to a full-length workflow.
Step 2 — Review at 100 Percent Zoom
Open the test export in any video player and advance frame by frame through a segment where the camera is locked off. At 100 percent zoom—where the video pixels map one-to-one to display pixels—gate weave of even one or two pixels becomes visible. At reduced zoom levels, small gate weave may be invisible, leading to content being published without correction.
Step 3 — Classify Severity
| Severity Level | Observed Movement | Recommended Action |
|---|---|---|
| None | No frame-to-frame positional change visible in locked-off shots | No stabilization required; archive as-is |
| Minor | 1–3 pixels of horizontal or vertical shift visible only at 100% zoom | Optional correction; priority depends on display size |
| Moderate | 4–10 pixels of consistent weave visible at normal playback size | Stabilization recommended before display publication |
| Significant | More than 10 pixels of movement, visible at any zoom, may include rotation | Stabilization required; consider professional telecine rescan if footage has recognition significance |
For content destined for a large-format lobby touchscreen or a wall-mounted recognition display, “minor” gate weave that might be acceptable on a 32-inch monitor becomes conspicuous. Assess at the intended display size when possible.
Schools planning significant recognition events—including senior night celebrations or alumni gatherings where historic footage will be publicly screened—should apply stabilization to any content rated moderate or above regardless of display size.
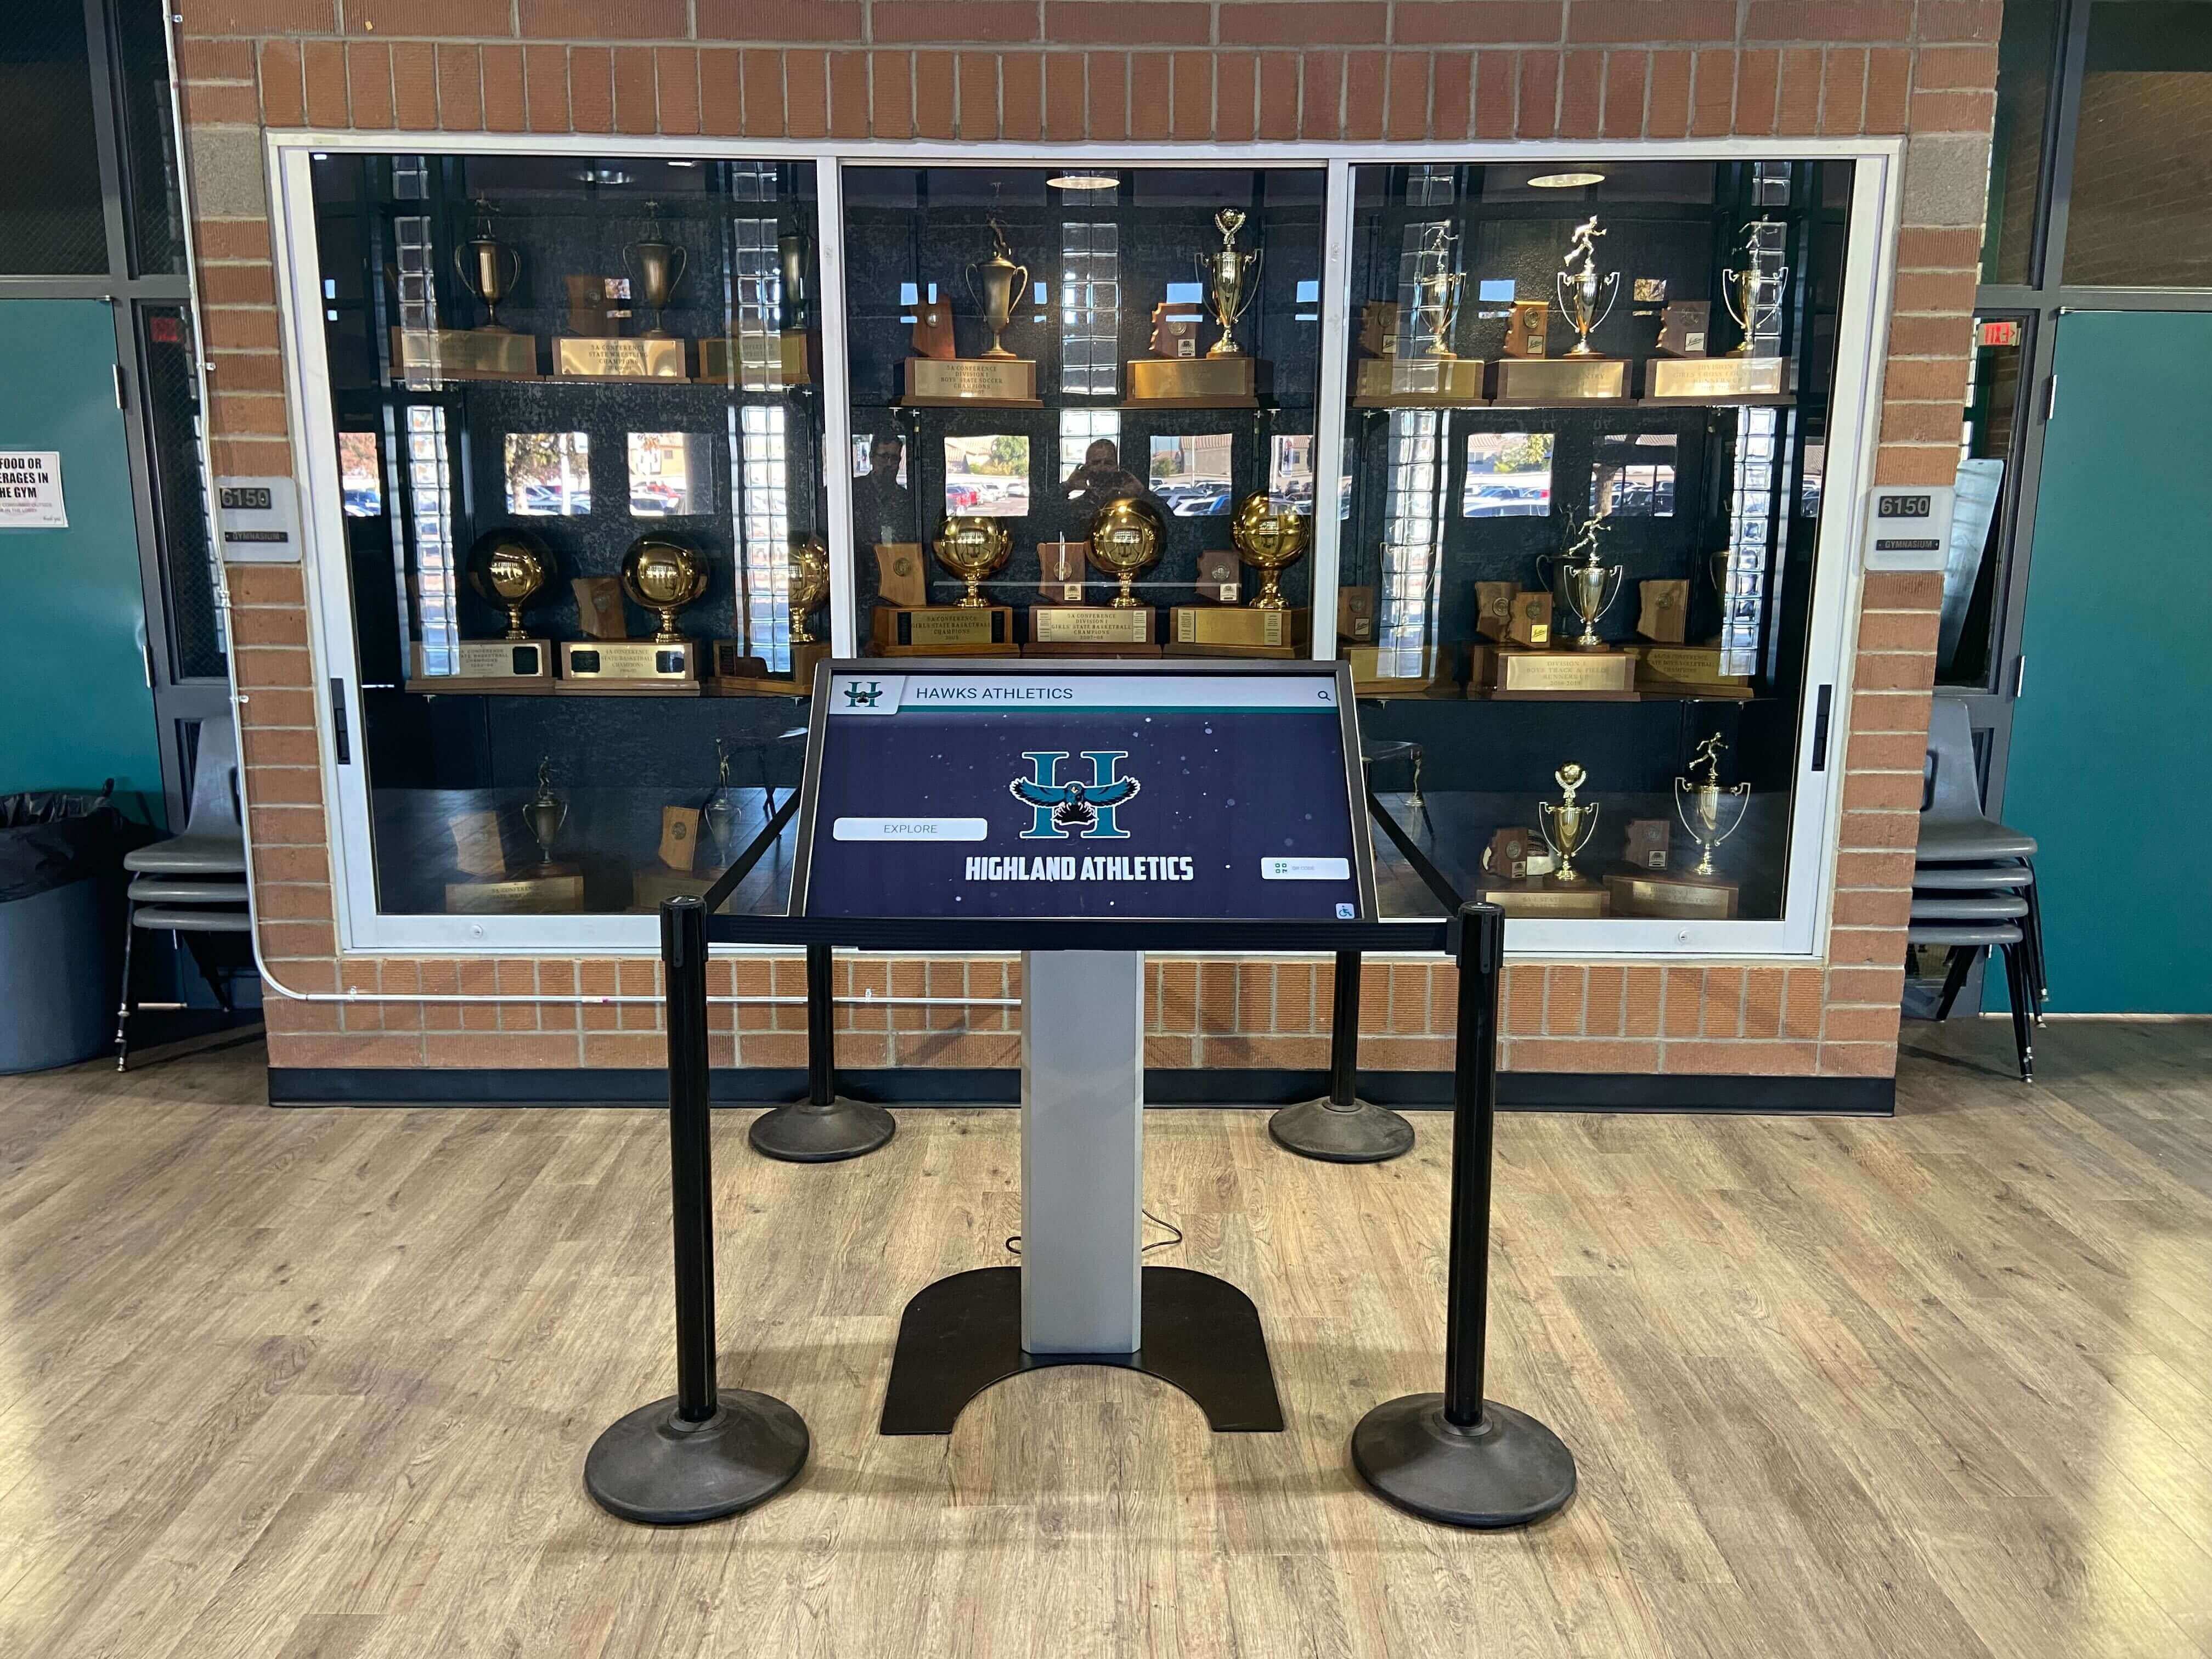
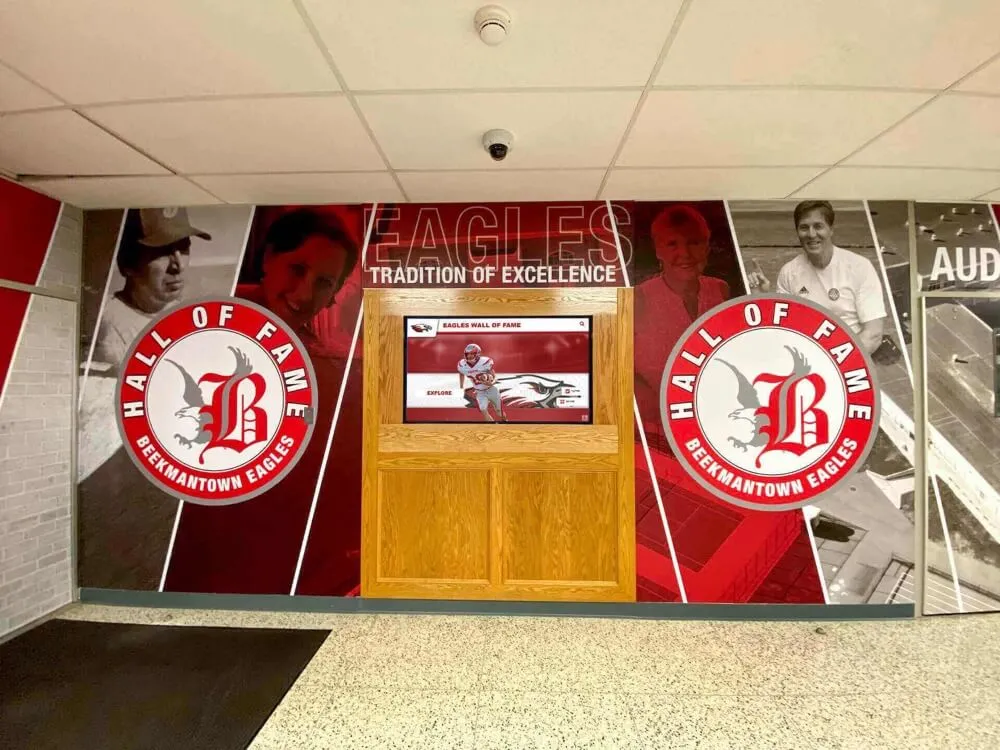
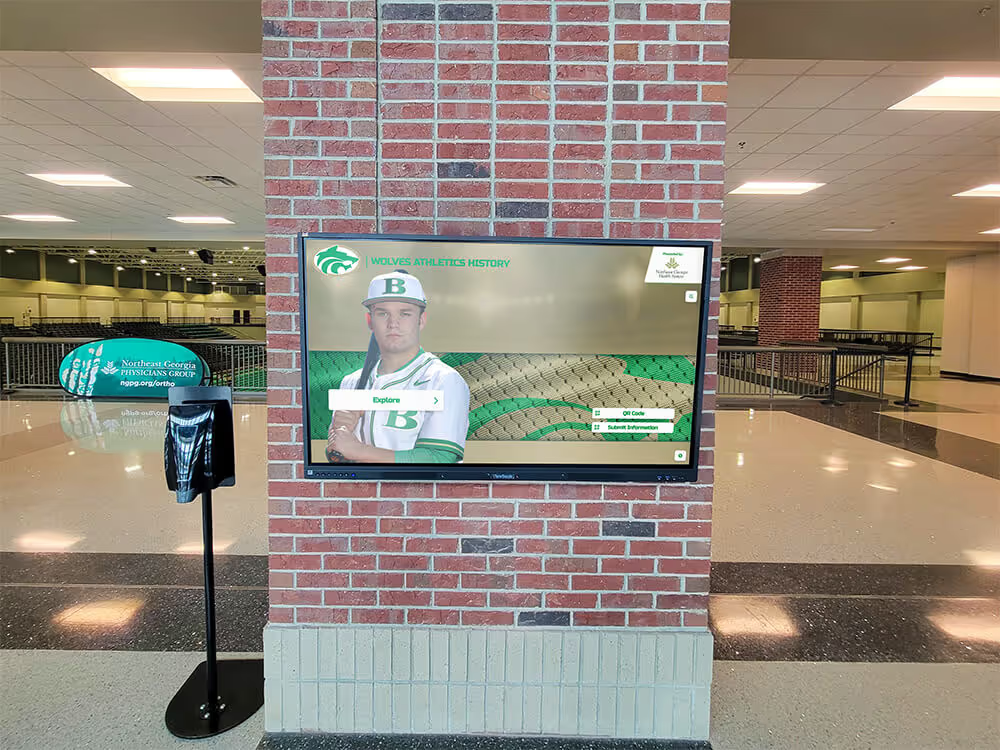
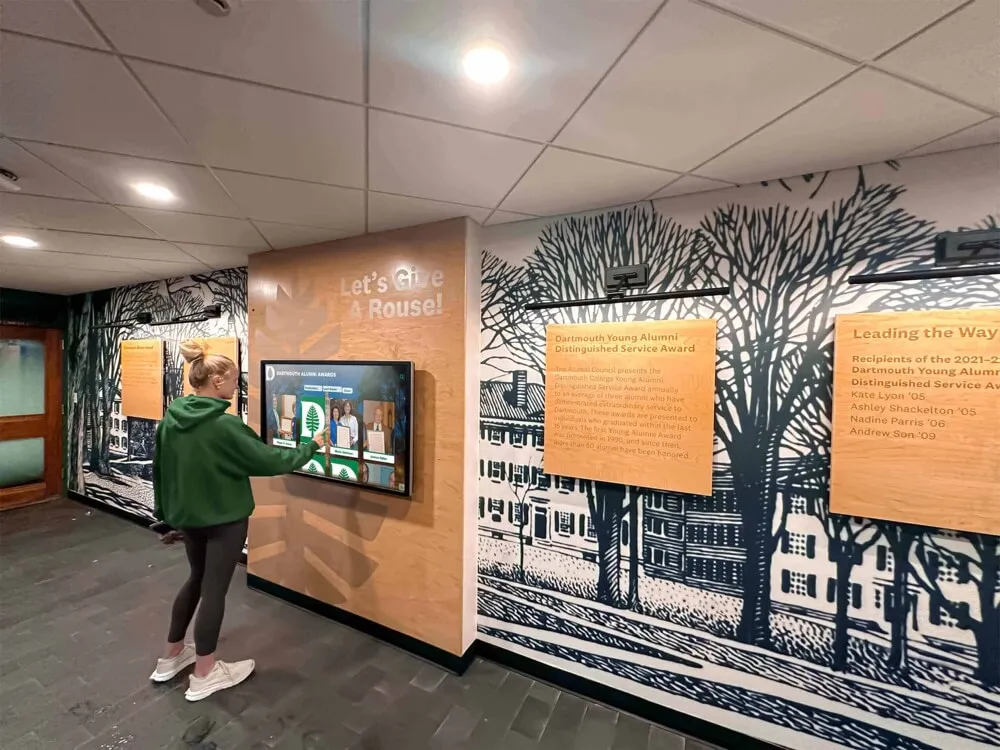
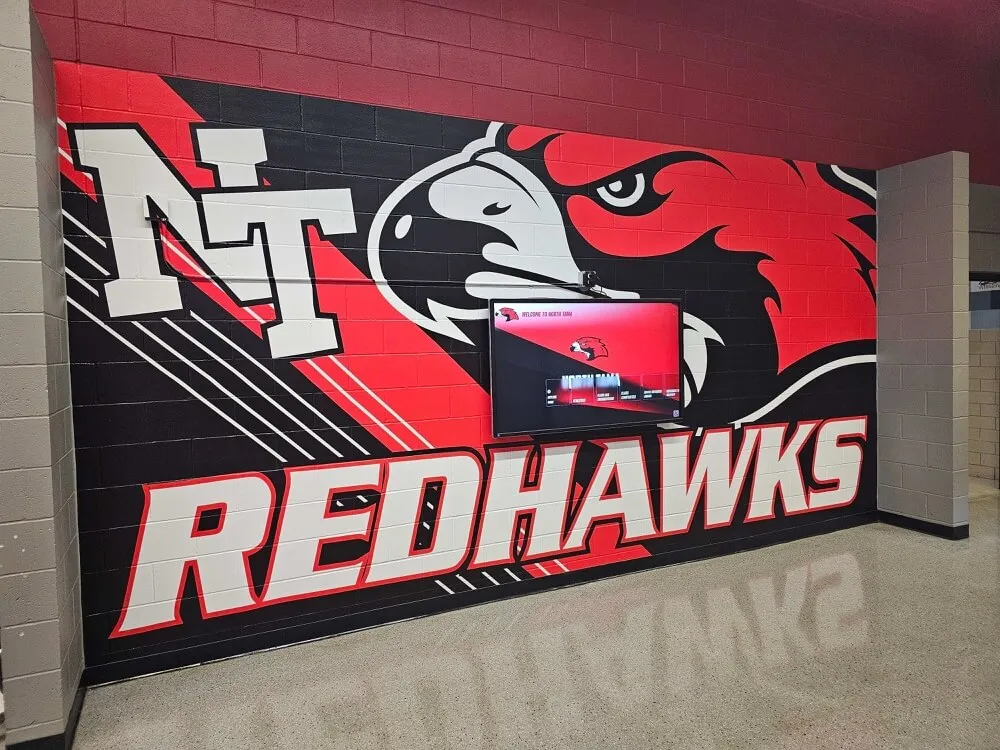
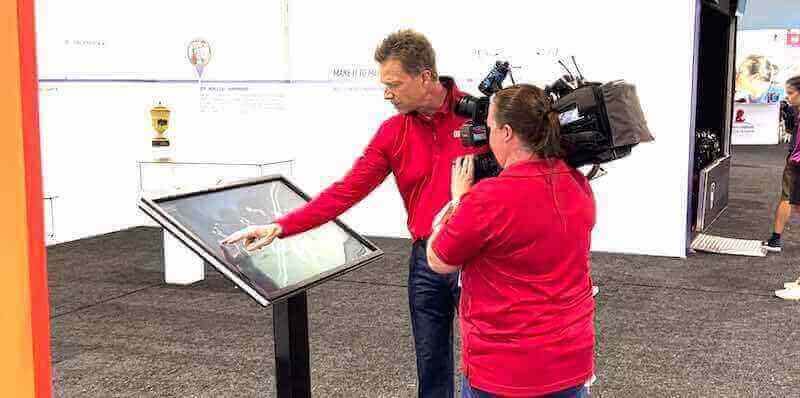
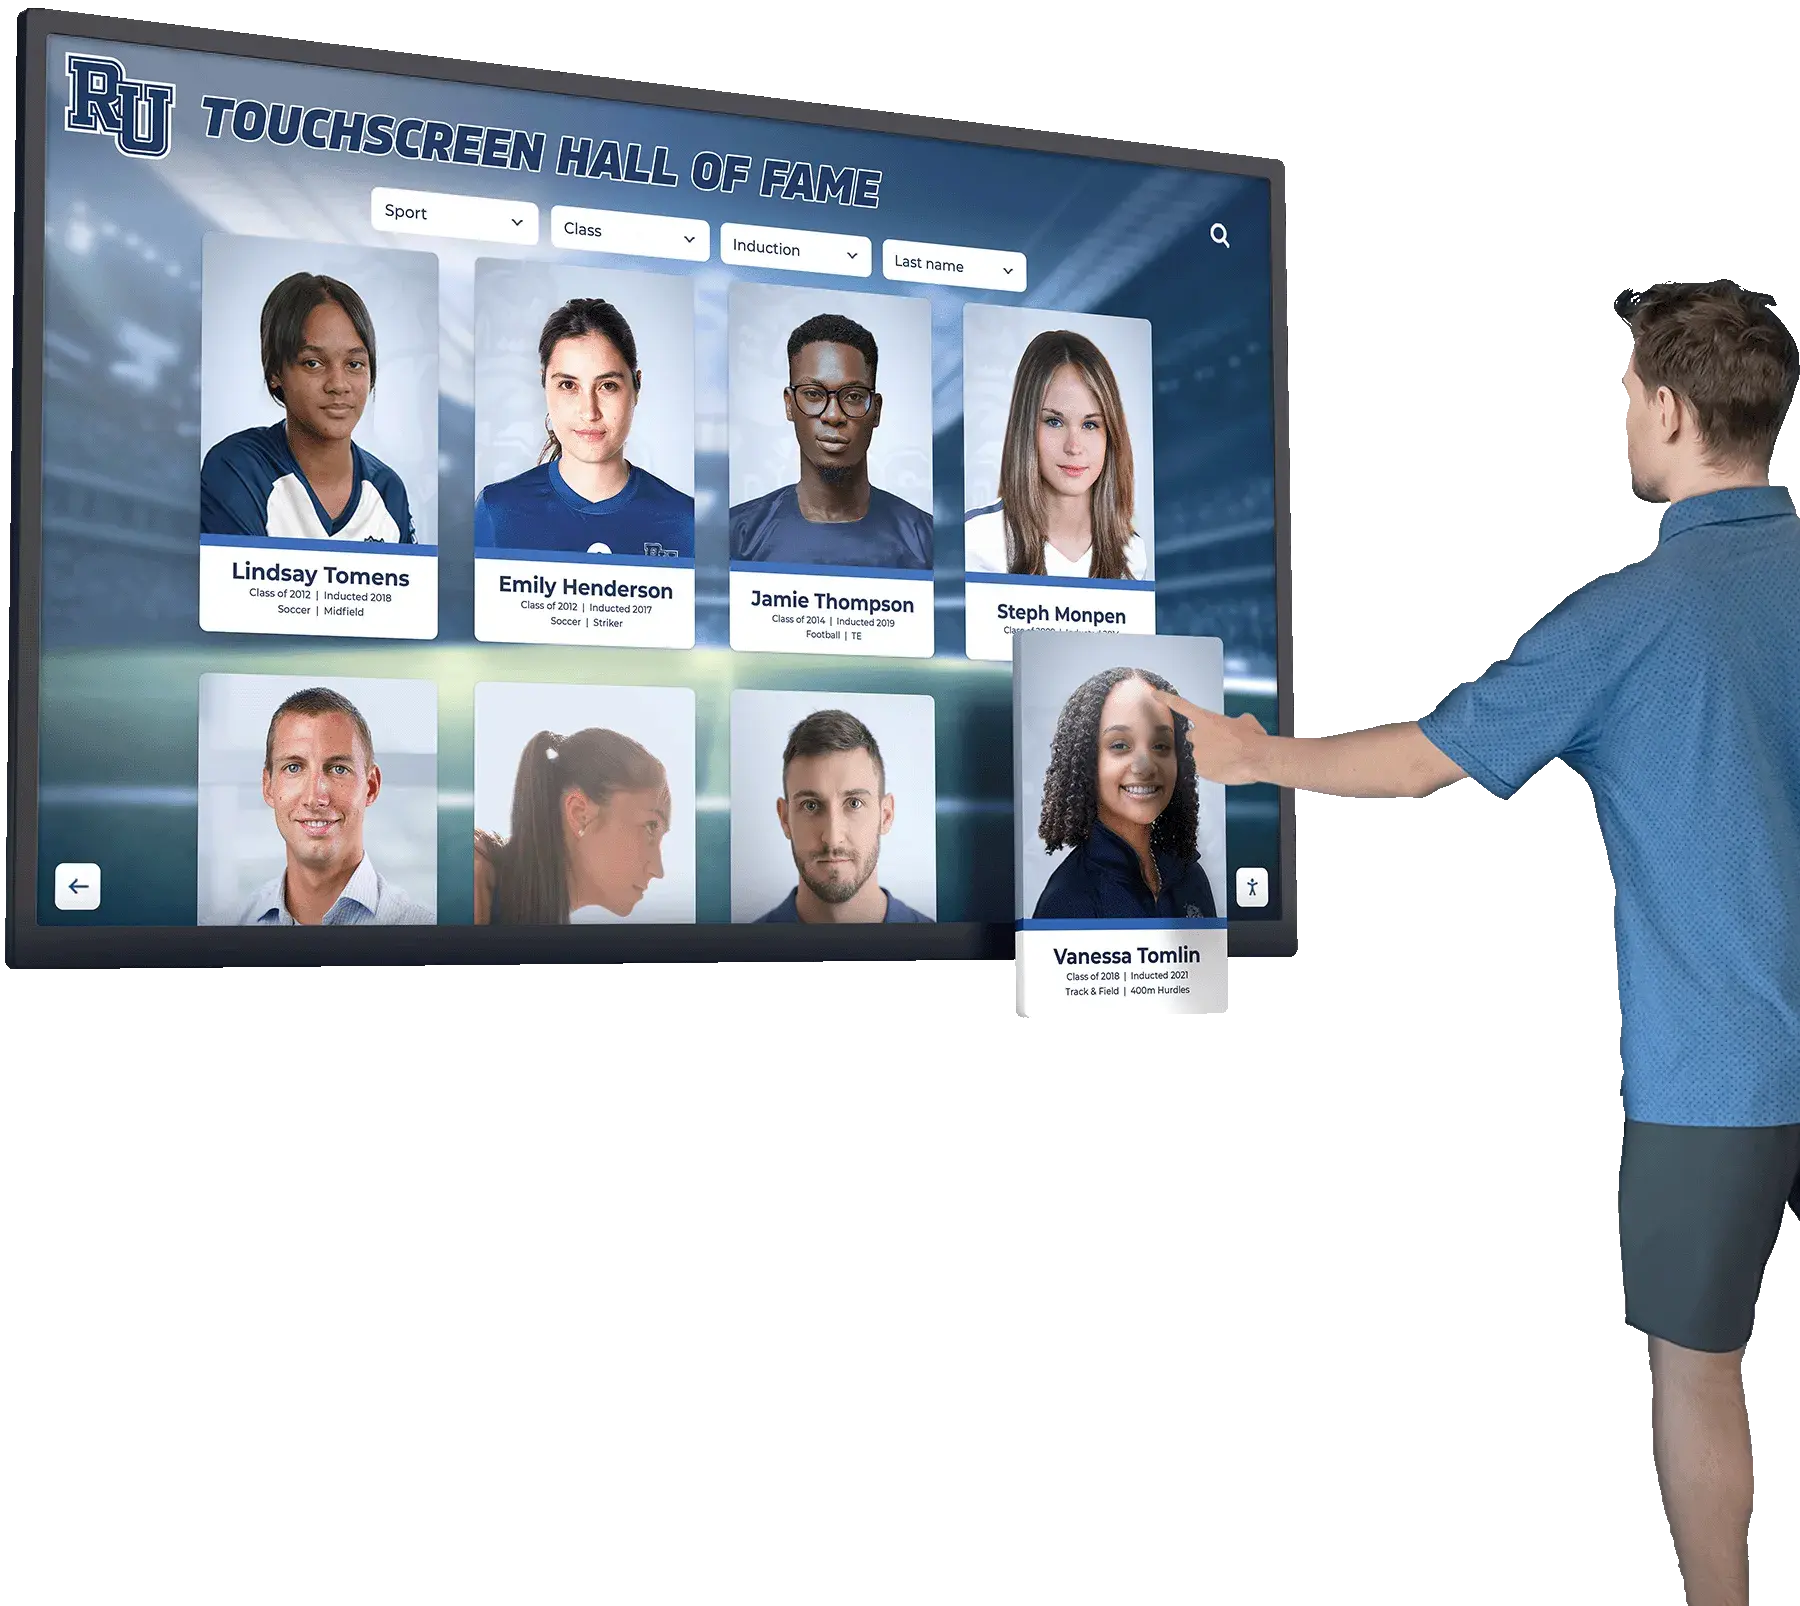
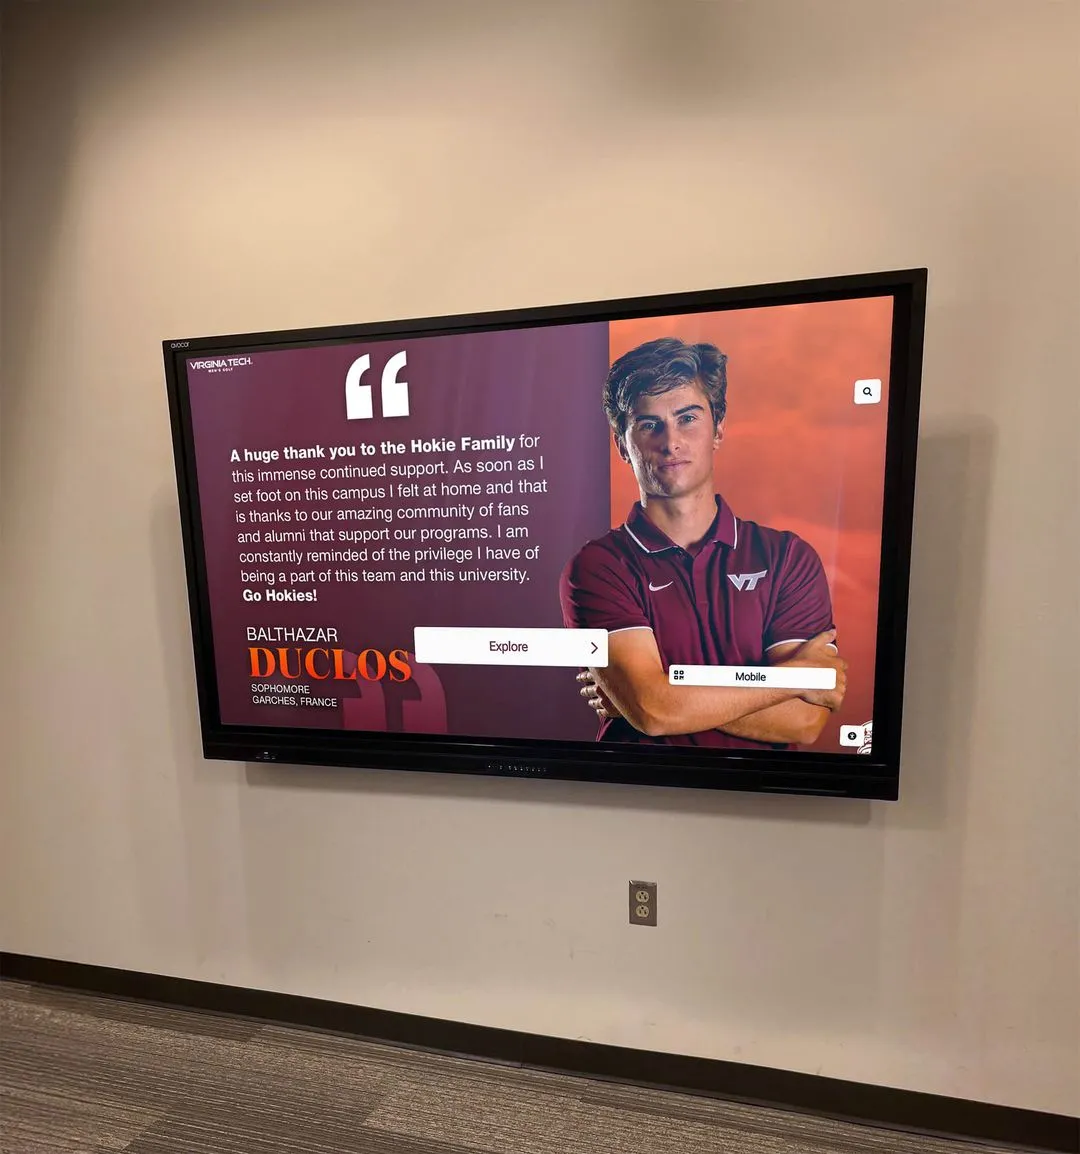
Touchscreen kiosks in trophy cases and recognition hallways are viewed at close range — gate weave that might be subtle on a distant projection screen becomes clearly visible at interactive kiosk distances, making stabilization important for this display context
Tools for Gate-Weave Stabilization
Several tools handle gate-weave stabilization. The right choice depends on the severity of the weave, the volume of footage to process, and whether the school has licensed commercial software or is working with free options.
DaVinci Resolve (Free Tier) — Stabilization Module
DaVinci Resolve’s stabilizer is capable of correcting moderate gate weave and is available in the free version. The stabilization interface in the Color page includes controls for perspective, similarity, and translation-only modes. For gate weave correction, translation-only mode (sometimes labeled “position only” or “smooth” depending on the Resolve version) is the appropriate setting—it corrects positional drift without introducing lens-warp artifacts that perspective modes can add.
Key settings for gate weave in DaVinci Resolve:
- Analysis mode: Translation or Similarity (not Perspective for most film footage)
- Smooth: Set lower (0.1–0.3) for gate weave, which requires tight frame-to-frame correction rather than the gradual smoothing appropriate for handheld camera motion
- Cropping ratio: Accept the default initially; increase if the image edges show instability after the first pass
FFmpeg with VidStab — Free Command-Line Tool
The vidstabdetect and vidstabtransform filters in FFmpeg provide two-pass gate-weave stabilization and are a common choice for archivists processing large batches of footage because the workflow can be scripted. VidStab was originally developed for exactly this type of mechanical film instability correction, and its parameters are well-suited to the small, periodic movements characteristic of gate weave.
Basic FFmpeg VidStab workflow:
Pass 1 — motion analysis:
ffmpeg -i input.mp4 -vf vidstabdetect=shakiness=3:accuracy=15:result=transforms.trf -f null -
Pass 2 — stabilization and export:
ffmpeg -i input.mp4 -vf vidstabtransform=input=transforms.trf:smoothing=5:optzoom=0 -c:v libx264 -crf 18 -c:a copy output_stabilized.mp4
Key parameters for gate-weave correction:
shakiness=3— appropriate for moderate gate weave (range 1–10; lower values for mild weave)accuracy=15— maximum accuracy for precise motion detectionsmoothing=5— low smoothing value appropriate for gate weave (higher values over-smooth rapid positional correction)optzoom=0— disables the automatic zoom that VidStab uses to hide crop margins; useoptzoom=1only if black edges are acceptable to the archive workflow
Adobe After Effects — Warp Stabilizer VFX
Adobe After Effects includes Warp Stabilizer VFX, which offers the most granular control of any commonly available tool. For gate weave specifically, the No Motion preset under the Smoothness options produces the tightest frame-locking behavior. After Effects is most appropriate when the footage has additional quality issues beyond gate weave—color correction, scratch suppression, or frame-rate conversion—that will be done in the same session.
Professional Film Scanning Rescan
For footage with significant gate weave where a large archive is being built around a particular piece of content—a state championship film, a founding-year team documentary, a hall-of-fame induction ceremony recording—the correct solution may not be software stabilization at all. A professional film-to-digital transfer service with a pin-registered scanner produces output with no gate weave because the scanner physically pins the film perforations to a fixed registration point during scanning. The resulting file requires no stabilization processing. If a critical piece of historic footage is being prepared for a permanent recognition installation, the cost of a professional rescan is typically far lower than the time cost of repeated software attempts to correct significant mechanical instability.
Phase-by-Phase Stabilization Workflow
The following numbered workflow applies to any of the tools described above. The tool-specific settings differ, but the phases are the same regardless of software.
Phase 1 — Archive the original digitized file
Before any processing, copy the original digitized file to its permanent archive location. Every stabilization pass modifies the image. If the correction introduces artifacts, is misapplied, or is later judged to be too aggressive, the unprocessed original must be available to restart from. Never work directly on the only copy of a digitized file.
Phase 2 — Assess a short test clip (see assessment section above)
Classify severity. If severity is “None,” stop here and archive as-is. Proceed only if correction is needed.
Phase 3 — Run a test pass on the short clip
Apply stabilization to the two-to-three-minute test export before committing to a full-length correction. Review the test output carefully for:
- Residual gate weave (insufficient correction)
- Artificial zoom or cropping (the stabilizer enlarging the image to hide border movement)
- Motion blur introduced by the correction algorithm
- Abrupt correction jumps at scene cuts within the clip
- Black borders at frame edges indicating that the stabilizer is shifting the image beyond the available frame content
Adjust parameters based on what you observe. Running multiple short tests is far more efficient than running a full-length correction that requires rework.
Phase 4 — Apply correction to the full-length file
Once test parameters are confirmed, apply the same settings to the complete file. For files longer than twenty minutes, run the job during off-hours and confirm that the output file size is plausible before reviewing—a failed export sometimes produces a valid-looking file with no actual video content that only reveals the failure on playback.
Phase 5 — Quality-control review at key moments
Review the stabilized full-length file at these specific moments:
- First 30 seconds — confirm stabilization applied correctly from the start
- First scene cut or camera change — confirm the stabilizer handled the cut without a correction jump
- A fast-motion sequence (a contested rebound, a sprint finish, a fast break) — confirm motion clarity was not degraded by the correction
- A locked-off wide shot (between plays, a scoreboard, an overhead view) — confirm residual gate weave is below visible threshold
- Final 30 seconds — confirm no end-of-file artifacts
Phase 6 — Document the correction in archive metadata
Every stabilization pass applied to archival footage should be recorded in the archive record for that file. Document: the tool used, the settings applied, the date of processing, and the staff member who completed the work. Future archivists who need to create derivative versions of the file—different resolutions, trimmed clips for specific display contexts—need to know that a stabilization pass has already been applied so they do not inadvertently apply a second pass that degrades quality.
Phase 7 — Export for the target display system
Export the stabilized file using the settings appropriate for the school’s digital recognition platform. Most touchscreen hall-of-fame and interactive lobby display systems accept H.264-encoded MP4 files. Confirm codec and resolution requirements with the display platform vendor before exporting, particularly if the footage will be presented alongside athlete profiles, awards data, or interactive navigation elements.
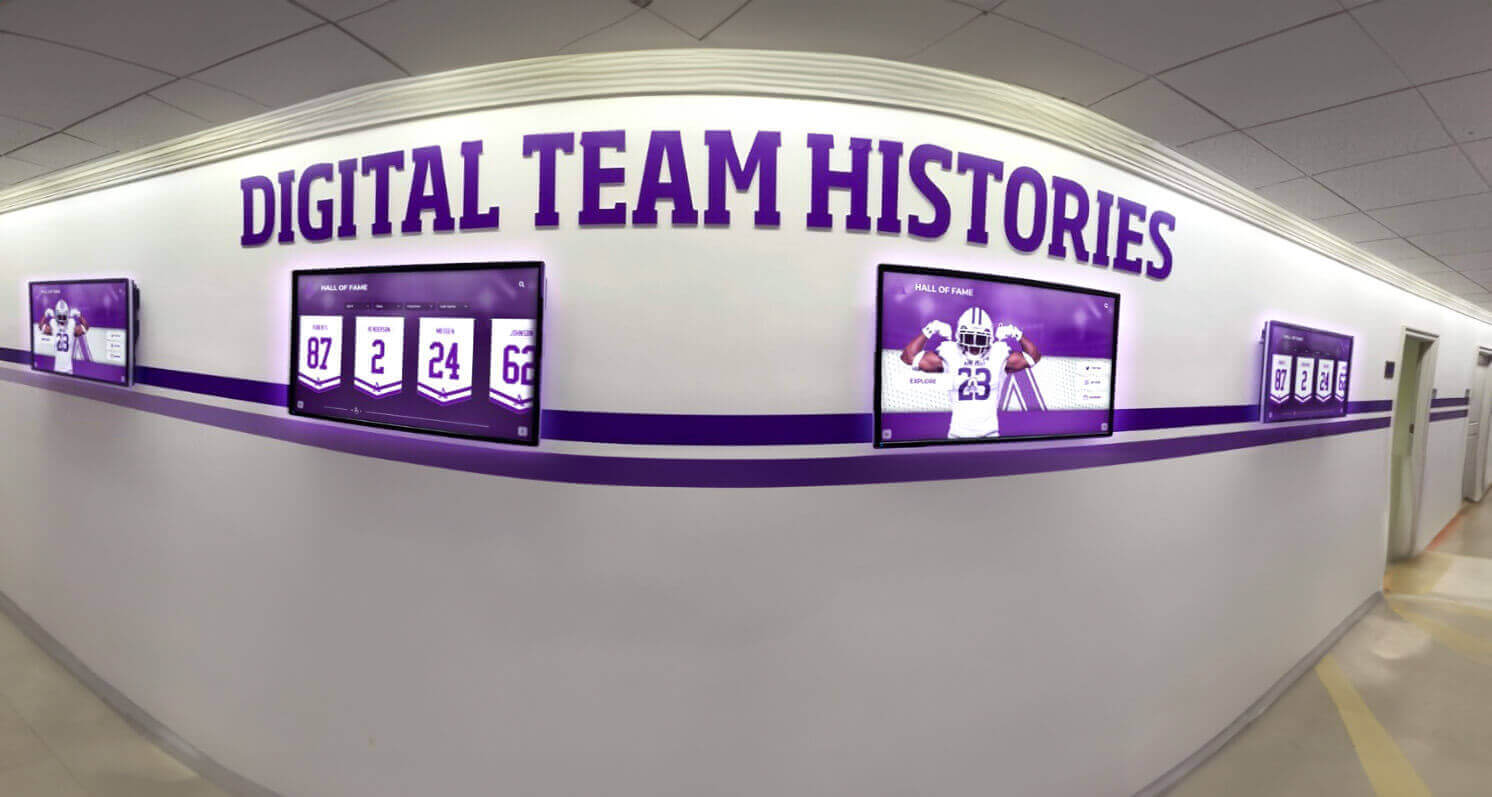
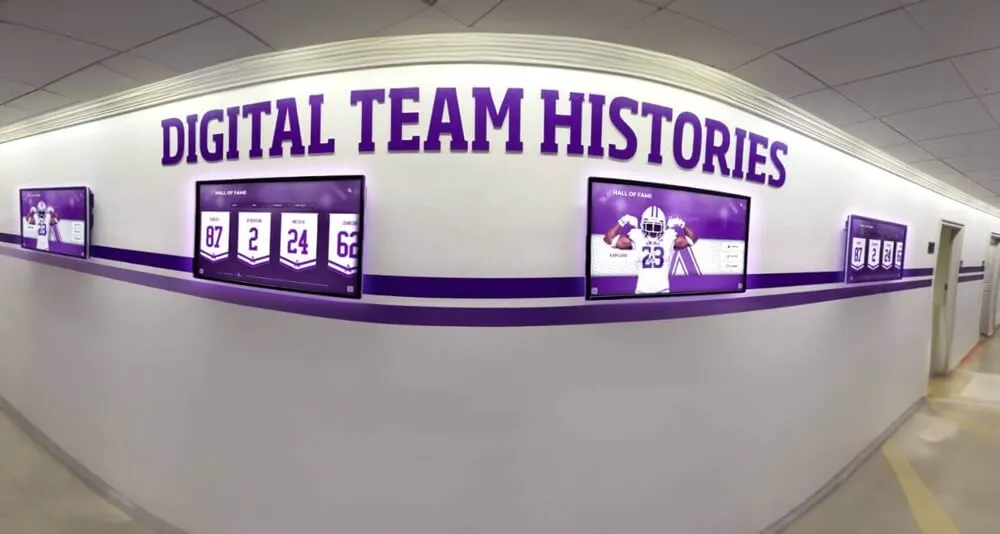
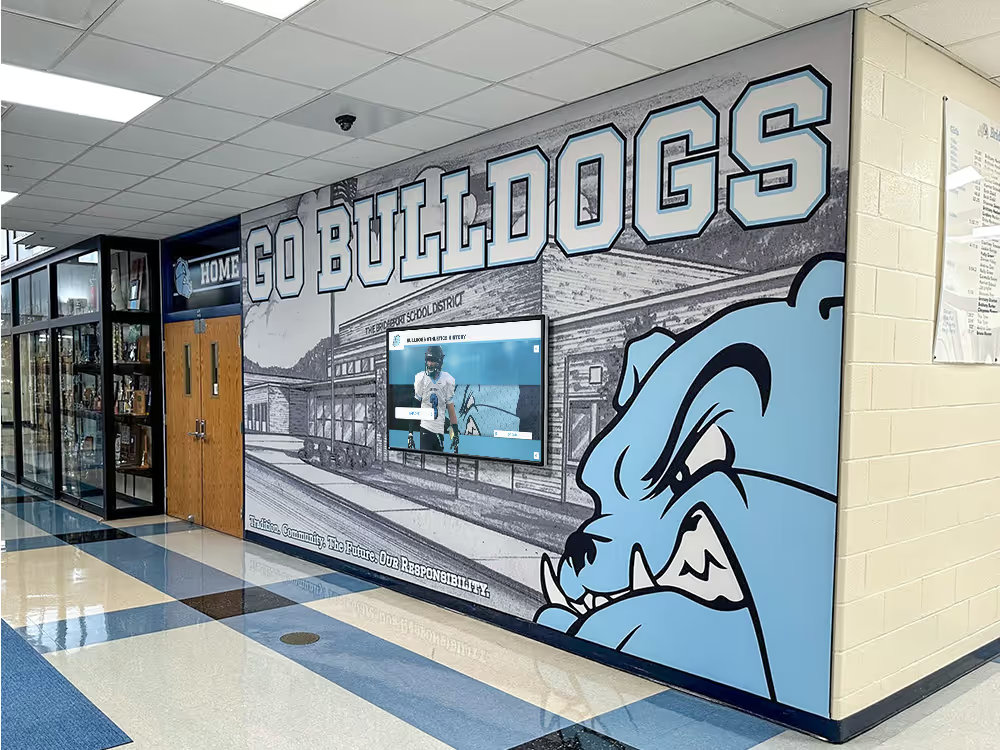
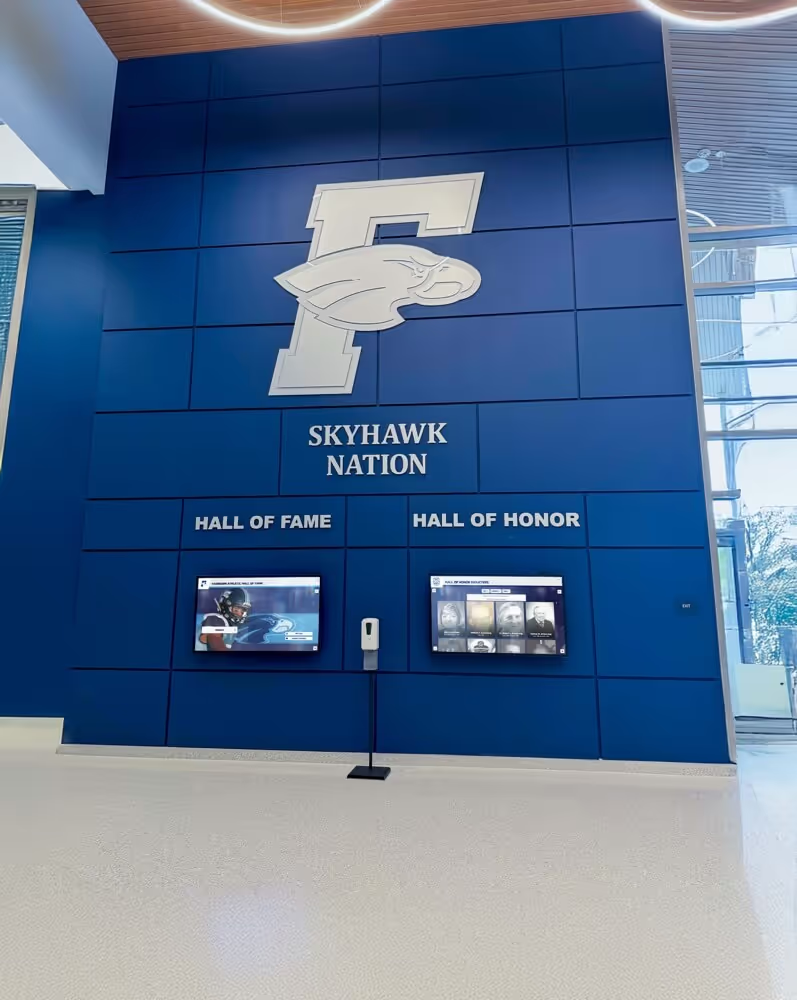
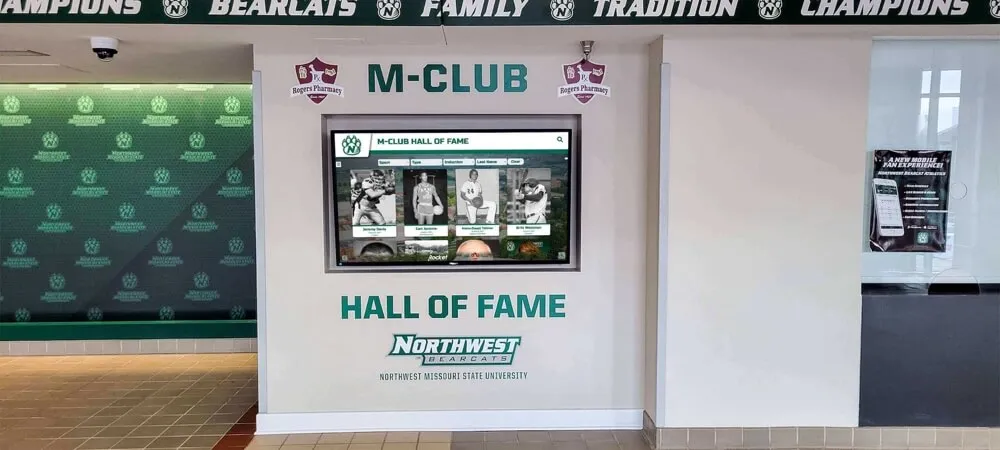
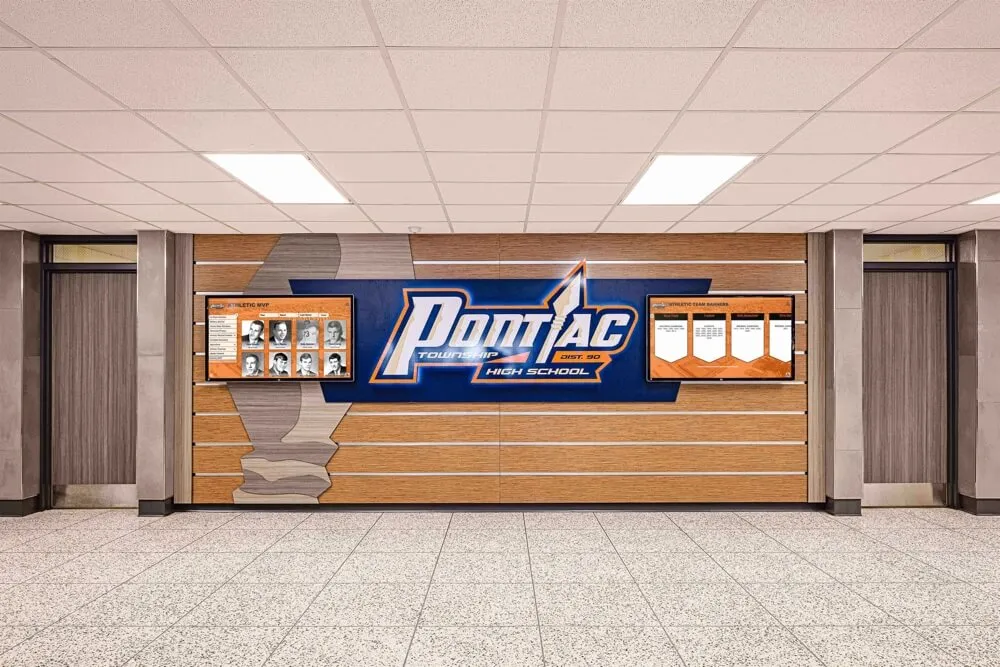
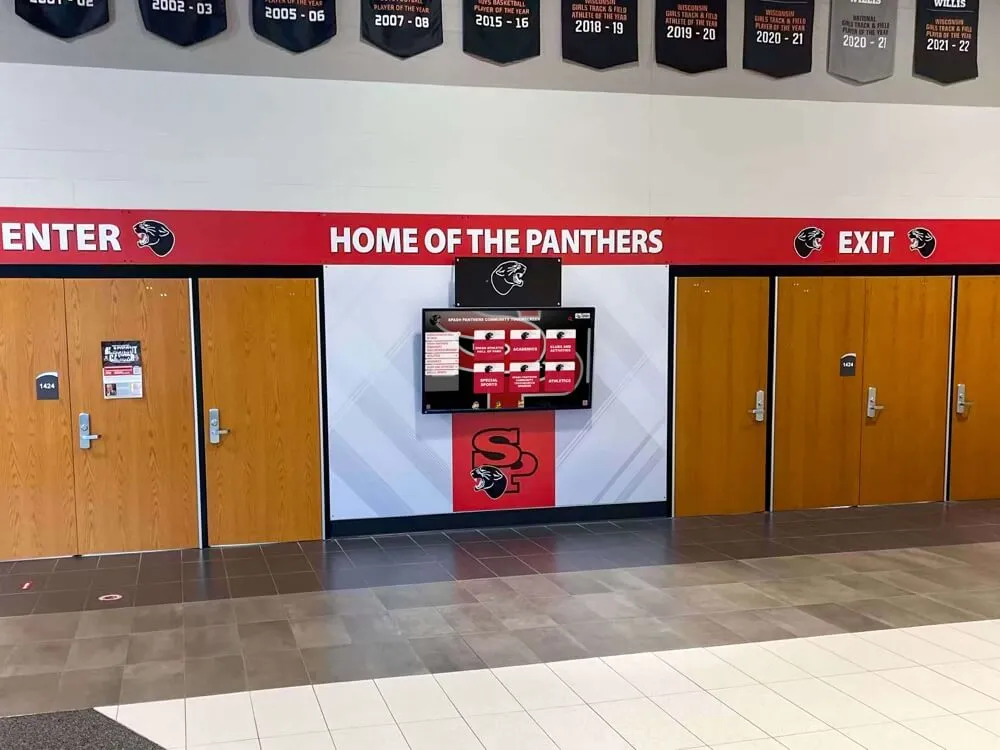
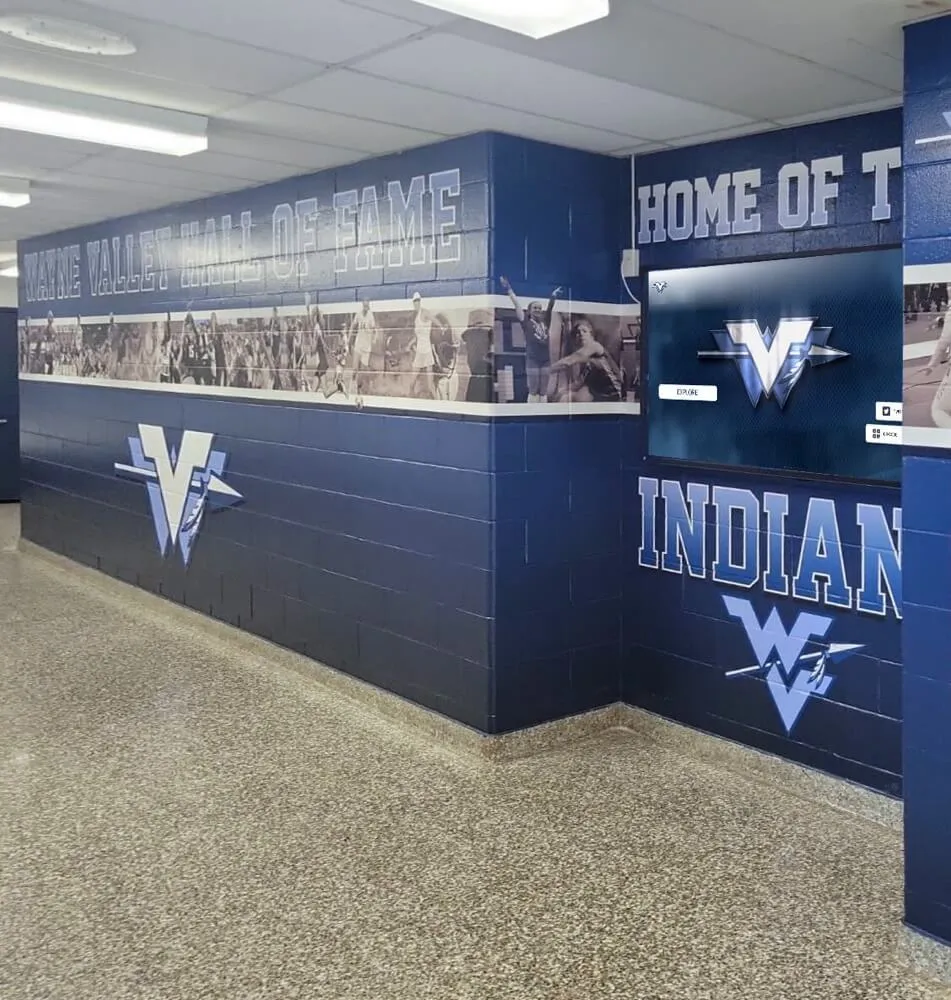
Hallway digital displays showing team histories and championship records require stabilized footage — gate weave that was tolerable on a small projector screen is conspicuous on large-format displays in recognition corridors
Display Destination and Stabilization Requirements
The appropriate level of stabilization depends on where the footage will be displayed and at what size. The table below helps teams match stabilization effort to display context.
| Display Type | Viewing Distance | Minimum Correction | Notes |
|---|---|---|---|
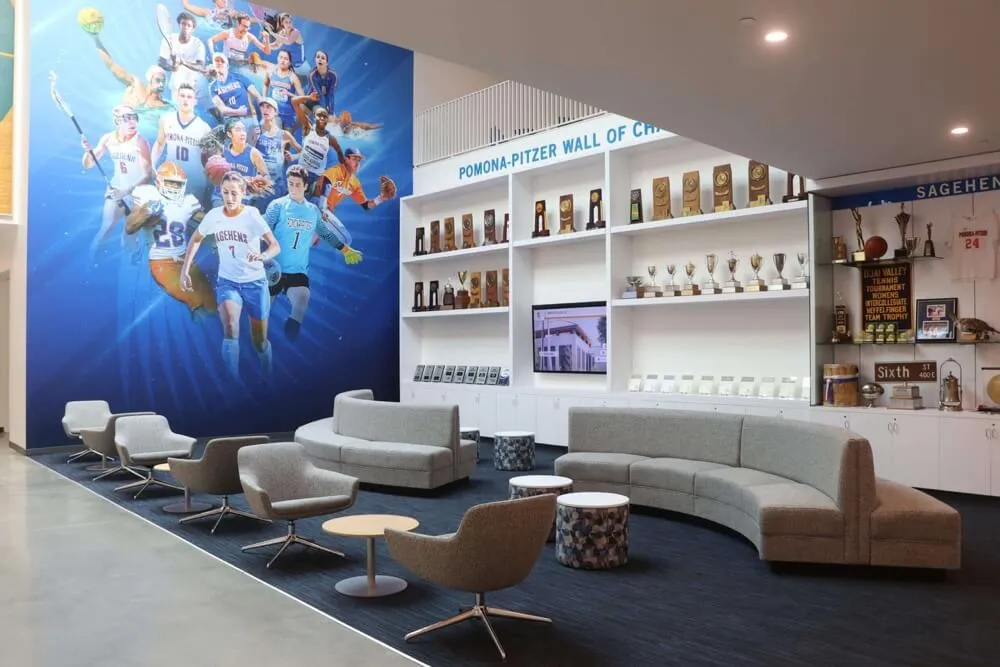
| Lobby touchscreen (55–75 inch) | 2–6 feet | Moderate gate weave and above | Close viewing distance makes minor weave visible |
| Trophy case kiosk | Under 3 feet | Minor gate weave and above | Users stand immediately adjacent; any weave is conspicuous |
| Hallway recognition screen | 4–10 feet | Moderate gate weave and above | Walking viewers tolerate mild weave; looping display warrants correction |
| Athletic theater / auditorium projection | 15–40 feet | Significant gate weave only | Distance reduces visibility of mild positional drift |
| Online recognition archive or school website | Variable | Moderate gate weave and above | Unknown device and screen size; stabilize conservatively |
| Event screening (gymnasium, cafeteria) | 10–30 feet | Significant gate weave only | One-time screening; stable but need not meet archive standard |
Schools building a comprehensive digital archive for a hall-of-fame recognition platform or an ongoing interactive display system should apply stabilization consistently across all publicly displayed content regardless of the current display destination, because footage migrates between display contexts as school programs evolve.
Stabilization Parameters Reference Table
Use this table as a starting point when configuring stabilization in either DaVinci Resolve or FFmpeg VidStab. These are starting-point values—every piece of footage is different, and test passes remain the authoritative calibration method.
| Footage Condition | DaVinci Resolve Smooth | VidStab Shakiness | VidStab Smoothing | Notes |
|---|---|---|---|---|
| Minor gate weave, well-preserved film | 0.1–0.2 | 2–3 | 3–5 | Tight correction; minimal cropping |
| Moderate gate weave, typical 16mm transfer | 0.2–0.3 | 3–5 | 5–8 | Balanced correction; light edge crop expected |
| Significant gate weave, worn sprockets | 0.3–0.5 | 5–7 | 8–12 | More aggressive; review for artificial zoom |
| Rotational skew present | Use Similarity mode | Enable rotation correction | Same smoothing range | Review every scene cut for overcorrection |
| Mixed footage (some scenes weave, some do not) | 0.2 | 4 | 6 | Apply to whole file; stable sections will pass through correctly |
Common Problems and How to Fix Them
Problem: Stabilization introduces a visible zoom that crops the image edges.
The stabilizer is enlarging the image to hide the borders that appear when frames are shifted to correct for weave. Reduce the smoothing or accuracy parameter so the correction is less aggressive. If the footage has significant weave and this crop is unavoidable, decide whether the cropped version or the weaving original is preferable for display purposes—for some formats, a slight crop is less distracting than the original movement.
Problem: The correction produces a noticeable jump at scene cuts within a longer recording.
Most stabilizers treat each scene cut as a stabilization discontinuity. In FFmpeg VidStab, the stepsize parameter controls how the algorithm handles abrupt transitions. In DaVinci Resolve, the stabilization can be applied to individual clips rather than the full timeline, with separate analysis for each segment. Identify scene cuts in the footage before applying stabilization and process segments separately if jumps are problematic.
Problem: The footage has been stabilized once already before it reached our archive.
Content that has been stabilized previously—particularly footage from a third-party digitization service that applied automatic stabilization—may show over-processing artifacts: a slightly mushy or “floating” quality to movement, or a subtle warp at frame edges. Applying a second stabilization pass to already-processed footage compounds these artifacts rather than improving them. If the original digitized master without prior stabilization is available, use it as the source. If only the pre-stabilized version is available, accept it as-is and document the processing history in the archive record.
Problem: A locked-off shot still shows residual weave after correction.
Increase the accuracy or shakiness parameter and re-run the test pass. If maximum-setting passes still leave visible residual weave, the positional drift in that footage may be larger than the stabilizer can correct without introducing visible cropping. For high-significance content that remains unstable at maximum software settings, a professional pin-registered rescan is the appropriate next step.
For programs engaged in broader recognition planning—including class reunion events or alumni gatherings where historic footage is a centerpiece attraction—having technically correct, stable footage is essential to the credibility of the recognition experience.
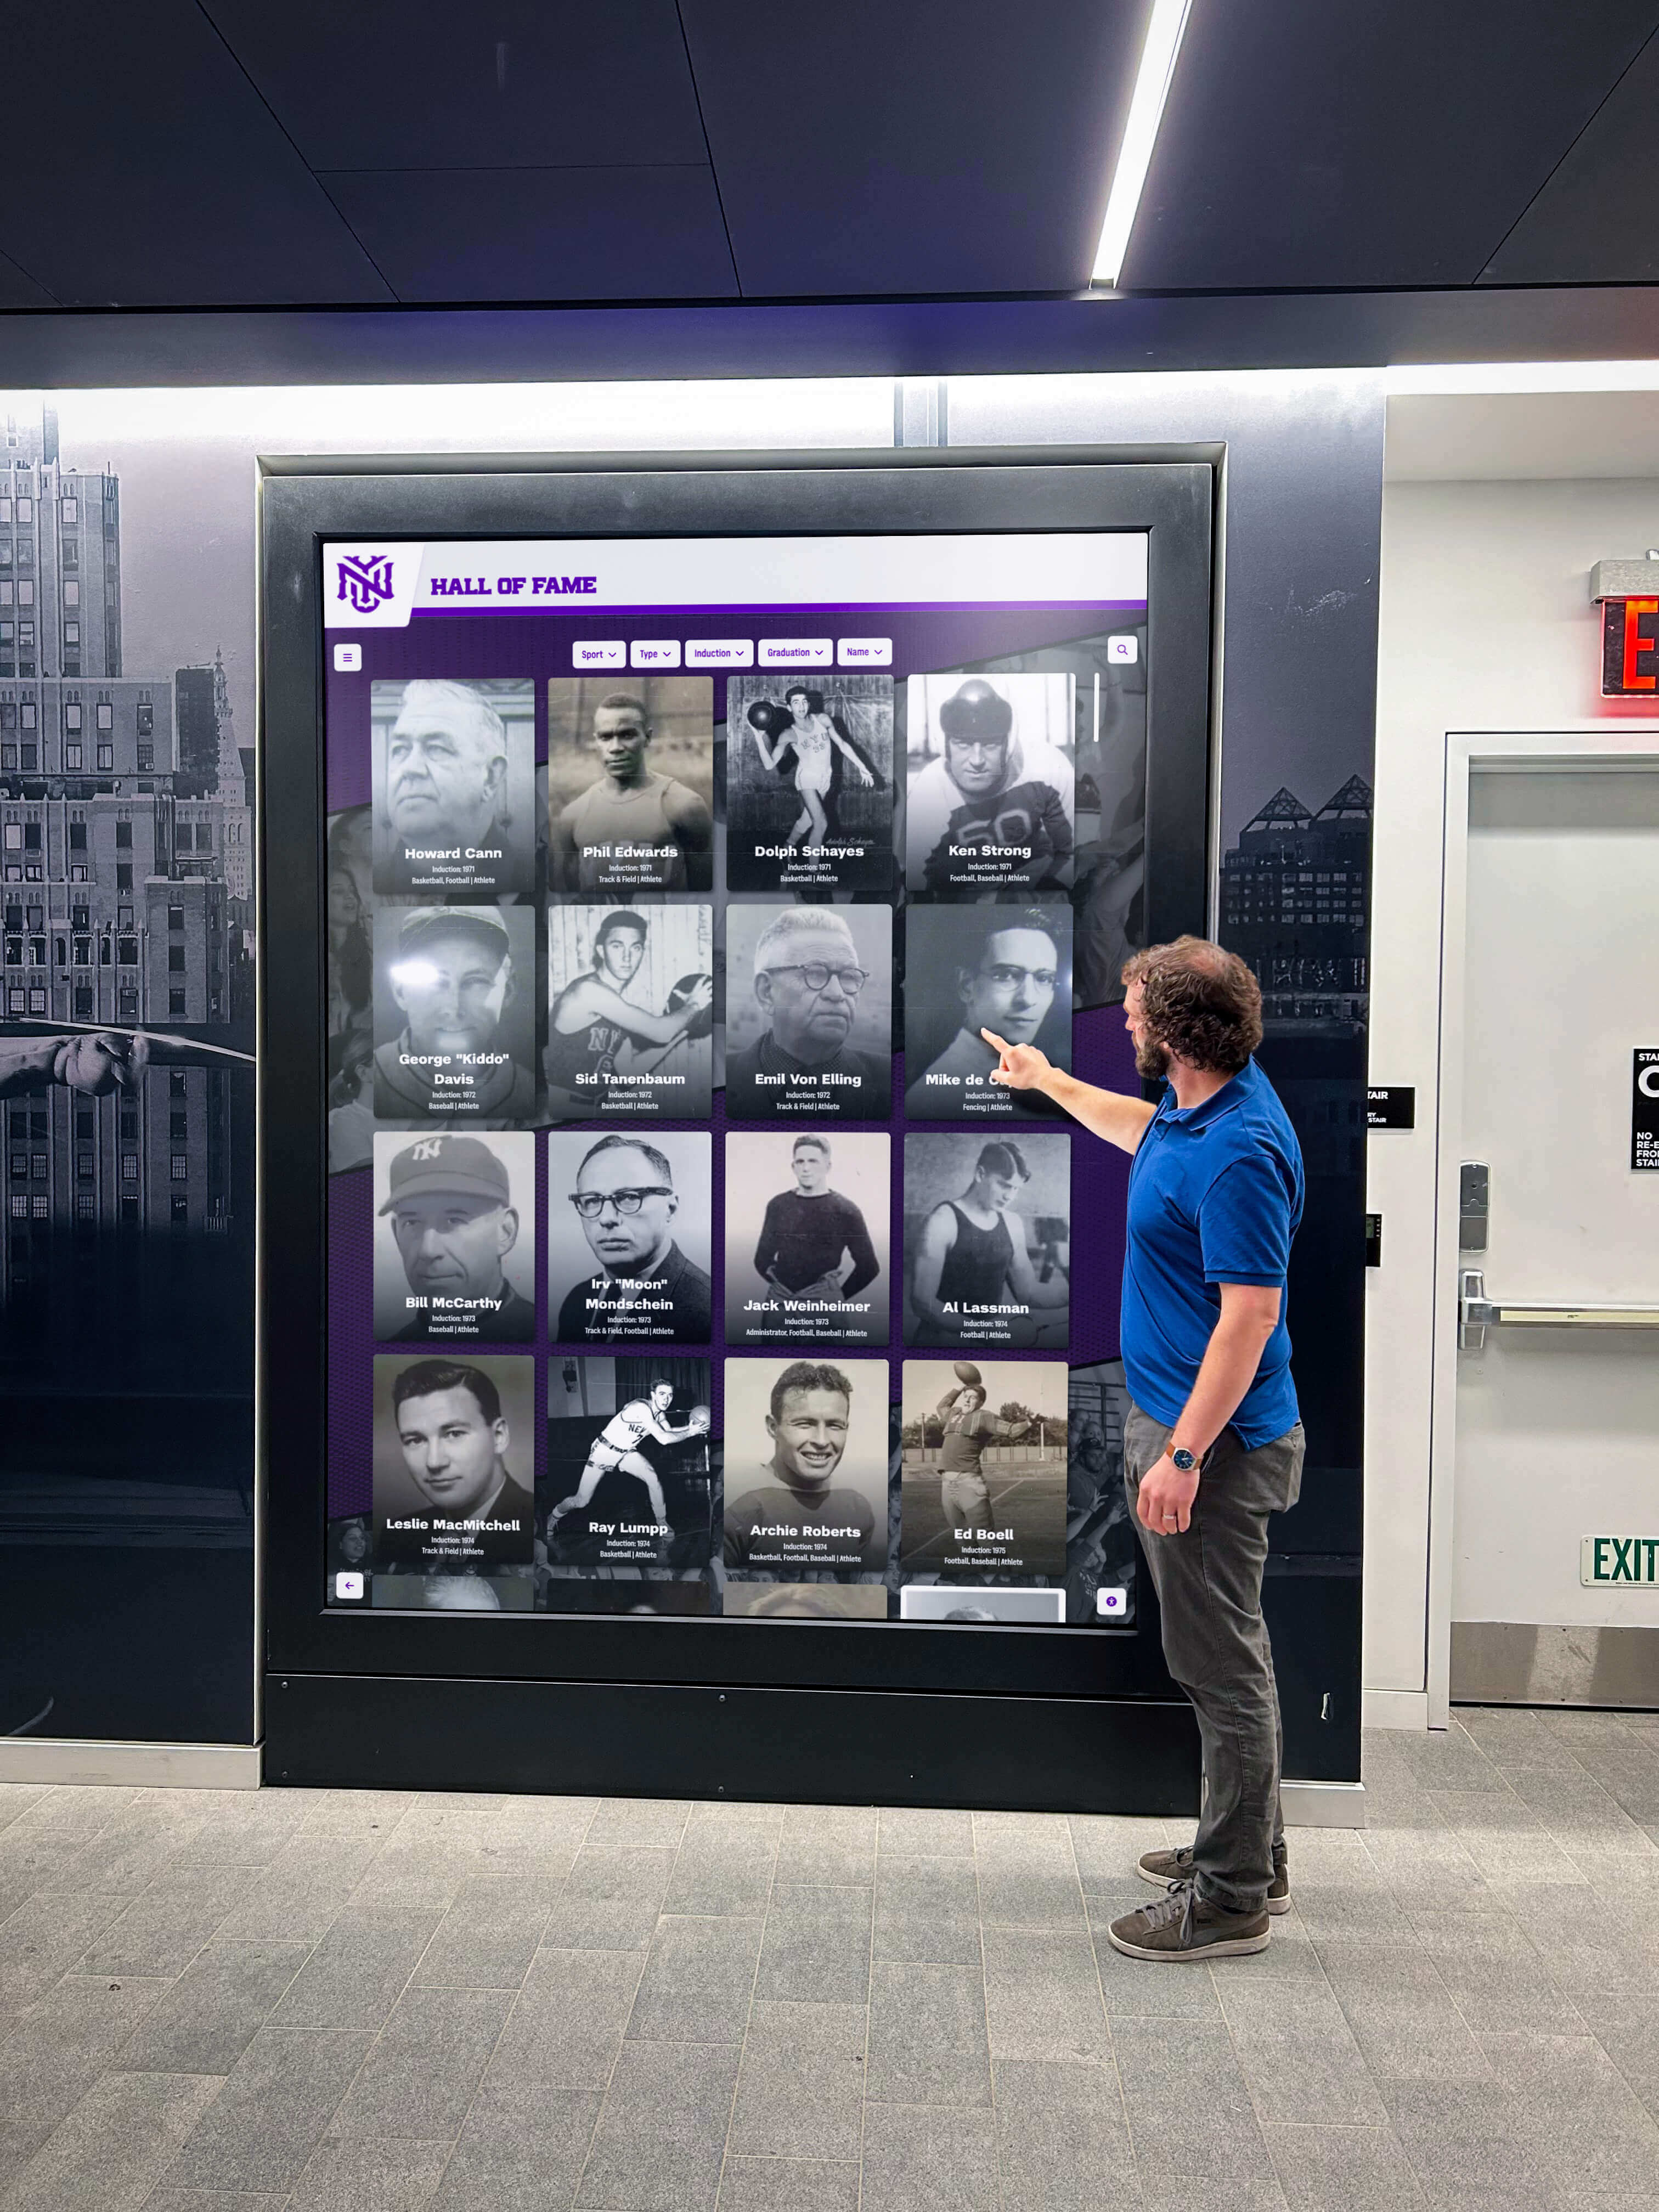
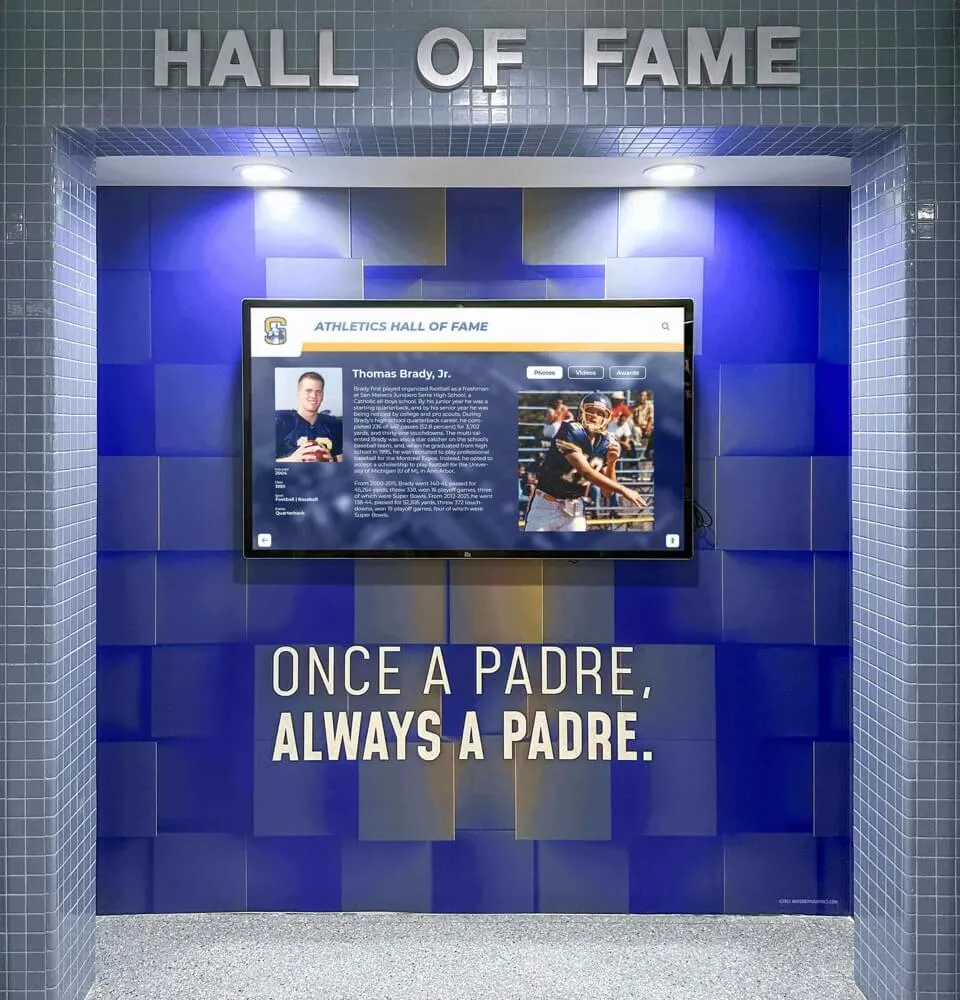
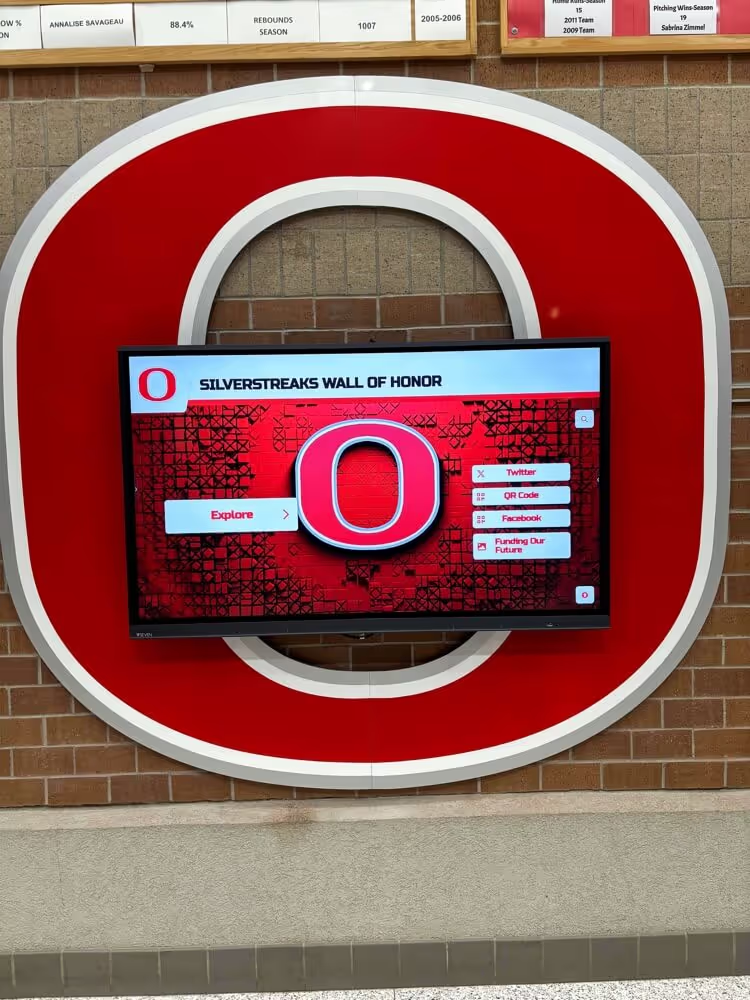
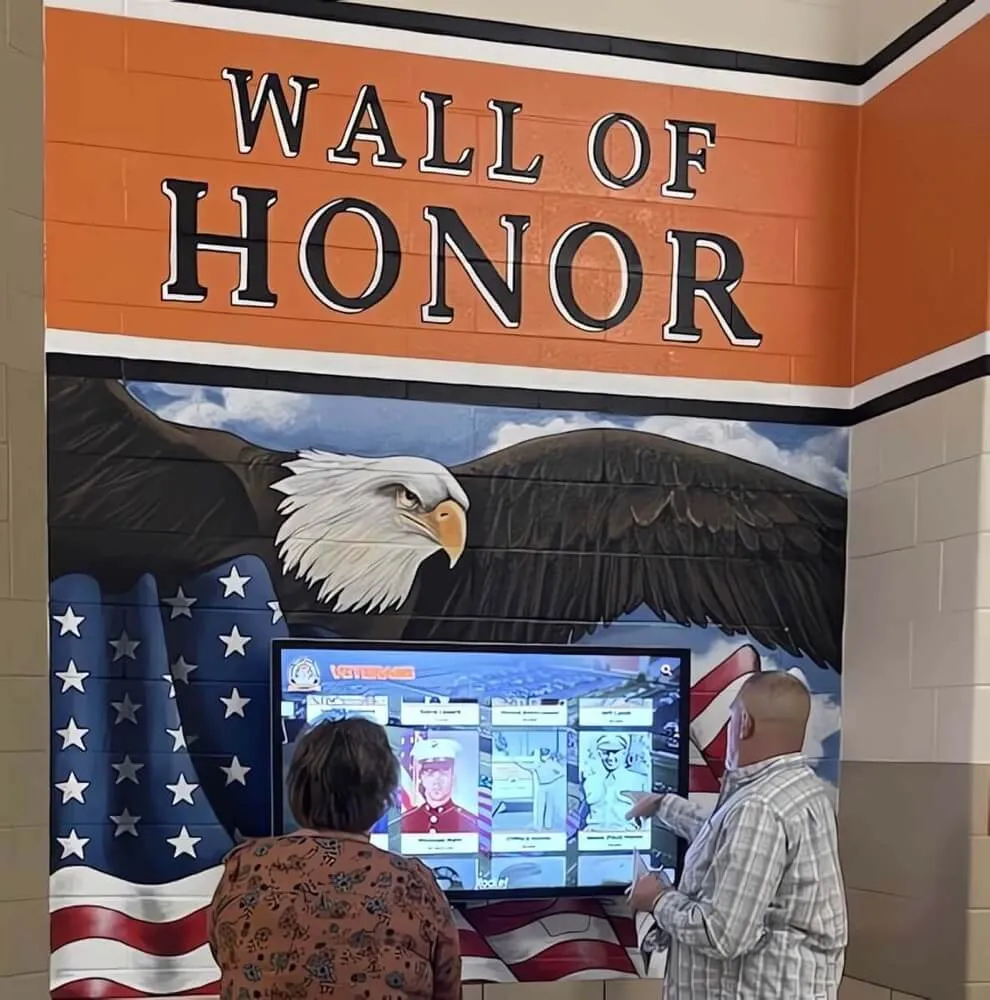
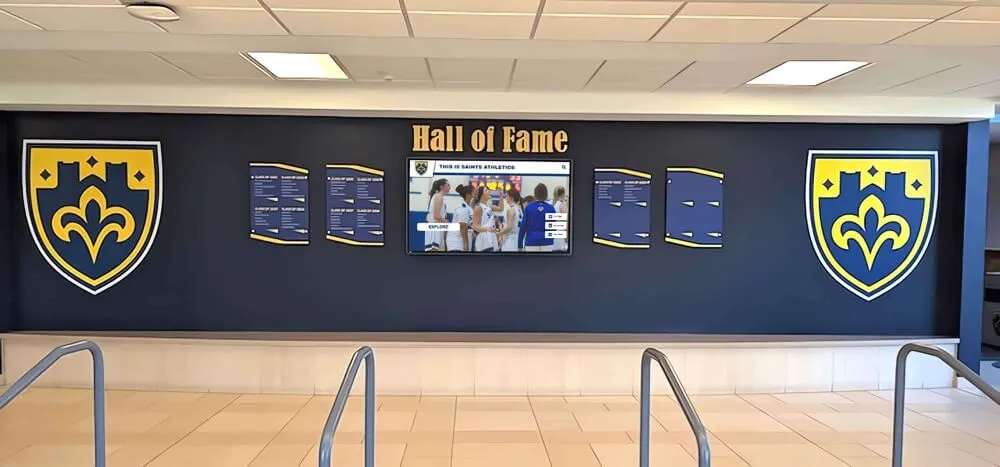
Visitors exploring an interactive recognition display engage most deeply with content that is technically clean — stabilized historic footage lets the viewer focus on the athlete and the moment rather than the film's mechanical instability
Gate-Weave Stabilization and the Larger Digitization Workflow
Gate-weave stabilization addresses one technical artifact. It works alongside other corrections that a complete digitization workflow includes:
Before stabilization (source-level corrections):
- Transfer quality assessment — confirm the digitization itself introduced no additional artifacts
- Aspect ratio verification — confirm the frame is correctly sized for the source film format (1.33:1 for 16mm standard, 1.37:1 for some formats)
- Telecine pulldown removal — if the film was transferred to tape before digitization, inverse telecine may be required to reconstruct correct frame cadence before stabilization is applied
During stabilization:
- Gate-weave detection and classification (this guide)
- Parameter selection based on severity and footage type
- Test pass review before full-length processing
After stabilization (output-level corrections):
- Color correction and exposure normalization if needed
- Audio noise reduction and channel mapping if applicable
- Export formatting for the target display system
The order matters. Applying gate-weave stabilization to footage that has not yet had telecine pulldown removed means the stabilizer is analyzing and correcting frames that include blended-field content—it may correct the weave partially but will produce slightly different results than processing in the correct order. Stabilize from a pulldown-corrected source when both issues are present.
Programs building digital archives that will serve as the foundation for ongoing recognition programs—including history and heritage touchscreen installations intended to last for years or decades—benefit from completing the full workflow stack rather than addressing individual artifacts in isolation.
Planning a Gate-Weave Stabilization Project
For schools with a significant backlog of digitized film content, approaching gate-weave stabilization as a project rather than an ad-hoc activity produces better results:
Inventory first. Before processing anything, catalog the available digitized footage by format (8mm, 16mm, Super 8), era, source condition, and recognition significance. This inventory becomes the project scope document and informs prioritization.
Triage by recognition significance. Hall-of-fame induction recordings, state and regional championship footage, and founding-decade team films take priority over regular-season content. The most historically significant recordings should receive the most careful attention, including a professional rescan if software stabilization is insufficient.
Batch by format and condition. Footage from the same era and the same camera often has consistent gate weave characteristics—similar shakiness values and smoothing settings work across the batch. Grouping similar footage reduces the number of calibration test passes required.
Document every decision. A stabilization project conducted today will be referenced by staff members who were not part of the project years from now. A log that records which files were processed, with which tool version, using which parameters, and by whom is a permanent part of the archive’s institutional record. For programs that manage recognition data for high school students earning awards across multiple generations, this documentation discipline extends to every aspect of the archive—not just video files.
Connecting Stabilized Footage to a Recognition Display
The practical value of gate-weave stabilization is not the corrected file sitting on a server—it is the experience a student athlete, an alumnus, or a community member has when they interact with that footage on a display. A steady, well-presented championship recording delivers recognition in a way that a trembling, uncorrected file does not, regardless of how significant the original content is.
Schools that have completed the digitization and correction workflow face a second set of decisions about how the content reaches an audience: which clips surface in a hall-of-fame interactive display, how they are paired with athlete profiles and team records, how they are organized for navigation by users who may not know exactly what they are looking for.
Interactive recognition platforms that integrate video archives alongside athlete profiles, year-by-year records boards, and searchable hall-of-fame inductee data give stabilized footage a context that amplifies its recognition value. A clip that simply plays in a loop is far less engaging than the same clip accessible within a display that connects it to a specific team’s history, a specific athlete’s profile, or a specific championship moment that current students can learn about. Programs that have invested in the technical work of digitization and stabilization benefit most from a display platform designed to surface that investment.
For programs building or expanding this kind of recognition infrastructure, the digital hall of fame accessibility and navigation standards provide useful guidance on ensuring that interactive displays built around historic content meet accessibility requirements—an important parallel requirement to the technical quality work this guide describes.
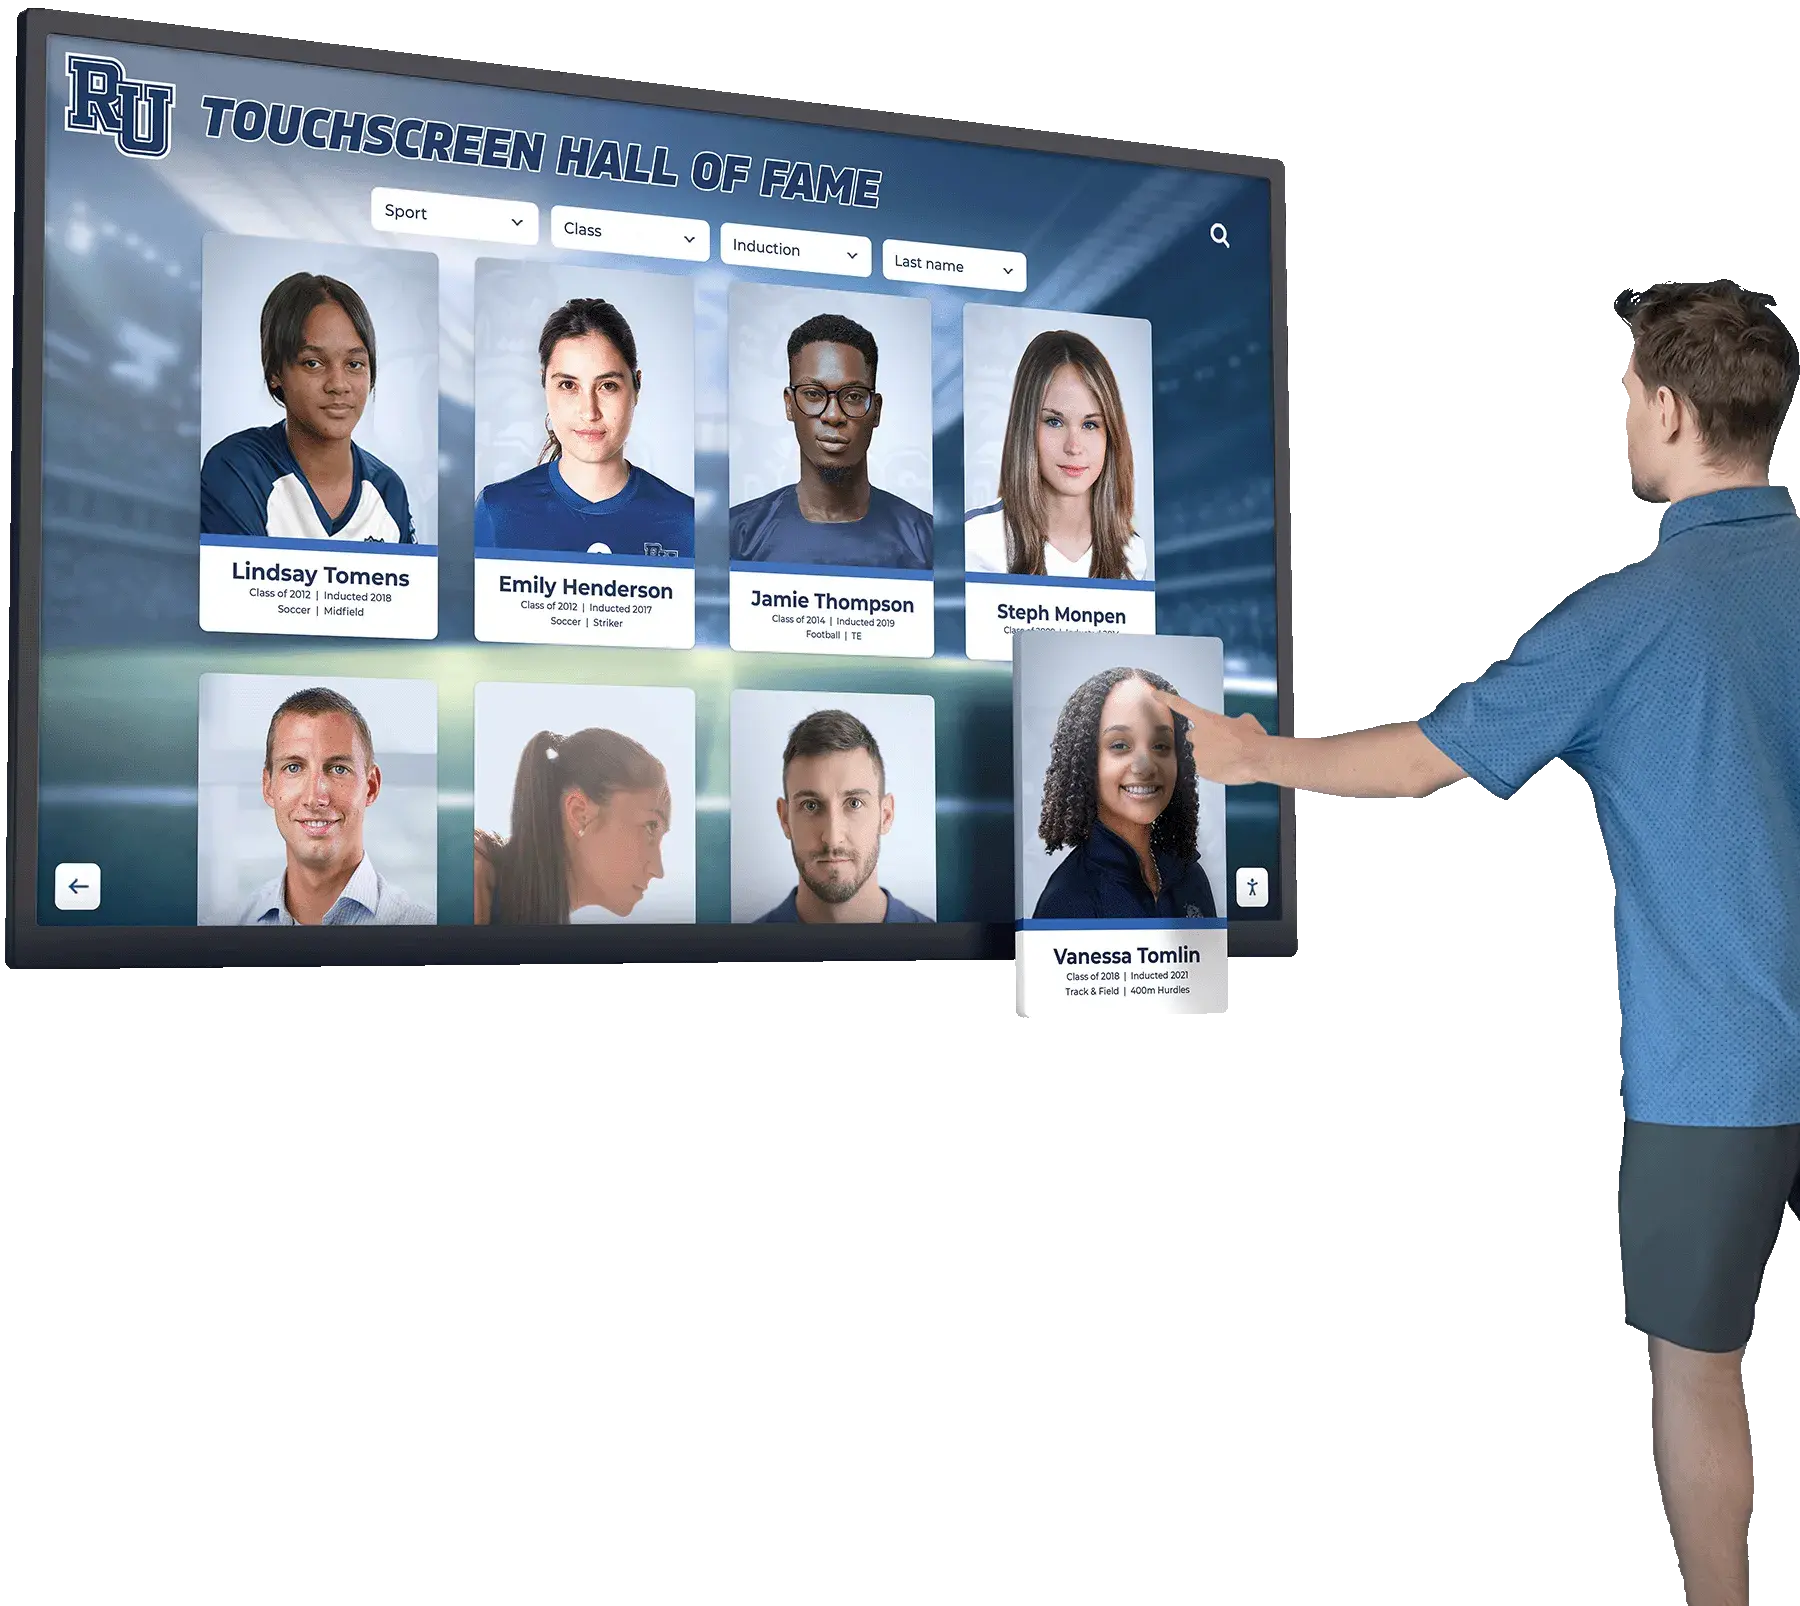
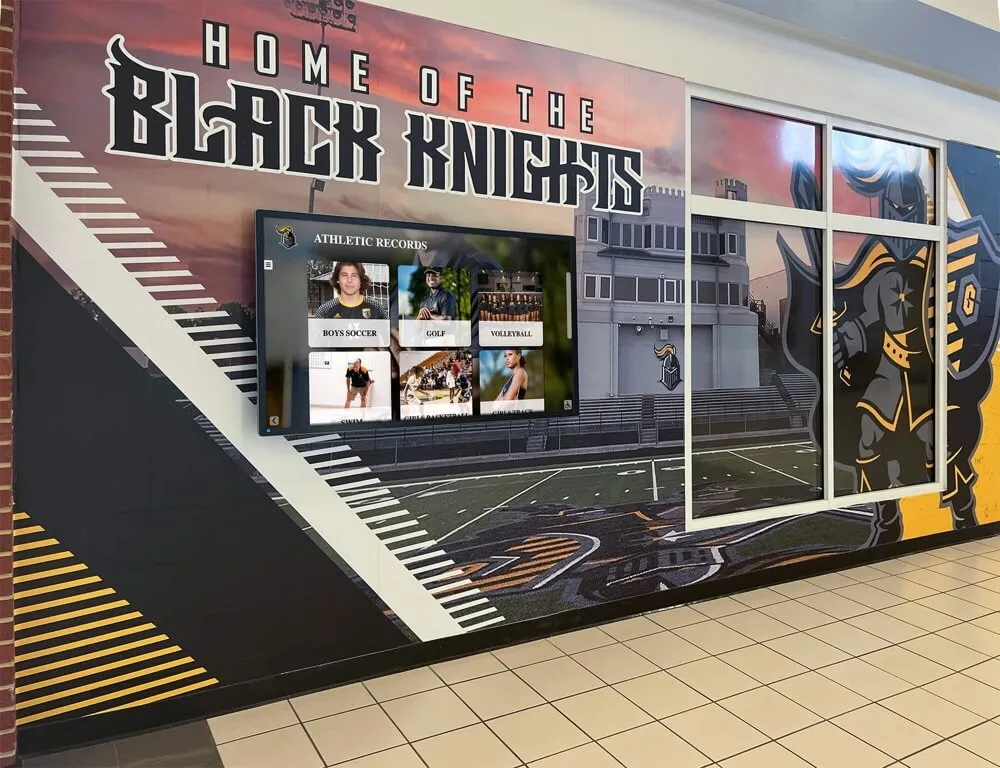
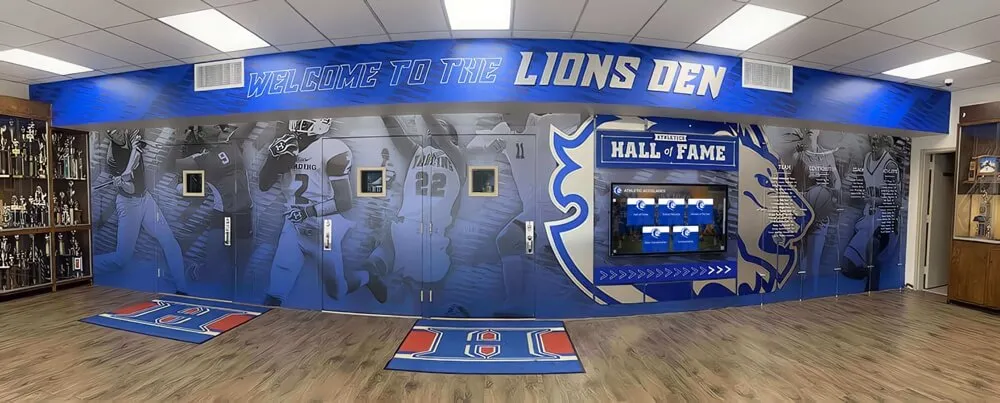
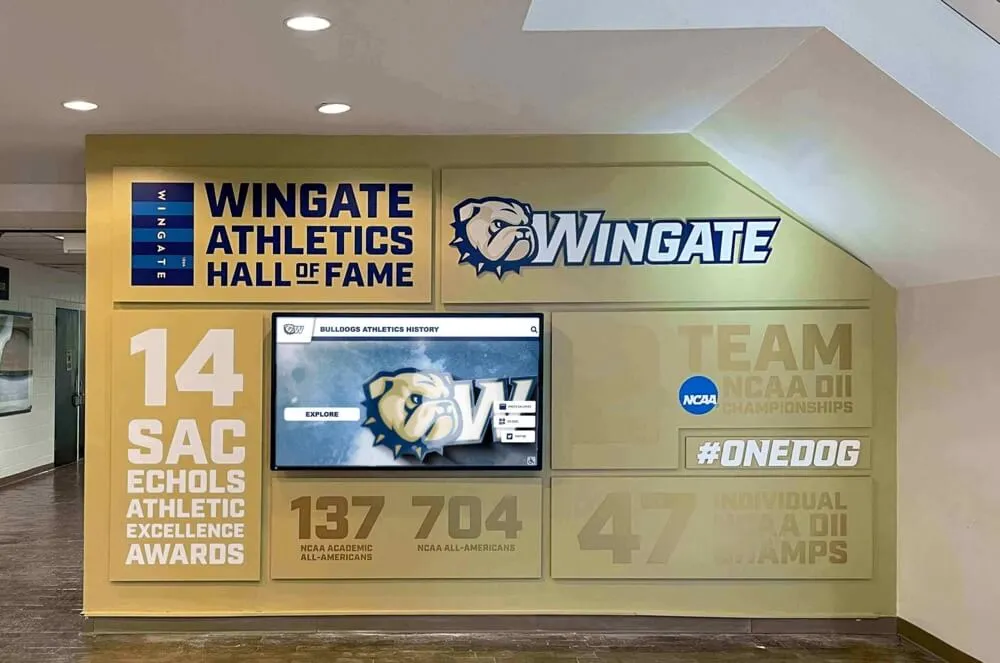
Stabilized historic footage reaches its full recognition potential when it is integrated into an interactive display that connects it to athlete profiles, team histories, and hall-of-fame records — the technical work and the display platform work together
Frequently Asked Questions
Q: Our digitized footage has gate weave and significant color fading. Should we correct the color or the weave first?
Correct gate weave first. Color correction workflows in DaVinci Resolve and similar tools work better on geometrically stable footage because the analysis algorithms used for color sampling and matching assume consistent frame positioning. If gate weave is corrected after color correction, any stabilization-induced crop will also trim the color-corrected borders. The standard order is: stabilization, then color correction, then audio work, then export.
Q: Is it safe to apply VidStab’s automatic zoom (optzoom=1) to historic footage?
Use it cautiously. optzoom=1 tells VidStab to enlarge the image so that the stabilization-induced crop borders are not visible in the output. This is acceptable for moderate gate weave where the zoom factor is small (less than 5 percent). For significant weave where the required zoom is larger, the enlargement softens fine detail—faces at the edge of a wide team shot become less distinct, and text on scoreboards may become harder to read. For archival footage, the better practice is to accept the border crop (optzoom=0) and document it, rather than introducing a zoom that degrades image quality.
Q: How do we handle footage where only part of the recording has gate weave — for example, a recording where the first reel is stable and the second reel weaves?
Process the two segments separately. Export each reel as an independent clip, apply stabilization only to the reel that needs it, then reassemble the timeline with the original stable segment and the corrected unstable segment. Applying stabilization to already-stable footage does not damage it, but it adds unnecessary processing time and a small quality generation loss. For mixed-condition footage, segment-by-segment treatment is the correct approach.
Q: Can gate weave be corrected after the video has already been uploaded to our display system?
Generally no—display systems compress and transcode uploaded video, and the transcoded version stored on the platform is what viewers see. Correcting gate weave in the source file and re-uploading the corrected version is the only option. This is the strongest argument for completing all technical corrections before the first upload to any display platform.
Q: Our display uses a focus-trap interface for accessibility. Does stabilization affect how the video interacts with the display’s navigation system?
Stabilization corrects the video file itself—it has no effect on how the display platform’s interface behaves around the video player. If your recognition display implements digital hall of fame focus-trap navigation, those interface behaviors are determined by the platform software, not by the video content. Stabilize the video file through your archive workflow, then upload the corrected file to the platform as you would any other video asset.
Q: Is gate weave likely to be present in footage that was digitized by a professional service?
It depends on the equipment and workflow the service used. Professional telecine and film scanner services vary considerably. A service that used a pin-registered scanner will produce output with no gate weave because the physical registration eliminates the mechanical drift. A service that used a non-pin-registered telecine or a flatbed scanner without registration pins may produce output with weave that reflects the condition of the original film’s sprocket holes and the scanner’s mechanical tolerances. Always review professional digitization output for gate weave before adding it to the display archive—do not assume professional processing means all mechanical artifacts were corrected.
Q: We have athletic director resources and budget for either a professional rescan or a commercial stabilization software license. Which is the better investment for a program with a large film archive?
For a large archive with mixed condition, the professional rescan investment applies only to the specific reels where it is needed—typically the highest-significance content where software correction is insufficient. A commercial stabilization license (DaVinci Resolve Studio or Adobe After Effects) applies across the entire archive with no per-reel cost. For most school programs, the practical answer is to use free tools (DaVinci Resolve free tier, FFmpeg VidStab) for the majority of the archive and reserve a professional rescan for the specific content that warrants it. The athletic director’s role in managing archive and recognition program budgets often means finding this kind of tiered approach where professional resources are applied at the highest-value decision points rather than uniformly across all content.
See Corrected Historic Footage on a Live Recognition Display
Rocket Alumni Solutions builds interactive hall-of-fame touchscreens, digital trophy cases, and lobby recognition displays that give schools a permanent, public home for stabilized historic game film, athlete profiles, team records, and induction ceremony archives. If your program is working through a film digitization project and wants to see how corrected footage integrates with an interactive recognition platform — alongside searchable inductee profiles, year-by-year records, and photo archives — schedule a demo and walk through the workflow from archive to display.
Book a Live Demo