



That cardboard box in the equipment room often holds the entire visual history of a school’s athletic program—championship team photos from 1978, senior portrait cards from the mid-eighties, action shots from long-ago state tournaments, individual headshots clipped from yearbooks that no longer exist anywhere else. When those images finally get scanned for a digital recognition display, most arrive as high-resolution records of every scratch the original print ever collected: dust flecks, emulsion cracks, fading edges, and the kind of brown haze that settles on acetate after forty years in a file cabinet.
A hurried cleanup can do more damage than the original surface blemishes. Aggressive digital restoration erases the character of old imagery and, if you’re not careful, permanently overwrites the best surviving record of what those photos actually look like—leaving your school with derivatives that have been edited into unreality and no way back to the original. A structured athletic archive dust and scratch removal workflow solves this problem by keeping archival masters untouched while creating clean, display-ready derivatives through reversible, documented edits.
This guide walks athletic directors, school administrators, facilities teams, and booster-club volunteers through a preservation-first decision tree, phase-by-phase cleanup steps, and a QA checklist designed specifically for scanned sports photos headed to public recognition screens.
Note: This guide describes practical school workflows for digitizing athletic photos. Questions about professional-grade archival standards or legal obligations around institutional records should be directed to a qualified preservation professional or your district’s records officer.
Scanned athletic photos represent irreplaceable institutional memory. A structured workflow doesn’t just produce cleaner images—it protects the originals, documents every edit decision, and gives future administrators a clear audit trail showing exactly what changed and why.

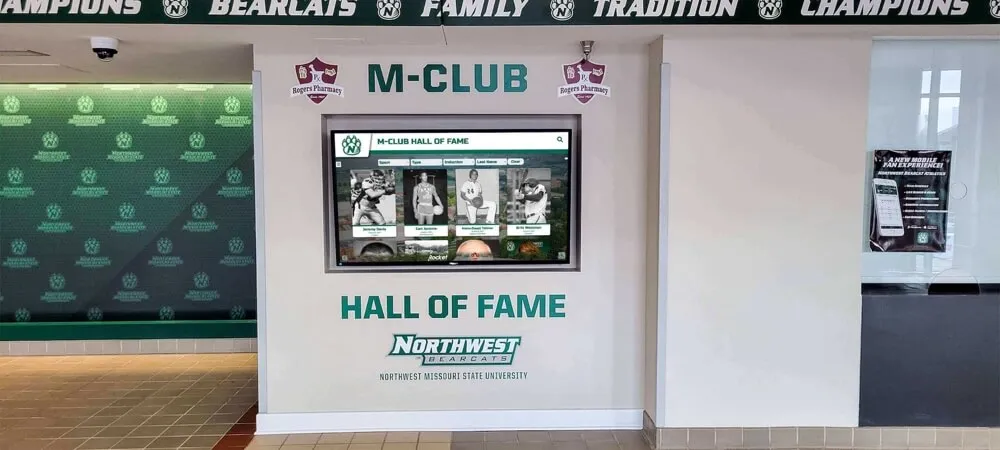
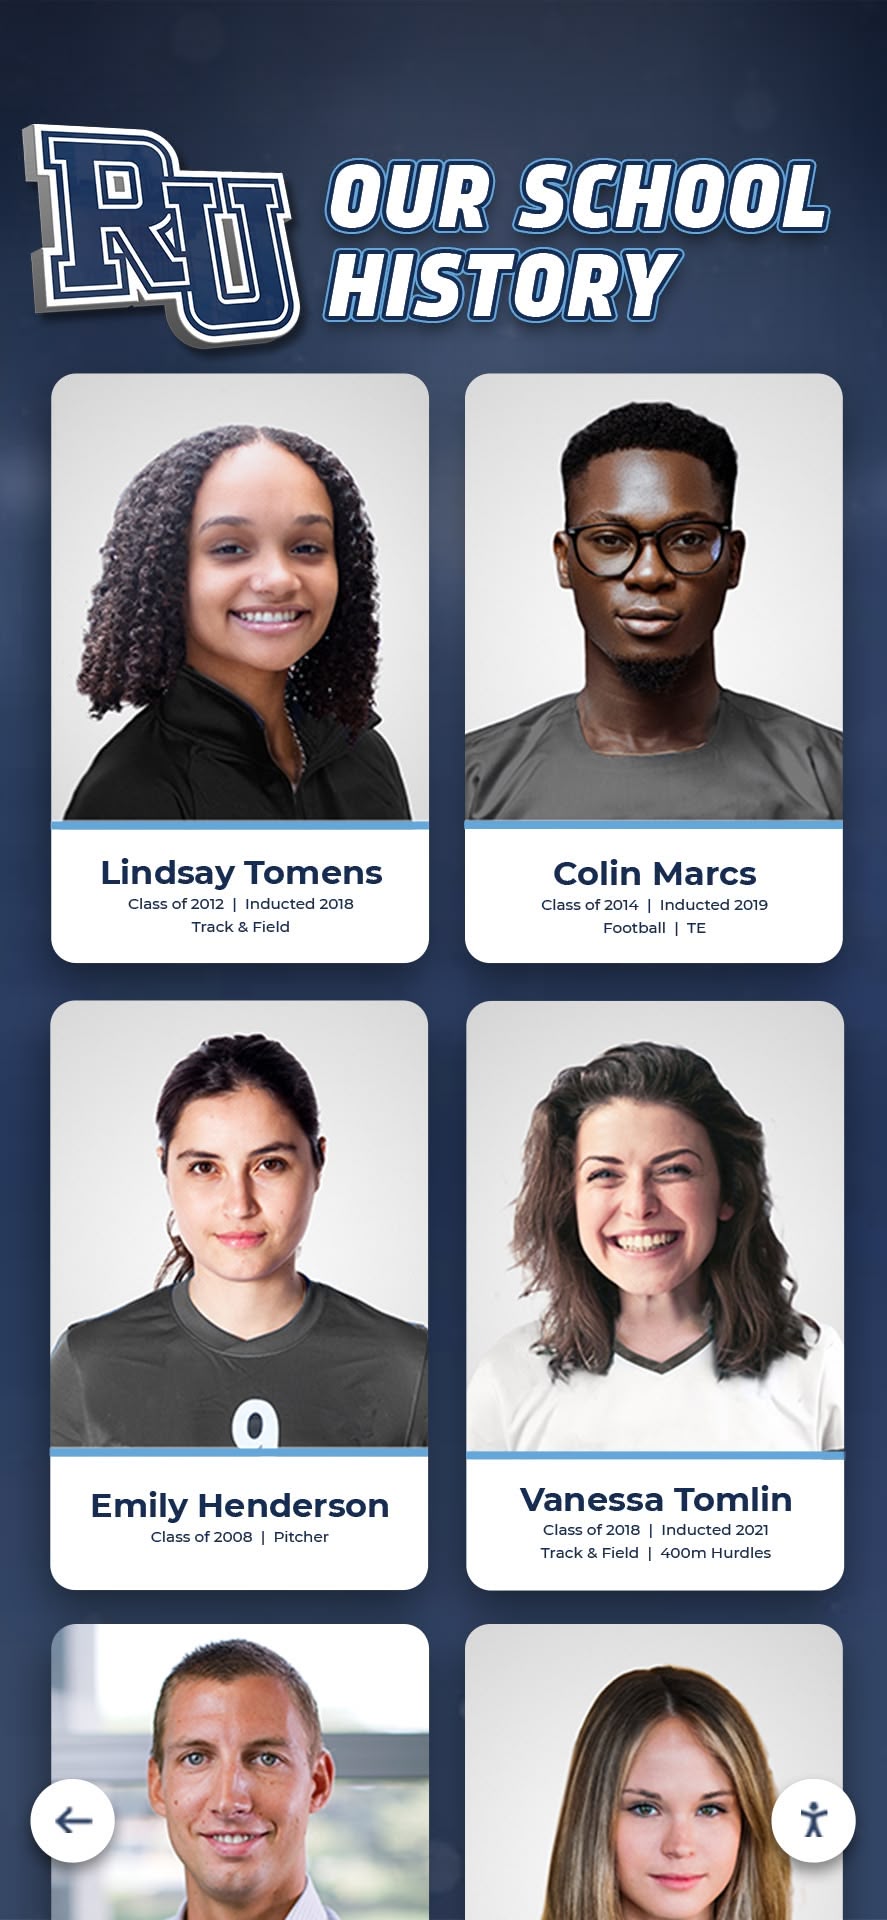
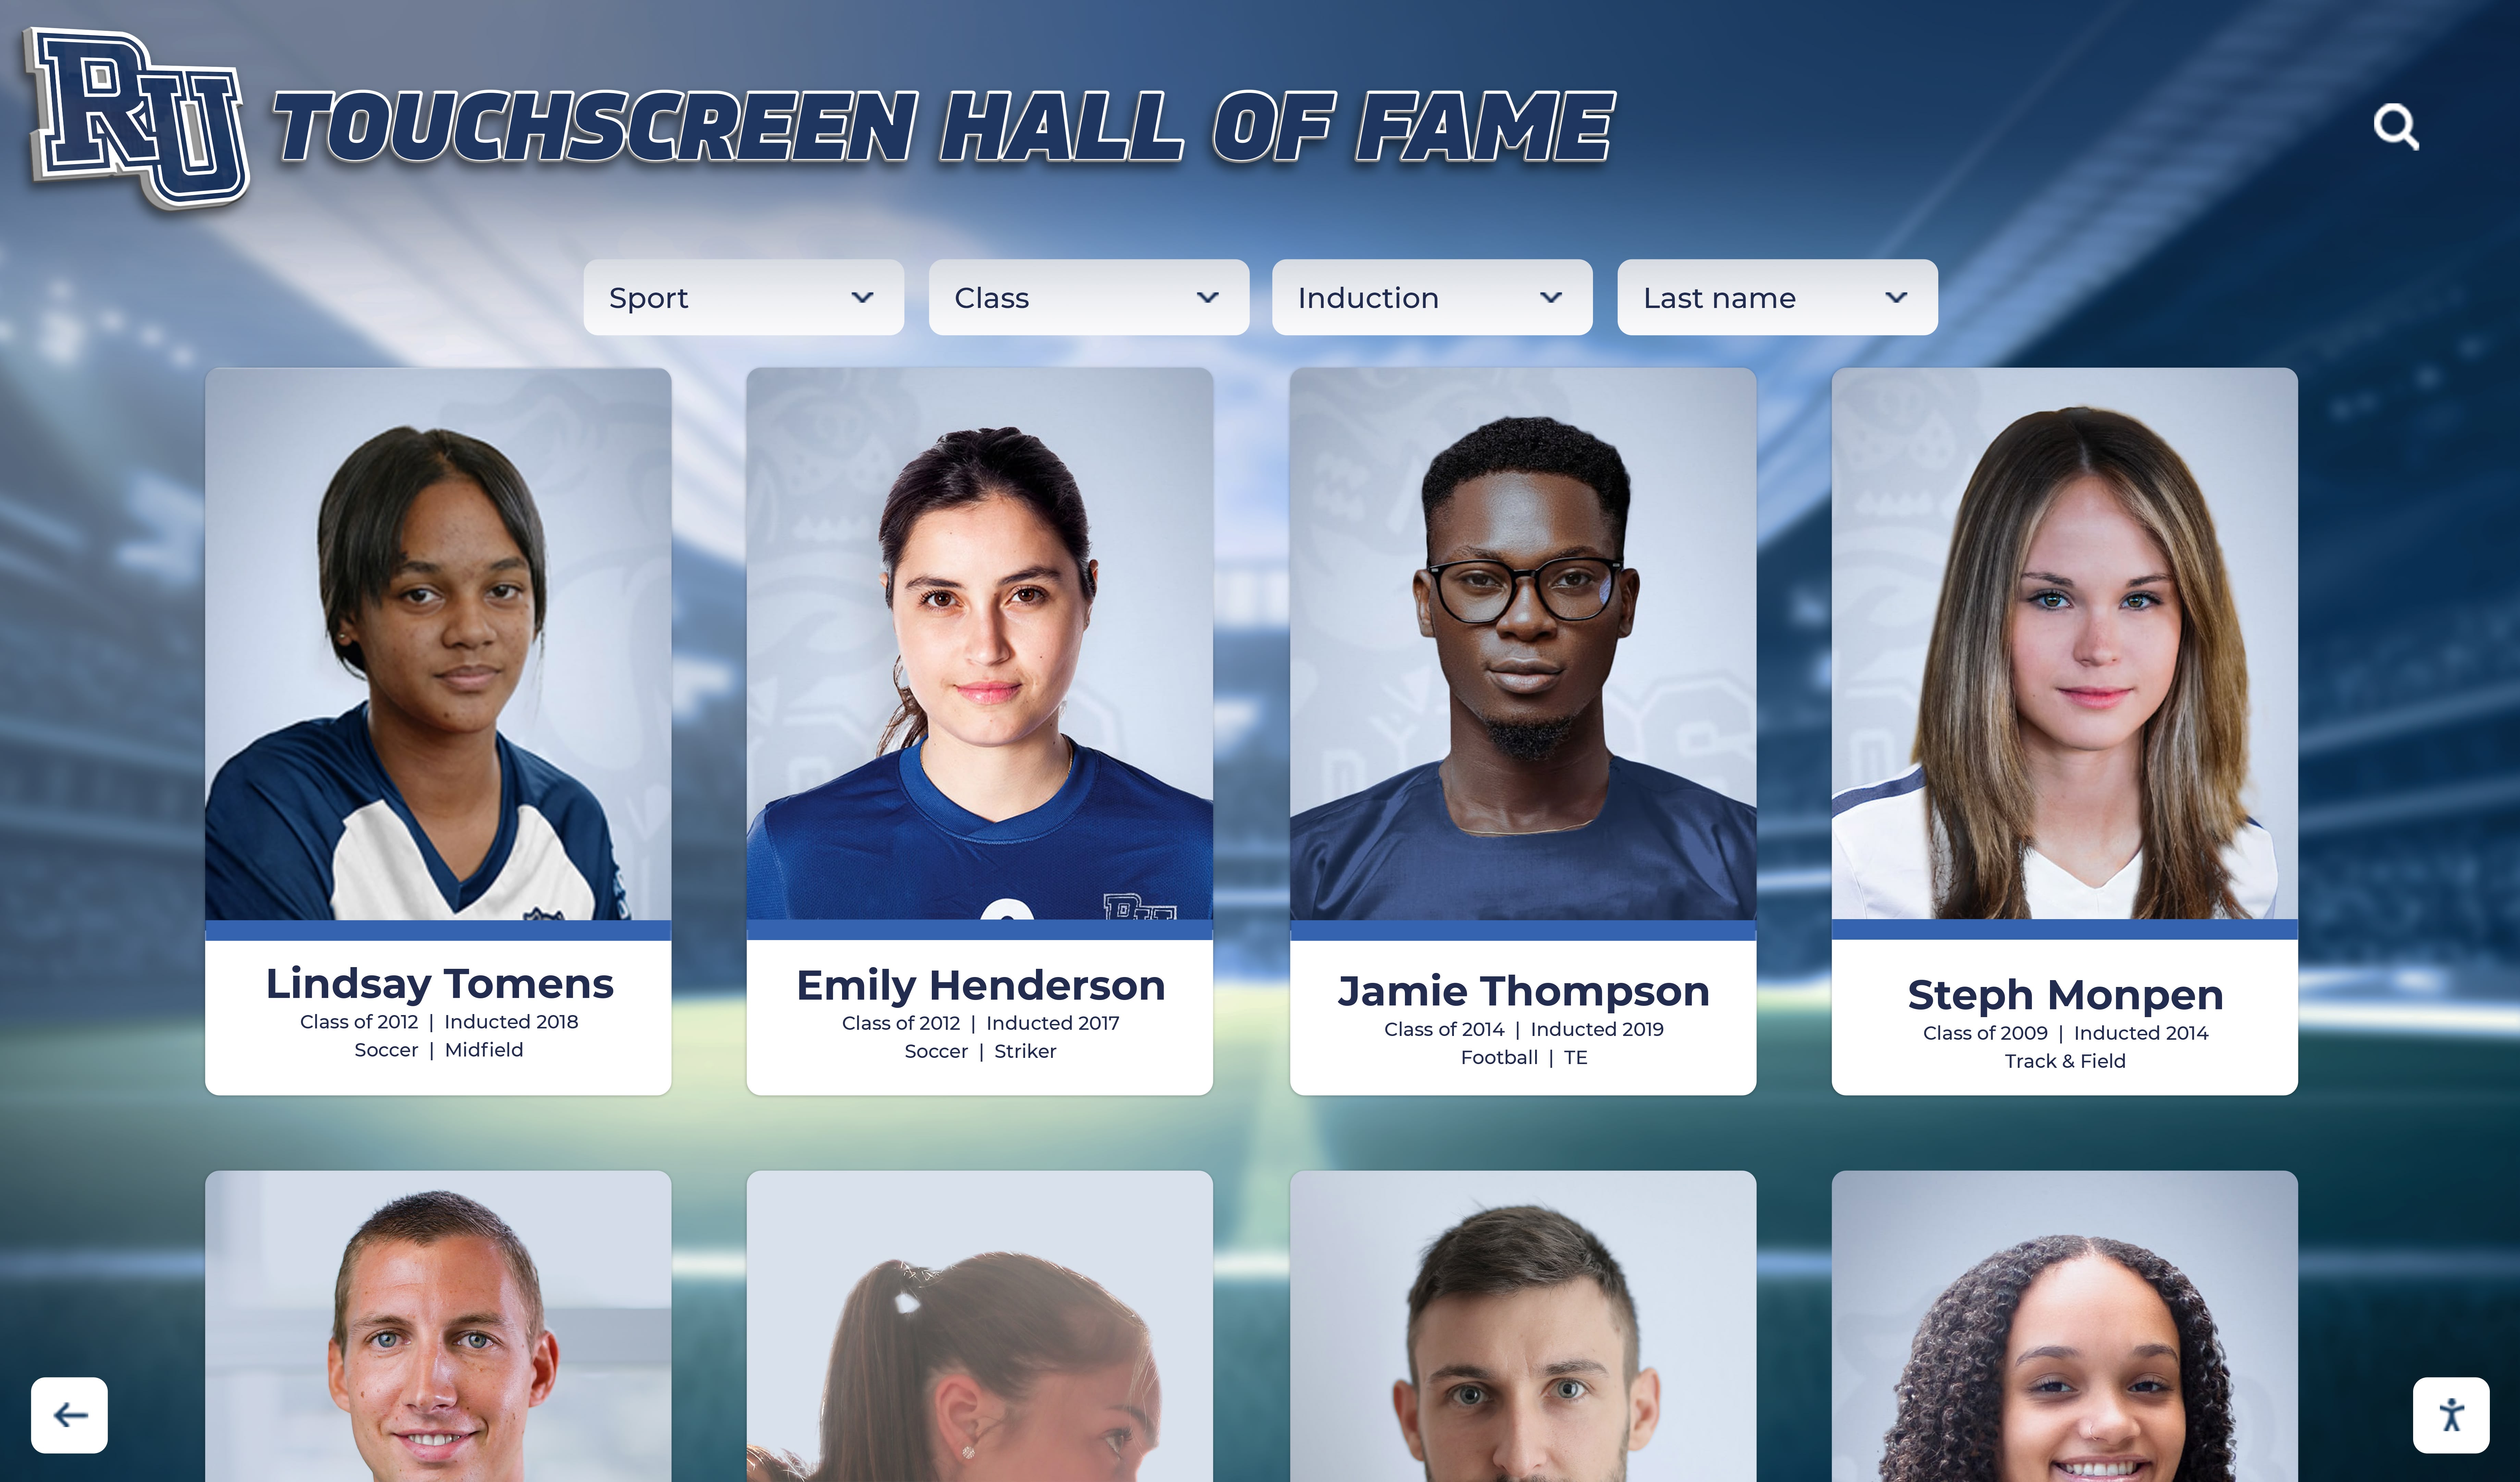
Historical athlete portrait cards like these are often the only surviving visual records of early programs—a dust and scratch removal workflow protects them while preparing them for public display
Why Athletic Photo Archives Need a Structured Cleanup Workflow
Most schools approach scanned photo cleanup informally: someone opens a file in photo-editing software, applies a few filters, saves the result, and moves on. That approach works for casual use but creates three serious problems for schools building permanent recognition displays.
Problem 1: Destructive saves overwrite the archive. When a staff member saves an edited file over the original scan filename, the school loses its best surviving digital record. Any future technology—better AI restoration tools, improved display resolution—can no longer work from a clean source.
Problem 2: Inconsistent editing produces visually mismatched galleries. When ten different volunteers clean photos using ten different tools and judgment calls, the resulting display looks patchy: some faces are slightly over-sharpened, others retain heavy grain, and color temperature varies across images that should look unified.
Problem 3: Over-restoration replaces authentic detail with invented pixels. Aggressive dust-removal algorithms and AI upscaling don’t recover missing information—they generate plausible-looking substitutes. For a display honoring real athletes, invented facial details are less accurate than honest grain and scratches.
A formal athletic archive dust and scratch removal workflow solves all three problems by separating the archival master from the display derivative and documenting every step in between.
Preservation-First Principles
Before touching any scanned file, establish these non-negotiable ground rules with everyone who will work on the project.
The Archival Master Is Sacred
The highest-resolution scan you produce of each original print is the archival master. It lives in a dedicated folder that nobody edits—ever. All cleanup work happens on copies. If the display derivative later looks wrong, you can always return to the master and start over. If the master gets overwritten, that option disappears.
Archival masters should be:
- Stored in a lossless format (TIFF or uncompressed PNG preferred; avoid saving masters as JPEG, which recompresses on every save)
- Named with a consistent, descriptive convention that includes the sport, year, and subject (e.g.,
1983_football_varsity_team_master.tif) - Backed up in at least two physically separate locations before any derivative editing begins
- Never opened in an editing application without first duplicating the file
Display Derivatives Are Separate Files
Every photo that appears on a recognition screen is a derivative—a copy of the master that has been cropped, cleaned, resized, and color-corrected for display. Derivatives can be JPEG or PNG depending on your display system’s requirements. Keep derivatives in a separate folder with a parallel naming convention (e.g., 1983_football_varsity_team_display.jpg).
Document Every Edit Decision
Maintain a simple log—a shared spreadsheet works fine—recording the filename, date edited, editor name, tools used, and a brief note on what was changed. This log protects the school if questions ever arise about whether an image was altered and how.
Display-ready derivatives, cleaned and formatted for recognition screens, should always trace back to an untouched archival master stored separately
Decision Tree: Should I Edit This Image?
Before opening any scanned file in an editing application, walk through this decision tree. It prevents both under-editing (leaving distracting damage on public-facing photos) and over-editing (removing authentic detail that belongs in the historical record).
Decision Branch 1: Is This Damage or Is This Authentic Aging?
Ask: Would a viewer of the original print in good condition have seen this element?
If yes → Authentic aging. Consider leaving it.
Fading edges, slight yellowing, soft focus from period camera technology, and visible film grain are characteristics of the original photograph. They provide honest context about when the image was made. A 1965 team photo should look like it came from 1965.
If no → It is damage. Consider removing it.
Dust specks, hair, surface scratches, tape residue, water stains, and mold spots were never part of the intended image. They arrived after the photo was printed. Removing them restores the image closer to what it looked like when new.
Decision Branch 2: Can the Edit Be Reversed?
Ask: If I apply this correction and then regret it, can I undo it without touching the master?
If yes → Proceed.
Working from a copy of the master with non-destructive editing layers (or simply re-copying the master if something goes wrong) keeps all edits reversible.
If no → Stop and restructure your workflow.
A workflow where reversal requires going back to the master is correct. A workflow where reversal is impossible—because the master was edited—is broken. Fix the file management before continuing.
Decision Branch 3: Is This the Right Level of Cleanup for This Image’s Purpose?
| Intended Use | Appropriate Cleanup Level |
|---|---|
| Archival master | None — scan only |
| Historical reference copy (internal) | Dust and scratch removal only; no sharpening or color alteration |
| Public recognition display | Dust and scratch removal plus display optimization (crop, resize, brightness) |
| Print reproduction for new banners | Professional-grade restoration with documented AI assistance |
If unsure which category applies, default to the more conservative option. You can always create a more processed derivative later. You cannot un-process an over-edited file if the master is gone.
Phase 1: Triage and Assessment
Start every digitization project with a formal triage pass before editing a single pixel.
Inventory Your Originals
Photograph or scan each physical print at low resolution before any high-resolution scanning begins. This creates a reference record of the physical condition of every item at the time it entered the workflow—useful documentation if questions arise later about existing damage.
For each item, note:
- Physical dimensions (affects optimal scanning resolution)
- Condition rating (good / minor surface damage / significant damage)
- Primary damage type (dust, scratches, fading, water damage, mold, tape residue)
- Subject identification (sport, approximate year, names if known)
- Estimated editing complexity (quick cleanup / moderate restoration / complex restoration)
Group photos by complexity before scanning. Simple items—lightly dusty prints in otherwise excellent condition—can move quickly through the workflow. Complex items with heavy scratches, torn edges, or significant fading should be flagged for more careful attention or, in severe cases, referral to a professional conservator.
Scanning Standards for Athletic Archive Photos
Scan resolution determines how much editing headroom you have. Under-scanning forces artificial upscaling; over-scanning produces unmanageable file sizes without proportional quality gains.
Recommended minimum scanning resolutions:
- Standard portrait-size prints (4×6 to 8×10): 600 DPI
- Wallet-size prints or card stock portraits: 1200 DPI
- Large team photos (11×14 or larger): 400 DPI
- Slides or negatives: 2400–4000 DPI
Scan in the highest bit depth your scanner supports—16-bit capture preserves more tonal information for editing even if the final display derivative will be 8-bit. Use a flatbed scanner with a clean glass bed; clean the glass before every scanning session to avoid adding new dust artifacts to your digital files.
Save all scans immediately to the archival master folder using your established naming convention before proceeding to any editing.

Clean, well-processed archival photos make recognition displays significantly more compelling—but the cleanup process must protect the original record first
Phase 2: Archival Master Preservation
With originals scanned and masters safely stored, Phase 2 creates your working copies and establishes the editing environment.
Setting Up Your Working Environment
Create a folder structure that enforces the master-vs-derivative separation at the file system level:
Athletic_Photo_Archive/
├── 00_Masters/           ← Archival masters only — no editing
│   ├── Football/
│   ├── Basketball/
│   └── ...
├── 01_Working_Copies/    ← Copies for editing
├── 02_Display_Ready/     ← Completed derivatives for upload
└── 03_Edit_Log.xlsx      ← Documentation spreadsheet
Before opening any file for editing, copy the master into the Working Copies folder. Rename the working copy to include an editor suffix (e.g., 1983_football_varsity_team_wc.tif) so it is visually distinct from the master. This two-second step prevents the most common and most catastrophic mistake in archival workflows.
Evaluating the Working Copy Before Editing
Open the working copy and zoom to 100% before touching any tool. A full-resolution view reveals:
- True dust specks: small, high-contrast dots with no underlying image detail
- Hair and fiber: curved or irregular linear artifacts, usually dark
- Emulsion scratches: thin linear marks that cut through image detail
- Surface scratches on the print: often appear as lighter, reflective marks
- Water damage: irregular blotchy areas with staining or tide marks
- Mold spots: typically round, with feathered edges
Document your findings in the edit log before beginning. This pre-edit note establishes a baseline and will make your post-edit documentation faster and more accurate.
Phase 3: The Dust and Scratch Removal Process
The core of the athletic archive dust and scratch removal workflow happens here. The techniques below progress from least-invasive to most-invasive—always exhaust less aggressive options before escalating.
Step 1: Automated Dust Reduction (Least Invasive)
Most scanning software includes a hardware-based dust reduction feature—commonly called Digital ICE, FARE, or a similar brand name. If your scanner supports it, enable it during the initial scan rather than trying to correct dust in software afterward. Hardware dust reduction works by using an infrared channel to detect surface particles that are invisible to the visible-light scan, then masking them automatically.
Important caveat: Hardware dust reduction does not work on black-and-white silver-based prints—the silver emulsion appears as damage to the infrared sensor. Use it only for color prints. For black-and-white photos, rely on software techniques described below.
Step 2: Manual Spot Healing (Targeted, Low Risk)
For isolated dust specks and small debris artifacts, a spot healing brush or clone stamp tool applied manually produces clean results with minimal risk to surrounding image detail.
Best practices for manual spot healing:
- Work at 100–150% zoom so you can see exactly what you’re editing
- Use a small, soft-edged brush set to just slightly larger than the artifact
- Sample from an area of similar tone and texture directly adjacent to the damage
- Work in short strokes rather than large sweeps
- Zoom out to 50% periodically to check that corrections look natural at normal viewing distance
- Avoid healing over areas with fine detail like faces, lettering, or jersey numbers—the risk of losing authentic detail is highest in these areas
Tackle dust specks and isolated hair artifacts in this step. Leave scratches and broader damage for subsequent steps.
Step 3: Scratch Removal (Moderate Risk — Proceed Carefully)
Scratches require more judgment than dust specks because they often cross important image areas. For each scratch:
Evaluate first: Does the scratch cross a face, number, or other identifying detail? If yes, manual correction with a very fine clone stamp at high zoom is safer than any automated tool.
For background scratches: The healing brush typically works well when the scratch crosses neutral backgrounds like gymnasium floors, grass, or sky.
For emulsion cracks: A pattern of fine cracks across a large area is best addressed with a dedicated scratch-removal filter set to a conservative strength (30–50%) rather than manual healing of each crack individually.
Document every scratch removal decision in your edit log, noting whether you used automated tools, manual healing, or a combination. This documentation becomes valuable if someone later questions whether a specific image detail is authentic or introduced.

Every photo that reaches a public recognition touchscreen should have passed through documented triage, cleanup, and QA steps—protecting both the athlete's image and the school's historical record
Step 4: Display Optimization (Separate from Restoration)
Display optimization is distinct from damage removal. It adjusts the image for the specific characteristics of your recognition screen—not to make the photo look “better” in an abstract sense, but to ensure it reads clearly at display resolution and brightness.
Typical display optimization adjustments:
- Brightness and contrast: Many older photos scan slightly darker than they will appear on screen; a modest brightness lift (+5 to +15 points) is often appropriate
- Color temperature: Yellowed prints may benefit from a gentle cool shift to restore approximate original color balance; document the amount of correction applied
- Sharpening: Apply output sharpening calibrated to your display’s pixel density after final resize—never sharpen the master or the full-resolution working copy
- Cropping and resize: Crop to your display system’s required aspect ratio and resize to the target pixel dimensions; save as a new derivative file, never overwriting the working copy
Keep display optimization adjustments modest. The goal is a photo that reads clearly and represents the athlete with dignity—not a photo that has been so heavily processed it no longer looks like it came from the era it represents.
QA Checklist Before Upload
Before any photo moves from the Working Copies folder to the Display Ready folder, walk through this checklist:
Archival Integrity Checks
- Archival master is stored in the
00_Mastersfolder and has not been modified (verify by checking file modification date matches original scan date) - Working copy filename is distinct from the master filename
- Edit log entry is complete: filename, date, editor, tools used, changes made
- Display derivative is saved as a separate file in
02_Display_Ready
Image Quality Checks
- No visible dust specks or debris artifacts at 100% zoom
- No visible hair or fiber artifacts at 100% zoom
- Scratches have been addressed; remaining marks are intentionally retained authentic aging, not overlooked damage
- No healing artifacts—areas where repair is visible as smearing, blurring, or repeated texture patterns
- Face(s) in the image are clear and legible
- Jersey numbers or name lettering (if present) are intact and accurate
- No detail has been accidentally removed or altered in the repair process
Display Readiness Checks
- Image dimensions match your display system’s required pixel dimensions
- File format matches your display system’s requirements (JPEG, PNG, etc.)
- File size is within any upload limits set by your recognition platform
- Image is correctly oriented (not rotated 90° from how it should display)
- Color profile is correct (sRGB for web and display use)
- Caption information (athlete name, sport, year) has been entered in the display platform’s metadata fields
Content Accuracy Checks
- Subject has been correctly identified—confirm name spelling against yearbook, roster, or other primary source
- Year attribution has been verified; an approximate date (“circa 1975–1978”) is better than a confidently wrong specific year
- No personal information beyond what the school intends to publish publicly has been included in file metadata
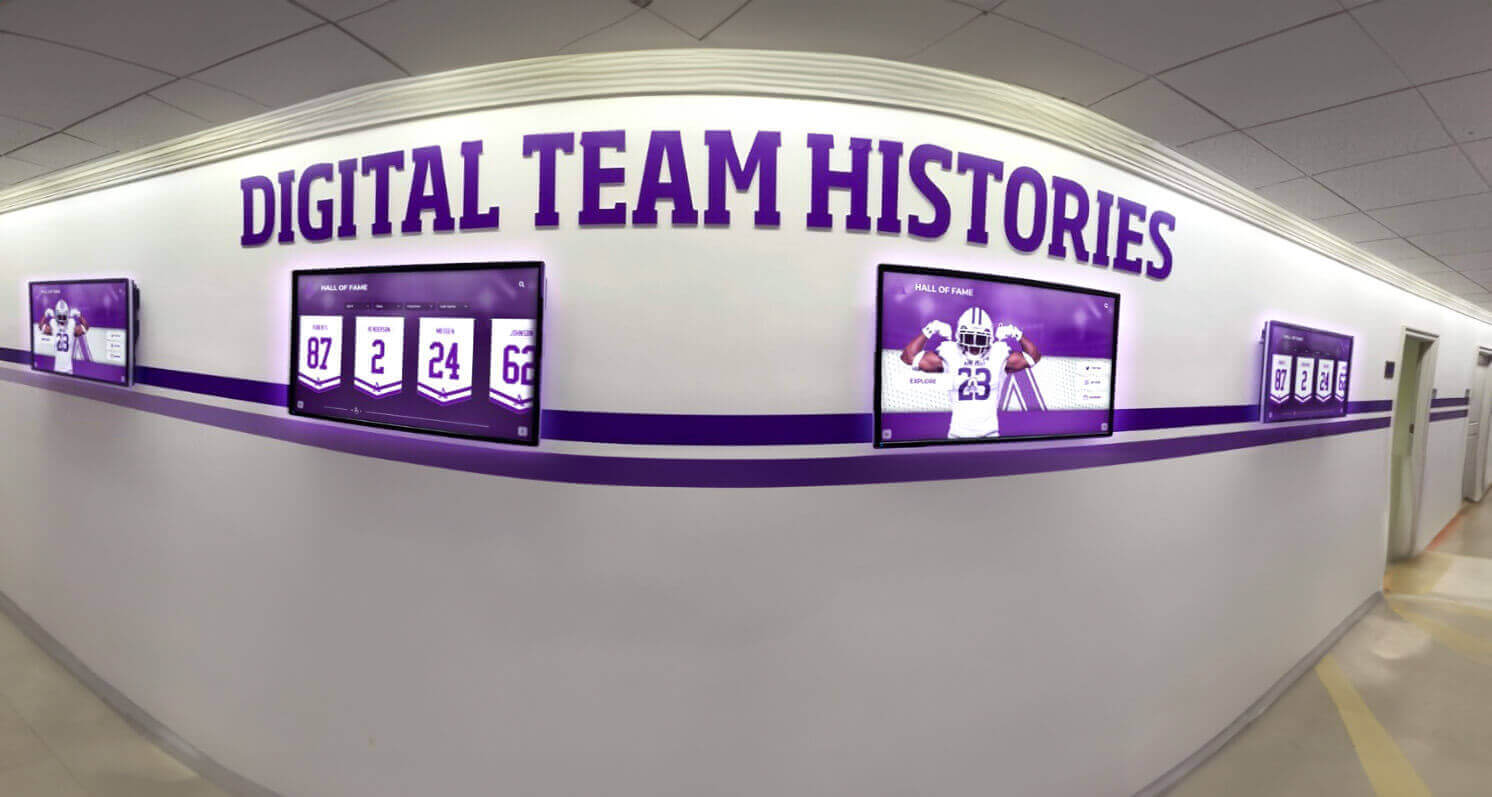
Well-processed historical team photos look compelling on modern digital recognition displays—the goal is clarity and authenticity, not artificial perfection
Handling Edge Cases in Athletic Archive Cleanup
Severely Damaged Photos
Some prints will arrive with damage so extensive—torn sections, heavy mold, large water stains, or complete fading—that a school-based workflow cannot reasonably address it. Recognizing these items early saves time and protects the originals from well-intentioned but counterproductive amateur restoration attempts.
Signs a photo exceeds school-level restoration:
- More than 25% of the image area is damaged
- Mold is present and appears active (fuzzy texture, not flat staining)
- The print is physically fragile—cracking, flaking, or sticking to its storage surface
- Faces cannot be clearly identified even in the original physical print
For severely damaged items, the right answer is often to scan as-is (capturing whatever survives), note the damage in your inventory, and investigate whether the original negative or a duplicate print exists elsewhere before attempting cleanup. Scans of badly damaged originals still have historical value as records of what survived.
Professional conservators and photographic restoration specialists have tools and techniques beyond what school workflows can offer. If a specific image is important enough to the school’s history to warrant professional restoration, that investment can be well worth making—but professional consultation should precede any editing, not follow a failed amateur attempt.
Group Team Photos vs. Individual Portraits
Large group team photos present different cleanup challenges than individual portraits.
Team photos:
- Dust and scratches across a group of 30 people require more total repair work
- Consistent grain and tone across the image matters more—selective sharpening of one face makes others look worse by comparison
- Identifying individuals in old group photos for caption purposes often requires matching to yearbooks, rosters, or alumni memory; label images as “team photo, [year], individuals not verified” until names are confirmed
Individual portraits:
- Face clarity is the primary concern; background damage is secondary
- Crop closely enough to show the face clearly at display resolution
- Be especially careful around eyes and mouth—healing artifacts in these areas are immediately visible to viewers
Black-and-White vs. Color Photos
Black-and-white athletic photos are typically more forgiving of grain and minor surface damage than color photos—viewers have strong built-in visual expectations for the look of vintage monochrome photography. Do not over-process black-and-white images in an attempt to make them look “cleaner.” A small amount of retained grain is often preferable to a plasticky-smooth over-edited surface.
Color photos from the 1970s and 1980s often have significant color shift from dye fading—typically a red or magenta cast as the cyan and yellow dyes fade faster than magenta. Correcting this fading is appropriate for display derivatives, but document the amount of correction applied and retain the uncorrected master for archival reference.
Getting Cleaned Photos onto Recognition Displays
Once photos pass your QA checklist, the path to public display depends on your school’s recognition platform.
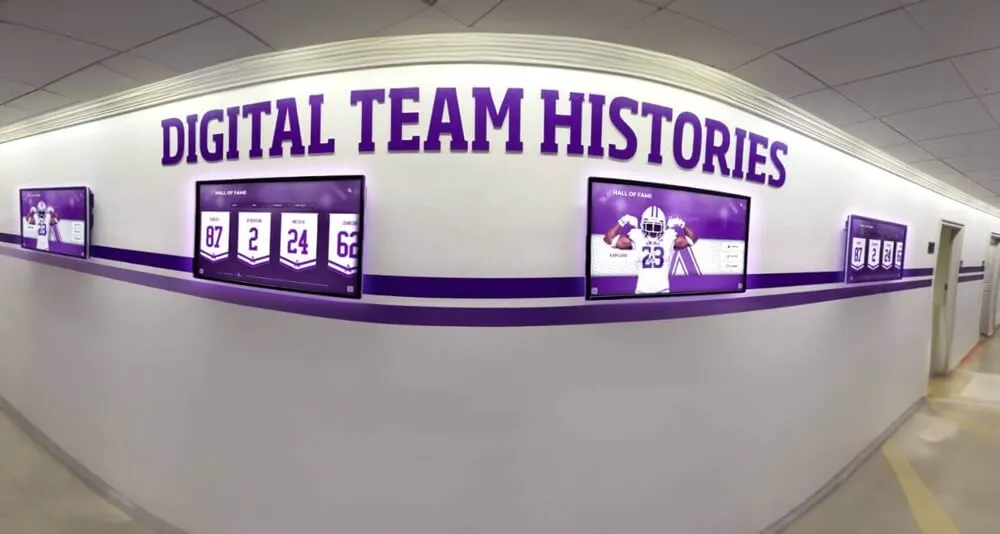
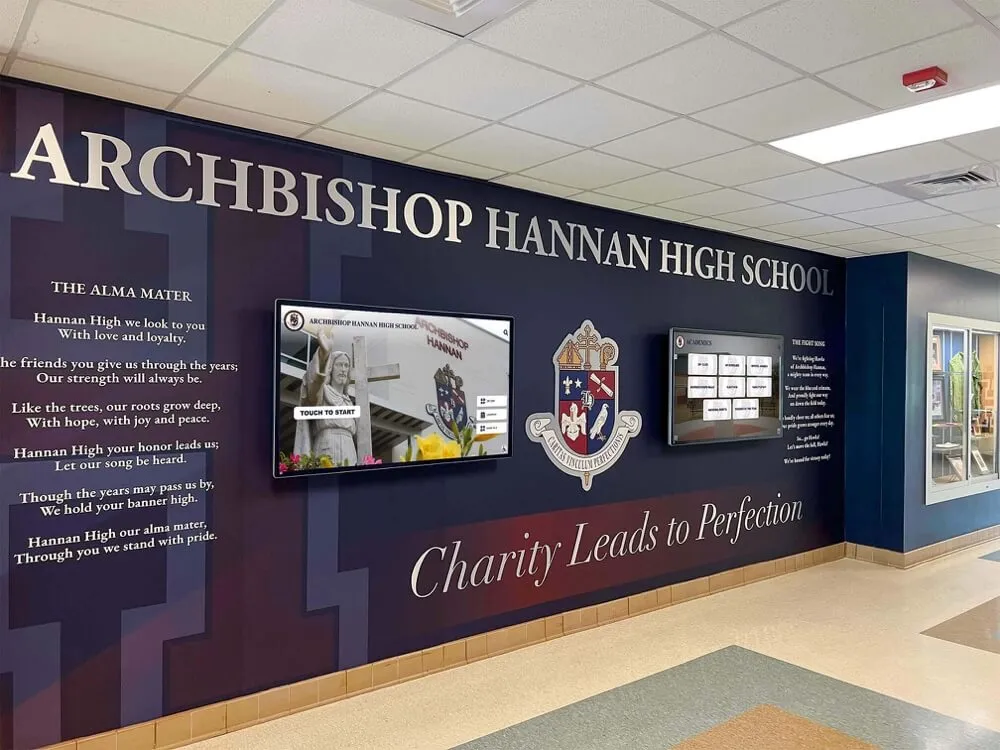
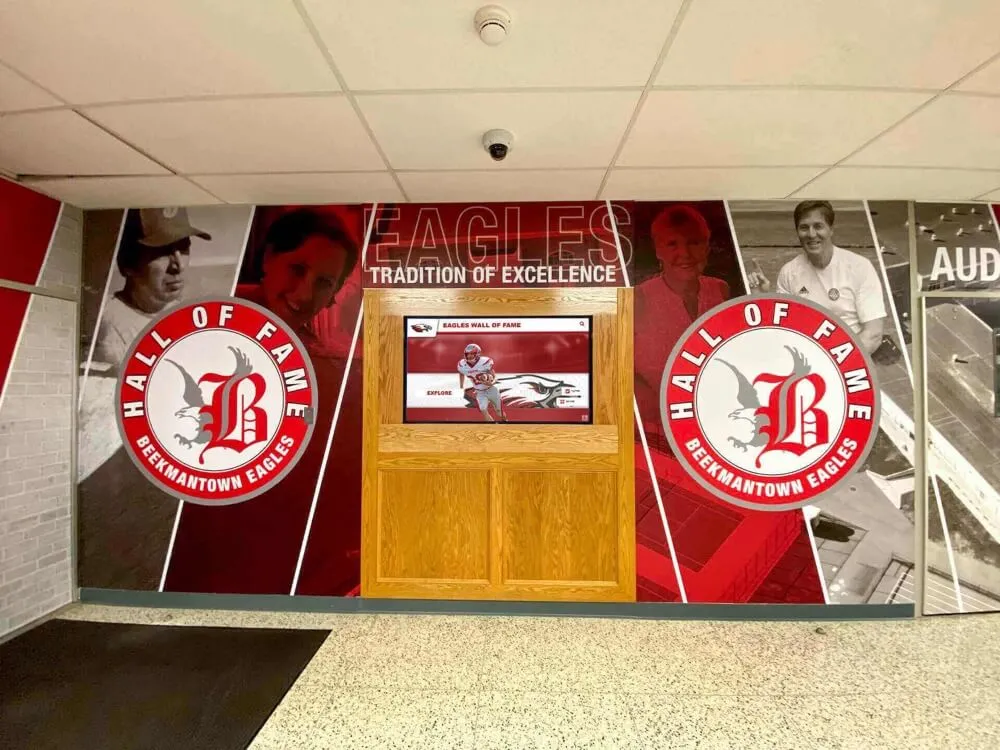
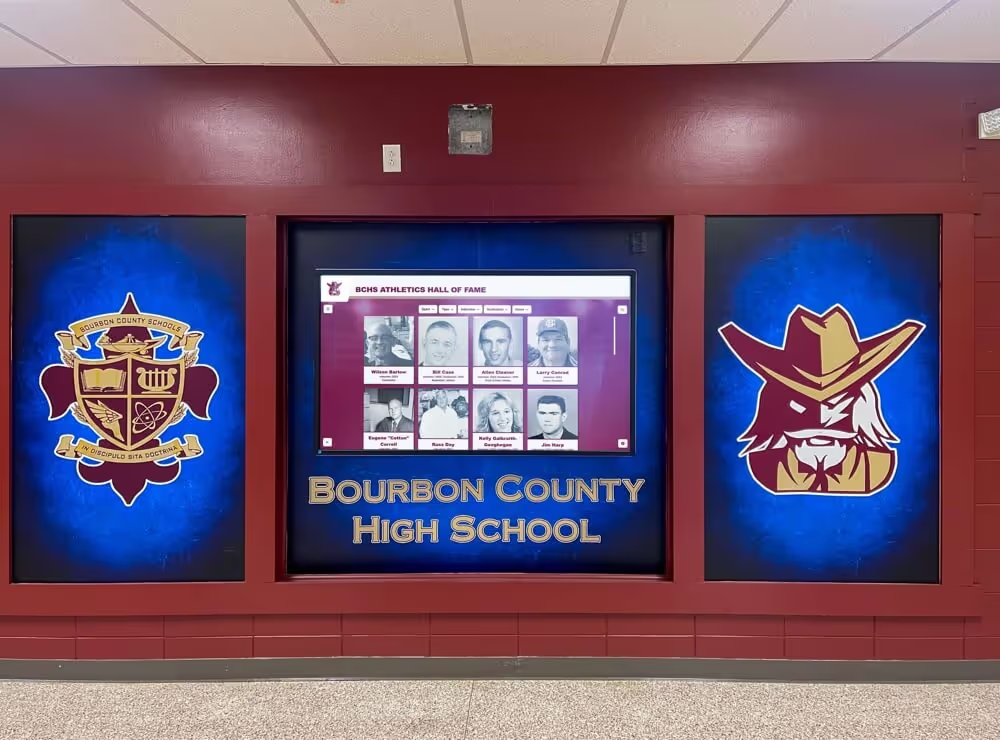
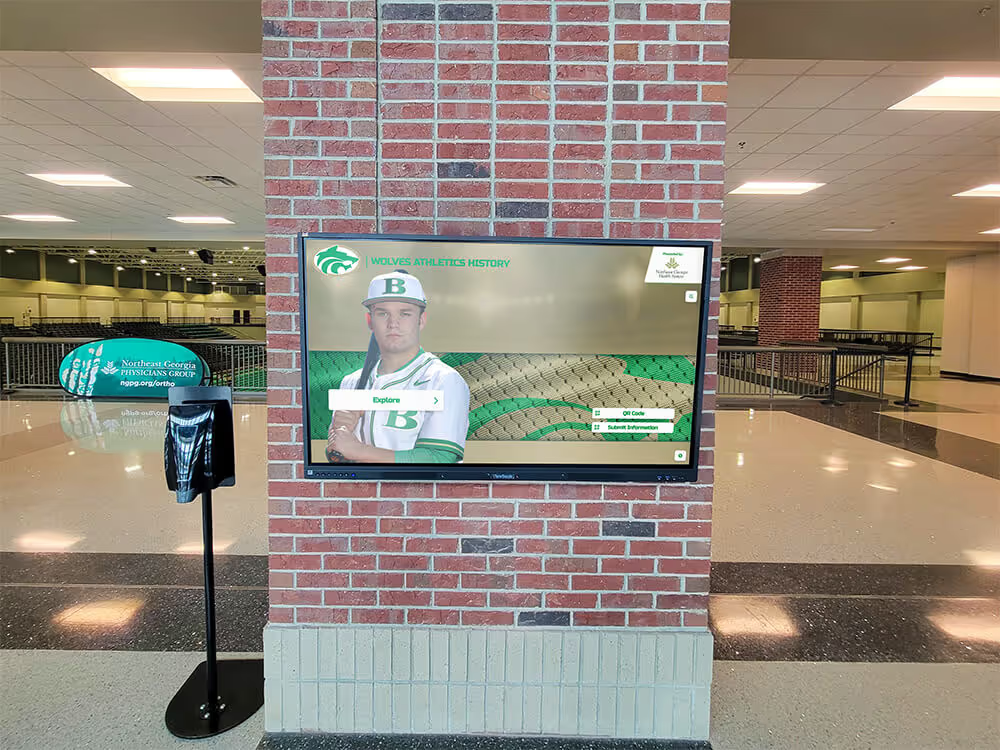
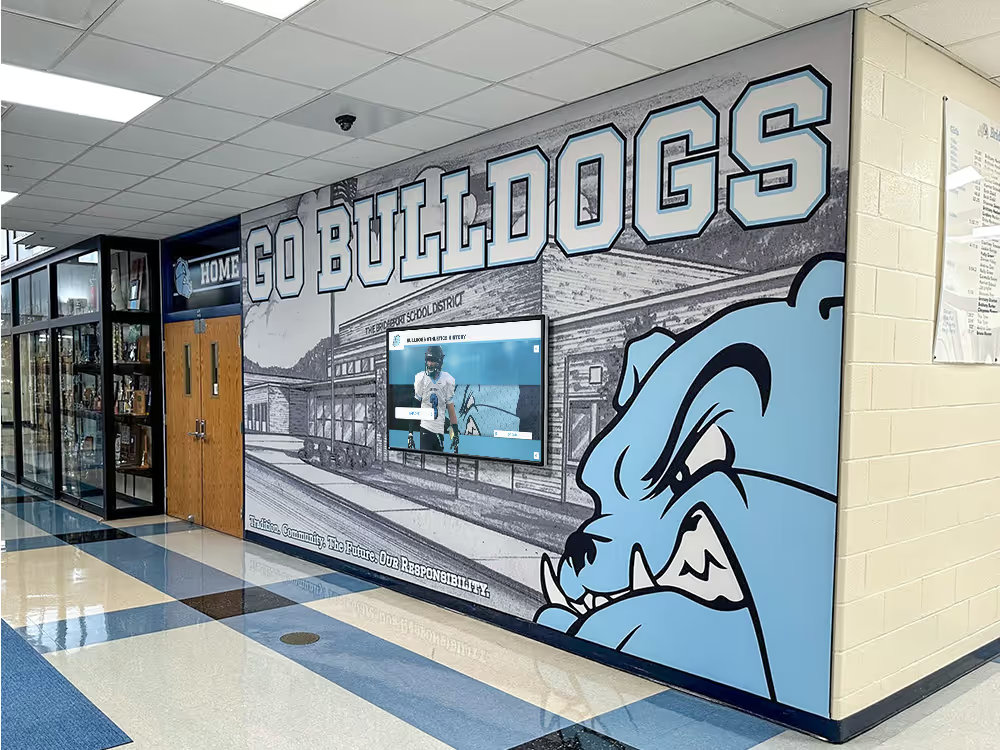
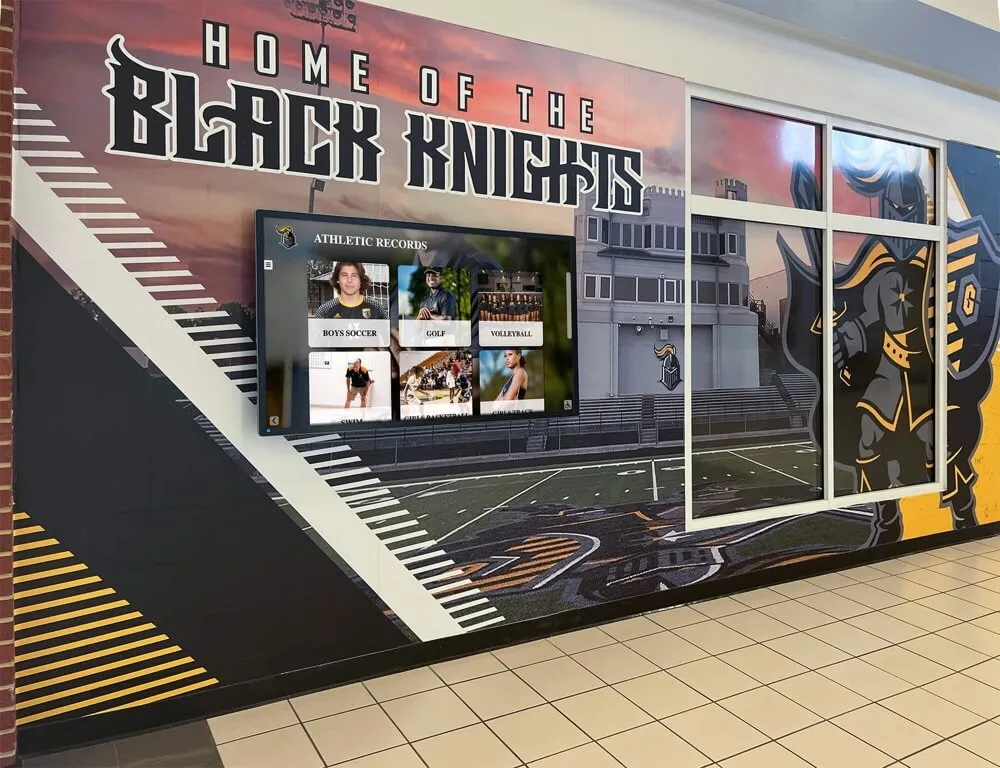
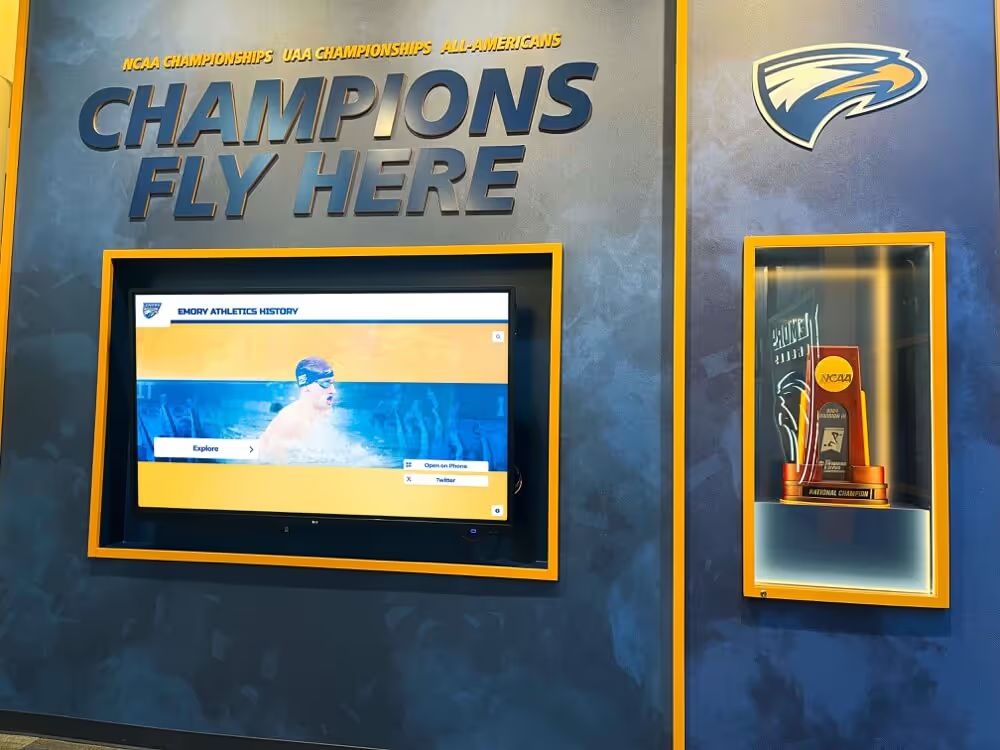
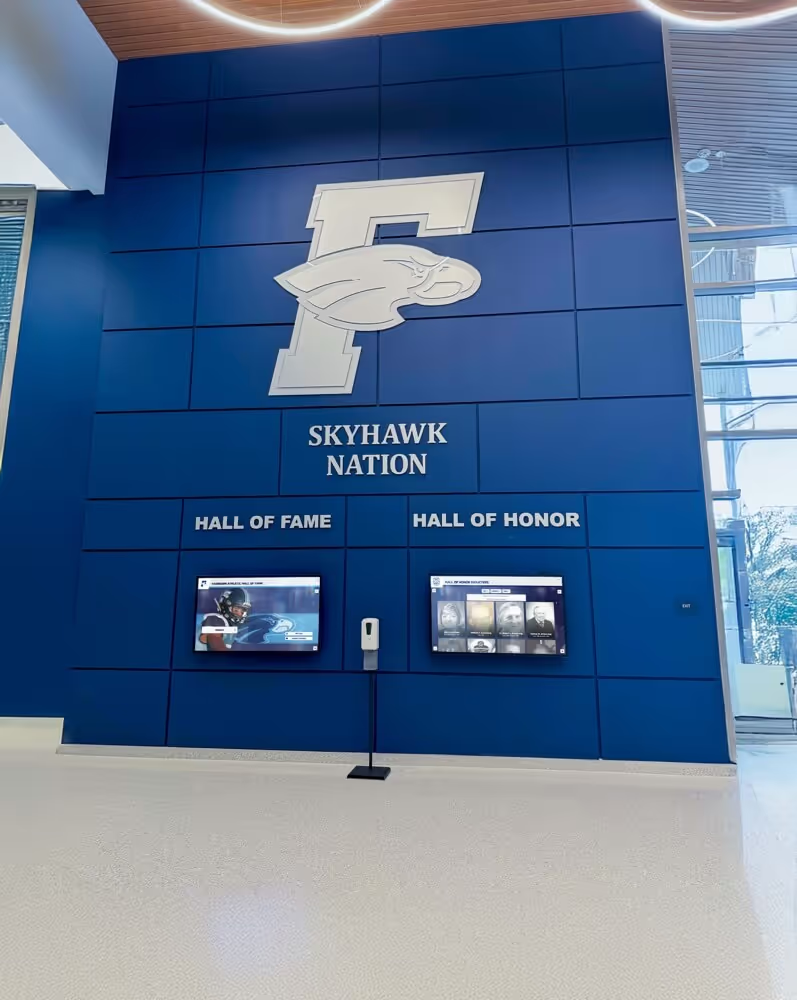
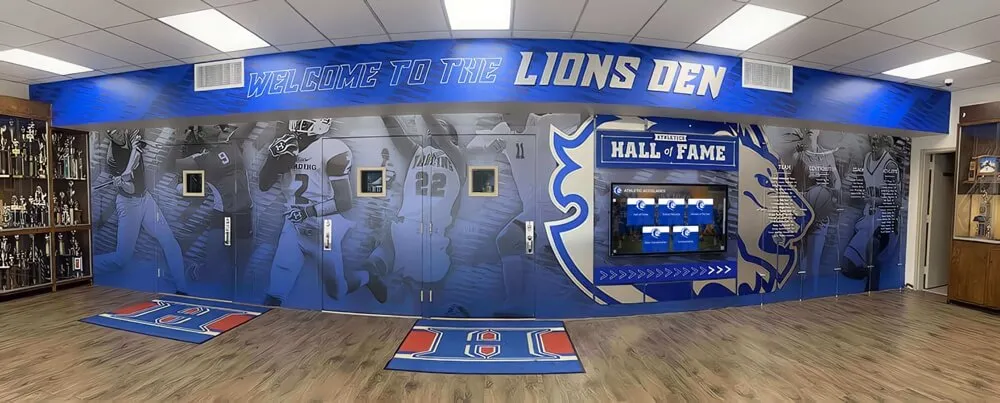
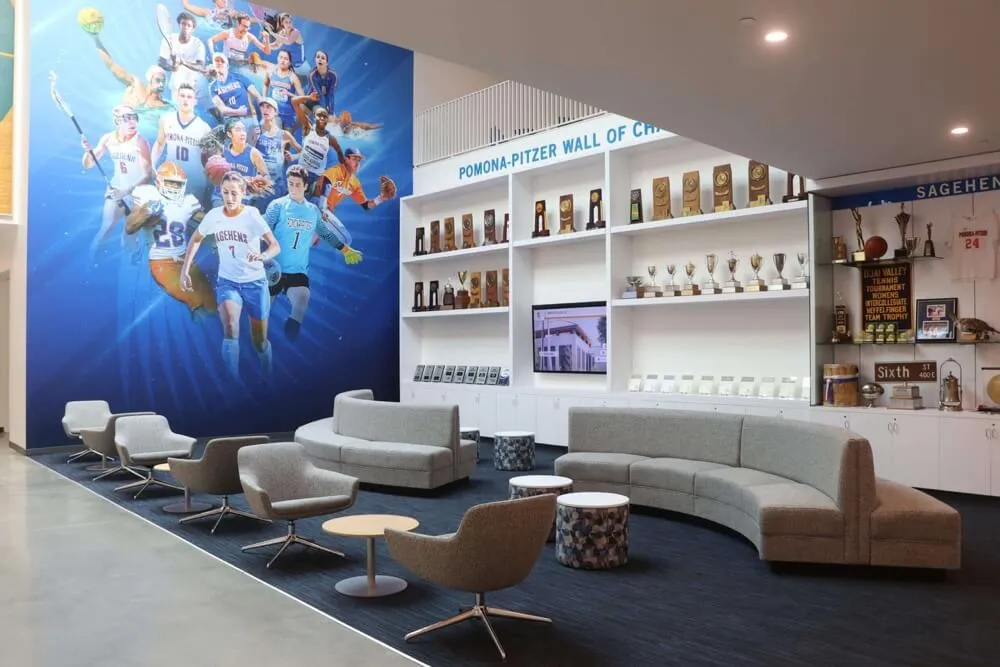
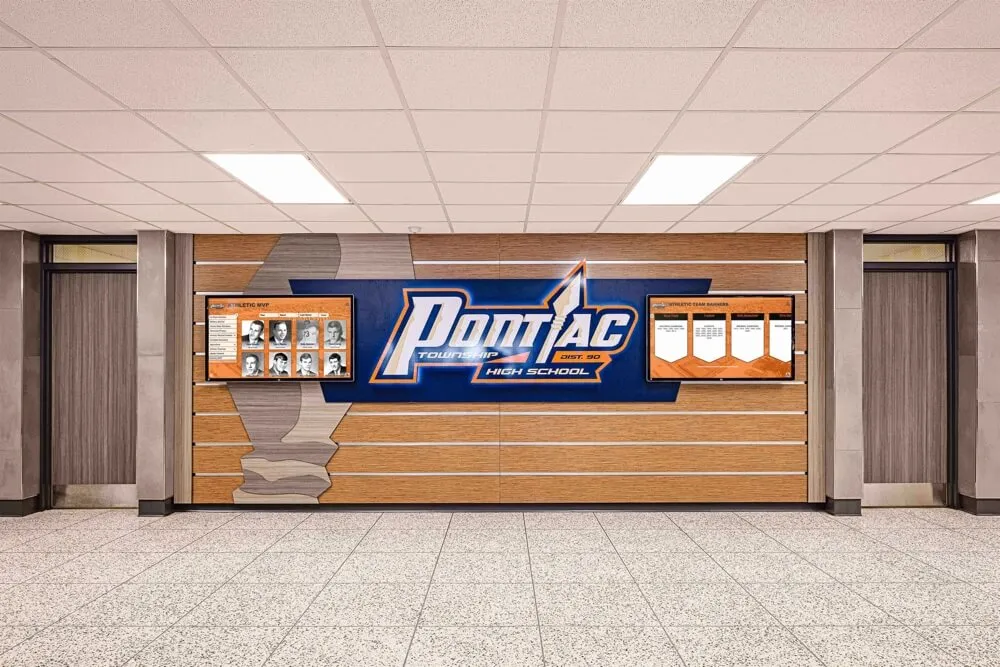
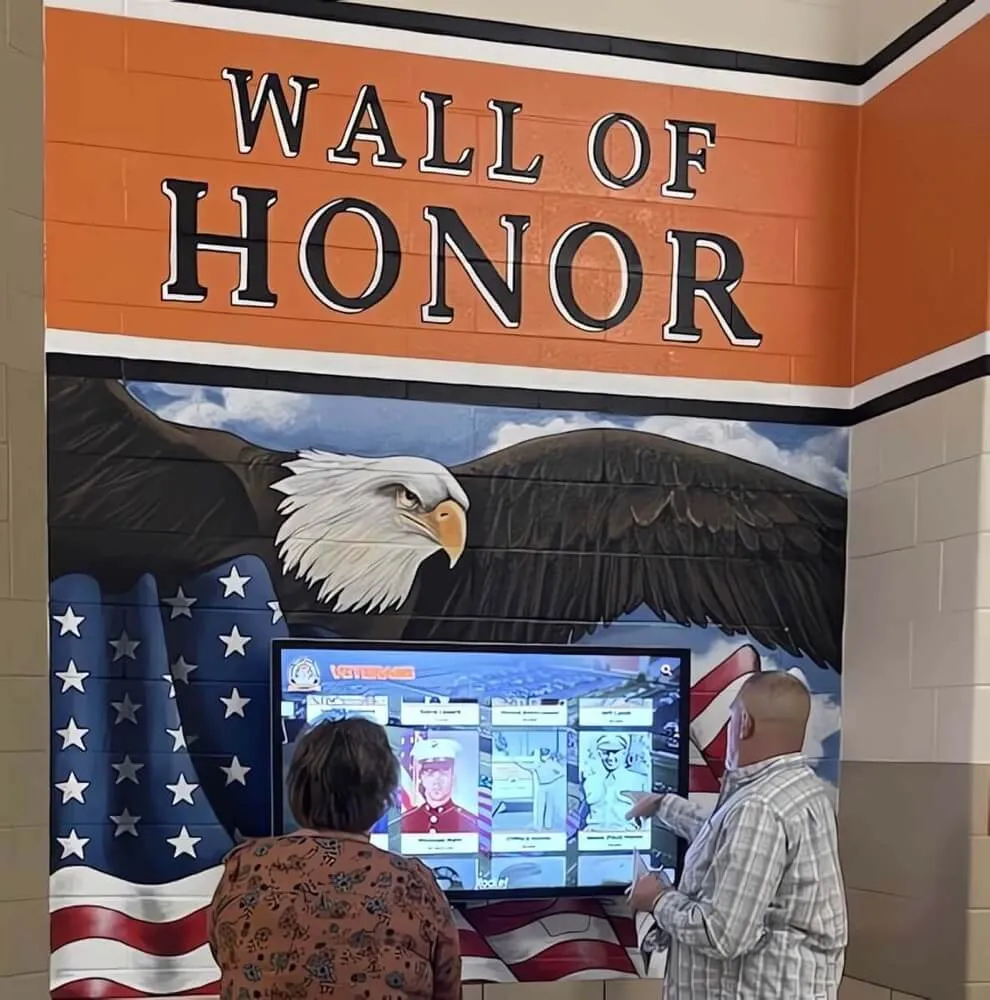
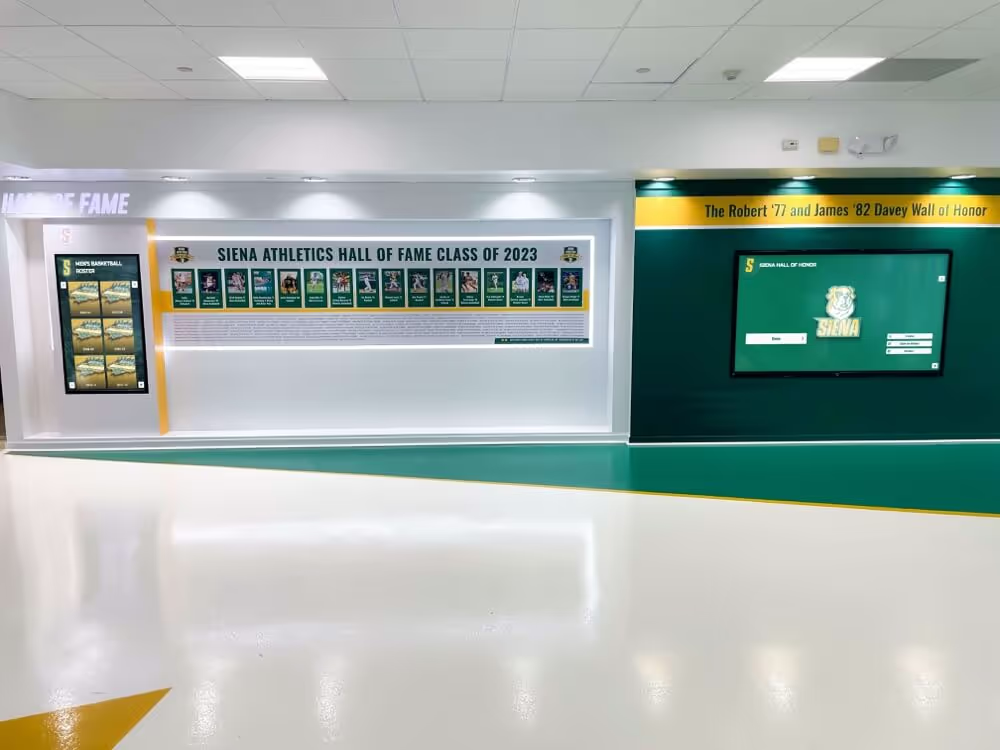
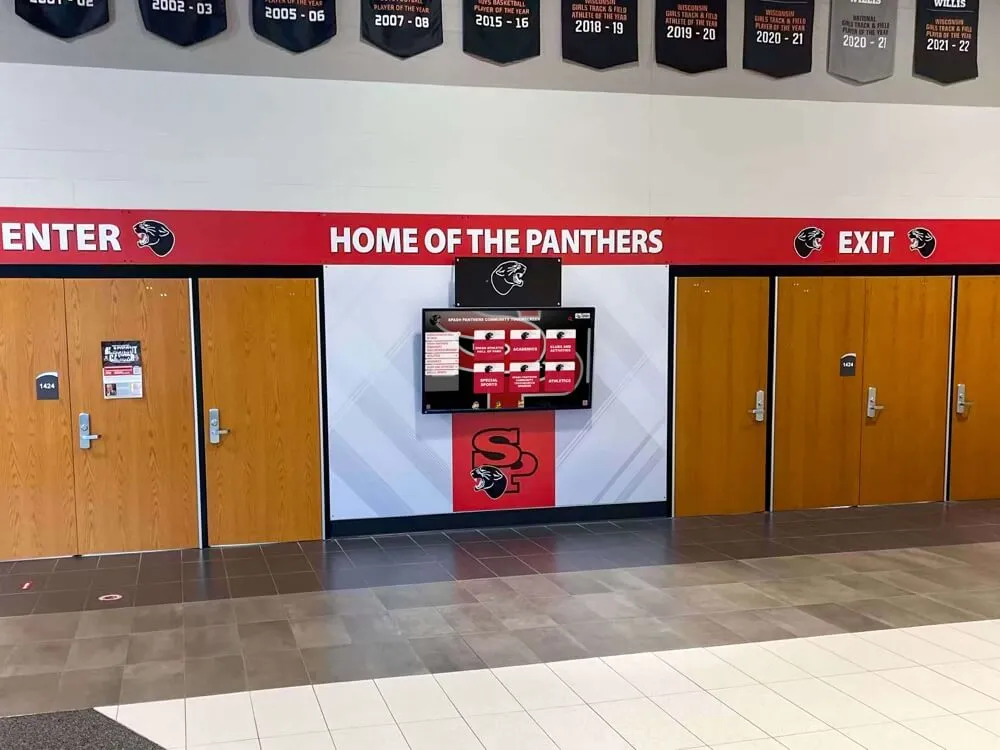
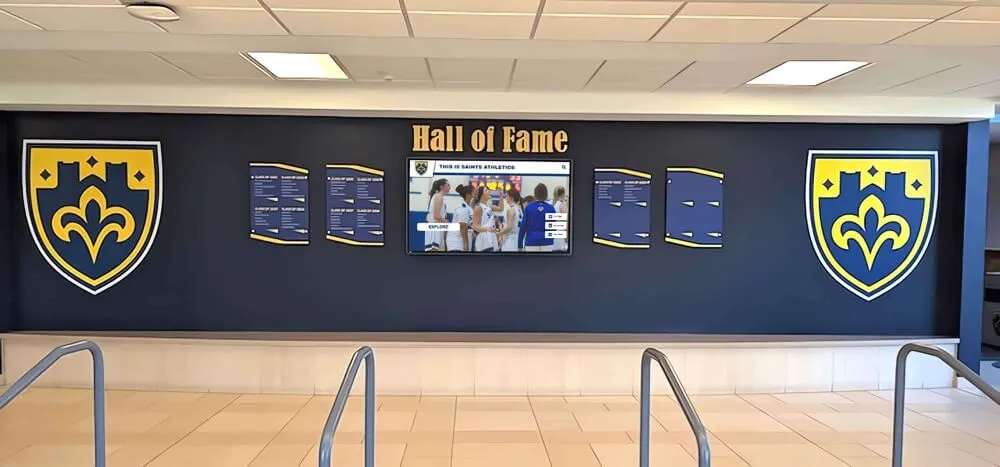
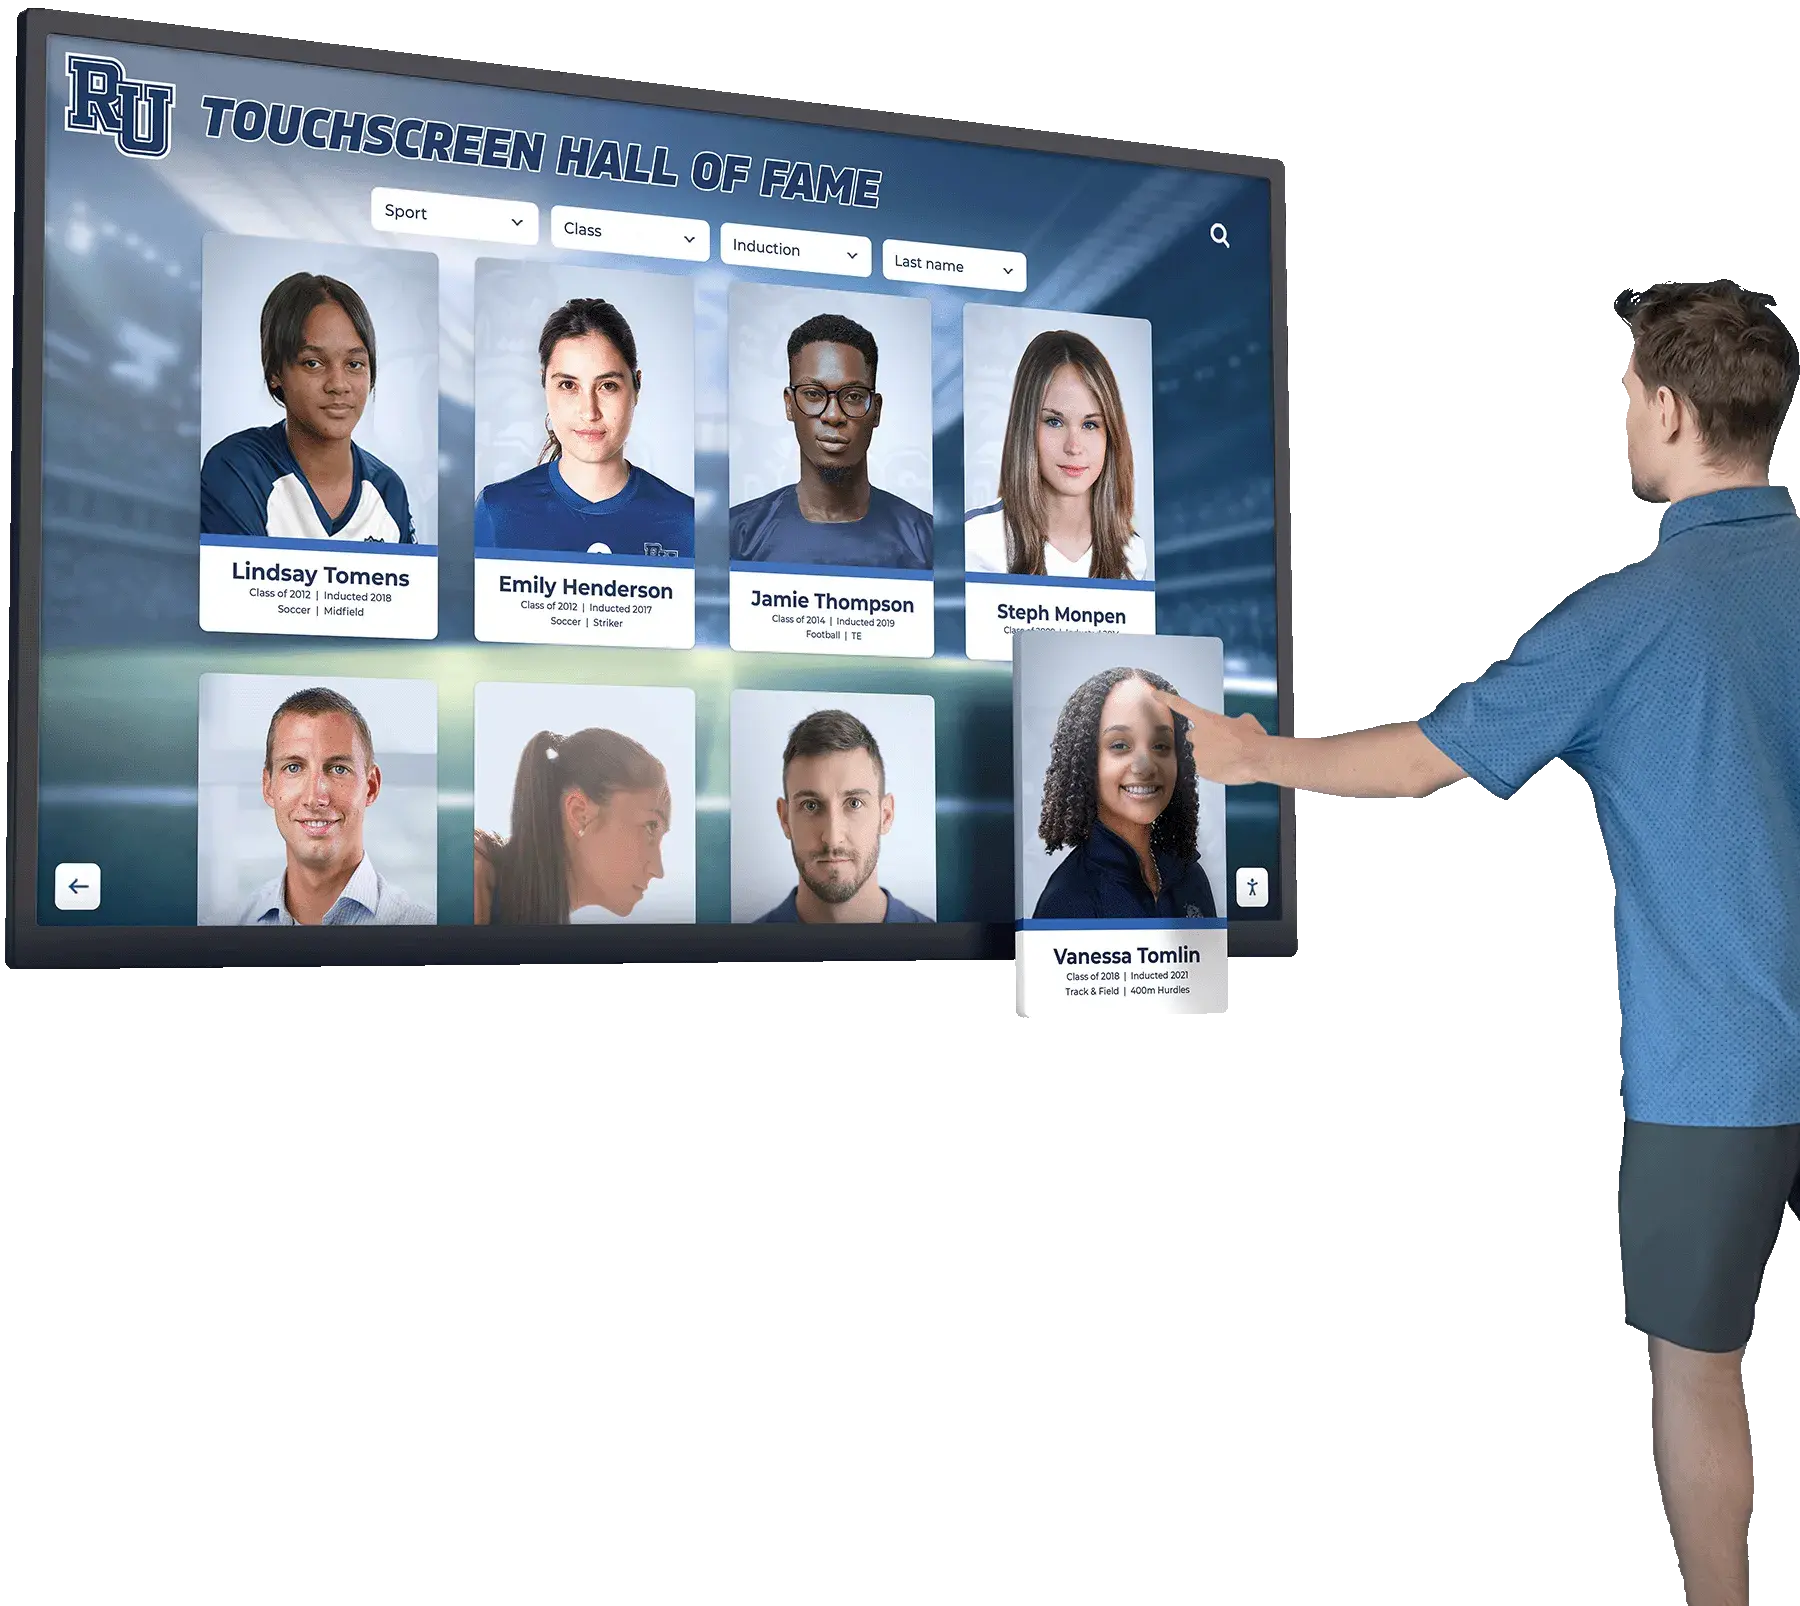
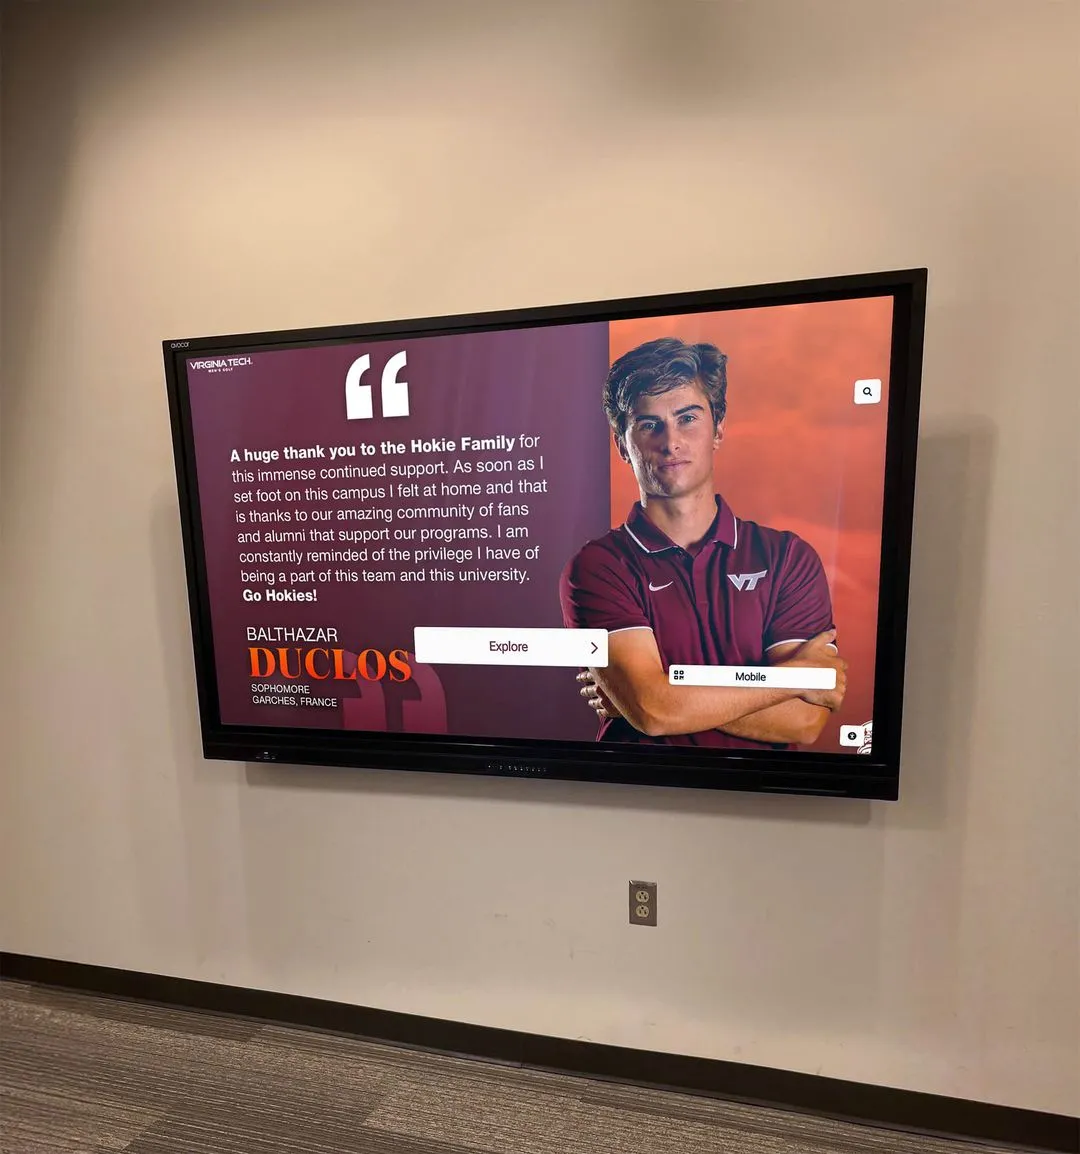
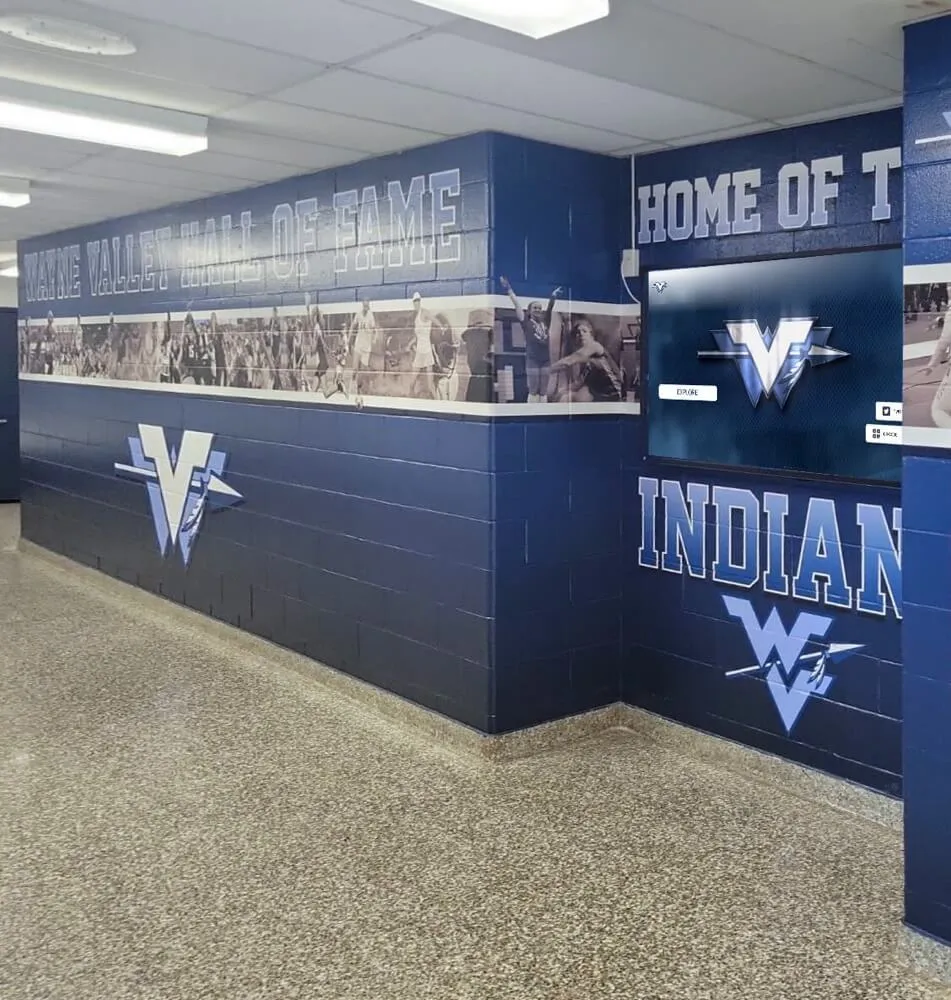
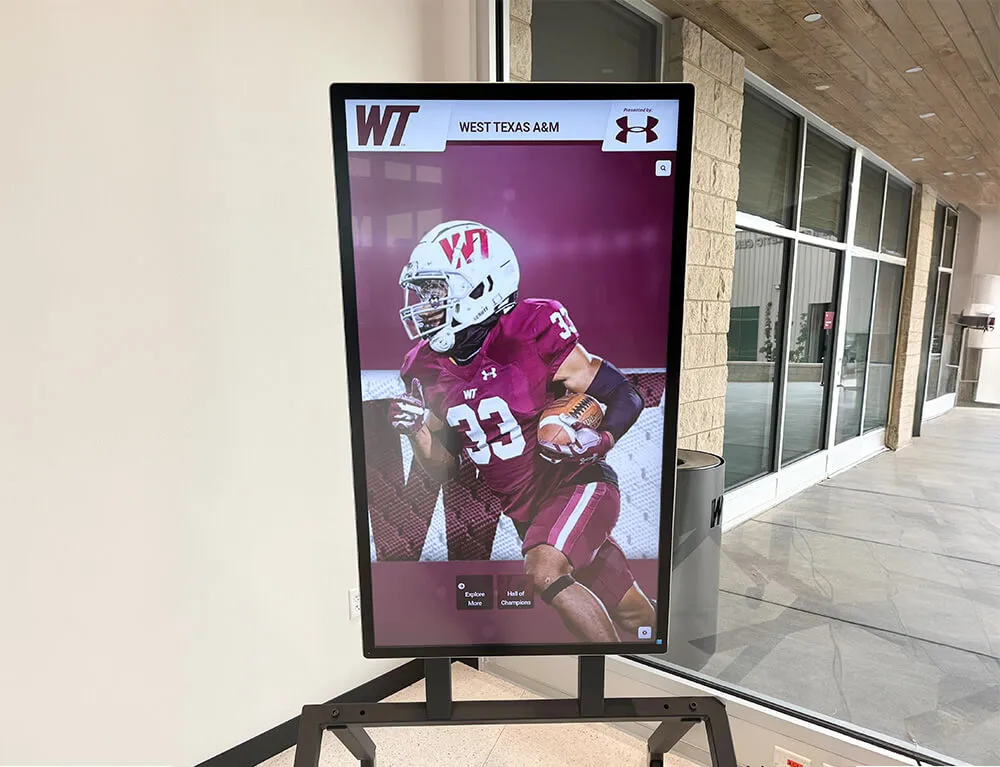
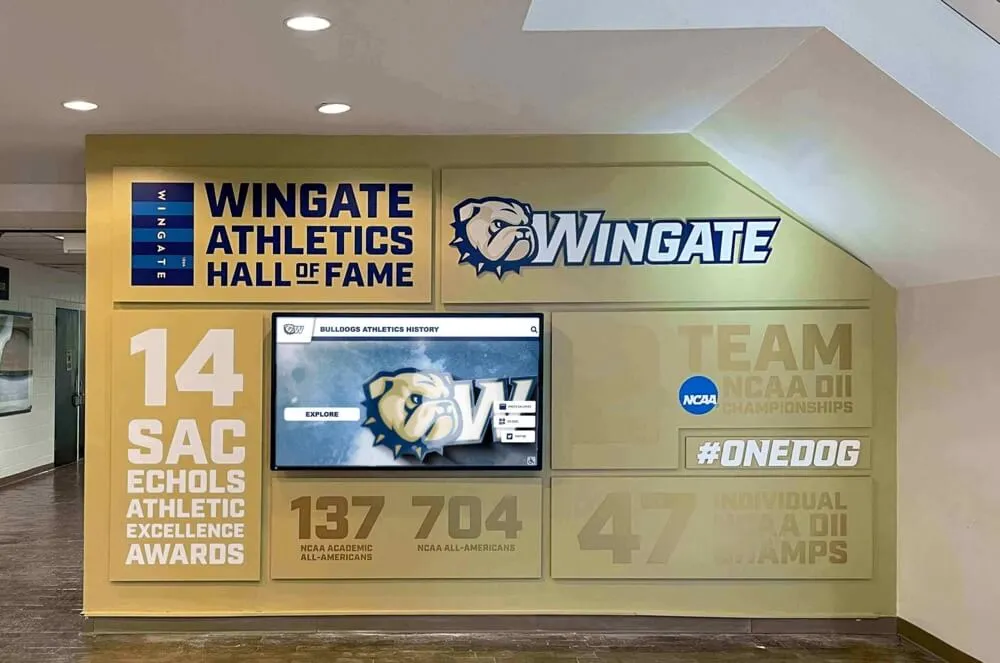
Schools using dedicated athletic recognition display systems—including interactive touchscreen walls of fame and digital trophy cases—typically upload display derivatives through a content management interface that connects directly to the public-facing screen. These platforms handle final rendering, aspect ratio adjustments, and the display-side image quality that makes archival photos look compelling in a hallway or gymnasium lobby.
Choosing a platform purpose-built for athletic recognition means cleaned photos arrive in a system designed to show them at their best: with athlete profiles, searchable archives, championship histories, and the kind of browsable experience that turns a single photo into a gateway to the school’s full athletic story. You can explore what modern recognition tools look like in practice at resources like the 10 best hall of fame tools for athletics, donors, arts, and history overview, which covers platforms built for exactly this kind of institutional use.
Display platforms that support unlimited photo uploads and searchable athlete databases mean your archived team photos become part of a navigable record—not just images cycling on a slideshow. For context on how these systems fit into broader recognition program design, the academic recognition programs guide covers how schools structure recognition across athletic, academic, and community achievement categories.
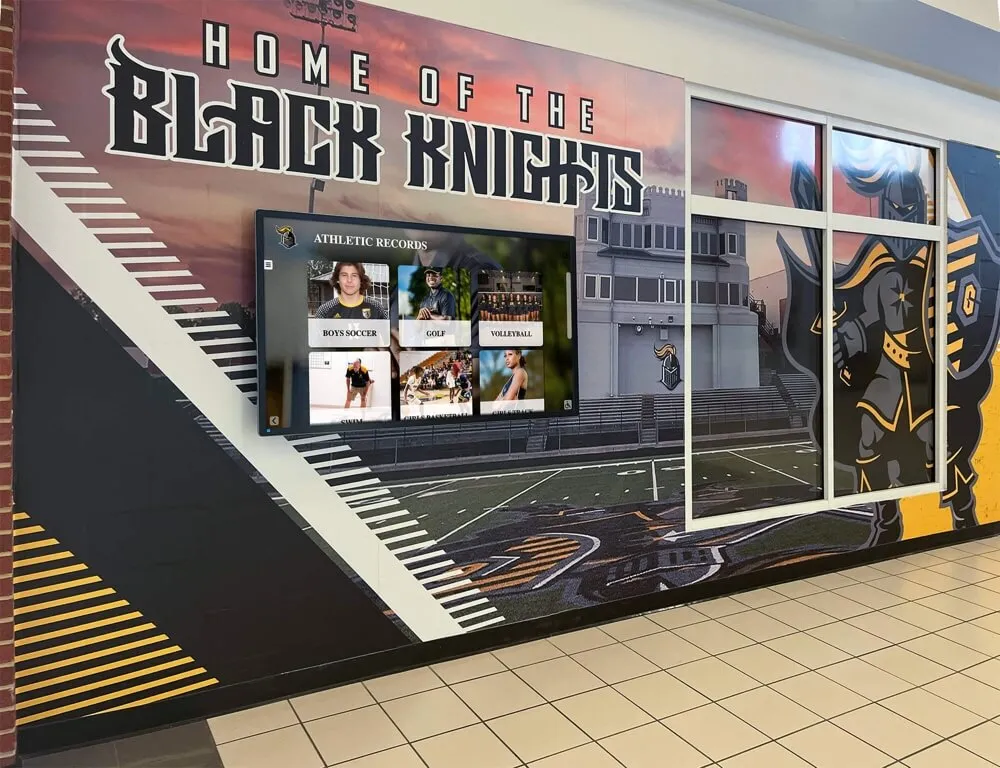
Cleaned archival photos become the foundation of compelling recognition displays that connect current athletes and students to program history
Maintaining the Archive After Initial Digitization
A one-time digitization project creates value once. An ongoing preservation workflow creates value every year as new seasons end and new photos enter the collection.
Annual maintenance tasks:
- Scan new season photos at the same resolution and settings as the original digitization project
- Add new masters to the
00_Mastersfolder following the same naming convention - Update display derivatives for the recognition platform
- Back up the entire archive (masters and derivatives) to at least one off-site location
- Review the edit log and confirm that documentation is current
Consider designating a specific staff member or trained booster-club volunteer as the archive custodian each year. Continuity of institutional knowledge matters more than any single software tool—a custodian who understands the workflow will make better decisions than a highly capable tool operated by someone who doesn’t.
For schools building long-term recognition programs that extend beyond photo display into full athletic archives, the best hall of fame tools for touchscreen recognition resource provides useful context on platforms designed to grow with a program over time. Similarly, schools managing academic alongside athletic recognition may find value in reviewing approaches to academic achievement awards for high school programs, which face similar archival and display challenges.
Connecting Archive Quality to Recognition Display Quality
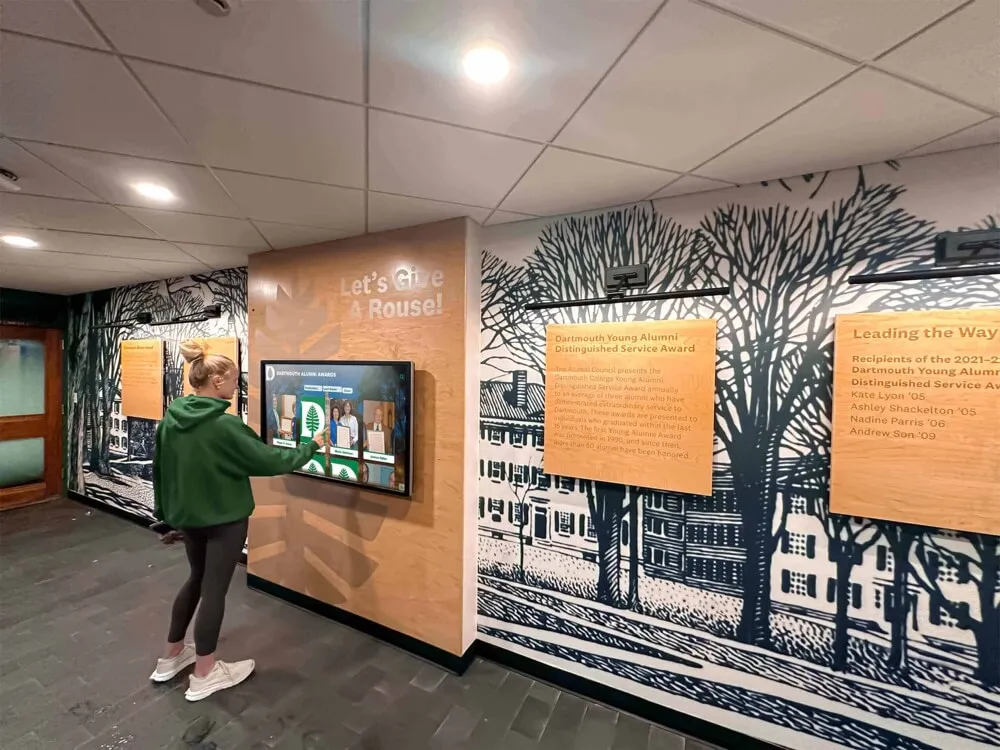
The most careful dust and scratch removal workflow in the world only creates value if cleaned photos end up somewhere they can actually be seen and appreciated. Scanned images sitting in a network folder serve no one. The same images displayed on an interactive touchscreen wall in the main hallway—searchable by name, sport, and year, linked to championship histories and team records—honor athletes in a way that lasts for decades.
Schools that invest in both the archival workflow and the display infrastructure end up with something rare: a recognition program that is simultaneously historically authentic and visually compelling. The 1978 state championship team looks appropriately like 1978; the current season’s photos look fresh and current; the platform connects both eras into a coherent program history that athletes, alumni, and community members can explore together.
That connection between careful archival work and compelling public display is why the preservation-first approach matters. It isn’t just about protecting files—it’s about protecting the stories those files contain.
For additional context on the range of tools schools use to build and maintain digital recognition programs, the 10 best hall of fame display tools overview at touchscreenwebsite.com covers platform categories from simple digital signage through full interactive archive systems, which helps in evaluating which level of infrastructure fits your school’s scale and budget.
Ready to see what a display platform built for athletic archives looks like in practice? Rocket Alumni Solutions provides interactive touchscreen walls of fame, digital trophy cases, and athletic achievement displays designed to showcase cleaned, digitized photos alongside searchable athlete profiles and championship records—giving decades of athletic history a permanent, visible home in your school’s hallways. Request a live demo to see how the system works with your school’s existing photo archive.