



Athletic archive audio DC offset correction is the process of detecting and removing a constant voltage bias in an audio waveform—a shift that pushes the entire signal above or below the zero line—before normalizing, encoding, or publishing historic game recordings to a touchscreen display or digital archive. DC offset is one of the most underdiagnosed problems in school athletic archive digitization projects. It is invisible on playback at low volumes, passes basic quality checks that only measure peak levels, and appears harmless until normalization is applied—at which point the offset consumes headroom that should belong to the actual audio, forces the loudest peaks into clipping, and produces an asymmetrical distortion that sounds harsh through the full-range speakers of a modern lobby display or interactive kiosk.
This guide walks athletic directors, archives staff, IT and facilities teams, and recognition-program coordinators through a complete DC offset correction workflow for historic athletic game recordings. It covers the sources of offset bias common in school athletic archives, how to detect and measure it, the correction steps in order, tool-specific guidance for Audacity, Adobe Audition, and iZotope RX, where DC offset correction belongs in the broader preservation chain, and the export settings that preserve the result through encoding for video-rich recognition displays.
DC offset is not a recording quality problem in the way that tape hiss or clipping is. It does not originate from a noisy recording environment, a worn tape, or an overloaded input. It originates from the recording or digitization equipment itself—from imperfect capacitor coupling in analog circuits, ADC bias in older consumer digitizers, or a mismatch between equipment ground references during a tape-to-digital transfer. The result is a waveform that, when viewed in any audio editing application, sits entirely above or entirely below the center line rather than oscillating equally on both sides.

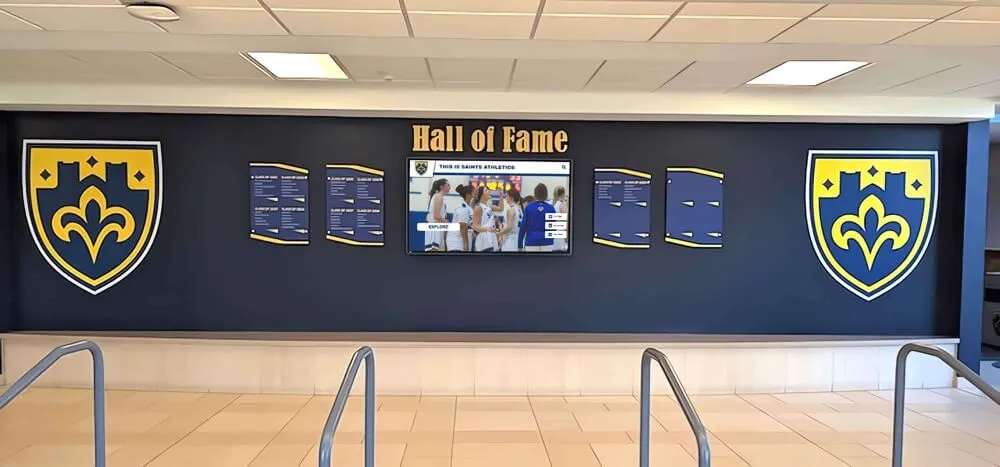
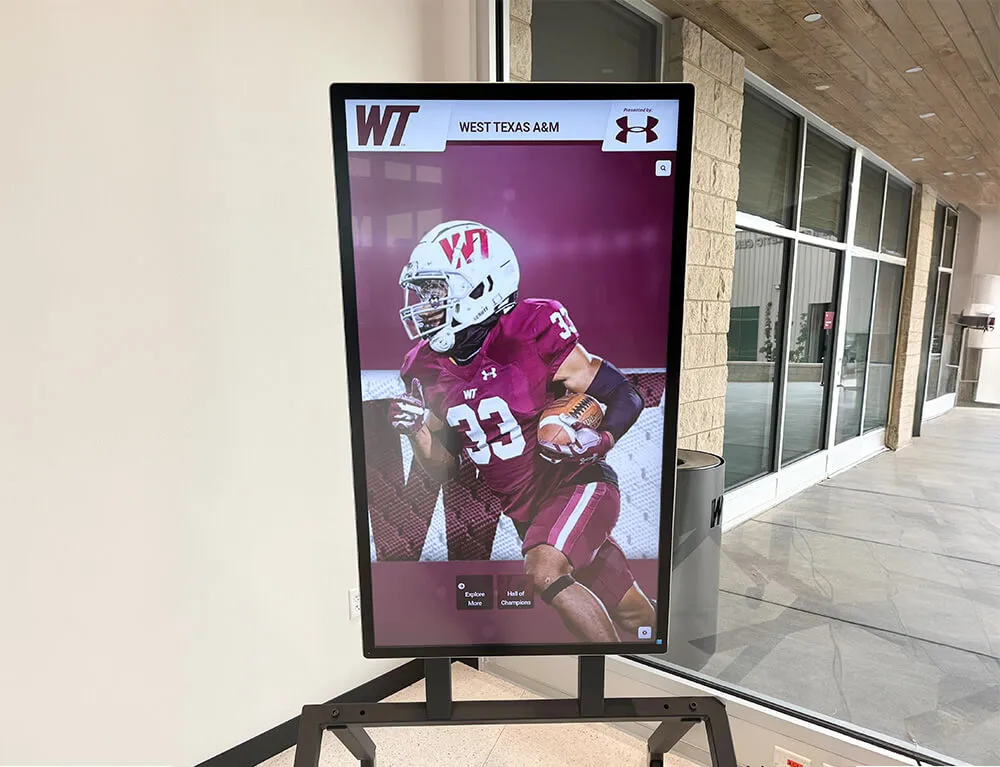
Historic game recordings displayed in athletic lobbies and recognition spaces carry the same quality expectations as new content—DC offset bias introduced during digitization must be corrected before the recording reaches a public display
Why DC Offset Damages Athletic Archive Recordings
The practical damage from DC offset occurs at normalization—the step that brings a quiet historic recording up to a consistent playback level for display. Normalization works by finding the highest peak in the recording and scaling the entire waveform so that peak reaches the target level (typically −1 dBFS or −3 dBFS for archive distribution). If DC offset is present, the normalization algorithm measures the distance from the zero line to the highest waveform peak—but because the entire waveform is shifted, the measured peak includes the offset value as part of its amplitude. The result: the algorithm underestimates available headroom, normalizes to a lower level than the recording could support, or—more commonly—clips the positive peaks of the waveform when the offset forces them above the ceiling.
Beyond normalization errors, uncorrected DC offset causes several secondary problems in audio processing and display playback:
- Gating errors: Noise gates and silence-detection tools that rely on the zero line to determine when audio is active see the offset as a permanent low-level signal, preventing gates from closing during pauses between plays or ceremony segments
- Phase incoherence between channels: When left and right channels carry different offset values—a common result of consumer digitizers that processed each channel independently—the two channels cannot be summed to mono without introducing low-frequency interference at the frequency of the offset difference
- Encoding artifacts: Some audio codecs used in display video formats apply pre-processing that assumes a zero-centered waveform; asymmetric input can produce ringing artifacts in the encoded output that are audible on higher-quality playback systems
- Downstream processing distortion: Compressors, limiters, and equalizers applied after encoding assume a centered signal; a biased input causes these tools to respond asymmetrically, introducing audible pumping or tonal imbalance in the final recording
Programs that invest in careful trophy case and archive preservation understand that physical artifacts require systematic inspection before display. Historic audio files require the same systematic review: DC offset correction is the inspection step that ensures the waveform is structurally sound before any further processing is applied.
Sources of DC Offset in School Athletic Archives
Understanding where DC offset originates helps archives staff identify which recordings are most likely to be affected and prioritize inspection accordingly.
Consumer Digitizer ADC Bias
Analog-to-digital converters in consumer digitizer products from the 1990s and early 2000s—the USB capture sticks and RCA-to-computer interfaces commonly used for VHS-to-digital transfers in school projects—frequently had small ADC bias values built into their circuitry. These biases were below the threshold of audibility on consumer playback equipment but are measureable in any modern audio editor. Recordings digitized with these devices consistently show offset values in the same direction and magnitude for every tape transferred through the same unit.
Capacitor Coupling in Aging Analog Equipment
Tape decks, VCRs, and camcorders with degraded capacitor coupling in their output circuitry produce output signals with a DC component—a constant voltage level added to the audio that should have been blocked by the coupling capacitors when they were new. Recordings made from worn equipment in the later years of analog media use are more likely to show this type of offset than recordings from the same era made with well-maintained equipment.
Ground Differential in Recording Setups
Recording setups that connected multiple pieces of equipment—a VHS deck to an amplifier to a recording computer, for example—sometimes had different ground potentials across the signal chain. The ground differential added a low-frequency or DC-level offset to the recorded signal proportional to the voltage difference between the equipment grounds.
Multiple-Generation Dubbing Accumulation
Each generation of analog tape duplication had the opportunity to introduce a small additional offset if the playback and recording equipment in the dub chain were not calibrated to the same operating level. Schools that held multiple copies of a game—a broadcast recording, a sideline camcorder capture, and a duplicate made for the athletic department—may have archived a multi-generation dub where small offsets accumulated across several duplication steps.
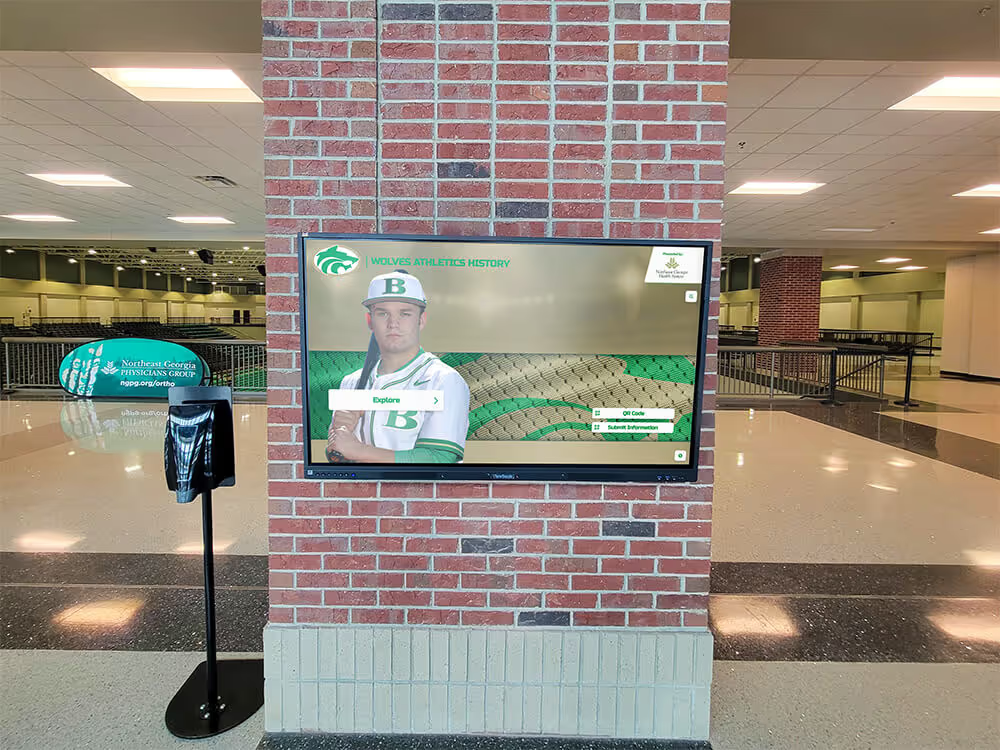
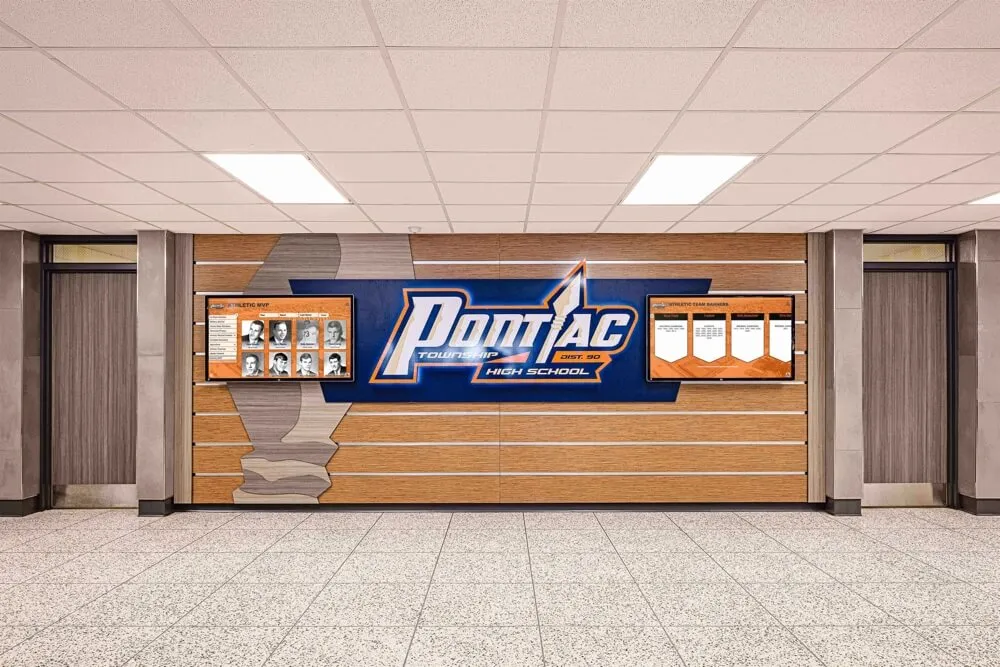
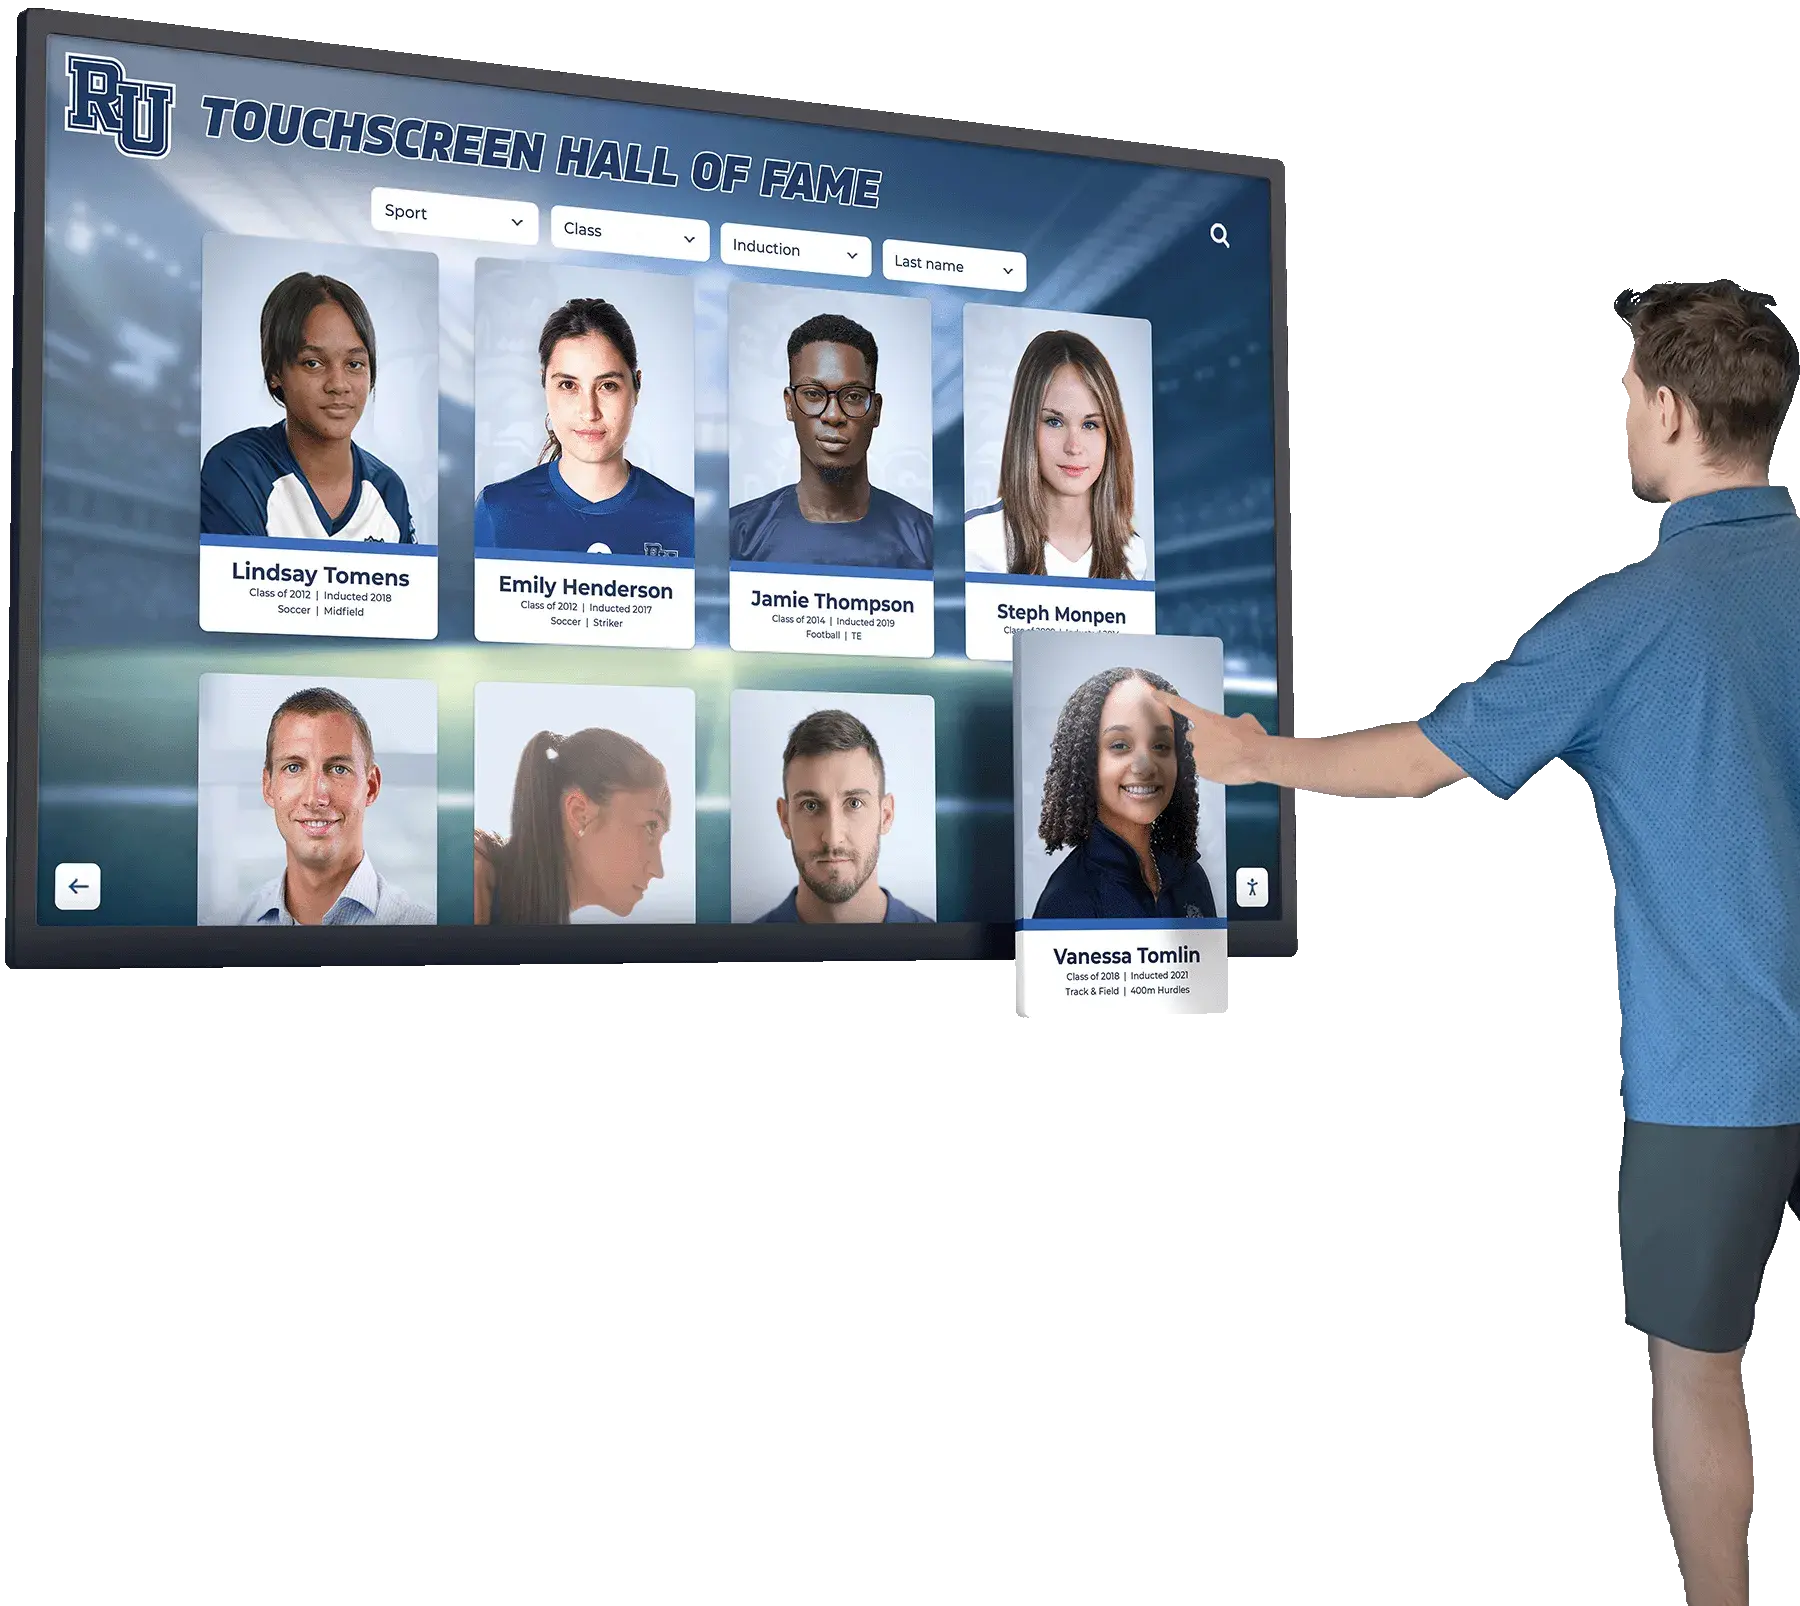
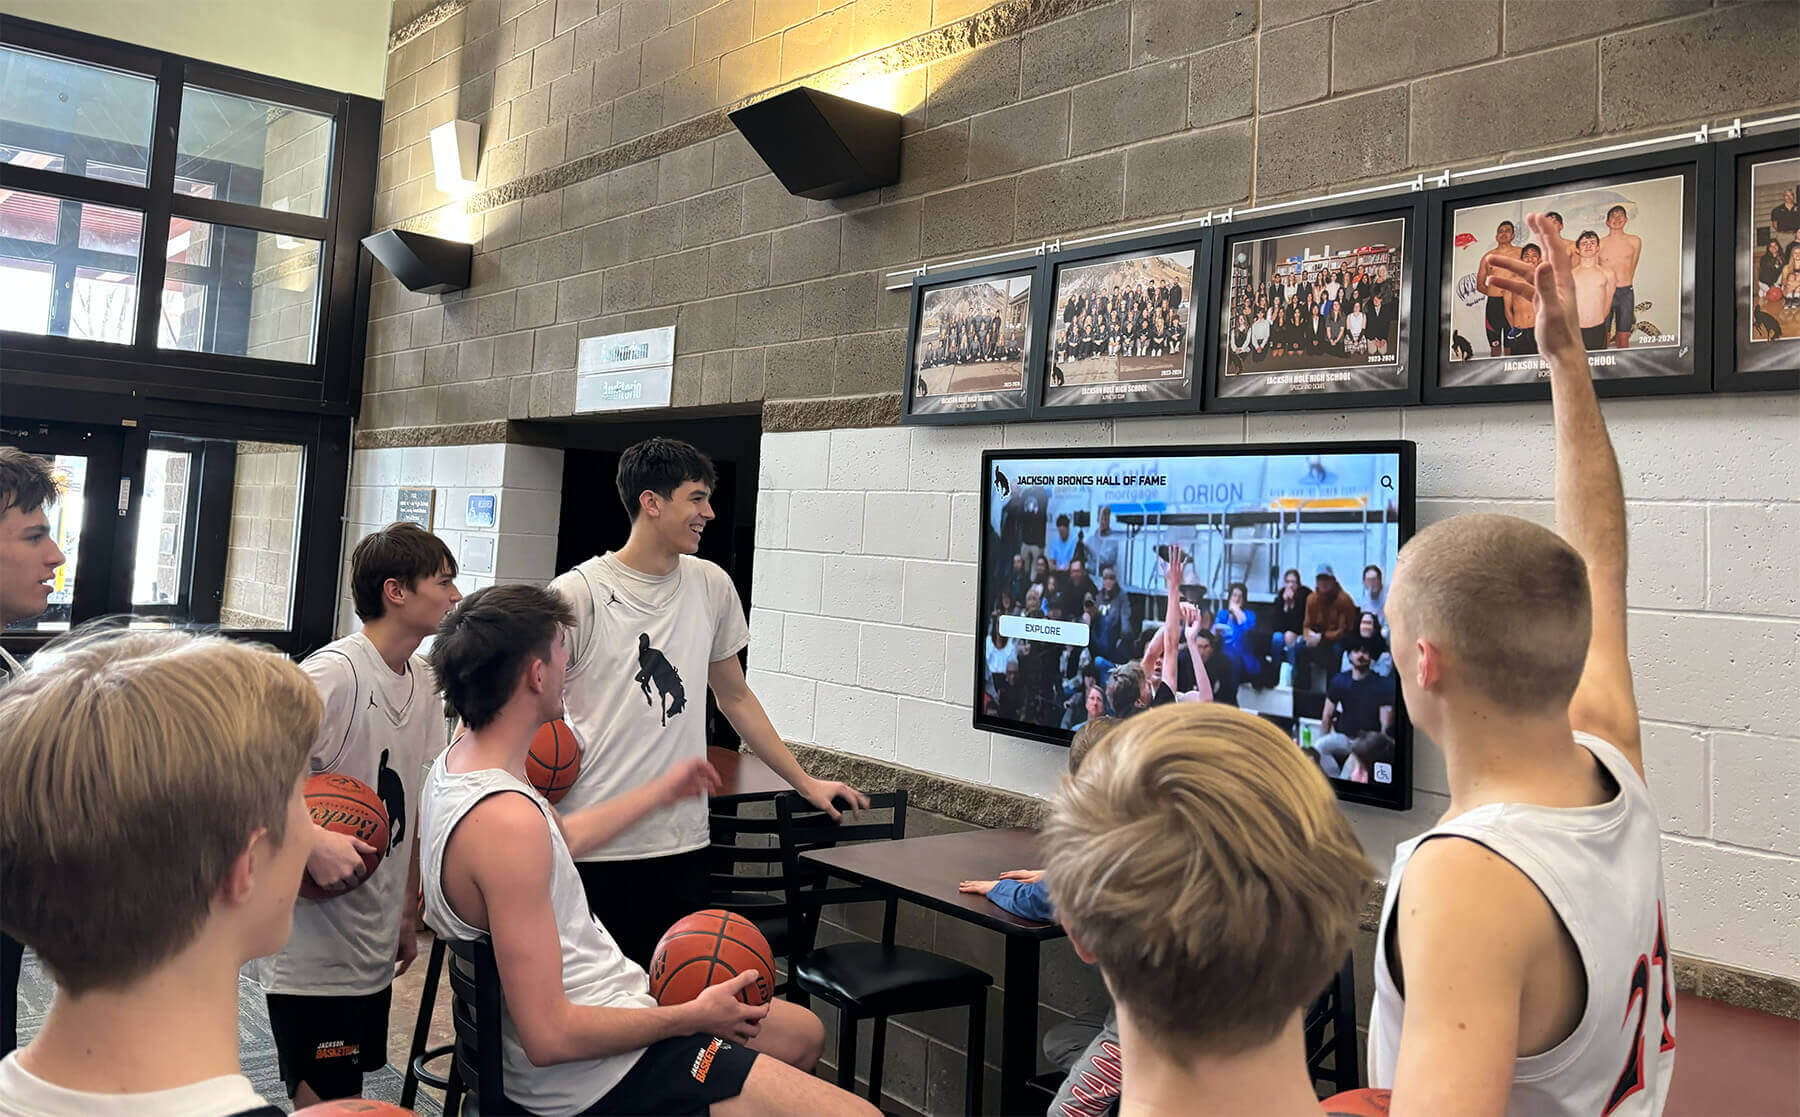
Touchscreen displays in athletic hallways play historic recordings for students, alumni, and visitors—audio that clips or distorts due to uncorrected DC offset undermines the recognition experience the display was designed to provide
How to Detect DC Offset in Athletic Archive Recordings
DC offset detection is a two-step process: visual inspection of the waveform, followed by measurement using the audio tool’s analysis function. Both steps are needed because a visually obvious offset is easy to spot but a small offset—sufficient to cause normalization problems—may not be apparent from the waveform display alone.
Visual Inspection
Open the recording in any audio editing application with waveform display capability. Zoom out to see the full recording or a representative section. A correctly centered waveform will have roughly equal amounts of content above and below the horizontal zero line. A waveform with significant DC offset will appear to float: the majority of the waveform mass will sit above the center line (positive offset) or below it (negative offset), with the zero line appearing to cut through the lower or upper portion of the waveform rather than through the middle.
Visual indicators of DC offset:
- The waveform as a whole sits above the center line, with the bottom of the waveform not descending as far below center as the top rises above it
- In a stereo recording, the left and right channels show visibly different vertical positions, indicating different offset values on each channel
- Quiet sections of the recording that should show a flat line near zero instead show a flat line that is clearly displaced from center
- The waveform appears to have a “floor” above zero rather than extending symmetrically in both directions
Measurement with Analysis Tools
Visual inspection identifies obvious offset but is insufficient for detecting the moderate offset values that cause the most practical damage during normalization. Always follow visual inspection with a DC offset measurement:
- Audacity: Select all audio, then choose Analyze → DC Offset. Audacity reports the offset as a percentage of full scale (0 being centered, positive values indicating upward displacement, negative values indicating downward displacement). An offset greater than ±0.5% should be corrected before normalization.
- Adobe Audition: Open the Amplitude Statistics panel (Window → Amplitude Statistics) and run statistics on the full recording. The DC Offset value in the statistics report shows the average displacement from zero. An offset greater than ±0.005 in normalized amplitude should be corrected.
- iZotope RX: Use the Signal Generator or the waveform DC measurement display. RX’s Declipper and other processing modules display DC offset in their analysis panels; the standalone DC Offset module provides direct measurement and correction in a single operation.
| Offset Magnitude | Visual Appearance | Practical Risk | Action Required |
|---|---|---|---|
| < ±0.2% | Waveform appears centered | Low risk in most normalization workflows | Optional; correct for best practice |
| ±0.2%–0.5% | Slight asymmetry visible on close inspection | Moderate; may cause clipping after normalization to −1 dBFS | Correct before normalization |
| ±0.5%–2.0% | Obvious asymmetry; waveform clearly above or below center | High; will cause clipping and phase problems | Correct before any processing |
| > ±2.0% | Severe displacement; zero line appears at edge of waveform | Critical; normalization will clip and encoding will distort | Correct immediately before any other step |
DC Offset Correction Workflow: Eight Steps in Order
Athletic archive audio DC offset correction applied in the correct sequence protects the recording’s audio integrity from the first processing step through the final display-ready export. Complete these eight steps before applying noise reduction, normalization, equalization, or any other processing to a historic game recording.
Step 1 — Archive the Original Before Any Processing
Before any correction is applied, confirm the original digitized file exists in unmodified form in the archive. Create a clearly labeled working copy:
1988_state_championship_ORIGINAL.wav          ← never touch this
1988_state_championship_WORKING_COPY.wav      ← correct and process this
This is not a bureaucratic formality. DC offset correction is typically nondestructive and reversible, but the principle of working from copies applies at every stage of archive processing. If a subsequent step introduces an error, the original file remains available.
Schools building student athlete achievement archives for display and recruiting purposes already understand the importance of maintaining primary records—the same discipline applies to audio source files.
Step 2 — Listen Before Measuring
Play the recording from beginning to end at least once before opening any analysis tool. DC offset is inaudible in isolation but causes audible problems after normalization. Listen for:
- Asymmetric distortion during loud crowd moments—a harshness that is more pronounced on peaks in one direction than the other
- Buzzing or asymmetric clipping that sounds like it is coming from overload but only affects certain types of transients
- Commentary or announcement audio that sounds slightly strained at peaks
These symptoms suggest significant offset that normalization has already worsened on a previously processed file, or that normalization will worsen if applied without correction.
Step 3 — Inspect the Waveform Display
Open the working copy in the audio editing application and inspect the waveform visually as described above. Note:
- Whether the offset is positive (waveform above center) or negative (waveform below center)
- Whether left and right channels show different offsets (if so, they must be corrected independently)
- Whether the offset is consistent throughout the recording or changes at certain points (a changing offset suggests splice points between different source segments, each with its own equipment-sourced offset)
Step 4 — Measure the Offset Value
Use the tool’s analysis function to obtain a numeric offset measurement. Record this value in the archive log for the recording. If processing the left and right channels of a stereo recording, measure each channel independently.
Step 5 — Apply DC Offset Correction
Apply the correction using the appropriate function:
- Audacity: Select all audio on the affected track, then choose Effect → Normalize. Check the “Remove DC offset” checkbox and uncheck “Normalize maximum amplitude” if you are not normalizing at this step. Click OK. Audacity calculates the mean amplitude of the selection and shifts the entire waveform by the inverse of that value, centering it on zero.
- Adobe Audition: Select all audio, then choose Effects → Amplitude and Compression → Normalize. Check “DC Bias Adjust” and set it to 0% to center the waveform. If normalizing at the same step, set the normalization target separately.
- iZotope RX: Open the DC Offset module. Select the entire file, click Process. RX’s DC Offset module analyzes the mean DC level and subtracts it from the waveform. For files where offset varies across the recording (indicating splice points between different source segments), RX’s Apply Correction Per Channel option provides channel-independent correction.
For stereo recordings with different offsets on left and right channels: process the channels independently where the software permits independent channel selection. In Audacity, split the stereo track to two mono tracks before applying correction; re-join after both channels are centered.
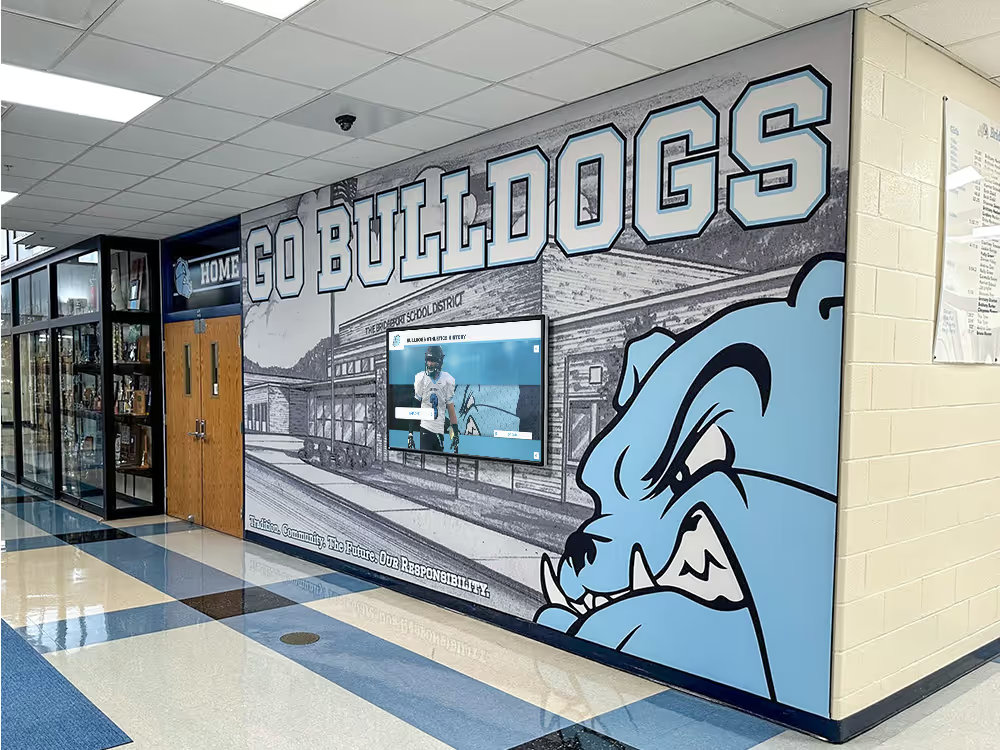
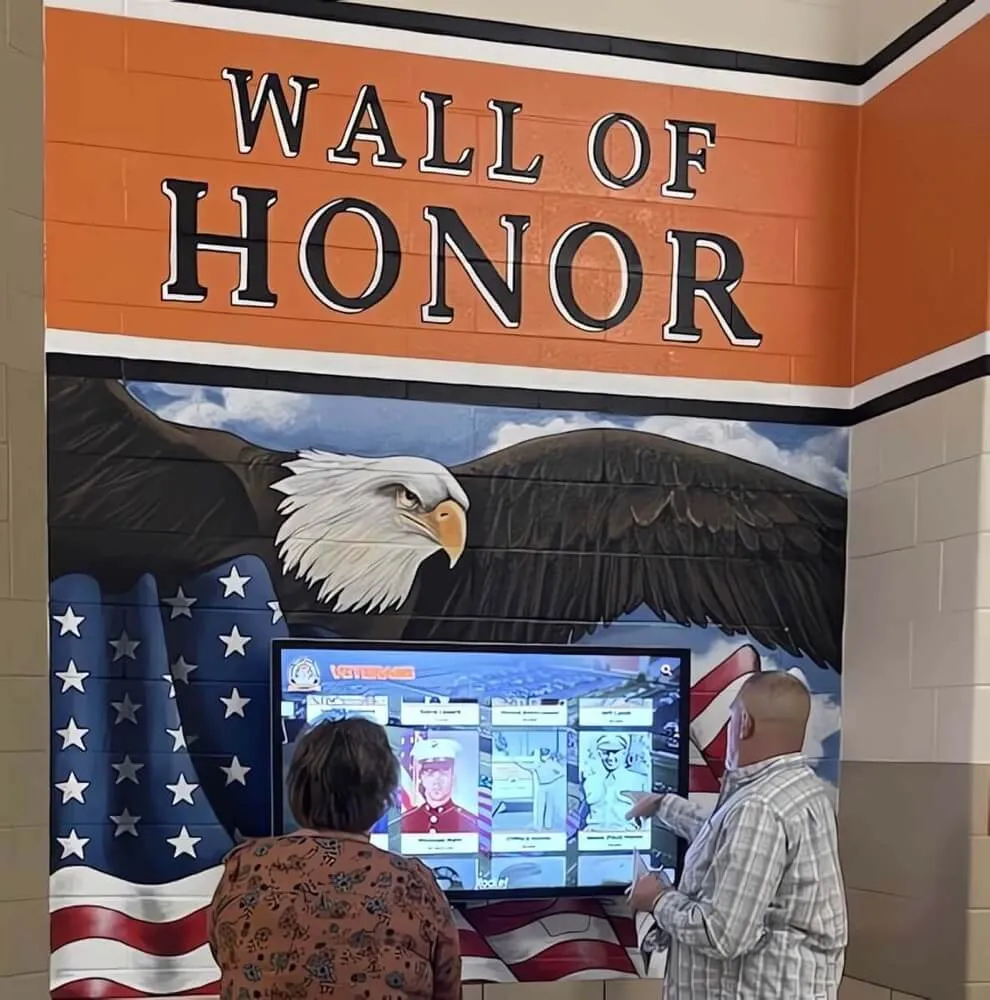
Visitors engaging with interactive displays in campus lobbies expect clear, undistorted audio from historic recordings—DC offset correction during archive processing ensures playback quality meets that expectation
Step 6 — Verify the Correction
After applying DC offset correction, re-run the measurement from Step 4. The resulting offset value should be at or very near zero (within ±0.1%). Re-inspect the waveform display; the corrected waveform should appear symmetrically centered on the zero line.
If the post-correction measurement shows offset remaining, one of the following occurred:
- The correction was applied to a selection rather than the full file; re-apply to the complete track
- The recording has multiple segments with different offset values; the correction tool averaged across the segments and left residual offset in each
- The recording has a time-varying DC offset caused by splice points or source changes; apply correction to each segment independently
Step 7 — Proceed with Normalization
With DC offset corrected, normalization proceeds from an accurate baseline. Apply normalization to the target level for the display format:
- Archive master: Normalize to −3 dBFS to preserve headroom for downstream processing
- Display distribution file: Normalize to −1 dBFS if the display system expects near-full-scale audio, or match the level target specified by the platform
- Web or streaming distribution: Follow the Loudness Normalization standard (ITU-R BS.1770-4) targeting −14 LUFS for most streaming contexts
Normalization applied to a DC-corrected waveform will find the true peak of the audio signal—not a peak inflated by offset—and scale accordingly.
Step 8 — Document the Correction in the Archive Record
Log the following in the file’s archive record:
- Pre-correction offset value (per channel if stereo)
- Tool and version used for correction
- Post-correction offset measurement confirming the result
- Any segments where offset varied and required independent correction
- The normalization target applied after correction
This documentation becomes the provenance chain that a future archivist or IT staff member can use to understand the processing history of the file. Schools that take team recognition and athletic achievement display seriously build archives that are transparent about their processing history—documenting the correction workflow is part of that commitment.
Tool-Specific Notes for Athletic Archive DC Offset Correction
Audacity (Free, Cross-Platform)
Audacity’s Effect → Normalize dialog combines DC offset removal and amplitude normalization in a single pass when both checkboxes are enabled. For a workflow where DC offset correction and normalization are separate steps, run the Normalize dialog twice: once with only “Remove DC offset” checked, and a second time with only “Normalize maximum amplitude” checked after verifying the correction.
Audacity does not display a pre-correction offset value before applying the correction; run Analyze → DC Offset before opening the Normalize dialog to obtain a baseline measurement, then re-run after correction.
Adobe Audition
Audition’s Amplitude Statistics panel (Window → Amplitude Statistics, then Run) provides pre-correction measurement. The DC Bias Adjust function within the Normalize dialog applies correction. For multi-channel files, Audition processes channels independently when “Process Left/Right Independently” is selected, making it the preferable tool for stereo recordings with channel-specific offset.
The Spectral Frequency Display in Audition can also reveal DC offset as a bright horizontal band at 0 Hz; this is a useful secondary visual confirmation that correction is needed.
iZotope RX
RX’s dedicated DC Offset module is the most direct correction path and includes per-channel independent correction without manual track splitting. For recordings with time-varying offset across segment boundaries, RX’s batch processing can apply adaptive correction across the full file. RX also displays DC offset measurement in several other modules (Declipper, Spectral Repair), making it easy to identify offset as part of a broader audio quality assessment rather than as a separate diagnostic step.
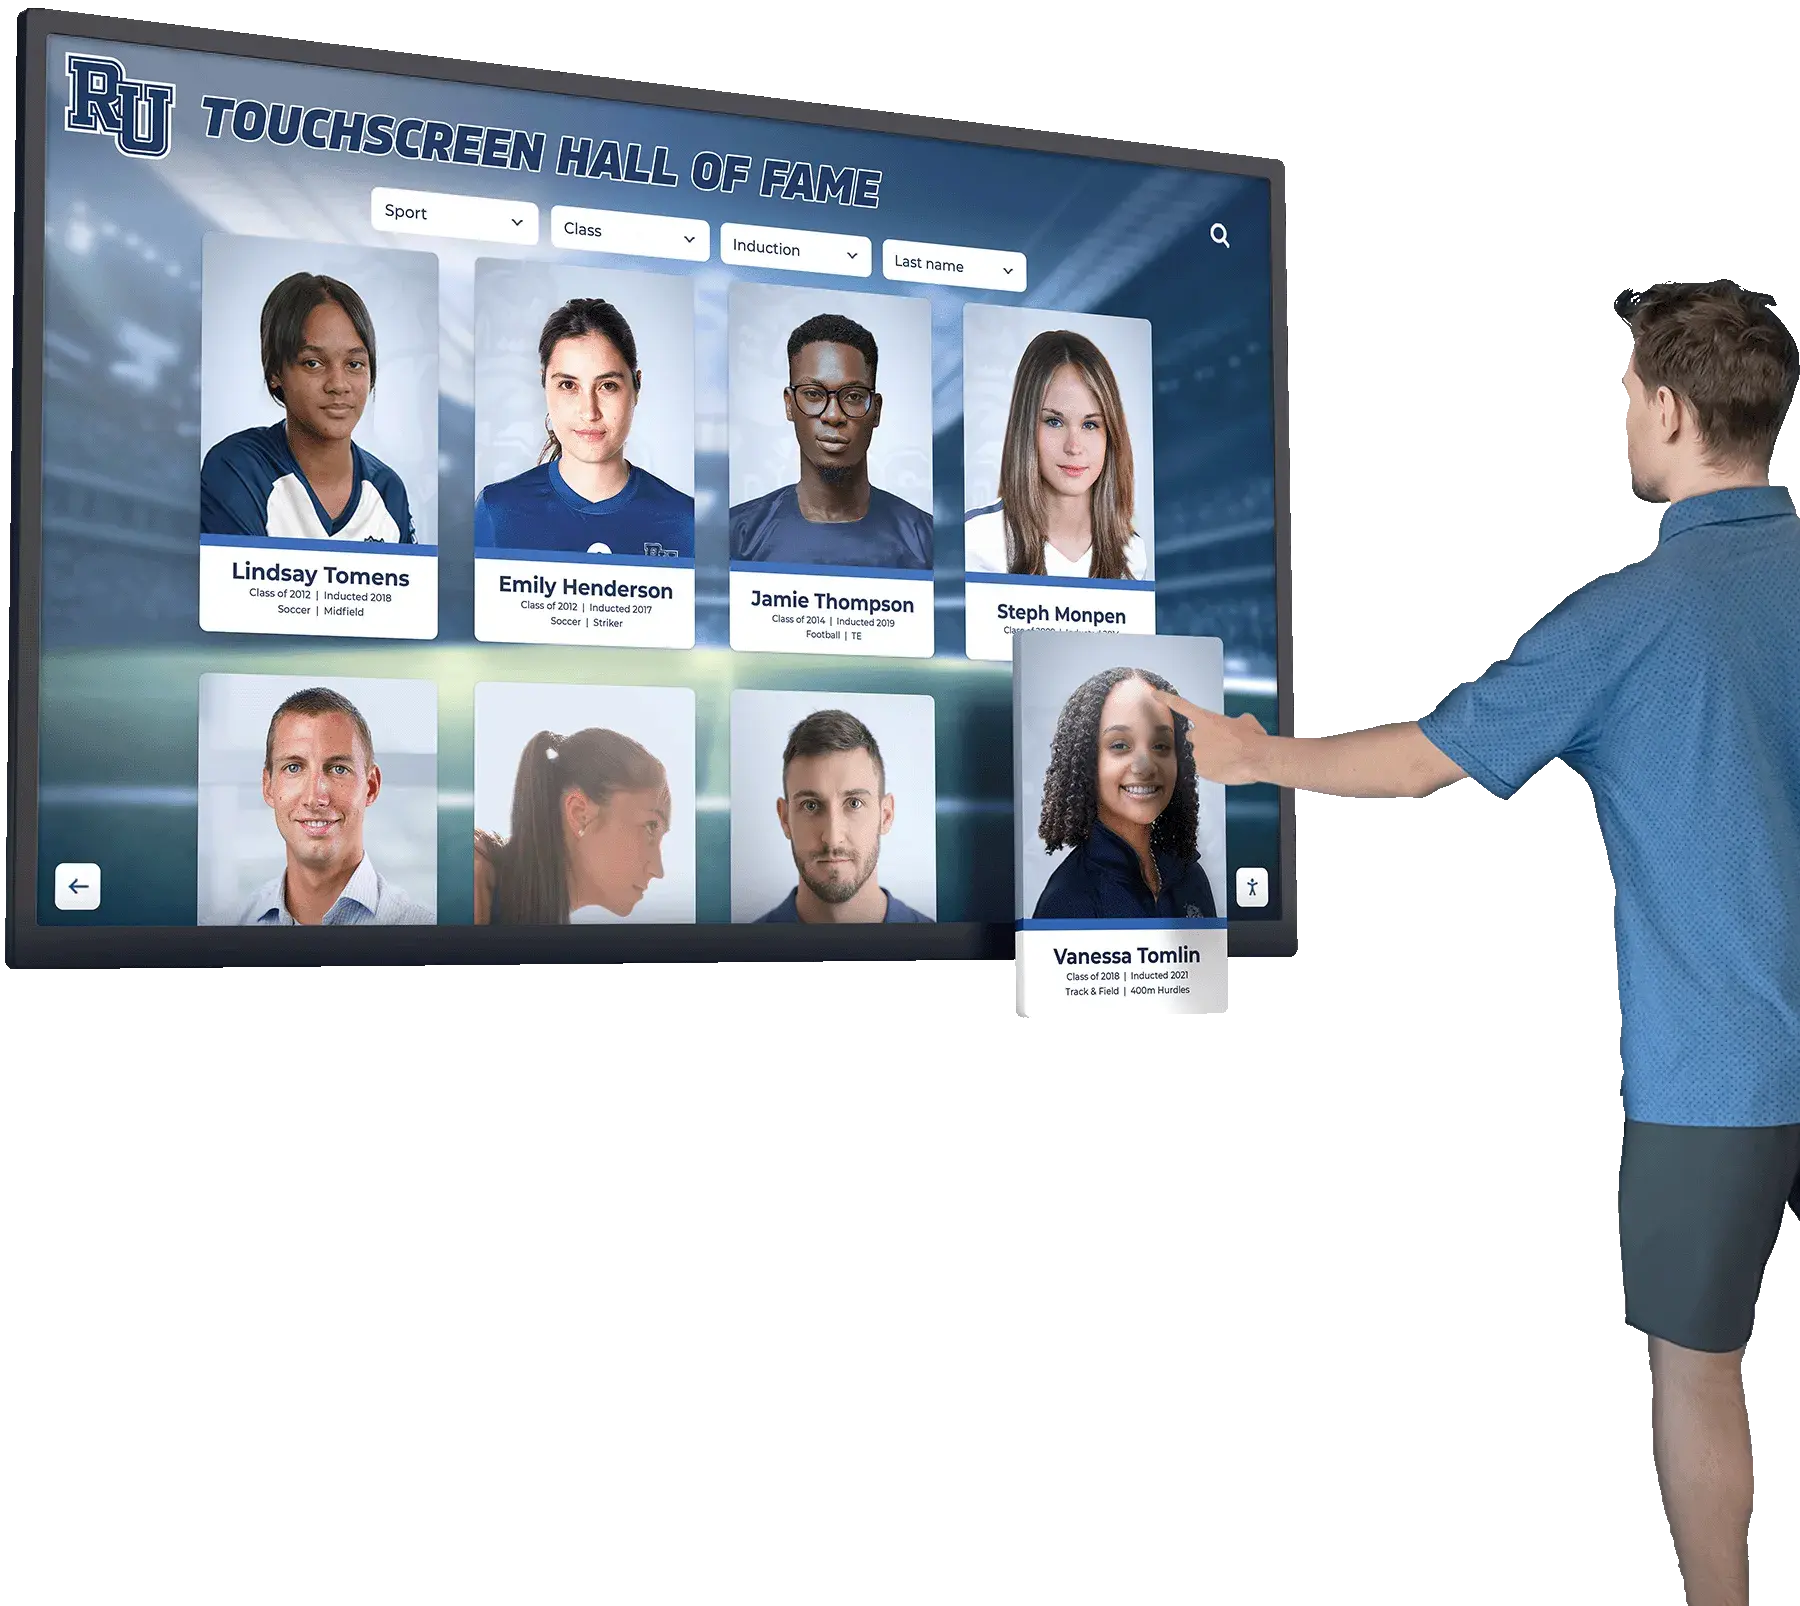
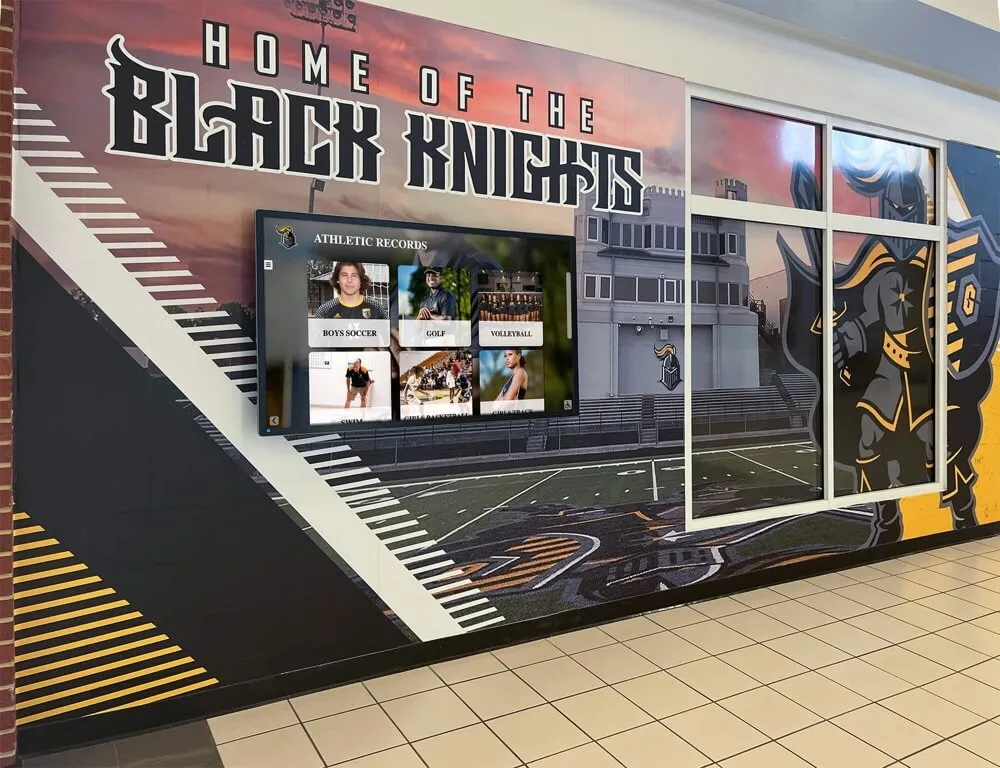
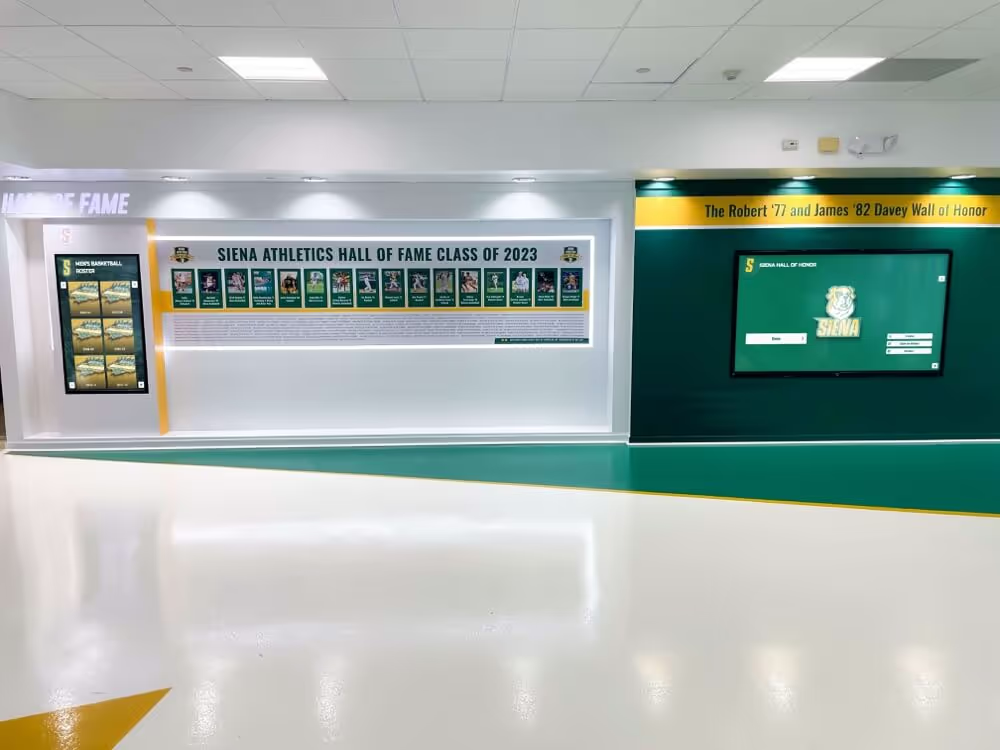
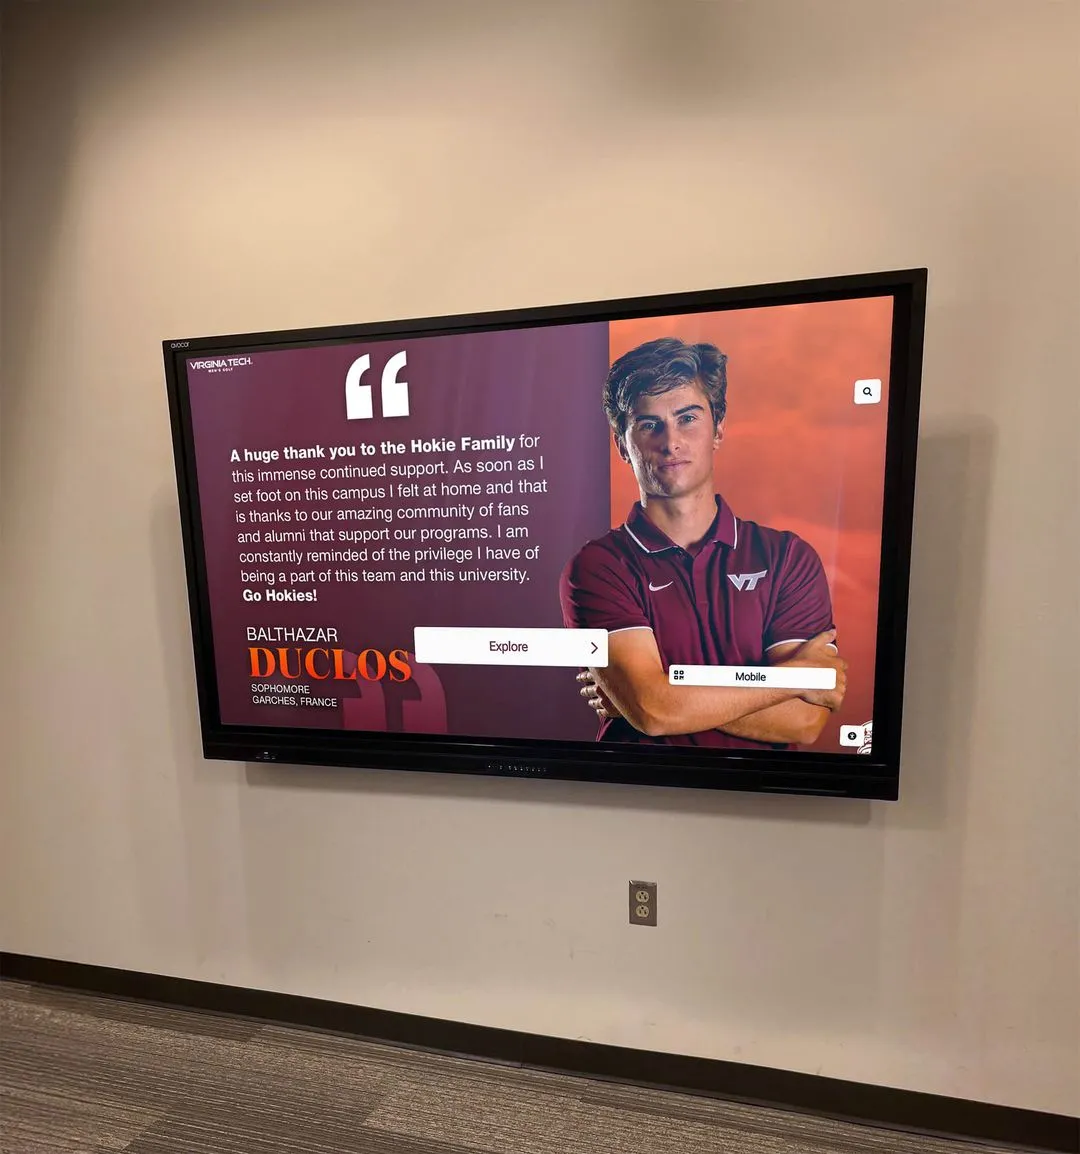
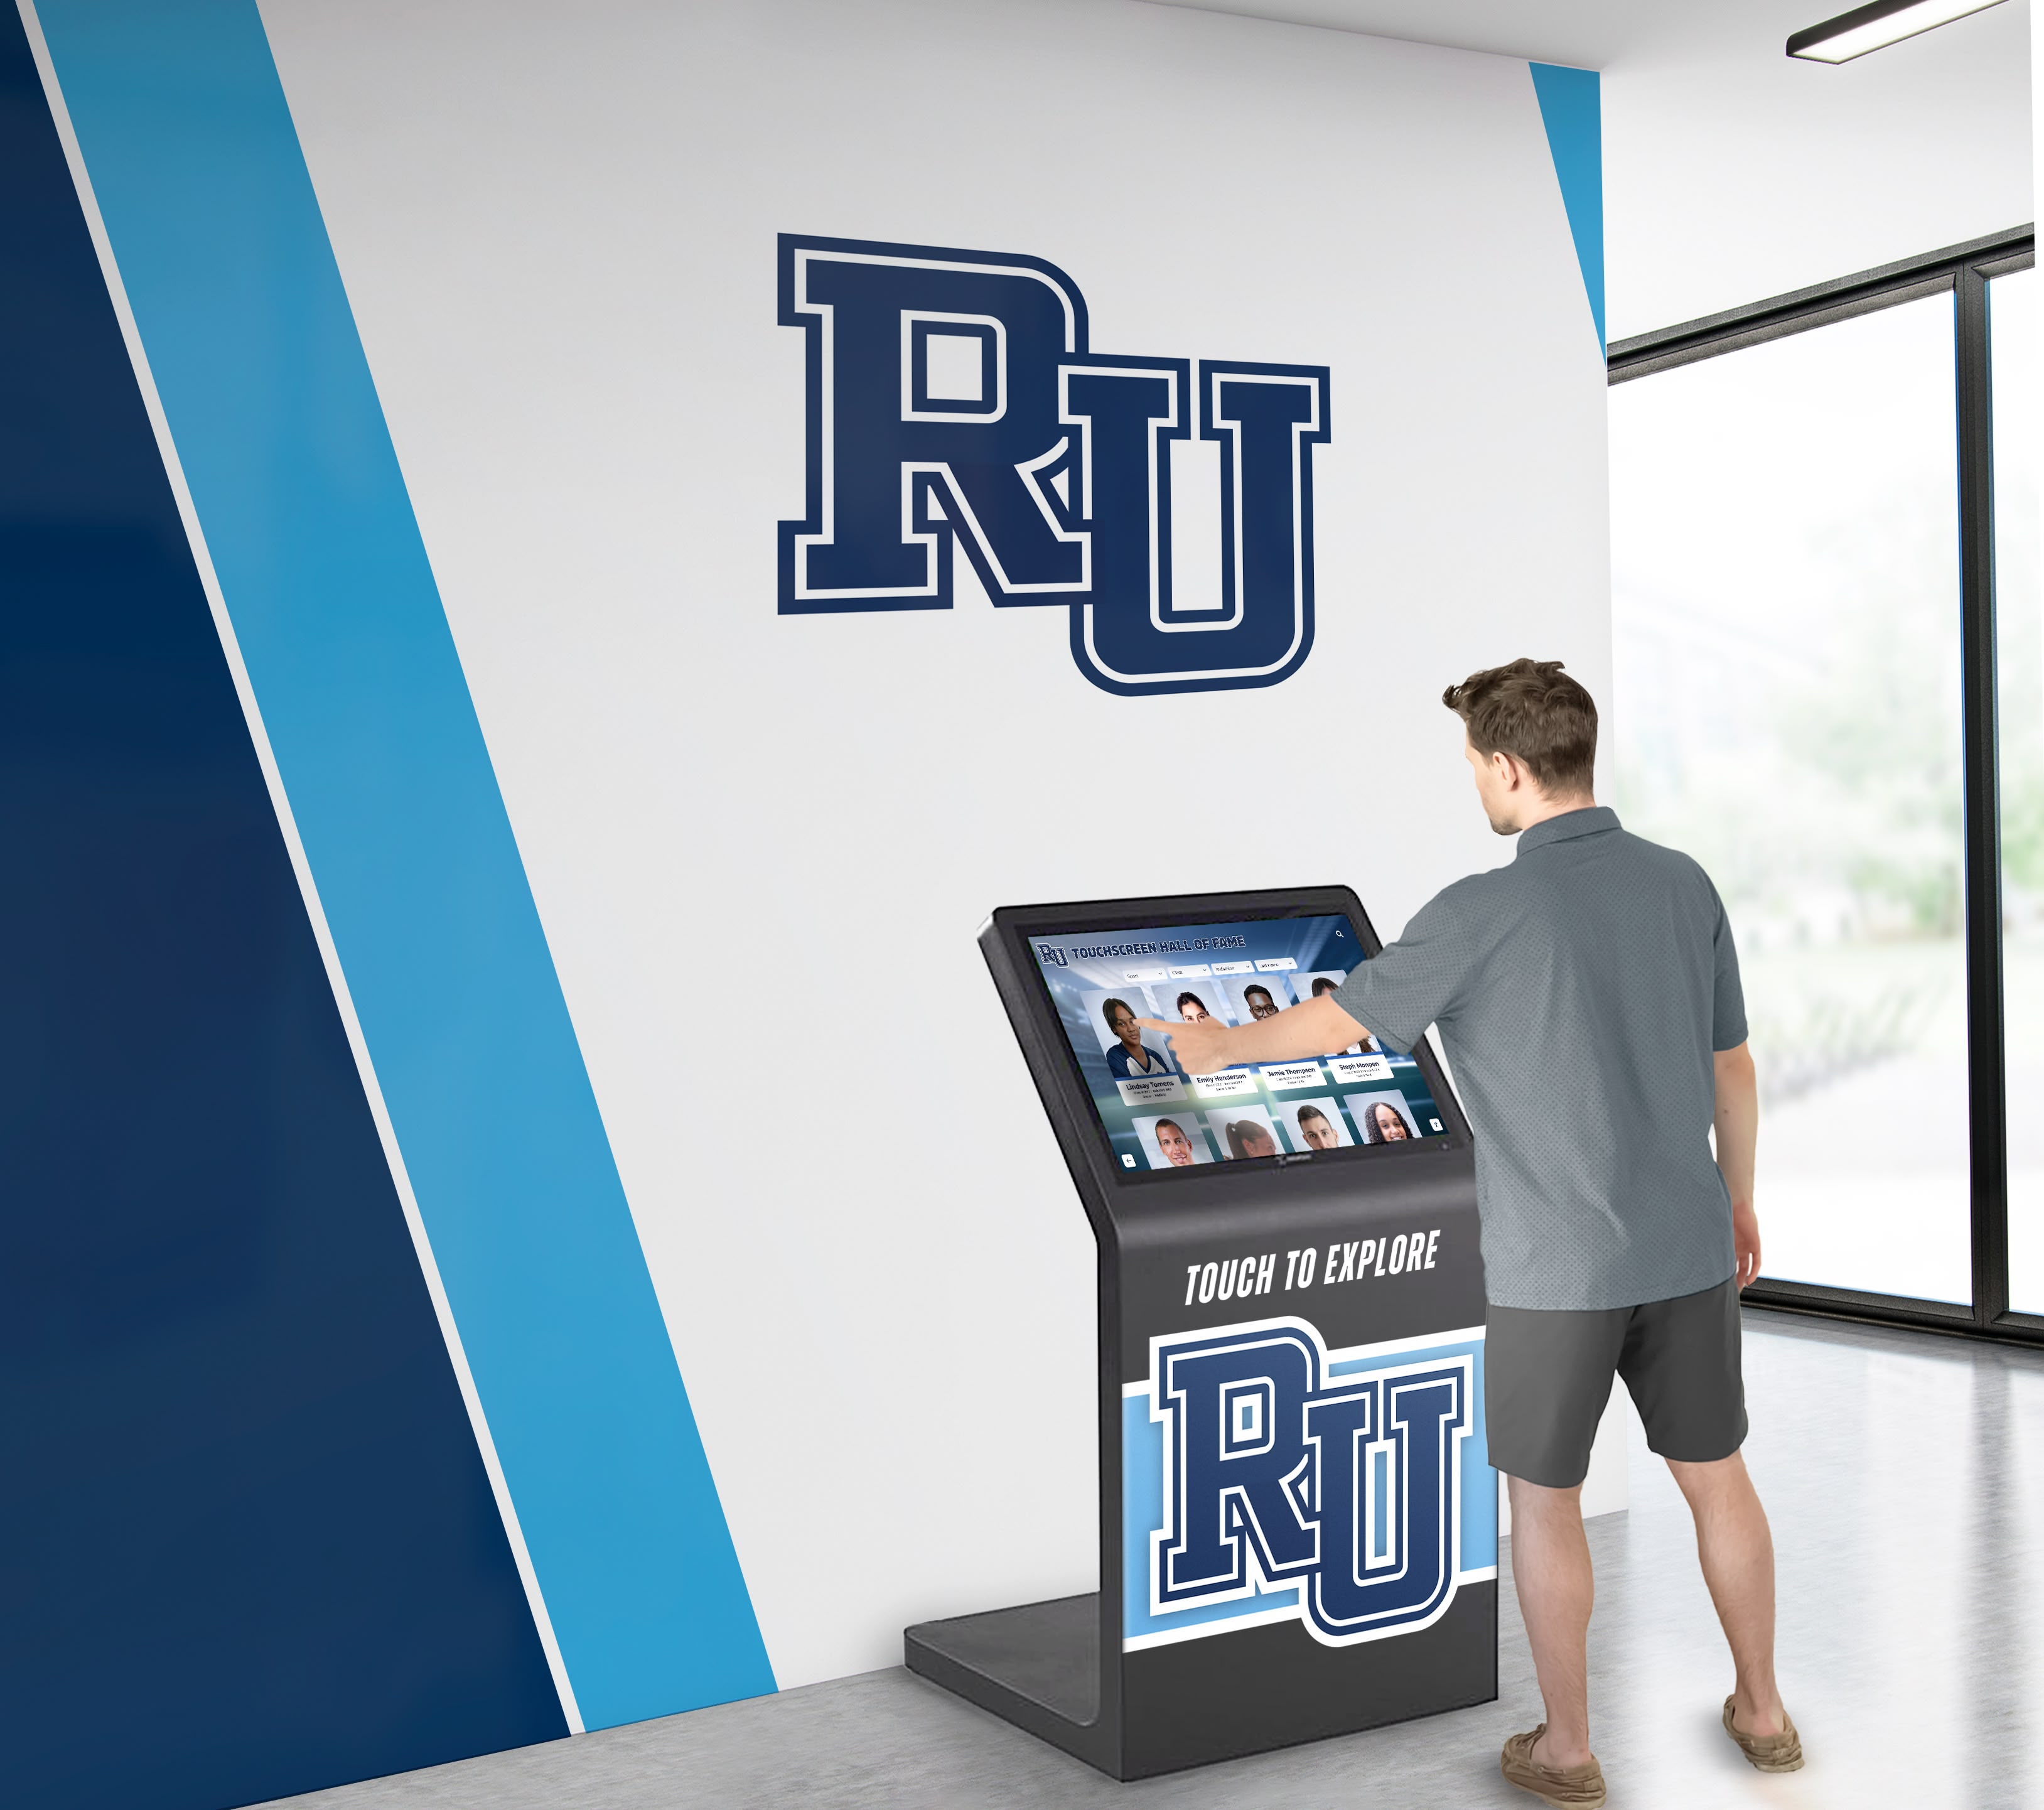
Interactive hall of fame displays allow visitors to explore athlete profiles and historic recordings—audio that has been corrected for DC offset provides a distortion-free playback experience that honors the achievements the display represents
Where DC Offset Correction Fits in the Preservation Chain
DC offset correction belongs at the beginning of the audio processing chain—before noise reduction, before equalization, before normalization, and before encoding. The correct sequence for a complete athletic archive audio preservation workflow is:
- Digitization — transfer the original media to a lossless digital format (WAV or AIFF at 48 kHz / 24-bit)
- DC offset correction — remove waveform bias before any processing that depends on a zero-centered signal
- DC measurement verification — confirm the waveform is centered
- Noise reduction — apply spectral noise reduction, hum removal, or high-pass filtering as needed
- Equalization — apply tonal correction if needed for frequency imbalance in the original recording
- Normalization — bring the corrected, clean waveform to the target playback level
- Quality review — final listening check before export
- Encoding — export to the target format for the display platform (typically H.264 video with AAC audio, or MP3/AAC audio for audio-only archives)
Schools that have already applied noise reduction or normalization to recordings without first correcting DC offset should treat those files as requiring re-processing from the original digitized source. Processing a biased waveform and then attempting to remove the offset after normalization does not restore the audio quality that was lost when the normalization step used an incorrect baseline.
Programs working through digital recognition display workflows know that each step in a technical workflow depends on the steps before it being done correctly. Audio preservation is no different: the quality of each processing step depends on the accuracy of the baseline established before it.
Administrators reviewing hall of fame display accessibility standards often find that audio quality is just as important as visual legibility—DC offset distortion affects the listening experience for all users, including those for whom audio is the primary way of engaging with historic content.
Export Settings for Display-Ready Files After DC Offset Correction
After completing DC offset correction, noise reduction, and normalization, export the archive-corrected recording in formats appropriate for the intended display platform.
Archive Master
Export a lossless master file for long-term preservation:
- Format: WAV or AIFF
- Sample rate: 48 kHz (matches video production standards and most display hardware)
- Bit depth: 24-bit (preserves the full dynamic range of the corrected recording)
- Channels: Match the source (stereo if the original was stereo; mono if the original was mono)
Display Distribution File
Export a compressed distribution file for the touchscreen display, digital kiosk, or hall-of-fame playback system:
- Audio codec: AAC at 192 kbps or higher for stereo; 128 kbps acceptable for mono
- Video wrapper: H.264 in an MP4 container for broad compatibility with display hardware
- Loudness target: −14 LUFS integrated loudness for general display playback; match the platform’s loudness specification if one is documented
- True peak limit: −1 dBTP to prevent inter-sample peaks from exceeding hardware limits during decoding
Schools preparing video-rich athletic recognition displays for spirit week programs and permanent hall-of-fame installations understand that the final display experience depends on every production step being executed correctly. DC offset correction is the step that makes all subsequent processing reliable.

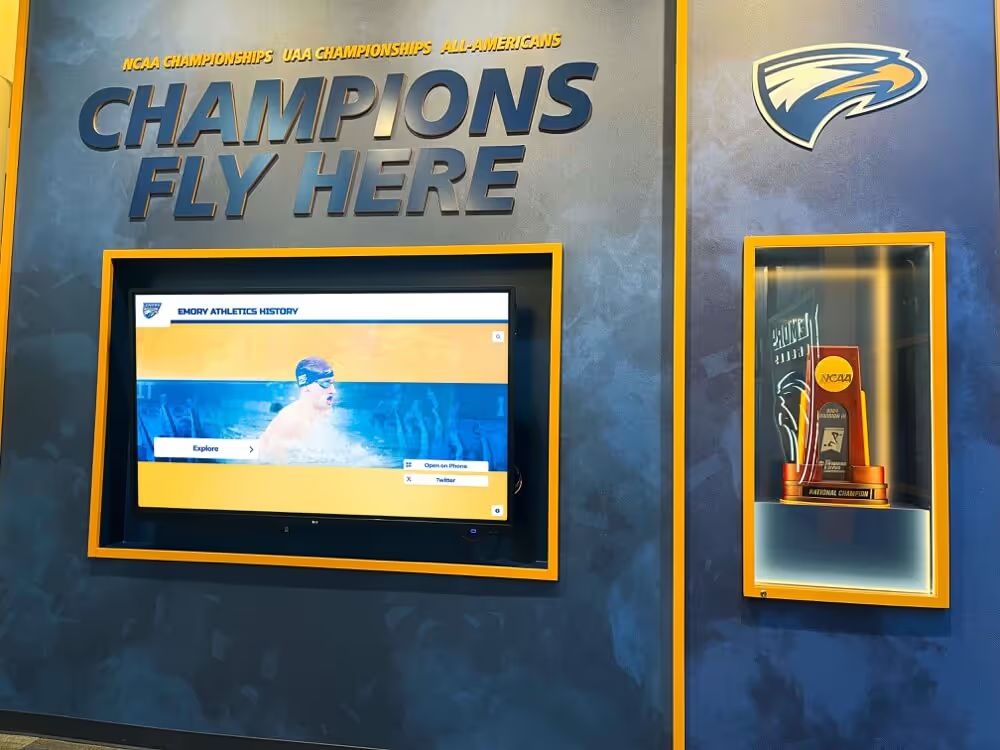
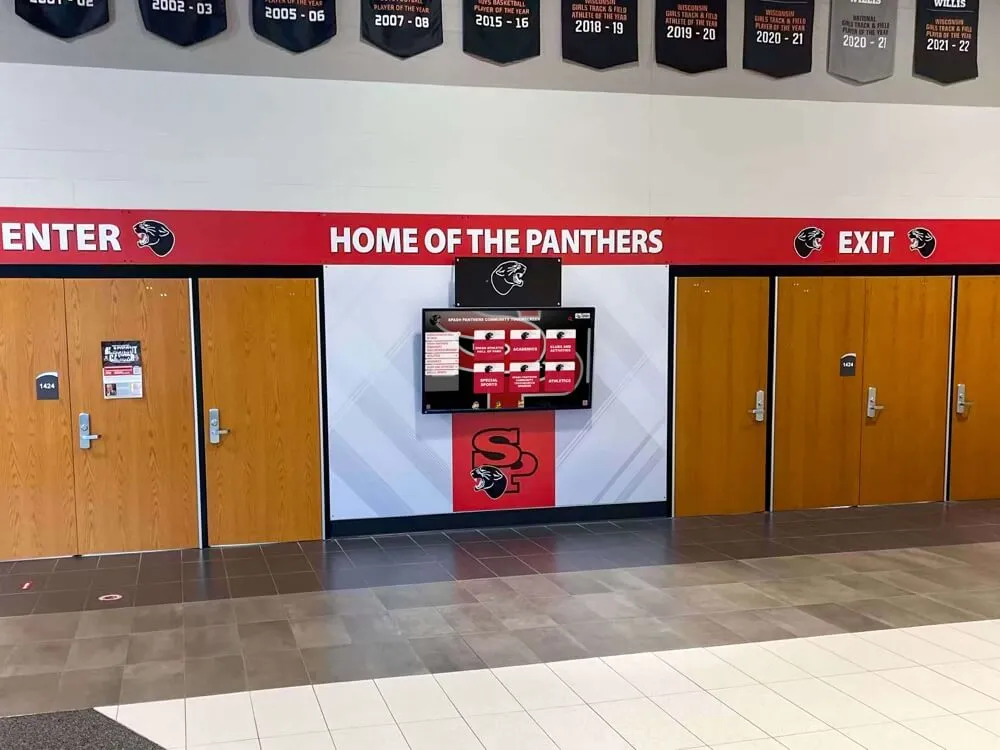
Athletic lounges and recognition spaces with display screens and trophy walls rely on clear, correctly processed audio to complete the recognition experience—DC offset correction is a required step before historic recordings are published to these environments
DC Offset Correction for Video-Rich Athletic Archive Displays
Many schools publishing historic game recordings to modern recognition displays are not publishing audio-only files. The recording is embedded in a video file that includes footage, scoreboard graphics, and title cards alongside the game audio. DC offset correction in a video-rich workflow requires audio-only processing of the embedded audio track before re-muxing into the final video container.
The workflow for video-embedded audio:
- Extract the audio track from the video file using a tool such as FFmpeg, DaVinci Resolve, or Adobe Premiere Pro
- Apply DC offset correction to the extracted audio track as described above
- Apply remaining audio processing (noise reduction, normalization)
- Re-mux the corrected audio back into the video file, replacing the original audio track without re-encoding the video stream (FFmpeg’s
-c:v copyflag accomplishes this)
Re-encoding the video stream to apply audio corrections is unnecessary and reduces video quality through generation loss. Always extract, correct, and re-mux rather than exporting a new video encode with the audio changes baked in.
Schools publishing historic game video to interactive recognition displays as part of alumni record achievements and athletic history programs should maintain corrected video masters alongside corrected audio masters so that either asset can be republished in future display formats without requiring reprocessing from original media.
Programs that also maintain obituary and memorial update policies for their digital hall-of-fame displays already understand the importance of maintaining clean, reusable source assets—DC-corrected audio masters are a permanent part of that asset library.
Ready to see how a Rocket Alumni Solutions recognition display handles historic audio and video archives?
Frequently Asked Questions About Athletic Archive Audio DC Offset Correction
What does DC offset sound like in a historic game recording?
In most cases, DC offset is not audible in isolation—the recording sounds normal at moderate playback levels. The problems become audible after normalization: the normalized recording clips on loud transients (crowd peaks, buzzers, applause), sounds harder and harsher than it should, or distorts asymmetrically—one direction of the waveform clips while the other does not. If a recording sounds fine before normalization but harsh or distorted after, DC offset is a likely contributor.
Does DC offset correction affect the historical character of the recording?
No. DC offset is not part of the audio content of the recording—it is a constant baseline shift introduced by the equipment, not by the game or ceremony being recorded. Correcting it does not alter the sound of the crowd, the commentary, or any audio that carries historical value. It centers the waveform so that subsequent processing tools can operate accurately.
Can DC offset correction fix a recording that was already normalized with offset present?
Partially. Applying DC offset correction after normalization centers the waveform, which prevents further distortion from subsequent processing. However, it cannot restore clipped peaks that were truncated during normalization—those are permanent losses to the recording. For best results, always apply DC offset correction before normalization.
Which audio files in a school’s archive are most likely to have DC offset?
Recordings digitized using consumer USB capture devices from before 2010 are the highest-risk category. VHS transfers from multiple-generation dubs are also high risk. Recordings made directly from a gymnasium PA output are moderately high risk. Professional broadcast recordings made directly to digital media from 2005 onward are low risk but should still be measured.
How long does DC offset correction take for a full athletic archive?
Measurement and correction of a single recording takes two to five minutes in any standard audio editing tool. For large archives—hundreds of recordings—batch processing tools in Adobe Audition and iZotope RX can apply correction across multiple files simultaneously, reducing the per-file time to under a minute once the batch is configured.
Should DC offset correction happen before or after noise reduction?
DC offset correction should happen before noise reduction. Noise reduction tools that build a noise profile from a quiet section of the recording assume the waveform is centered on zero when measuring the noise floor. An offset waveform produces a contaminated noise profile that causes the noise reduction tool to over-reduce or under-reduce at different frequency ranges. Correct the offset first; then build the noise profile and apply noise reduction.
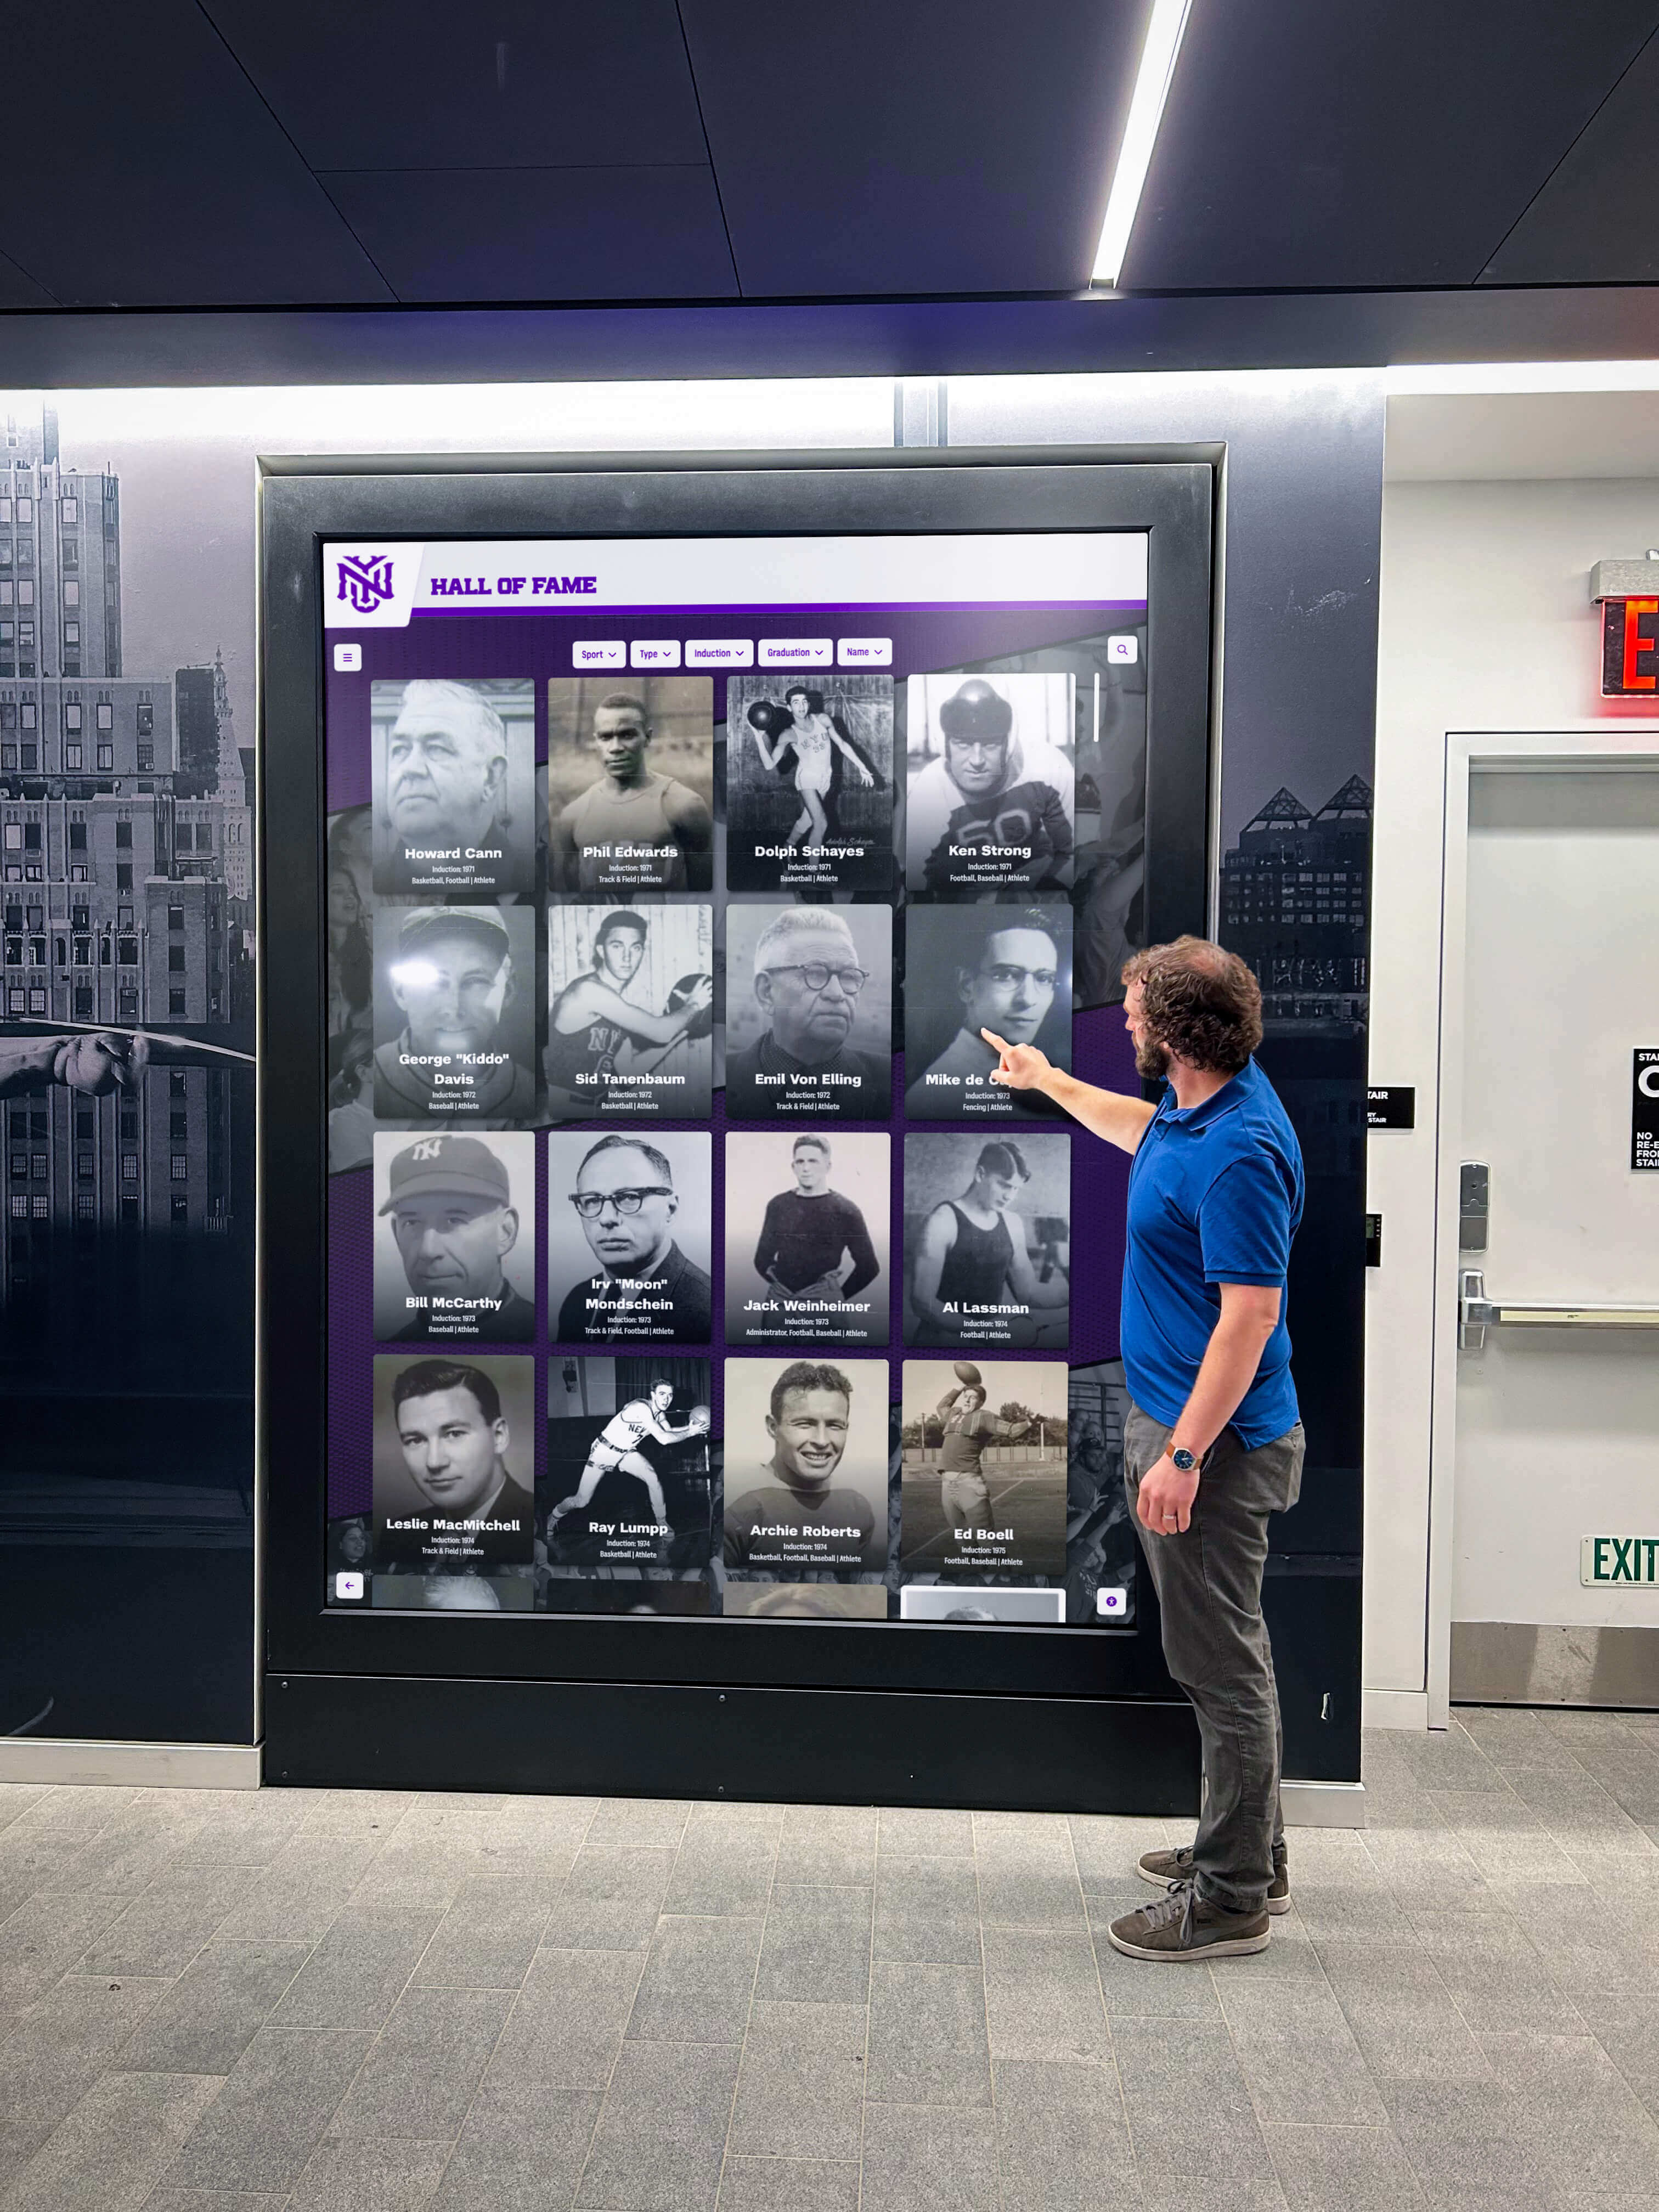
Every visitor engagement with a historic game recording at an interactive display is a moment the school's archive workflow either supports or undermines—DC offset correction ensures that audio quality honors the athletic legacy being recognized
Building DC Offset Correction Into the Archive Review Process
Athletic archive audio DC offset correction is most effective when it is built into the standard review process for every digitized recording entering the archive—not treated as a corrective measure for recordings that already sound problematic. The measurement step takes less than five minutes per file; discovering that offset is absent is a result that confirms quality and takes no additional processing time. Discovering that offset is present enables correction before normalization or encoding introduces the permanent damage that would otherwise require re-digitization from original media.
For schools processing large volumes of historic game recordings as part of an athletic recognition display project, a standard intake checklist that includes DC offset measurement alongside clipping inspection, channel mapping verification, and noise assessment ensures that every recording is evaluated completely before it enters the processing pipeline.
Schools preparing historic recordings for recognition display programs that will run on lobby touchscreens and interactive hall-of-fame kiosks should treat audio quality review as an integral part of the display production process—not an afterthought. The athletes, coaches, and teams whose games and ceremonies fill those recordings deserve audio that is as well-maintained as the trophies and photographs displayed alongside it.
Rocket Alumni Solutions provides interactive touchscreen recognition platforms for schools, including digital halls of fame, athletic achievement archives, and video-rich lobby displays. To see how your school’s historic audio and video content can be presented on a modern interactive display, schedule a demo and explore the platform with a specialist who understands both the recognition goals and the technical requirements of publishing historic media to a touchscreen environment.