



Athletic archive audio clipping detection is the process of identifying recordings where audio signals exceeded the maximum level a recording device could capture—producing distorted, saturated sound that no amount of volume adjustment will fix at the playback stage. Historic game footage, VHS transfers, camcorder recordings, and dubbed broadcast tapes are all vulnerable to clipping artifacts. When clipped audio reaches a touchscreen hall of fame, a lobby display, or a digital archive, the distortion that was inaudible on a small television in 1994 becomes unmistakably harsh through modern display speakers, undermining the recognition experience the recording was meant to create.
This guide walks athletic directors, archives staff, IT and facilities teams, and recognition-program coordinators through a complete quality-control workflow for detecting, documenting, and correcting audio clipping in historic athletic recordings. It covers the sources of clipping most common in school athletic archives, the software tools available for detection, a segment-by-segment review protocol, correction approaches organized by severity, and export practices that preserve audio integrity through the final display file.
Audio clipping occurs at the moment of recording—not at playback. It is a permanent artifact of the original capture that cannot be undone simply by lowering volume. Understanding that distinction is the starting point for every clipping detection workflow, because it means that identifying clipped recordings early—before they are processed, exported, and published—is the only point in the digitization pipeline where correction is meaningfully possible.

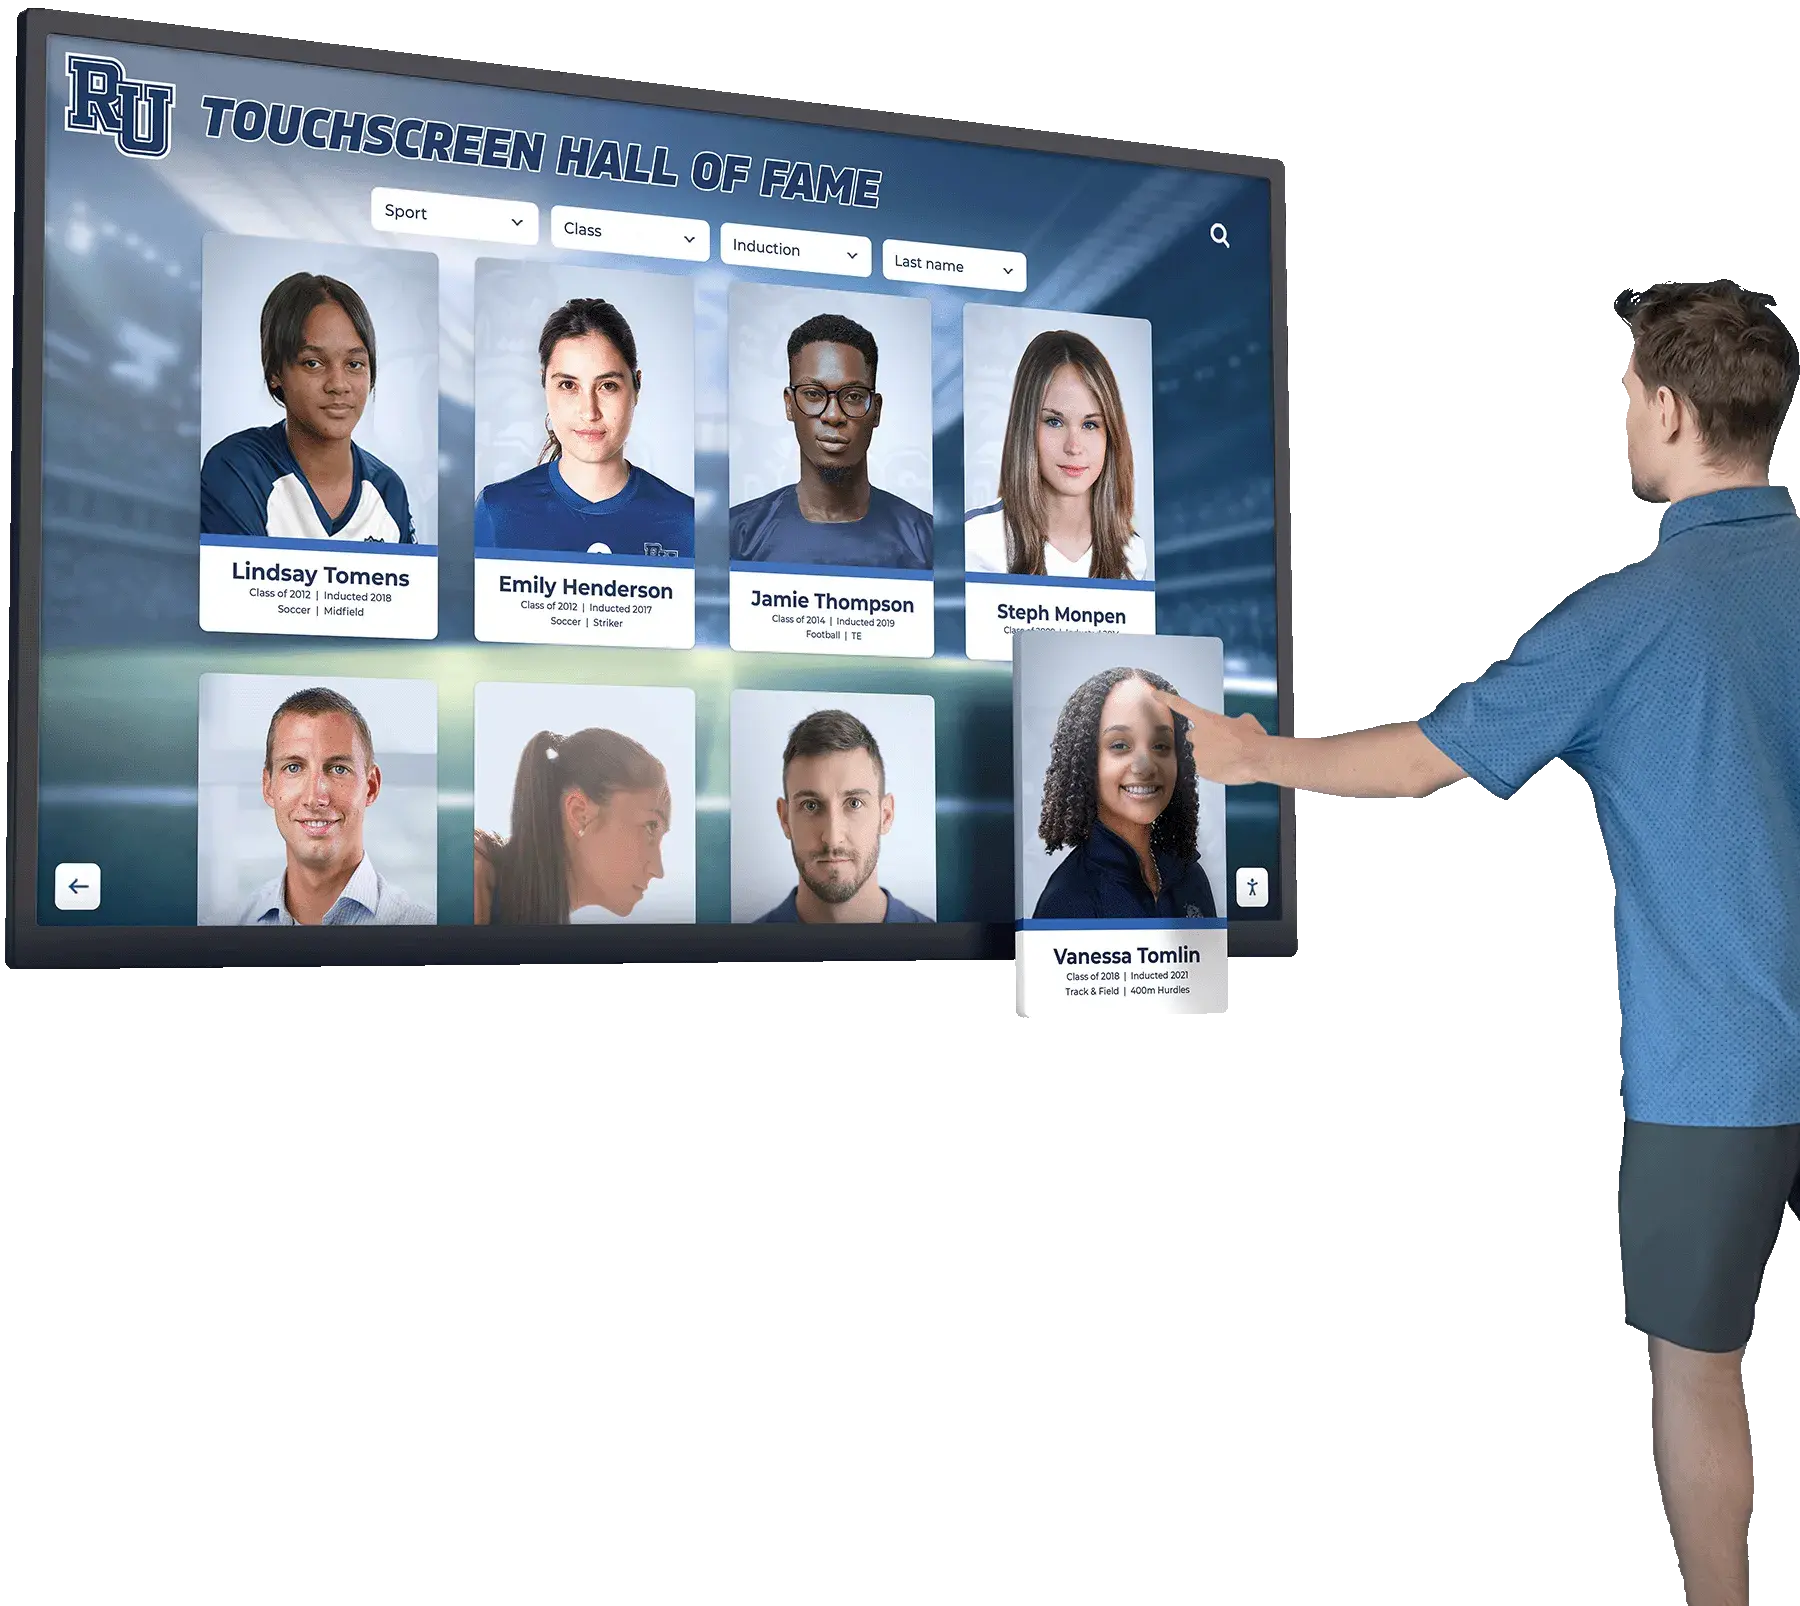
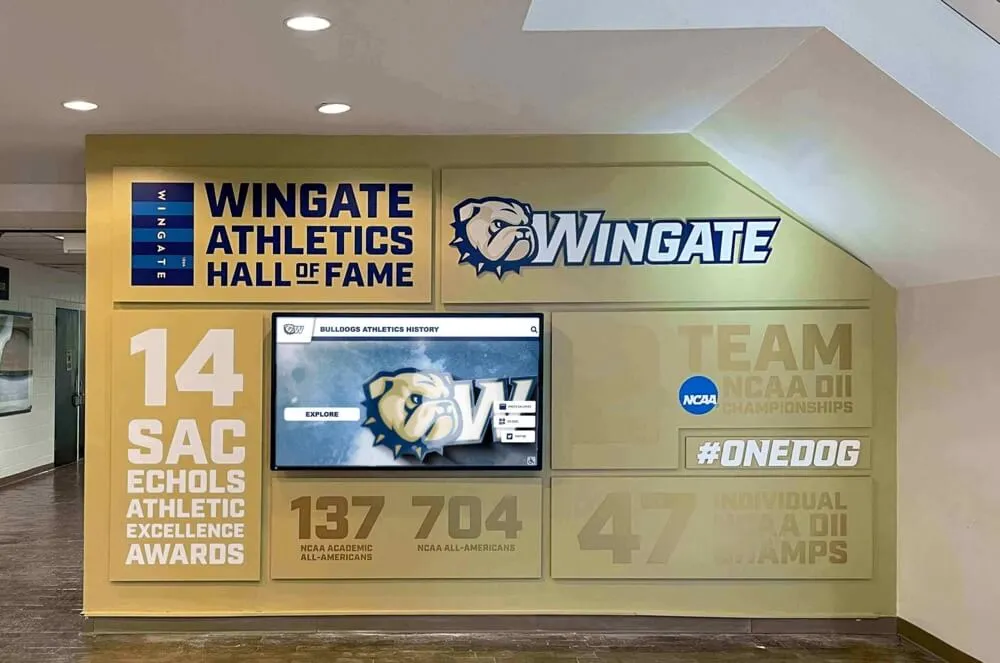
Archiving athletic content correctly begins long before a file reaches a touchscreen display—audio clipping detection belongs at the earliest stage of the digitization workflow, not after publication
What Audio Clipping Is and Why It Damages Athletic Archive Recordings
Audio clipping happens when an input signal—a crowd roar, a buzzer sound, a commentator’s voice rising at a scoring moment—exceeds the maximum level a recording device can represent. Analog recording equipment responds to overload with a soft, gradual saturation. Digital recording equipment responds with hard clipping: the waveform is literally cut off at a ceiling value, replacing the natural peak of the sound with a flat, squared-off line. The audible result is a harsh, buzzing distortion that is most noticeable during loud transients—applause, whistles, cheering, and high-energy commentary moments.
For athletic archives, clipping is particularly common in these source materials:
- Consumer camcorder recordings from the 1980s and 1990s, where automatic gain control was designed to prevent silence rather than prevent overload, frequently pushed high-amplitude events like crowd peaks and buzzers into clipping
- Public-address recordings made by connecting directly to a gymnasium’s PA output, where input level matching was rarely checked before recording began
- VHS dubbing copies where each generation of tape duplication added small amounts of level increase, with the final copy sometimes several decibels louder than the original
- Broadcast recordings captured to consumer devices, where the broadcast feed was hotter than the consumer recorder expected
- Banquet and ceremony recordings made in reverberant rooms with aggressive automatic gain control that boosted ambient sound until applause events clipped the input
Clipping that was tolerable on the original display format—a small television with limited dynamic range—becomes obvious and unpleasant through the full-range speakers of a modern lobby display or interactive kiosk. Schools that take the time to build strong academic recognition programs understand that every element of a recognition display, including its audio, must meet a standard that honors the athletes and coaches it represents. Clipped audio fails that standard.
How to Identify Clipping in Historic Game Recordings
Visual Detection: Reading the Waveform
Waveform inspection is the fastest and most reliable first-pass method for detecting clipping. In any audio editing application—Audacity, Adobe Audition, DaVinci Resolve’s Fairlight page, or any digital audio workstation with waveform display—a clipped recording shows flat, horizontal lines at the peak of the waveform where the signal has been truncated.
What to look for in a waveform display:
- Flat tops on peaks: A natural, unclipped waveform has rounded peaks. A clipped waveform has peaks with flat, squared-off tops where the ceiling was reached
- Sustained flat sections: In severely clipped recordings, the flat section may last for several frames, particularly during applause or crowd peaks
- Asymmetric clipping: Recordings where only positive or only negative peaks are clipped—common in recordings made with poorly biased equipment—show flat lines on only one side of the center axis
Zoom in on the waveform during sections you expect to contain high-amplitude content: crowd peaks after scoring plays, buzzer sounds, applause at ceremony moments, and any section where a commentator’s voice rose noticeably. These are the locations most likely to contain clipping.
Listening Detection: What Clipped Audio Sounds Like
Waveform inspection confirms clipping mathematically. Listening confirms its audible severity. The two are not always proportional—a waveform may show many clipped samples that are individually brief enough to be nearly inaudible, while a sustained clipped passage is immediately obvious on playback.
Listen for these characteristics:
- Buzzing or crackling distortion during peaks that sounds like a blown speaker but disappears when volume is lowered
- Harshness on consonant sounds in commentary—words beginning with “P,” “T,” or “K” often clip first in speech recordings
- Applause that sounds like static rather than discrete hand claps, particularly as a crowd builds to a peak
- Buzzer or whistle sounds that have a raspy, distorted edge instead of a clean tone
- A recording that sounds louder and harsher than others from the same era even when played at the same playback volume
Listening review should happen in an environment with acoustics representative of where the recording will be used. A recording that sounds acceptable in a quiet editing suite may reveal audible distortion in a gymnasium hallway with reflective surfaces.
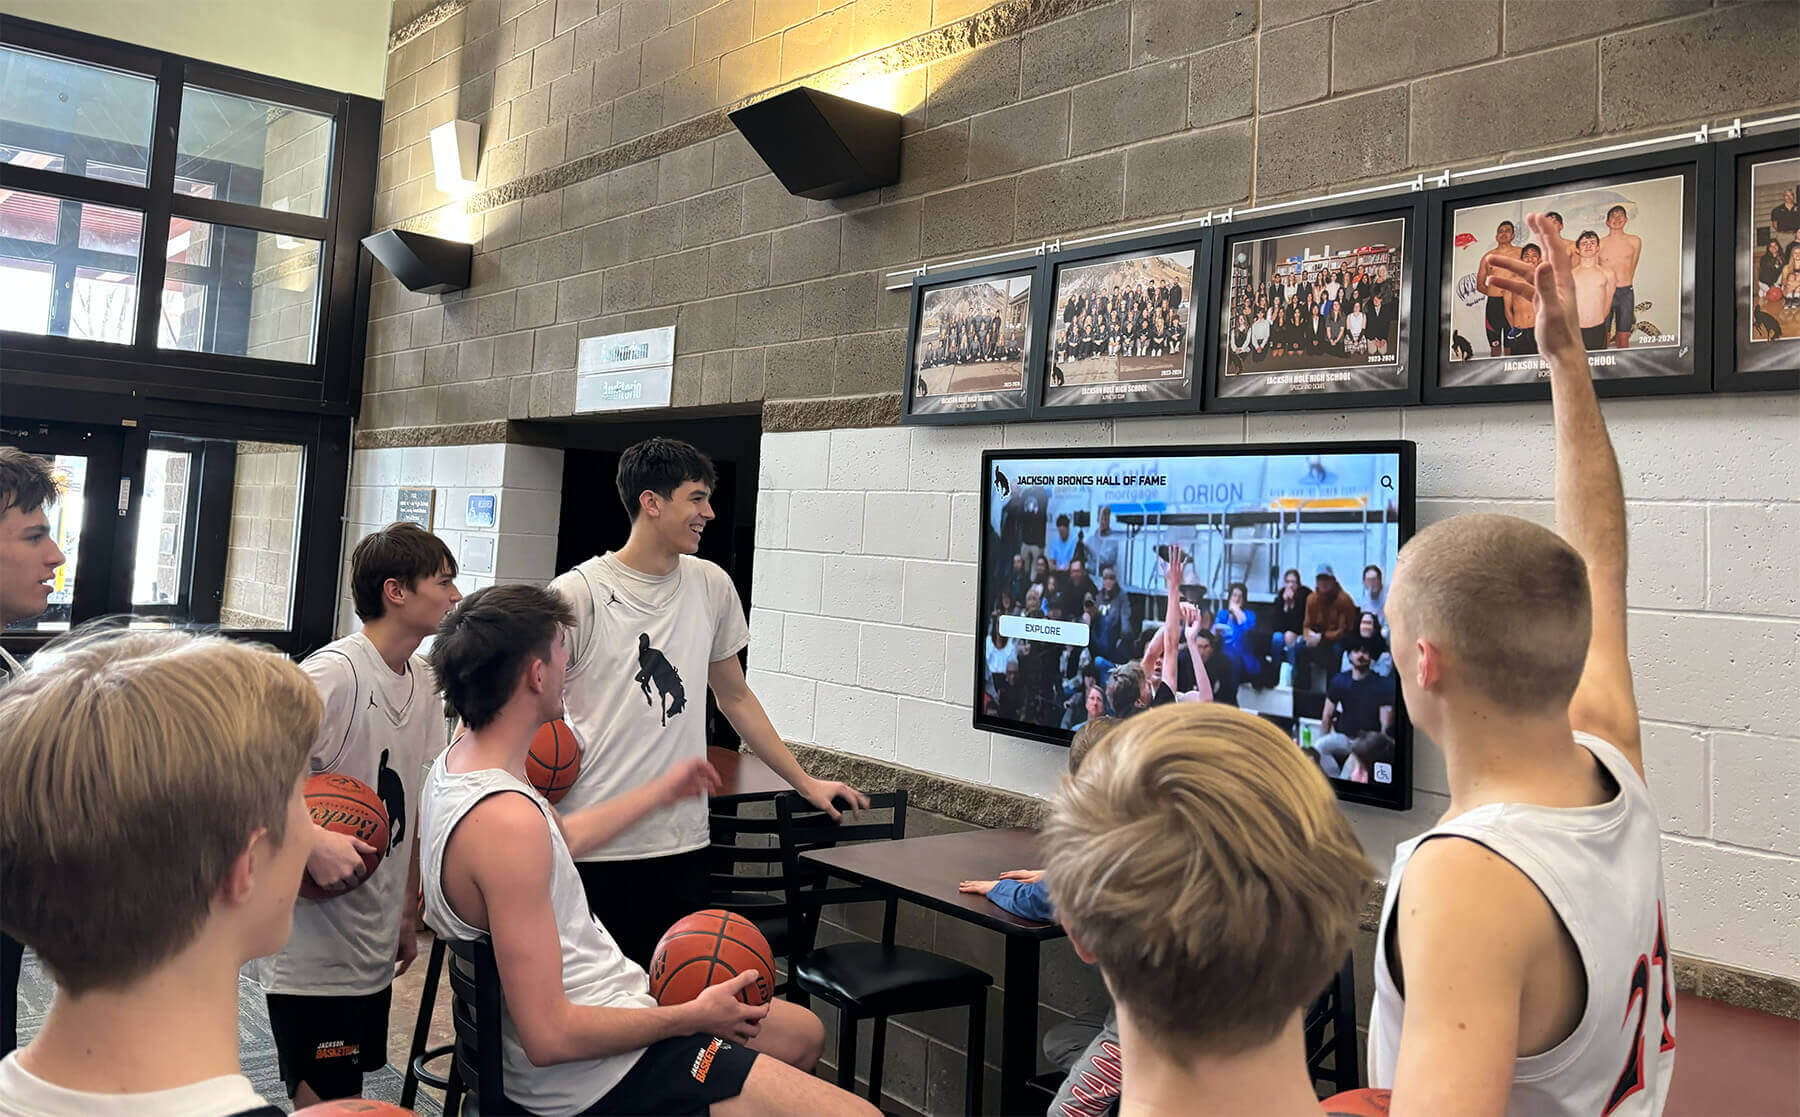
Modern lobby displays and touchscreen kiosks expose clipping artifacts that were tolerable on original consumer playback equipment—detecting and correcting clipping before publication prevents the recognition experience from being undermined by distortion
Software Detection: Clipping Meters and Analysis Tools
Beyond visual inspection, dedicated audio analysis tools provide precise, quantitative clipping detection that supports consistent QA documentation across a large archive.
Free tools with clipping detection:
- Audacity: Open the file and use Analyze → Amplify to see the current peak level. The “Clip Fix” plugin under Effect → Distortion and Modulation provides a basic view of clip locations. The waveform view in Audacity color-codes clipped samples in red when Preferences → Tracks → Waveform are set to display clipping.
- DaVinci Resolve (free tier): The Fairlight audio page includes a loudness meter with a clip indicator. Individual track meters show peak hold and clipping in real time during playback.
- MediaInfo (free utility): While not an audio editor, MediaInfo reports the file’s maximum sample level and whether samples exceeded the ceiling.
Commercial tools with advanced clipping analysis:
- Adobe Audition: The Amplitude Statistics panel (Window → Amplitude Statistics) reports the number of clipped samples, the percentage of the file that is clipped, and the clipping start and end positions when playback is complete.
- iZotope RX: The most comprehensive audio repair suite available for archival work. The Clip Gain module visualizes all clipped regions and the Statistics tab reports exact clip count and duration. iZotope is the industry standard for serious archival audio repair.
For programs managing large backlogs of digitized athletic content, a batch analysis workflow using a command-line tool such as FFmpeg can identify files that exceed 0 dBFS (the digital ceiling) before they enter individual review. The command ffmpeg -i input.mp4 -af astats=metadata=1:reset=1,ametadata=print:key=lavfi.astats.Overall.Max_level -f null - reports the peak level for each file and can be automated across a directory of archive files.
Pre-Review Checklist: Before Opening Any File
Complete this checklist before beginning waveform or listening review on any historic athletic recording.
Source documentation to gather:
- Original format label (VHS, Betamax, Hi-Fi VHS, consumer camcorder, broadcast BetaSP, direct digital file)
- Generation of the copy being reviewed—original recording, first-generation dub, second-generation dub, or unknown
- Transfer equipment and transfer date, if known
- Any operator notes about audio anomalies observed during digitization
- Known recording environment (gymnasium with PA, outdoor stadium, banquet venue, broadcast booth)
- Intended display destination (lobby touchscreen, hall of fame kiosk, digital archive streaming, outdoor LED board)
File-level checks before waveform review:
- Open the file in analysis software and check the reported peak level—files peaking above -0.1 dBFS should be assumed to contain clipping until visual inspection confirms otherwise
- Note the file’s average (RMS) level relative to its peak level—a file where peak and average levels are unusually close together has likely been compressed or limited in a way that may have contributed to clipping
- Confirm the file’s audio codec and sample rate are compatible with the review software before beginning—incompatible codecs occasionally introduce artifacts during decoding that resemble clipping but are not present in the original
- Note the duration of the recording and plan listening time accordingly—skipping to only a few sample points misses intermittent clipping that occurs at specific high-energy moments
Section-by-Section Clipping Detection Protocol
A systematic review that examines specific content types within a recording is more reliable than a continuous play-through. The following protocol applies to the most common content types in an athletic archive.
Game Action and Play-by-Play Segments
Game action segments are the most likely locations for crowd-sourced clipping, buzzer events, and commentator overload.
- Identify the game’s highest-energy moments before beginning review: scoring plays, final buzzer, overtime moments, and halftime transitions
- Play each high-energy moment with waveform visible and confirm whether peaks are rounded (unclipped) or flat-topped (clipped)
- Listen to the full final two minutes of the game—sustained crowd noise building to a buzzer is the single most common location for severe clipping in game recordings
- Review the moment immediately after a scoring play—crowd peaks following points or touchdowns are characteristically the loudest transients in a game recording
- Check commentary intelligibility during clipped crowd sections—if commentary is present simultaneously with clipping crowd audio, confirm whether the speech itself is clipped or only the ambient crowd
Ceremony and Banquet Recording Segments
Ceremony recordings present a different clipping profile than game action. Applause clipping is the most common issue, and it concentrates at predictable points.
- Review the beginning of applause sections immediately following each honoree’s announcement—the first burst of applause when a crowd rises in response to recognition is typically the loudest transient in a ceremony recording
- Check the podium microphone channel for clipping during moments when a speaker raised their voice for emphasis or began to show emotion
- Review any musical introduction or walk-on sequence for clipping in the musical track
- Listen to the closing moments of a ceremony when combined applause from all attendees is most likely to have overloaded an automatic-gain-control system
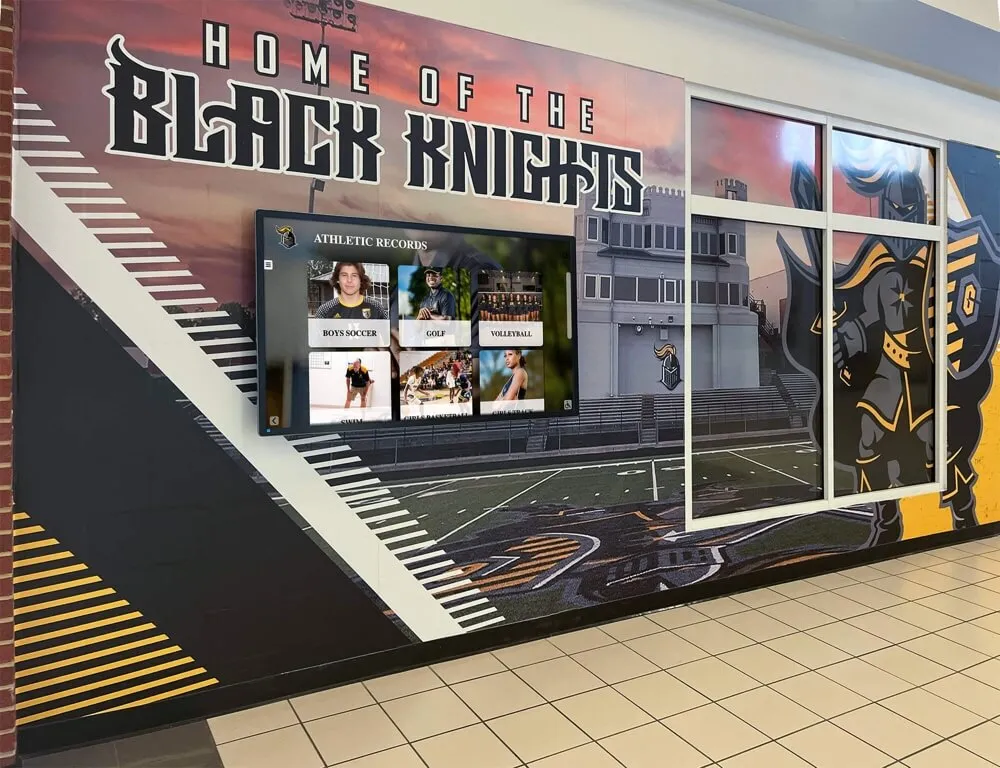
Ceremony and induction recordings are irreplaceable institutional history—audio clipping that makes a coach's acceptance speech or a crowd's standing ovation sound distorted diminishes content that cannot be re-recorded
Interview and Oral History Segments
Interview recordings are particularly sensitive to clipping because speech distortion is one of the most recognizable and least acceptable forms of audio degradation.
- Review the first thirty seconds of each interview segment, when recording levels were most likely not yet stabilized
- Identify any moment when the subject raised their voice, laughed, or became emotional—these are the peak-level events in an interview recording
- Listen for sibilance clipping: excessive harshness on “S” sounds in speech that indicates the high-frequency content was being clipped during recording
- If the interview was recorded in a noisy environment (sideline, locker room), check whether the automatic gain control responded to ambient noise by raising the gain to a level that clipped subsequent speech
Pre-Game and Post-Game Segments
Pre-game and post-game segments often contain PA announcements, national anthem recordings, and post-game locker room or field audio that have different clipping risks than game action.
- Review PA announcement segments for clipping caused by direct line-level connections to the PA system that were too hot for the recording device
- Check national anthem or fight song sequences for music clipping—musical content has different frequency characteristics than speech and may clip at different points in the recording chain
- Review post-game celebration audio for crowd clipping following a significant outcome
Clipping Severity Classification
Not all clipping is equal. Developing a consistent severity classification system allows archive staff to prioritize correction efforts and make consistent publication decisions across a large backlog.
| Severity Level | Definition | Audibility | Recommended Action |
|---|---|---|---|
| Level 1 — Marginal | Fewer than 10 clipped samples per minute; no audible distortion | Inaudible under normal listening conditions | Document in archive record; publish without correction |
| Level 2 — Minor | Intermittent clipped samples at isolated peak moments; distortion audible only at close listening | Slightly audible in quiet environments | Document; consider light de-clipping if tools available; publish with disclosure |
| Level 3 — Moderate | Clipping at multiple high-energy events; distortion audible during game peaks and applause | Clearly audible on display speakers | Prioritize de-clipping correction before publication; document all corrections |
| Level 4 — Severe | Extended clipping across sustained sections; significant distortion throughout high-energy content | Significantly degrades the listening experience | Apply maximum correction effort; publish with quality disclosure; flag for re-digitization if source media is accessible |
| Level 5 — Unacceptable | Clipping throughout the majority of the recording; content intelligibility impaired | Distortion is the dominant auditory experience | Withhold from display publication; attempt re-digitization at correct levels; archive with full quality documentation |
Schools building recognition display installations invest significant effort in the physical and digital presentation of athletic history—applying the same discipline to audio quality classification protects that investment and ensures that archived recordings serve their recognition purpose.
Clipping Correction Approaches
Clipping correction is not restoration to original quality—it is the best available reduction of distortion given that the original signal information is permanently gone. Understanding that ceiling prevents overcorrection that introduces new artifacts.
Approach 1: Level Reduction and Re-Export (Level 1–2 Clipping)
For recordings with marginal or minor clipping, reducing the overall output level by 3 to 6 dB before export can prevent playback systems from further exacerbating the distortion and is appropriate when the clipping is infrequent and not perceptually significant.
This approach does not remove existing clipping artifacts—it reduces the perceived harshness slightly by lowering the surrounding audio context. It requires no specialized tools and is available in any audio or video editor.
Approach 2: Clip Repair / De-Clipping (Level 2–3 Clipping)
De-clipping tools use interpolation algorithms to reconstruct plausible waveform shapes for the segments where the original signal was truncated. The mathematical reconstruction is an approximation, not a recovery of the original signal, but for brief clipping events at isolated peaks, the result is typically a significant audible improvement.
Available de-clipping tools:
- Audacity Clip Fix: A basic interpolation tool that applies a polynomial reconstruction to clipped segments. Effective for mild, infrequent clipping. Apply at 95% clip threshold and compare before and after with waveform and listening review.
- iZotope RX — Clip Gain module: Provides more sophisticated interpolation with adjustable parameters and visual feedback showing which segments were reconstructed. Suitable for Levels 2–3 severity.
- Adobe Audition — Clip Restoration: Identifies and reconstructs clipped sections with adjustable threshold. Produces results similar to iZotope RX at a similar price point.
After any de-clipping operation, complete a full waveform review and listening check to confirm that the reconstruction did not introduce new artifacts—particularly buzzing or watery resonances that some interpolation algorithms produce when the original clipping was extensive.
Approach 3: Broadband Limiting and Normalization (Level 3 Clipping)
For recordings with moderate, sustained clipping across multiple sections, a combination of a true peak limiter and normalization can reduce the audibility of remaining distortion by smoothing the level at which peaks are presented without reconstructing the original signal.
Apply a true peak limiter set to -1 dBTP (true peak) before the export stage. This prevents further clipping during export while slightly compressing the highest peaks. Then normalize the file to a target level appropriate for the display environment (typically -14 LUFS integrated for display playback) to ensure consistent perceived loudness across the archive.
Approach 4: Substitution and Documentation (Level 4–5 Clipping)
For severely or unacceptably clipped recordings where de-clipping tools cannot restore intelligibility, the most honest approach is substitution where a better source exists—or documentation where it does not.
If the original source media is still accessible, re-digitization at correctly calibrated input levels is the only path to genuinely better audio. Many schools discover that VHS or Betamax tapes thought to be clipped during transfer were actually transferred at excessive input gain, and re-transfer at a lower input level produces a significantly cleaner result.
Where re-digitization is not possible, document the limitation clearly in the archive record and in the display system’s metadata for the recording. A disclosure such as “Original recording from 1988—audio exhibits distortion at crowd peaks reflecting the recording equipment of the period” is historically honest and sets appropriate expectations for viewers.
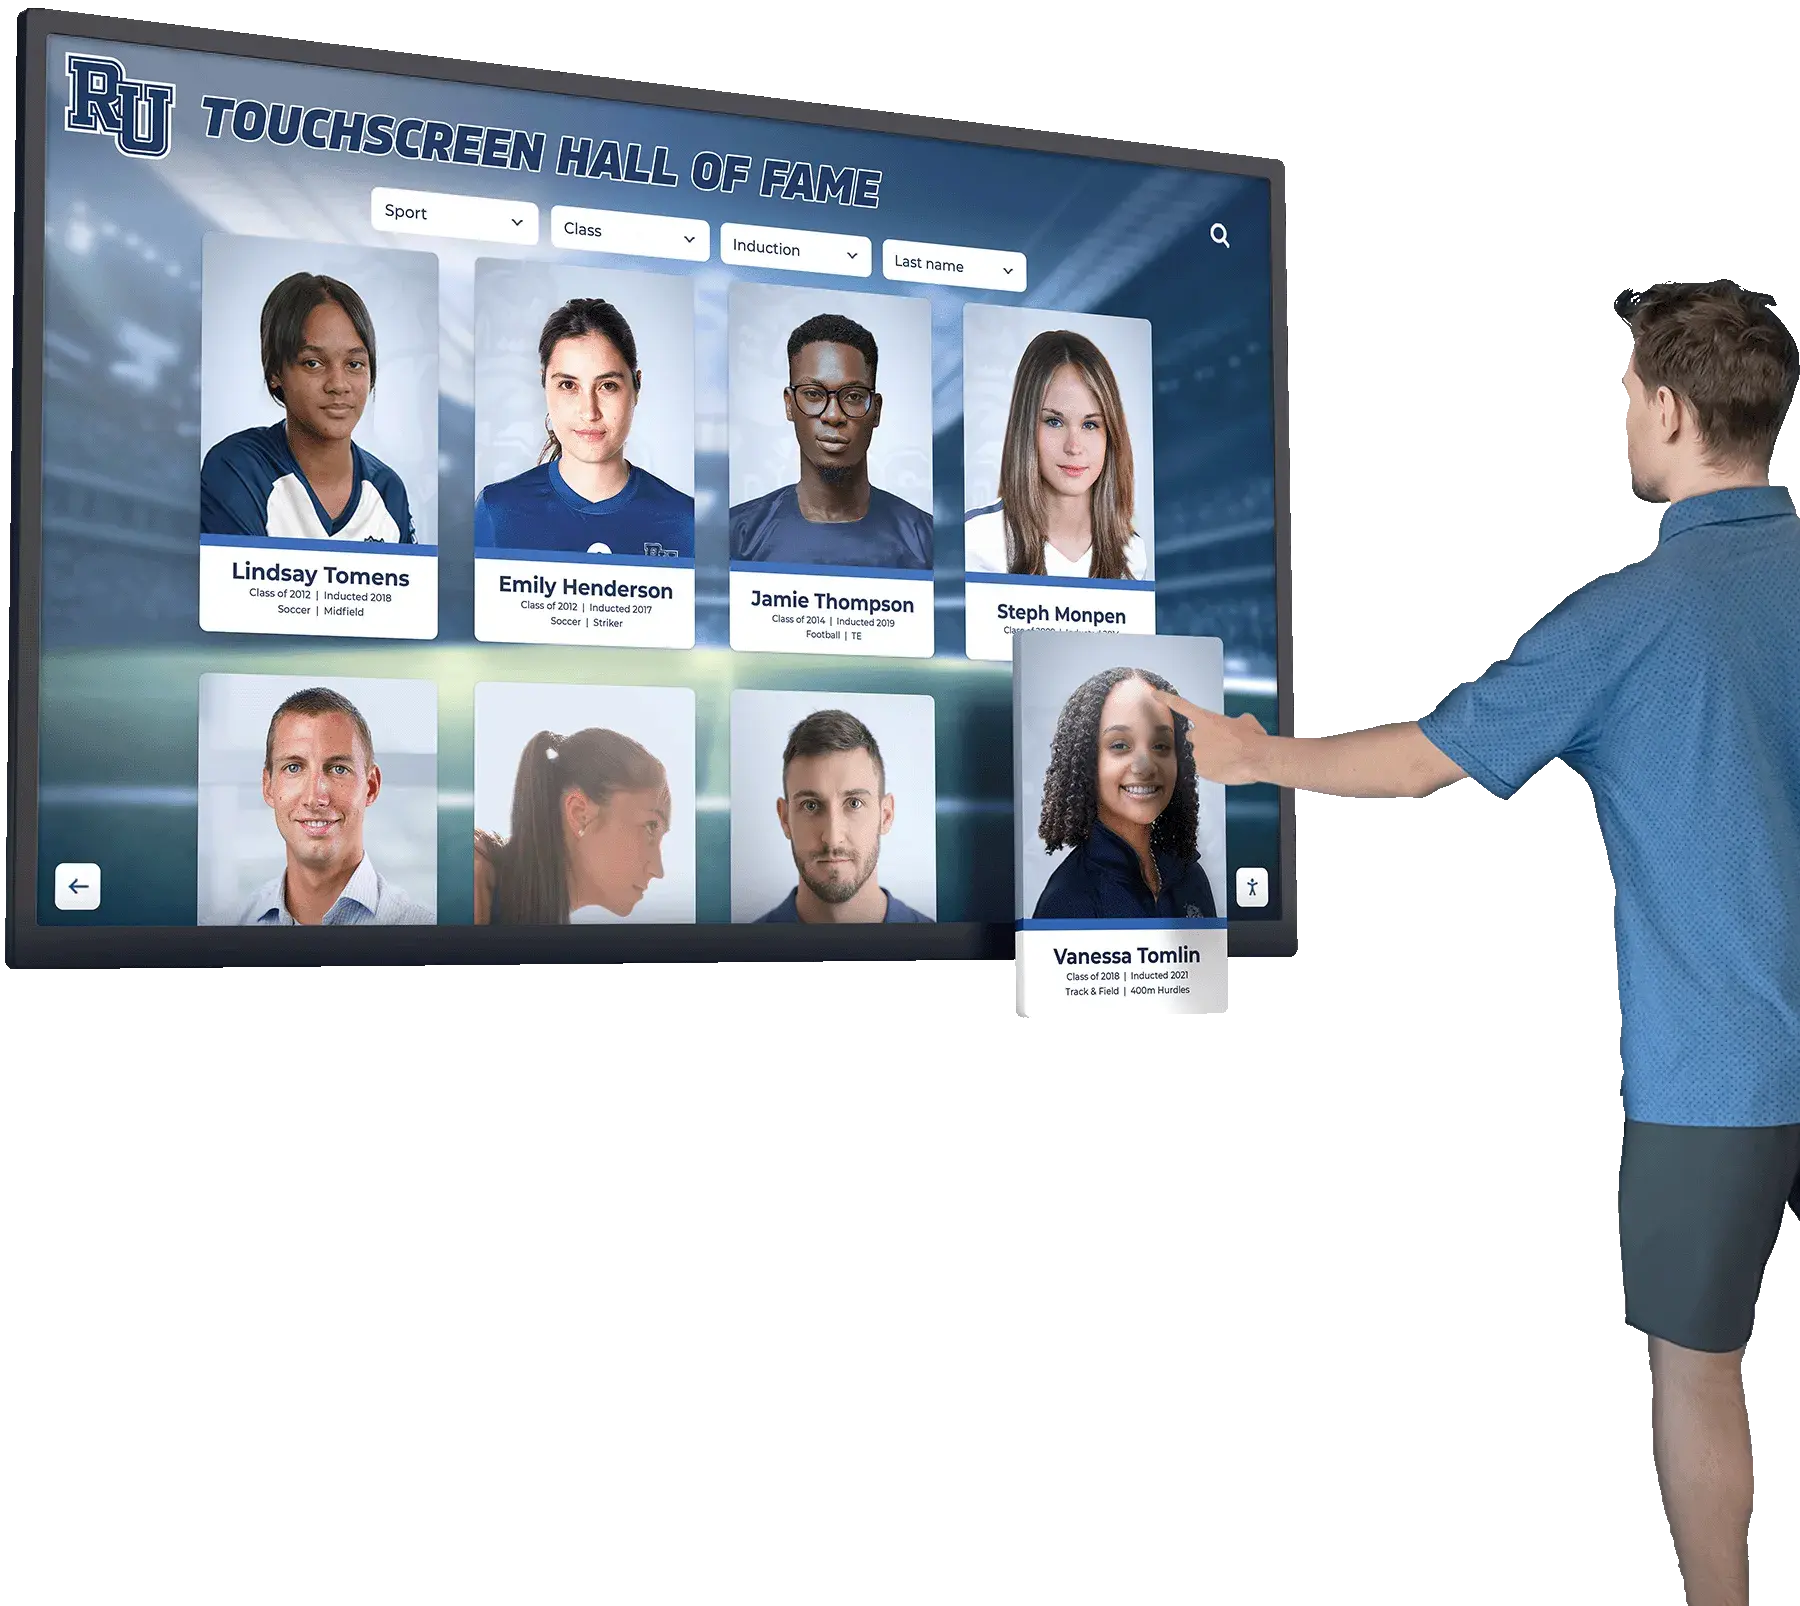
Every recording that plays through a digital hall of fame display reflects on the quality and care of the recognition program—audio clipping detection and correction protects that impression before content is published
Export Settings That Preserve Clipping Corrections
Corrections made during review can be undone by an incorrect export setting. This section covers the export practices that ensure clipping corrections survive the final output stage.
Export checklist after clipping review and correction:
- Set the export ceiling to -1.0 dBFS true peak, not just -0 dBFS sample peak — a true peak limiter accounts for inter-sample peaks that can exceed the sample peak value and cause clipping during decoding even in a file that appears below the sample ceiling
- Confirm the target loudness for the display environment — most touchscreen display systems reproduce audio best when the file’s integrated loudness targets -14 LUFS to -16 LUFS; files mastered significantly louder will exacerbate any remaining distortion through the display’s amplifier
- Export to a lossless intermediate format (WAV or AIFF) before converting to the final delivery format (AAC or MP3 in MP4) — applying lossy compression to a file that already contains clipping artifacts can amplify those artifacts through the encoding process
- Review the exported file at the beginning of each corrected section — export preview in editing software is not always representative of the final rendered output
- Play the final exported file on the target display in the actual room at typical ambient noise level, not just at a desk through editing monitors — this is the definitive review and should not be skipped
Codec considerations:
Most touchscreen display systems and digital archive platforms use AAC audio in MP4 containers. For files with corrected clipping, use a minimum bitrate of 192 kbps AAC. Lower bitrates can reintroduce audio artifacts that resemble clipping distortion around transient events, undoing the correction work completed during review.
Programs establishing standards for digital photo and media displays recognize that publication standards apply equally to audio content—both require consistent specifications and quality benchmarks to protect the integrity of the archive.
Clipping Detection Quick-Reference Table
| Recording Type | Most Likely Clipping Location | Detection Priority | Typical Severity |
|---|---|---|---|
| VHS game recording (1980s–1990s) | Crowd peaks at scoring moments; final buzzer | High | Level 2–3 |
| Consumer camcorder footage | Anywhere automatic gain control reached its ceiling | High | Level 1–3 |
| PA direct line feed | Consistent throughout if input was too hot | Medium | Level 3–4 |
| Broadcast recording to consumer VCR | High-energy commentary moments | Medium | Level 2–3 |
| Ceremony/banquet recording | First burst of sustained applause after each announcement | High | Level 2–4 |
| Interview (gymnasium or field) | Subject raising voice; emotional moments | Medium | Level 1–2 |
| National anthem or fight song | Musical peaks, particularly brass instruments | Low–Medium | Level 1–2 |
| VHS dub (second or later generation) | Throughout, relative to source | High | Level 2–4 |
Integrating Clipping Detection Into an Archive Workflow
A clipping detection review that happens inconsistently—applied to some recordings and skipped for others—produces an archive with uneven quality that undermines the credibility of the whole. The workflow below places clipping detection at the correct point in the digitization pipeline.
Step 1 — Digitization: Transfer from original media to a digital file at calibrated input levels. Set input gain so that expected peak moments hit approximately -6 dB on the recording meter, leaving headroom for unexpected transients. This prevents new clipping during transfer.
Step 2 — Batch analysis: Run all newly digitized files through a batch peak analysis to flag any file peaking above -0.5 dBFS. Review flagged files for clipping before any other processing. This catches pre-existing clipping from the original recording and clipping introduced during a transfer with excessive gain.
Step 3 — Severity classification: Review each flagged file using the waveform and listening protocol from the sections above. Assign a severity level from the classification table and log it in the archive record for the recording.
Step 4 — Correction: Apply the correction approach appropriate to the severity level. Document every correction made, the tool used, the settings applied, and the staff member who performed the review.
Step 5 — Export and compatibility check: Export the corrected file using the settings from the export checklist. Verify on the target display before archiving the final file.
Step 6 — Archive metadata update: Record the clipping severity level, corrections applied, and final quality status in the file’s archive metadata so future staff can understand the recording’s limitations without re-reviewing the audio.
Programs that take the same systematic approach to sports program presentation design recognize that consistent standards across every element of a recognition display—visual and audio alike—are what distinguish a program that honors its history from one that merely stores it.
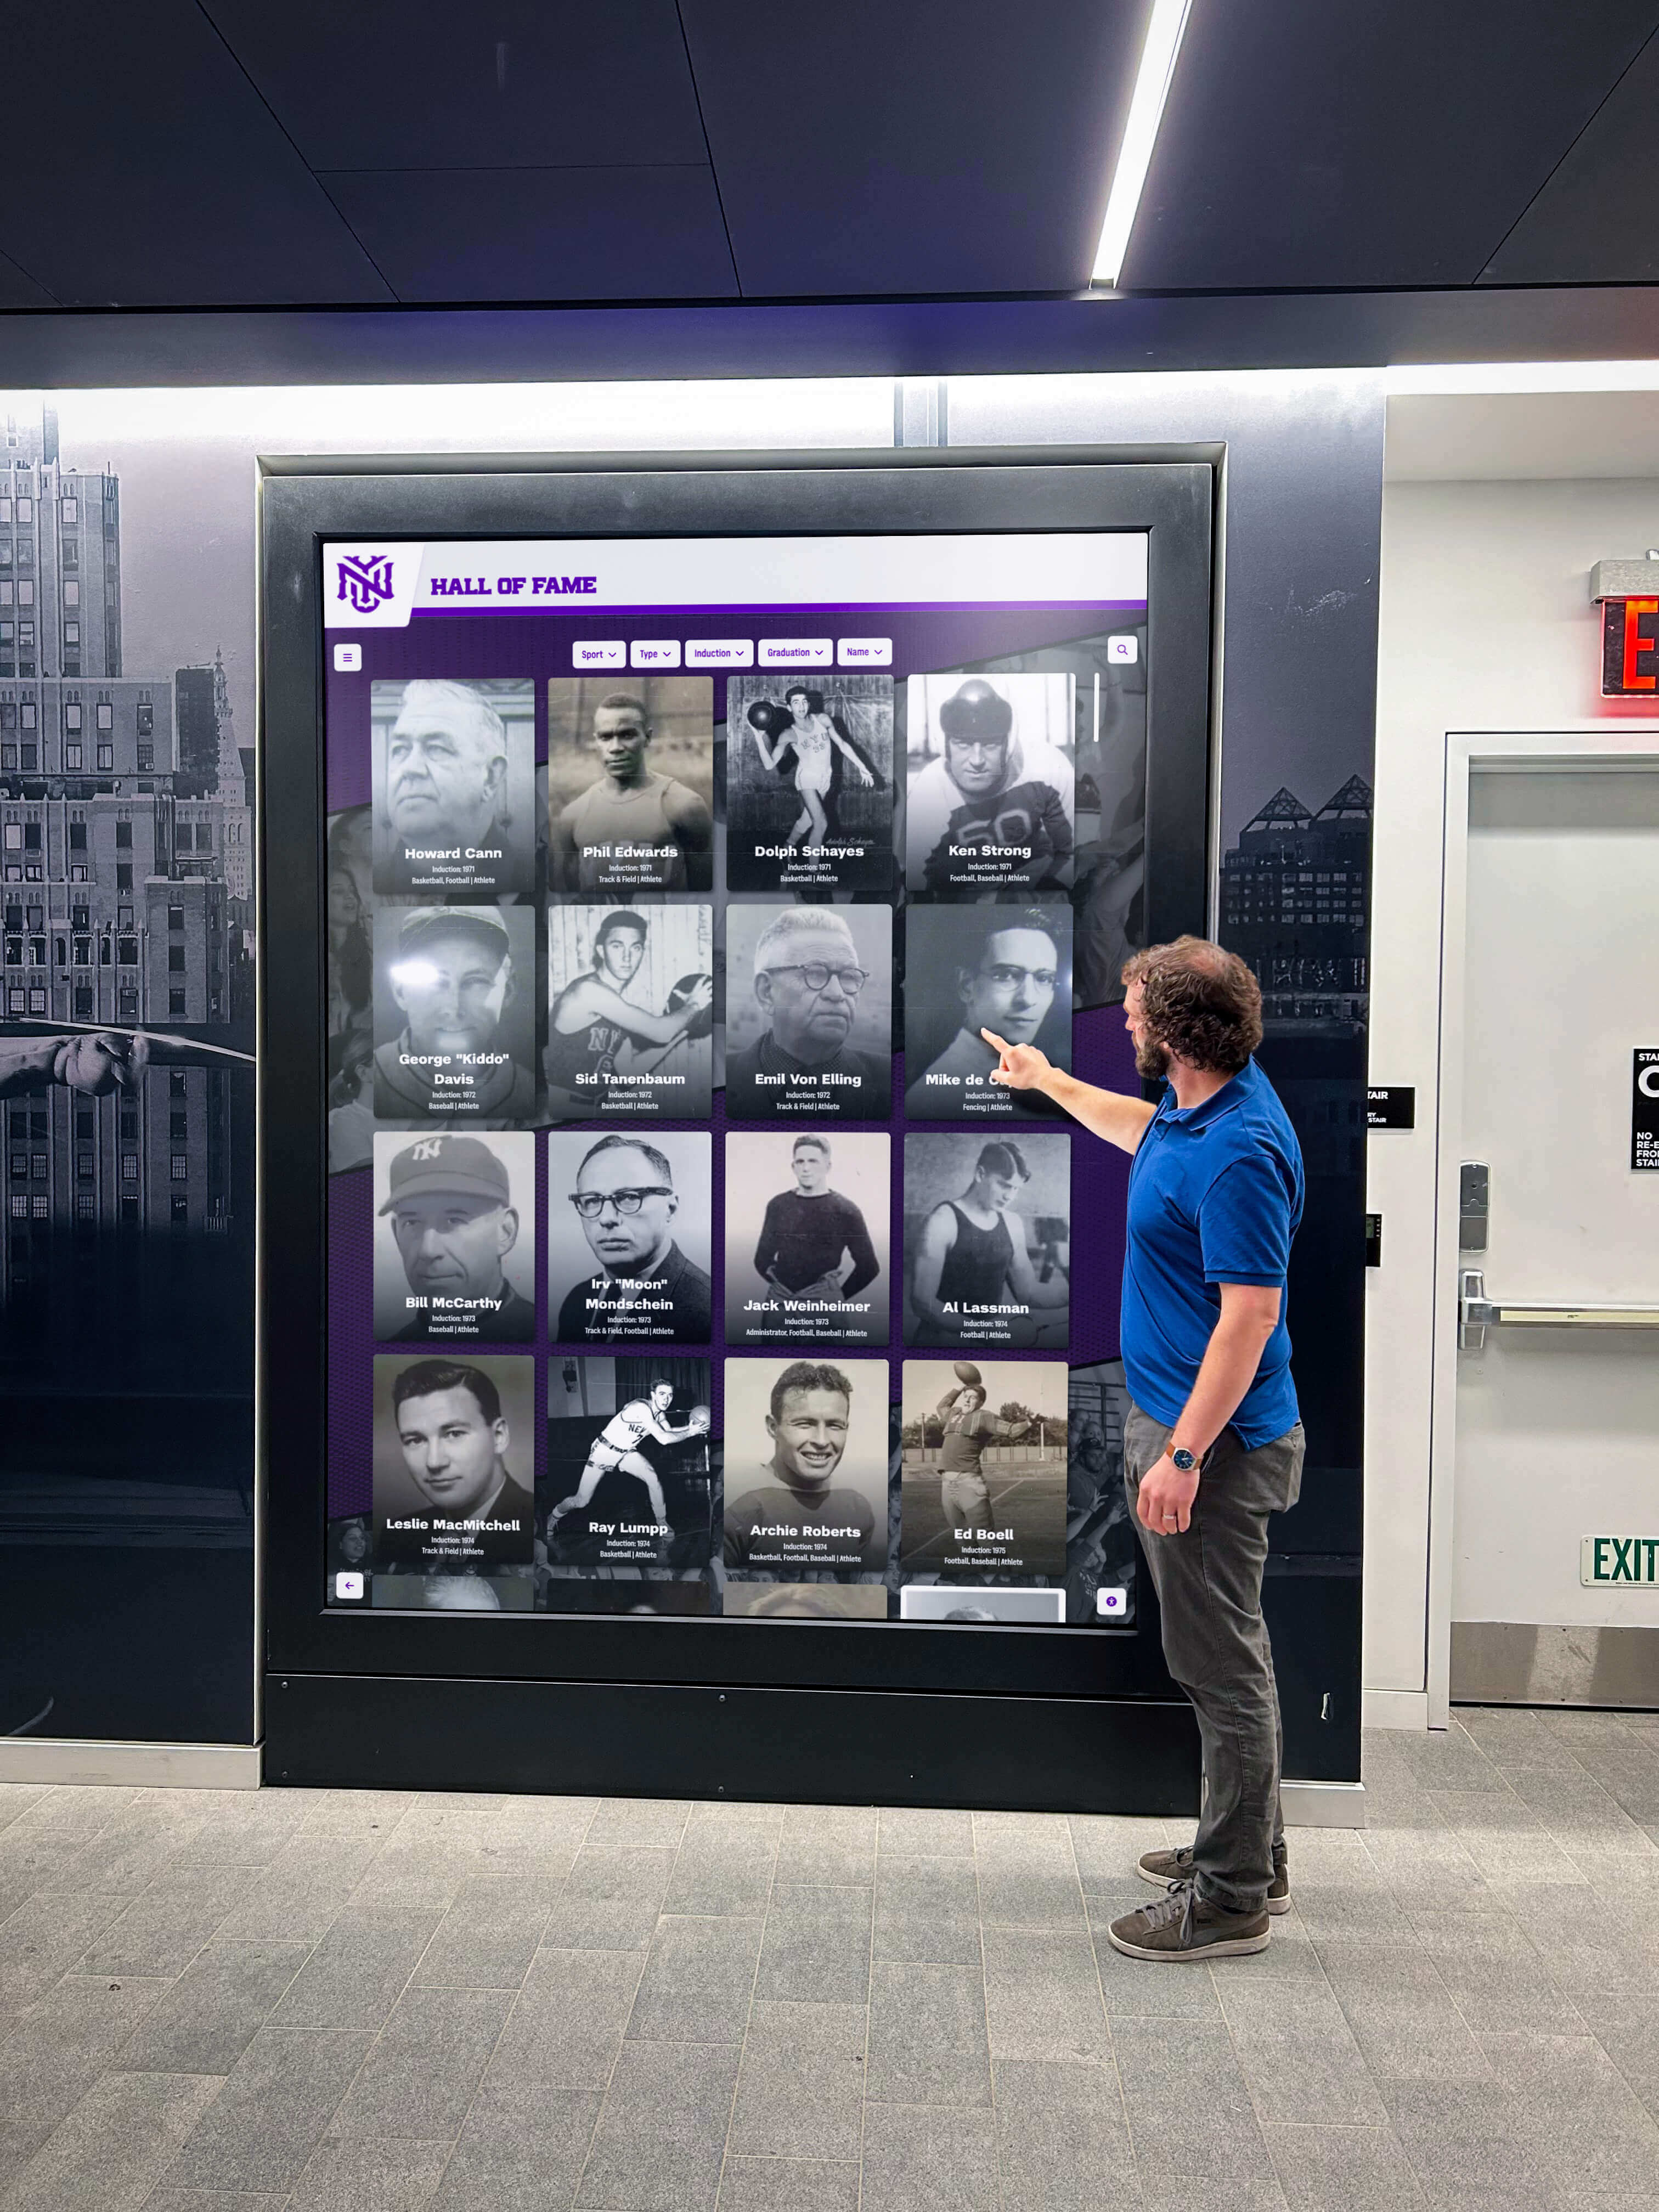
A visitor's engagement with a digital hall of fame depends on audio that delivers the emotion and energy of the original moment—clipping detection ensures that historic game sound reaches the display at its best achievable quality
Frequently Asked Questions
How can I tell the difference between clipping distortion and a blown speaker on the original recording?
Clipping distortion is level-dependent: it appears in the recording at all playback volumes. A speaker distortion in the original recording environment would also be level-dependent within the recording but would tend to affect only the frequency range of the blown driver and may produce a more irregular distortion pattern than the consistent, flat-topped waveform of digital clipping. Play the recording at lower volume through your review system—if the distortion decreases noticeably, it may be a speaker artifact in the original. If the distortion quality remains consistent at any playback level, it is almost certainly clipping in the recording itself.
A recording from 1992 has clipping throughout the crowd sections but perfectly clean commentary. Is it worth trying to correct?
Yes. Crowd audio and commentary that are on separate channels can be corrected independently. Apply de-clipping treatment to the crowd channel only, leaving the commentary untouched. If they are mixed to a single channel, the situation is more complex—de-clipping applied to a mixed channel will process the commentary waveform alongside the crowd audio, potentially introducing artifacts in the speech. In that case, document the limitation, accept the recording as-is, and add a quality disclosure to the archive metadata. The commentary being clean is a significant asset that should not be risked with aggressive processing.
Does converting a clipped audio file to a different format reduce the clipping distortion?
No. Format conversion—from WAV to MP3, from MP4 to MOV, from one codec to another—copies the audio data without modifying the underlying waveform. Clipping artifacts are in the audio data itself and will be reproduced identically in any format. Only waveform-level processing tools (de-clipping, limiting, reconstruction) can reduce clipping distortion.
We have a 1988 state championship broadcast recording with significant crowd clipping at the winning moment. Should we withhold it from the hall of fame display or publish it with the clipping?
Publish it, with documentation. A recording from a 1988 state championship carries historical significance that far outweighs its technical imperfections. Apply the best available correction, note its severity level and the corrections applied in the archive record, and include a brief quality disclosure in the display system’s description field for the recording. Visitors understand that historic recordings have technical limitations; they do not forgive the absence of content that would have enriched the experience.
Is there a standard target level we should aim for when exporting corrected athletic archive recordings for touchscreen displays?
The most widely applicable target for display playback is -14 LUFS integrated loudness with a true peak ceiling of -1.0 dBTP. This target is consistent with streaming platform standards and is well within the comfortable reproduction range of most commercial display system amplifiers. Schools that operate displays in unusually loud environments—gymnasium lobbies with significant foot traffic and ambient noise—may find that a slightly higher integrated loudness target (up to -12 LUFS) improves audibility, but should verify with a true peak limiter that peak levels remain below -1.0 dBTP at the higher target.
How do we document clipping findings across a large archive backlog without building a custom database?
A shared spreadsheet with one row per recording and columns for file name, source format, date digitized, clipping severity level, corrections applied, tools used, staff reviewer, and publication status covers the essential documentation without requiring specialized software. The same spreadsheet can include a notes column for qualitative descriptions of specific clipping locations (for example, “Level 3 clipping at 38:12 during final buzzer crowd peak; de-clipped with iZotope RX; Level 2 residual artifact documented”). A consistent template applied from the first review onward is more valuable than a sophisticated system adopted partway through the backlog.
Can athletic archive audio clipping detection be automated, or does it require human review?
Automated tools can flag files that contain clipping (any file peaking above 0 dBFS definitively contains clipping, and batch analysis scripts can identify these in seconds). But severity classification, audibility assessment, and correction decisions all require human review. A file with thousands of technically clipped samples may be perceptually inaudible; a file with fewer clipped samples at a critical speech moment may be unacceptable for publication. Automation handles detection and triage. Human review handles judgment and documentation.
Programs building connected digital recognition environments—where historic audio, athlete profiles, and visual archives share a single platform—benefit from reviewing design and media integration approaches that address consistent media quality standards across diverse content types, not just new content production.

A consistent clipping detection workflow applied before publication ensures that every recording reaching a digital display represents the best achievable quality—protecting both the archive's credibility and the recognition experience it delivers
Connecting Clipping Detection to the Broader Archive Quality Standard
Audio clipping detection does not stand alone in a well-run athletic archive workflow. It belongs alongside the channel mapping review that confirms commentary and crowd audio are correctly routed, the transcription workflow that makes broadcasts searchable, and the loudness normalization process that ensures consistent playback levels across a library of recordings from different eras and sources.
Schools that approach athletic archives as living recognition assets—rather than storage repositories—apply quality standards consistently across every content type. The same attention to detail that keeps a student photo display FERPA-compliant and a school recognition program thoughtfully designed applies to historic audio: the standard is not technical perfection but consistent, defensible quality that honors the athletes and coaches the archive is meant to celebrate.
A recording reviewed, corrected to the best available standard, and published with honest documentation of its limitations is a better archive asset than a recording left unreviewed because the standard felt too high. The goal is an archive that grows more complete and more accessible over time—and that means starting where you are, with the tools available, and building a consistent quality-control habit around every new batch of digitized content.
Rocket Alumni Solutions builds touchscreen halls of fame, digital archives, and interactive recognition displays that give athletic programs a permanent, searchable home for exactly this kind of historic content. If your program is preparing a video and audio archive for a digital recognition display and wants to see how the platform handles embedded recordings, athlete profiles, and archive media management, request a live demo and see it working with your school’s content.