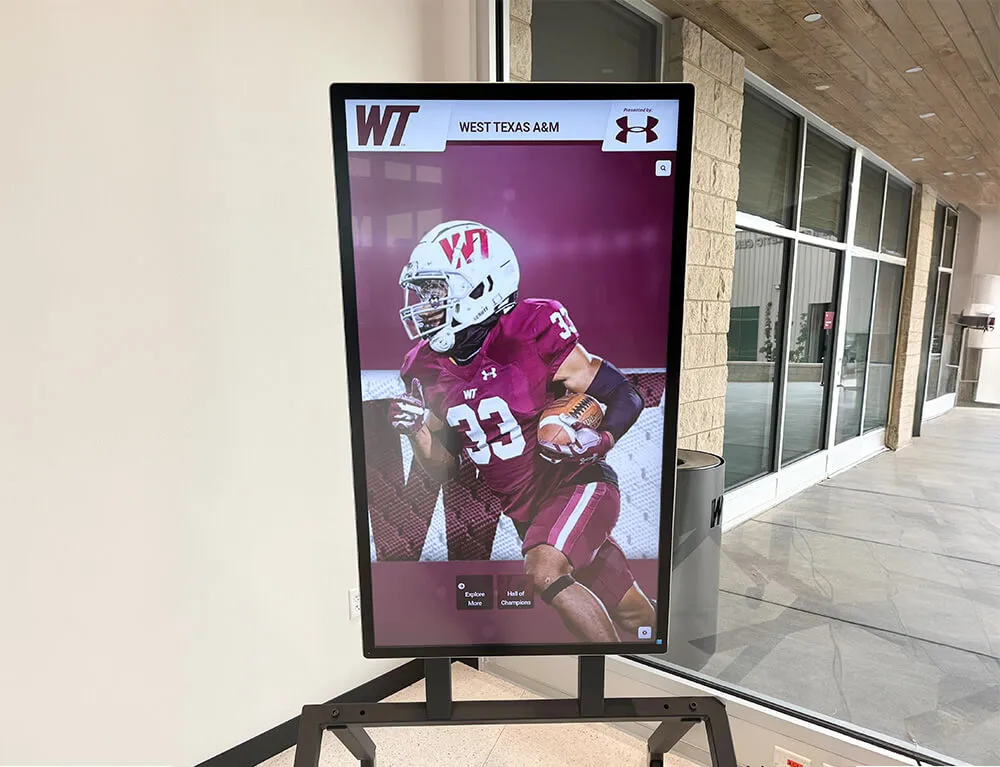




An athletic archive audio channel mapping checklist ensures that every audio track in a historic game video—commentary, crowd sound, interview feeds, and ceremony audio—is correctly identified, labeled, and routed before the file goes live on a touchscreen display or digital archive. Schools that skip this step publish videos where commentary plays out of both speakers at equal volume, crowd ambiance gets dropped entirely, or a post-game interview is routed to a channel the display system ignores. The checklist takes thirty minutes to complete and prevents problems that can take days to diagnose after a video is already in rotation.
This guide walks athletic directors, archives staff, facilities and IT teams, and recognition-program coordinators through a complete audio channel mapping QA workflow for historic athletic video. It covers channel identification before import, separate review protocols for commentary, crowd, interview, and ceremony audio, export settings for touchscreen and lobby display playback, and a Q&A section that addresses the most common mapping errors programs encounter.
Audio channel mapping is the process of defining which audio signal occupies which track in a multi-track video file and how that track should be routed to the speakers of a playback device. For a clean studio recording this is trivial. For athletic archive footage—VHS transfers, broadcast recordings, camcorder captures, and composite dubs from multiple sources—it is one of the most error-prone steps in the digitization workflow, and one of the least discussed.

Recording and archiving athletic content correctly from the start—including verifying audio channel assignments—prevents playback problems after the video reaches a touchscreen display
Why Audio Channel Mapping Matters for Athletic Archive Video
A historic game video file reaching a digital hall of fame touchscreen or lobby display carries the same historical weight as a championship trophy or a retired jersey. If the crowd noise disappears entirely, if the commentary track is silent on one side of the room, or if an inductee’s acceptance speech is inaudible because the interview mic feed was mapped to a secondary channel the display never activates, the recognition experience fails the athlete the video is meant to honor.
Historic game video presents channel mapping challenges that modern recordings do not:
- Broadcast composite recordings from the 1980s and 1990s frequently combined commentary and crowd audio on a single mono channel, then dubbed to a second channel with slightly different levels during the tape duplication process. Both channels look identical in a timeline but produce phasing artifacts when played in stereo.
- Consumer camcorder footage from before 2000 often used automatic gain control independently on each channel, resulting in left and right tracks with different dynamic ranges that cannot simply be summed to mono without audible pumping.
- VHS and Betamax transfers carried a linear audio track and, in Hi-Fi format, a separate frequency-modulated track. Transfer equipment sometimes captures both tracks on separate channels without labeling which is which—and the Hi-Fi track, while higher quality, is sometimes out of phase with the linear track.
- Multi-feed broadcast recordings from state championship broadcasts may have a clean program feed on one channel and a talent IFB or isolated commentary track on a second channel that was never intended for public playback.
- Digitized ceremony recordings from awards banquets and hall-of-fame inductions often combine podium microphone, house PA, and ambient audience audio on a single stereo track, with the microphone signal panned hard to one side and the room audio on the other.
Reviewing school memorabilia display ideas shows how much effort goes into the visual side of athletic archives—the audio side of historic video deserves the same systematic attention before content reaches a public display.
Before You Start: Required Tools and Terminology
This checklist assumes access to standard audio editing or video editing software capable of displaying multi-track audio waveforms. Common tools include DaVinci Resolve (free tier), Adobe Premiere Pro, Audacity (for audio-only review), or any digital audio workstation with video playback capability.
Key terms used throughout this checklist:
| Term | Definition |
|---|---|
| Channel | A single discrete audio signal within a file — often called Left (L) and Right (R) for stereo, or numbered tracks in a multi-track file |
| Track | In video editing, a lane in the timeline that holds audio; a single track can carry a mono or stereo channel pair |
| Sum to mono | Combining L and R channels into a single centered channel — important for displays with a single speaker or center-channel playback |
| Panning | The left-right placement of an audio signal in a stereo field |
| Phase | Whether two identical-content channels are in positive or negative alignment — out-of-phase channels cancel each other when summed to mono |
| Gain staging | Setting the volume level of individual channels relative to each other before master output |
| Downmix | Reducing a multi-channel file to fewer channels (e.g., 5.1 surround to stereo, or stereo to mono) for simpler playback devices |
Staff members reviewing audio channel mapping for the first time should spend fifteen minutes playing a known-good video file through the same editing software before beginning an archive review. Establishing what correct channel behavior looks and sounds like makes deviation from that baseline immediately recognizable.
Section 1: Pre-Import Channel Identification Checklist
Complete this section before the video file enters any editing timeline. The goal is to understand the source material’s channel structure before any processing or export decisions are made.
Source documentation to gather before review:
- Original format label (VHS, Betamax, Hi-Fi, Broadcast BetaSP, U-matic, consumer camcorder, direct digital file)
- Transfer equipment used and transfer date, if available
- Any notes from the digitization operator about audio anomalies observed during transfer
- The recording’s intended use in the recognition system (background loop, inductee tribute, interactive gallery clip, ceremony recording)
Pre-import checklist:
- Open the source file in an audio analysis tool and confirm the total number of audio channels present (do not assume stereo — multi-track files from broadcast recordings can carry 4, 6, or 8 channels)
- Visually inspect the waveform of each channel for the full duration before listening — a channel that shows no waveform is silent; a channel with an unusually flat waveform may carry tone or noise rather than useful audio
- Play back each channel in isolation (solo mode) and listen for its content type: is this commentary, crowd, music, silence, tone, or an unidentified feed?
- Document the content type of each channel in a channel map log before making any edits
- Check for phase issues by summing L and R to mono and comparing perceived loudness — a significant volume drop when summed indicates phase cancellation requiring correction
- Confirm that no channel contains a continuous tone (60 Hz hum, 1 kHz alignment tone, or FM carrier noise from a Hi-Fi VHS transfer) that would be audible during playback
- Note any synchronization offset between channels — channels transferred at different times or from different sources may have a timing gap measured in frames that will cause an echo effect when both are active
Channel map log template:
| Channel | Waveform Present | Content Type | Quality Notes | Action Required |
|---|---|---|---|---|
| 1 (L) | Yes / No | Commentary / Crowd / Interview / Tone / Silence / Mixed | e.g., “clean,” “60 Hz hum,” “low-level” | Keep / Mute / Correct / Replace |
| 2 (R) | Yes / No | Commentary / Crowd / Interview / Tone / Silence / Mixed | Keep / Mute / Correct / Replace | |
| 3 | Yes / No | |||
| 4 | Yes / No |
Complete this log for every channel before proceeding to section-specific review.
Section 2: Commentary and Play-by-Play Channel Checklist
Commentary audio is typically the highest-value channel in a historic game video. It provides context, names, statistics, and emotional narrative that no other channel can replicate. When commentary is degraded or lost in the mapping process, the video loses much of its historical value.
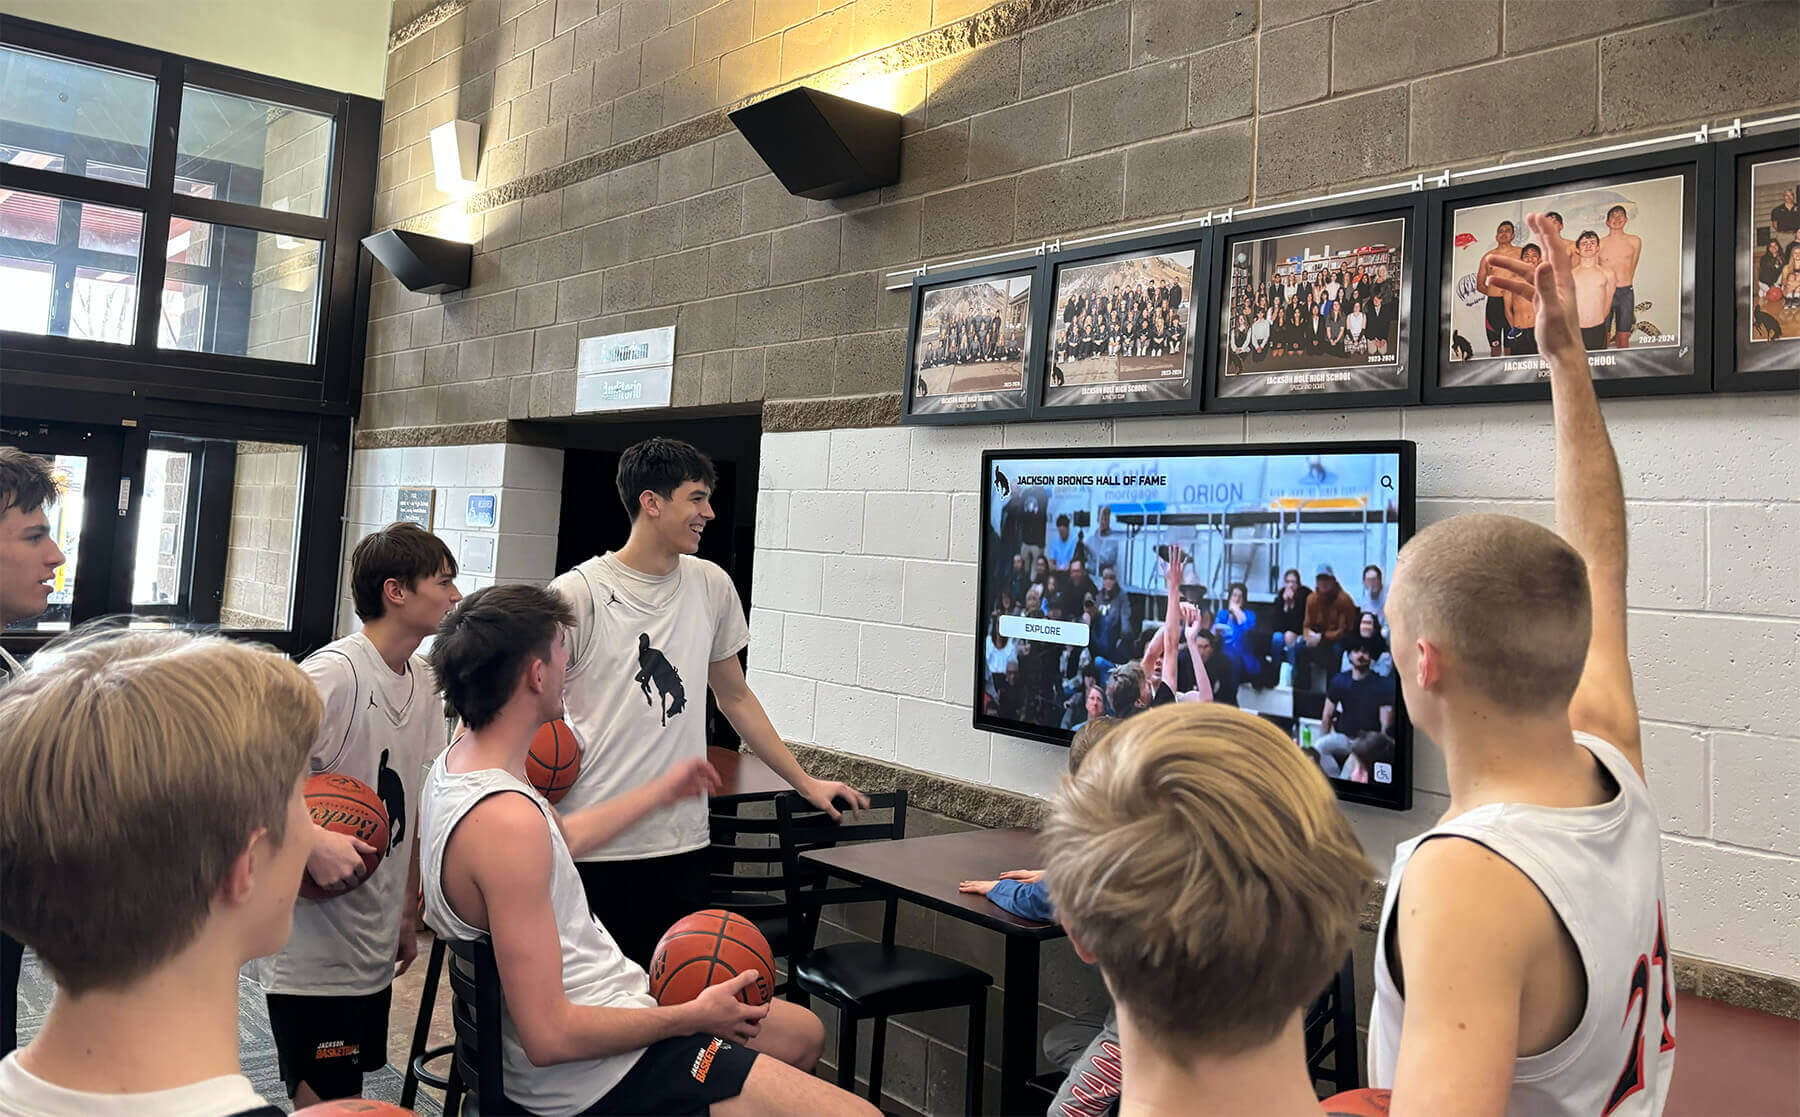
When historic game video plays in a lobby or hall of fame display, commentary audio is what transforms footage into a story — channel mapping errors that silence or distort commentary eliminate the most important dimension of the historical record
Commentary channel identification:
Commentary audio typically appears as a signal with a moderate-to-high average level during game action, with brief pauses during timeouts or stoppages. The waveform looks relatively dense and continuous during play, compared to crowd audio, which has different dynamic characteristics.
Commentary channel checklist:
- Confirm which channel carries commentary by listening in isolation at multiple points during the recording — at game start, during active play, at a scoring moment, and during a timeout
- Confirm whether commentary is present on both channels or only one — mono commentary recorded to a single channel of a stereo file is common in broadcast recordings from the 1980s and early 1990s
- If commentary is mono and present on only one channel, decide whether to pan it to center (equal in both speakers) or leave it panned to its original position — for display playback, centering is almost always correct
- Check commentary intelligibility at three points: opening minutes, a high-action sequence, and the final minutes — degradation that appears only at the end of a long tape is common with worn magnetic media
- Listen for dropout artifacts (brief silences or pops that indicate magnetic damage on the original tape) and note their location and duration in the channel log
- Confirm that commentary level is audible above crowd ambiance at normal display playback volume — if crowd audio on an adjacent channel is louder than commentary, adjust gain staging before export
- Verify that commentary does not contain crosstalk from a talent IFB or reverse-angle replay feed that was not intended for public broadcast — this appears as a second voice speaking simultaneously at a lower level
- If the video includes color commentary from a second announcer, confirm that both voices are present on the same channel or that the secondary channel is correctly mapped to the same output destination
Common commentary channel errors and corrections:
| Error | Symptom at Playback | Correction |
|---|---|---|
| Commentary on L channel only | Sound appears to come from one side of the display | Pan L channel to center; mute or copy R channel as needed |
| Commentary and crowd summed to single channel | Cannot adjust relative levels | Accept as-is or apply frequency-based EQ to partially separate speech from crowd |
| Phase-reversed commentary | Thin, hollow sound; volume drops when summed to mono | Invert phase on one channel |
| Commentary with 60 Hz hum | Audible low-frequency rumble throughout | Apply high-pass filter at 80–100 Hz |
| Dropout artifacts | Brief silences during key moments | Note timestamps; conceal with room-tone fill if critical or flag for disclosure in archive metadata |
Section 3: Crowd and Ambient Sound Channel Checklist
Crowd audio provides the atmospheric context that makes a historic game video feel alive rather than clinical. Schools often underestimate its importance until they preview a game clip with crowd audio muted or mapped incorrectly — the recording immediately feels institutional and flat rather than celebratory.
Crowd audio channel identification:
Crowd audio typically shows a waveform with moderate average level and high peaks during scoring moments, timeouts, and introductions. It is usually continuous throughout the recording, unlike commentary, which has pauses.
Crowd and ambient sound checklist:
- Identify which channel or channels carry crowd audio by listening in isolation — crowd audio has a distinctive frequency profile centered in the mid-range with strong transients during applause and cheering
- Check whether crowd audio is the same signal duplicated across L and R (common in mono broadcast recordings) or whether L and R carry genuinely different audience perspectives (common in multi-mic stadium recordings from the 1990s onward)
- Confirm that crowd audio does not contain PA announcements that would duplicate or conflict with commentary — PA bleed into crowd microphones is common in arena recordings
- Review crowd audio during the opening minutes when PA announcements and player introductions occur — these segments often carry informational content (roster names, statistics read aloud) that has archival value and should not be suppressed
- Confirm that crowd level relative to commentary is appropriate for the intended display environment — a lobby display at a school entrance may need crowd audio reduced compared to a dedicated athletic theater
- Check crowd audio at the end of the recording for tape noise floor increase — older magnetic media often has a higher noise floor at end-of-tape that makes crowd audio between plays sound hissy
- If crowd audio and commentary are on separate channels, confirm they have been gain-staged so that both can be heard simultaneously at a reasonable playback level
- Note any moments where crowd audio contains identifiable individual voices — school names, player names, or chants that provide additional historical context worth preserving in archive metadata
Crowd audio in ceremony and banquet recordings:
Ceremony recordings present a different crowd audio situation. Applause following an induction announcement, a standing ovation during an inductee’s speech, or audience laughter during a retirement ceremony are all part of the historical record. Programs working on team gift ideas and recognition formats for banquet events recognize that the room’s response to recognition is itself meaningful content.
- Confirm that applause following each honoree announcement is present and audible on the recorded channel
- Confirm that applause is not clipped (distorted from exceeding the recorder’s input ceiling) — clipping during applause is common when a ceremony was recorded with automatic gain control in a small room
- Check that background music used during introductions or walk-on moments is present at an appropriate level and does not clip at its own peak moments
Section 4: Interview and Ceremony Audio Channel Checklist
Interview recordings and ceremony audio are the most irreplaceable content in an athletic archive. A game can be reconstructed from box scores and newspaper accounts; a retired coach’s remarks at a 1987 hall-of-fame induction cannot be recovered if the audio is lost or published incorrectly mapped.
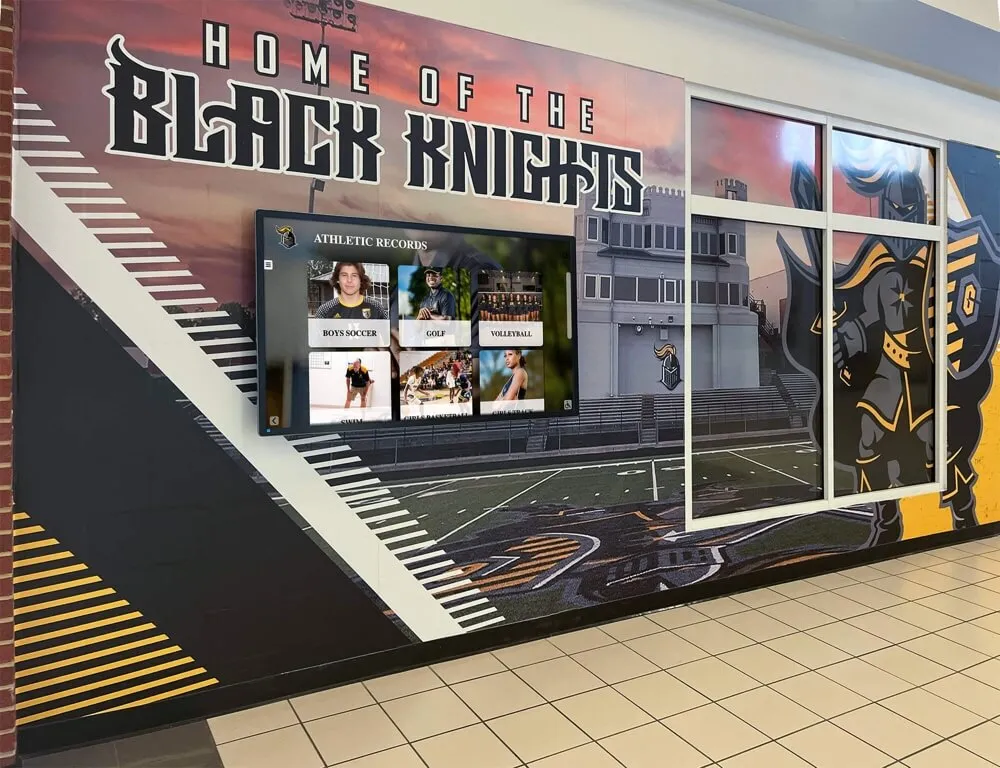
Every inductee ceremony recording and coach interview in an athletic archive represents irreplaceable institutional history — correct audio channel mapping ensures that content is heard as intended on every display device
Interview audio considerations:
Athletic interviews recorded at press conferences, post-game scrums, or on-field exchanges present channel mapping challenges because they were rarely recorded with controlled audio in mind. Microphones may have been handheld, positioned at varying distances, or feeding directly into a camera’s automatic gain control.
Interview channel checklist:
- Identify which channel carries the primary interview microphone signal — this is almost always the channel with the most intelligible speech and the most consistent level
- Listen to the full interview segment, not just a sample — questions from off-camera interviewers often appear on a second channel or at a different level, and the historical value of the exchange depends on hearing both sides
- Confirm that the interviewee’s responses are present, intelligible, and not obscured by crowd noise or PA bleed
- If the interview was recorded in a noisy environment (sideline, locker room, press conference with multiple simultaneous questions), note the audio quality in archive metadata so future researchers understand the recording’s limitations
- Check that interview segments mapped for display playback are trimmed to begin after any pre-interview setup noise and to end before any post-interview tape noise or camera handling sounds
- Confirm that any second-channel content in an interview recording has been reviewed — it may contain a producer’s IFB feed, a reverse-angle camera’s isolated audio, or a duplicate of the primary microphone at a different level
Ceremony and induction audio checklist:
Ceremony recordings frequently use a combination of a podium microphone, a room microphone, and sometimes a direct feed from the venue’s PA system. Each may occupy its own channel.
- Identify all channels in a ceremony recording and label each by source (podium mic, room mic, PA feed, ambient)
- Confirm that the podium microphone channel is clearly intelligible for every speaker — this is the most important channel in a ceremony recording
- Check that the room microphone or ambient channel does not carry a signal that significantly leads or lags the podium microphone (a synchronization offset greater than approximately 20 milliseconds will be audible as a slap echo)
- Review each speaker segment for level consistency — automatic gain control may have caused the recording level to change between speakers, requiring normalization before display publication
- Confirm that the ceremony recording begins with enough audio context to orient a viewer who was not present — the host’s opening remarks, the name of the venue or event, or an announcer introduction are all valuable contextual audio that should not be trimmed
- If multiple honorees are recognized in a single ceremony recording, confirm that the segment for each honoree is clearly mapped and that the display system can navigate to or feature individual segments rather than requiring playback of the entire ceremony
For programs developing trophy case and display design that incorporates ceremony video, reviewing trophy case display ideas for modern school achievement showcases provides useful context for how ceremony recordings are commonly surfaced alongside physical recognition elements.
Section 5: Multi-Track Export and Display Compatibility Checklist
After individual channels have been reviewed and corrected, the final step before publication is confirming that the exported file is compatible with the target display system and that the channel mapping established during review survives the export process.
Export settings checklist:
- Confirm the target display system’s expected audio channel configuration — most touchscreen kiosks and lobby displays are stereo (2-channel); confirm this before exporting
- Confirm the target display system’s expected audio codec — most commercial display systems accept AAC or MP3 audio in MP4 containers; some older or specialized systems require specific codecs
- If the source file contains more than two channels, decide on the downmix strategy before export — summing all channels to stereo versus routing specific channels to L and R produces different results
- Export a test version of the first two minutes and play it on the actual target display before committing to a full export — this confirms that the display system’s audio output matches what was verified in the editing software
- Confirm that the exported file’s audio level peaks at approximately -3 dB to -6 dB below full scale — files mastered too loudly distort on displays with limited headroom; files mastered too quietly are inaudible in lobby environments
- Play the exported test file through the target display at the room’s typical ambient noise level and confirm that commentary and speech remain intelligible — a file that sounds clear in editing software may be unintelligible in a gymnasium or hallway with background noise
- Confirm that the exported file passes mono compatibility — play it back with a mono speaker or sum the L and R channels and confirm that commentary and speech remain intelligible without significant phase cancellation
- If the display system supports multiple audio tracks (for accessibility features such as audio description), confirm that each track is correctly labeled and that the default track for general playback is the intended one
Display-specific considerations:
Programs working on design consistency across multi-screen digital recognition displays understand that visual consistency across a multi-screen environment requires the same systematic attention that audio channel mapping requires — both are invisible to casual review but immediately apparent when something is wrong.
| Display Type | Typical Audio Configuration | Common Mapping Issue |
|---|---|---|
| Single-screen lobby display | Stereo (L/R) | Commentary panned to one channel only; sounds off-center |
| Multi-screen video wall | Stereo summed to mono | Phase issues cause commentary to disappear at certain listening positions |
| Touchscreen kiosk with headphone jack | Stereo | Interview audio on wrong channel; one earphone silent |
| Outdoor LED board | Mono | Stereo file with commentary on L only; broadcast produces no speech |
| Portable display for events | Stereo | Crowd audio overpowering commentary at speaker level |
Post-export verification checklist:
- Play the final exported file on the target display from beginning to end — do not rely on the in-editing-software preview as the definitive quality check
- Confirm that all channel types reviewed in Sections 2 through 4 (commentary, crowd, interview, ceremony) are audible and at appropriate relative levels during playback
- Confirm that silent sections between segments (such as gaps between interview clips) do not produce an audible noise floor that would be noticeable in a quiet display environment
- Confirm that the file plays correctly when looping — some display systems have audio artifacts at the loop point when the file’s audio ending does not match the beginning level
- Document the final channel map configuration for the archive record — future staff members who need to troubleshoot playback or create derivative versions will need this documentation
Audio Channel Mapping Quick Reference Table
| Audio Type | Typical Source Channel | Common Error | QA Check |
|---|---|---|---|
| Commentary (mono broadcast) | L only | Sounds one-sided | Pan to center before export |
| Commentary (stereo broadcast) | L and R | Phase cancellation when summed | Phase check; correct if needed |
| Crowd/ambient (stadium) | Both channels, often different mics | L/R imbalance; PA bleed | Level-match channels; review PA content |
| Crowd/ambient (gymnasium) | Often single channel duplicated to both | Phase identical; no stereo information | Sum to mono without correction |
| Sideline/post-game interview | L (primary mic), R (room) | R channel contains only room noise | Route L to both channels for export |
| Ceremony podium mic | Usually L or a dedicated track | Offset vs. room mic creates echo | Check sync; correct if offset >20 ms |
| Ceremony PA feed | Separate track or R channel | May be out of sync with room recording | Use as backup only; prefer room mic |
| Banquet/awards speech | Mixed into room audio | Low-level speech obscured by room noise | Apply light compression; verify intelligibility |
Integrating the Checklist Into an Archive Workflow
A standalone checklist is only useful if it is embedded in a repeatable workflow. Programs with large backlogs of historic video should designate a single staff member or volunteer as the audio QA reviewer for each batch of digitized content before that batch enters the display system.
The following workflow places the channel mapping checklist at the correct point in the digitization process:
- Ingest and format conversion — transfer from original media to a digital file; no audio corrections at this stage
- Channel identification and logging — complete the pre-import checklist (Section 1) immediately after ingest, before editing
- Content-type review — complete Sections 2 through 4 based on the content types present in the recording
- Correction and gain staging — apply corrections identified during review; document every change made and why
- Export and display compatibility check — complete Section 5; export the final file
- Archive metadata update — record the final channel map, any quality limitations, and any corrections applied in the file’s archive record
For programs building comprehensive digital archives that include photographs, documents, and video alongside audio, reviewing best DPI settings for scanning old yearbooks and archival photography provides a useful parallel — the same systematic QA discipline that applies to image resolution applies to audio channel integrity.
Frequently Asked Questions
What should I do if a historic game recording has commentary and crowd audio mixed together on a single channel with no separation?
This is common for recordings made directly from a television broadcast onto VHS. Accept the limitation and document it in the archive record. You can apply light equalization to slightly improve speech intelligibility (a small boost in the 2–4 kHz range where speech consonants live, combined with a gentle reduction in the low-mid frequencies where crowd noise concentrates), but do not expect full separation. Label the recording in the archive as “commentary and crowd audio mixed — no independent channel separation available.”
Our touchscreen display plays stereo files, but the commentary in a 1991 broadcast recording is only on the left channel. What is the simplest correction?
In any video editing application, route the left channel to both outputs (L and R) and mute the original right channel. This produces a mono center-panned commentary track without requiring specialized audio tools. Export as stereo — the L and R channels will be identical, but the display will reproduce commentary from both speakers at equal level.
A ceremony recording from 1997 has a noticeable echo because the room microphone signal was recorded with a slight delay compared to the podium microphone. Both are on separate channels. How much offset is acceptable?
A synchronization offset of fewer than approximately 5 milliseconds is generally inaudible. Offsets between 5 and 20 milliseconds create a slight “thickening” of the sound that most listeners find acceptable for archival content. Offsets greater than 20 milliseconds produce an audible slap echo that is distracting during speech. If the offset is measurable in your editing software, the podium microphone channel should be treated as primary and the room microphone trimmed or offset-corrected to align with it. If correction is not possible, use only the podium microphone channel and document the limitation.
Is it acceptable to publish a historic game video to a touchscreen display with known audio quality limitations?
Yes, with appropriate disclosure in the display system’s metadata or description field. A recording from 1979 with some tape dropout, moderate hiss, and mixed commentary and crowd audio is still a valuable piece of athletic history. The standard for publication is not technical perfection — it is audible and intelligible enough to serve the recognition purpose. Disclosing known limitations (“Original broadcast recording from 1979 — audio reflects period recording technology”) sets appropriate expectations and protects the archive’s credibility.
Our display system uses a single mono speaker. Do we still need to complete the stereo channel mapping checklist?
Yes. The channel mapping checklist identifies problems that affect mono playback as much as stereo. Commentary on only one channel of a stereo file will be quieter than expected when summed to mono. Phase-reversed channels will cancel when summed, potentially eliminating commentary entirely. The pre-export mono compatibility check in Section 5 is specifically designed for mono playback environments and should not be skipped.
How do we handle a recording where one channel contains a program feed and the other contains an IFB (talent interruptible feedback) signal that was never meant for public broadcast?
Mute the IFB channel entirely. An IFB feed contains producer instructions, commercial timing cues, and private communications that were not intended for distribution. Publishing it is both a privacy issue and a distraction from the archival content. Document in the archive record that the second channel was an IFB feed and was suppressed.
Rocket Alumni Solutions builds touchscreen halls of fame, digital archives, and interactive recognition displays that give athletic programs a permanent home for exactly this kind of historic content. If your program is preparing a video archive for a digital recognition display and wants to see how the platform handles multi-track audio, embedded certificates, and searchable athlete profiles, request a live demo and see it working with your school’s content.